Sewing challenge time!
fancy
Kate top view B
Tessuti Fabrics: "To promote the release of our new Kate Top Pattern, we're holding a competition where you can win $500 (First Prize), $300 (Second Prize) or $200 (Third Prize). All you have to do is make your Kate, take a photo (preferably wearing it!) and share it with us on Instagram or Facebook by using the hashtag #katetopsewingcompetition #tessutifabrics Chosen fabric does not need to be purchased from Tessuti and final garment may be a direct reproduction or modified from the original pattern. Only one entry per person is allowed. Competition closes 11:59pm AEST Friday 11th Dec 2015 and is open to entries worldwide. Are you in?"
Ok so the only words I got there were "make a Kate top modified from the original pattern".
And I made....:
This!
Nah not really, this is the Alexander McQueen dress which sprang to mind immediately when considering a different interpretation of the Kate sleeveless T. I'd saved this pic some years ago, funny how some things stick in the mind.
Now, there are a fair few dresses thrown up when Google searching "dress with leather straps", some of which are sweet-Jesus-above, so this isn't an original idea but it was a really interesting make.
Fair warning, this is an EPIC post, so if you wanna just skip to the end part with all the details, jump to it here.
Using the Kate Top as scaffold, I wanted to make a two shouldered dress with the leather strap & fancy buckle feature AMQ thing. Omg have a look that buckle detail.
Now, there are a fair few dresses thrown up when Google searching "dress with leather straps", some of which are sweet-Jesus-above, so this isn't an original idea but it was a really interesting make.
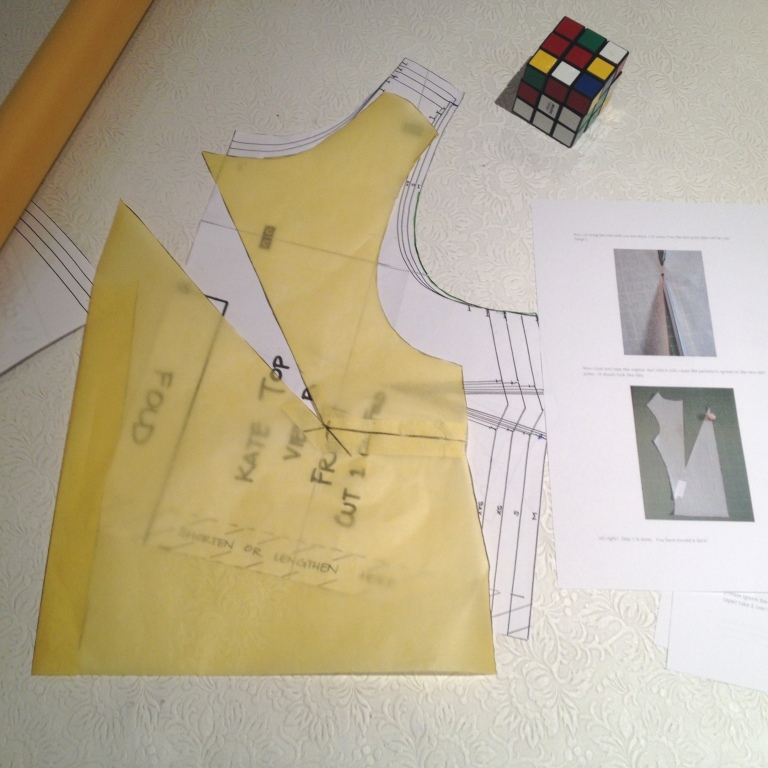
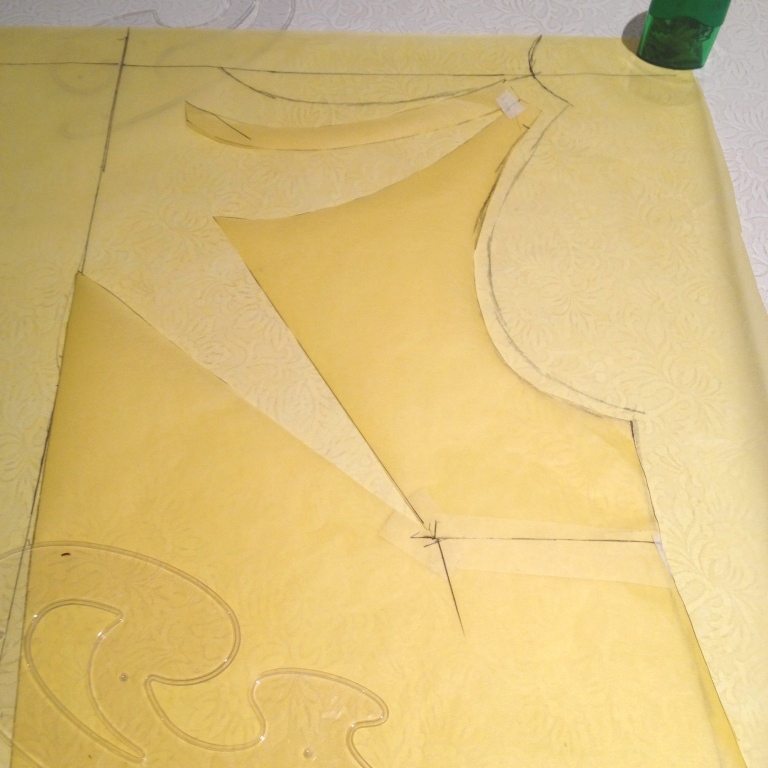
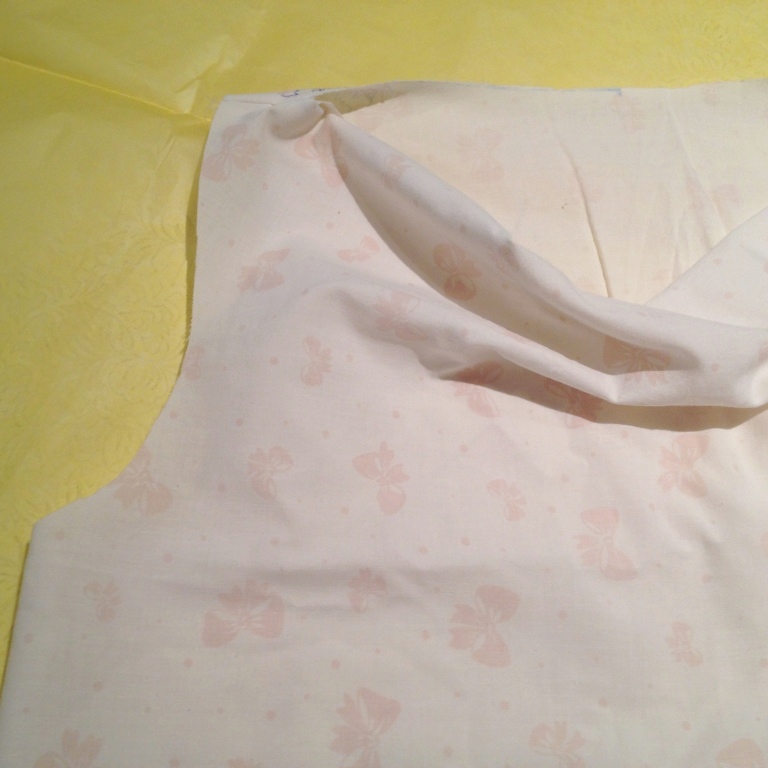
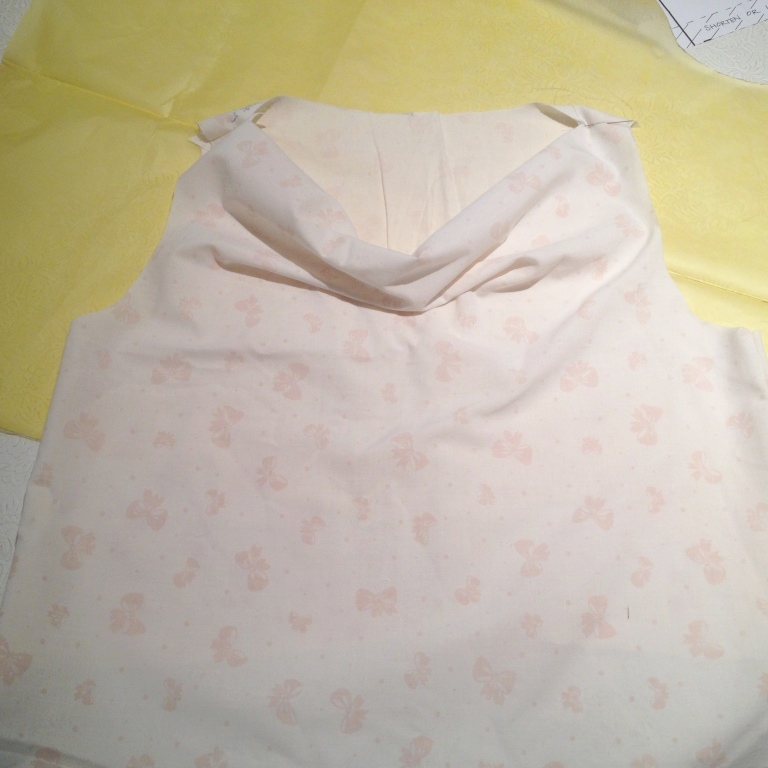
Making a two-shouldered dress meant arranging a gentle drape across the neckline, which meant hoorah, internet sewing tutorial watching binge! Two of the best here and here but as the Kate has a bust dart, I went with this by PoldaPop Designs. This required moving the bust dart from side seam to the center front neckline, then slash & spread upwards for a cowl drape effect.
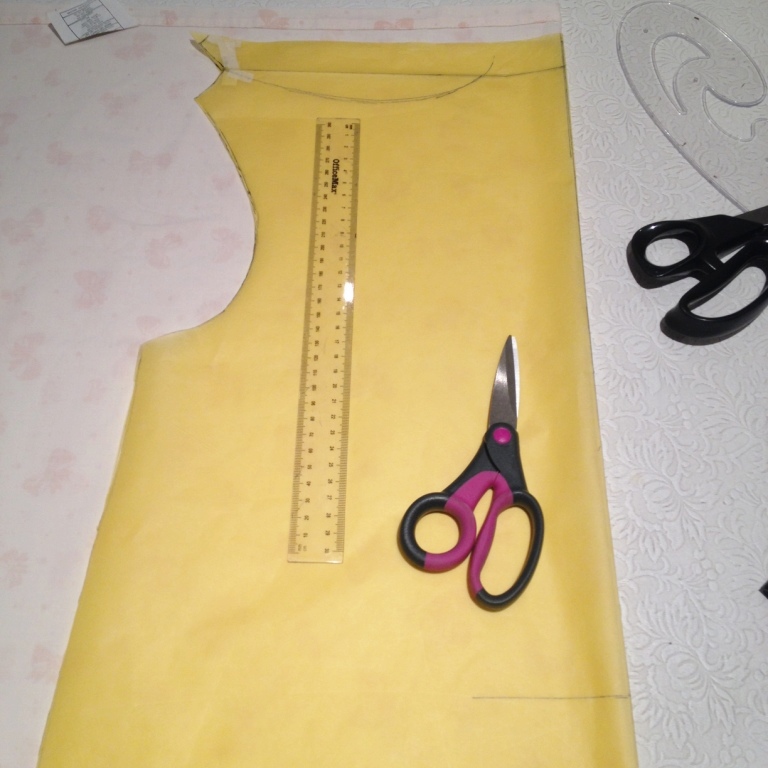
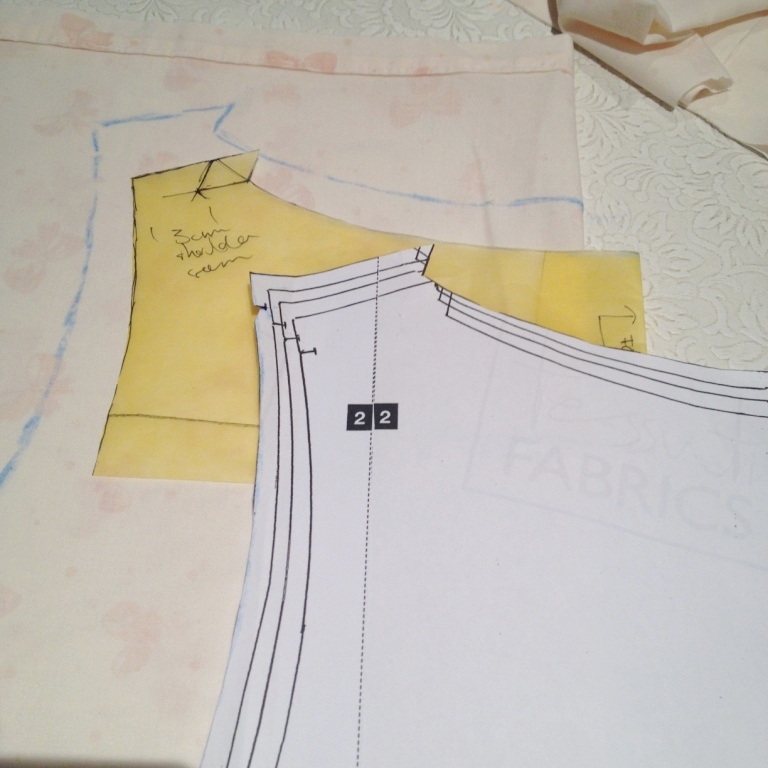
Having then achieved full cowl, next to subtract the length where the leather band will be, then re-calibrate the cowl and determine how to fix the leather. Sounds easy. Wasnt. Didnt do it in that order. Took me oh, another four attempts before I realised I had to draft the cowl AFTER having subtracted the strap distance. Never mind, much was learnt and several muslins were made.
Swear to God I had this whole thing cracked in the first 15 minutes, then spent hours over the next two weeks getting it 'perfect", which of course it could never be because of that nitpicking. Swear to God I made the same mistakes, over & over. Metaphor for life, there.
In making a Kate to original view B specifications first, (brown/white printed linen above) I had figured the maximum width at the shoulder would be 1 inch across so that became my strap width. Being mindful of global responsibility & economic necessity I went thrift shop shopping for leather belts for said straps & two really nice ones turned up in the perfect dark tan, one at 1 inch wide, the other at 1.5 inches wide. No luck finding two matching buckles & I wasted loads of time wondering if two buckles was one too many, and maybe I'd have one shoulder buckled and one as a blunt end and THEN found out buckles can come in sets, like here, here, and here. Fancy. Had to have a pair. Eventually went with this groovy set because sale.
As for the chosen fabric, its de-stashed heavy-ish weight Tessuti white non stretch cotton/linen blend, very little drape so probs not ideal fabric type for this, but I like it. I really like the dark tan leather/crisp white cotton together. The plan for making a dress was modified to making a top because when I cut this out I forgot to lengthen it! Great brain, thanks. Turns out I'm really happy with a top.
Even though I had bought those buckles that would accommodate a 1 inch strap, I still tortured myself bouncing between the 1 and the 1.5 wide lengths of belt leather, which one to choose? And which way to point the buckle: buckle facing up, as it does on the AMQ dress? Or downwards? Which would make more sense, if it was a functional attachment??* Up, down, up, down, updownupdownup way too many choices and I gave them all a good airing. Over & over again.
Its nice when this is all I have to worry about
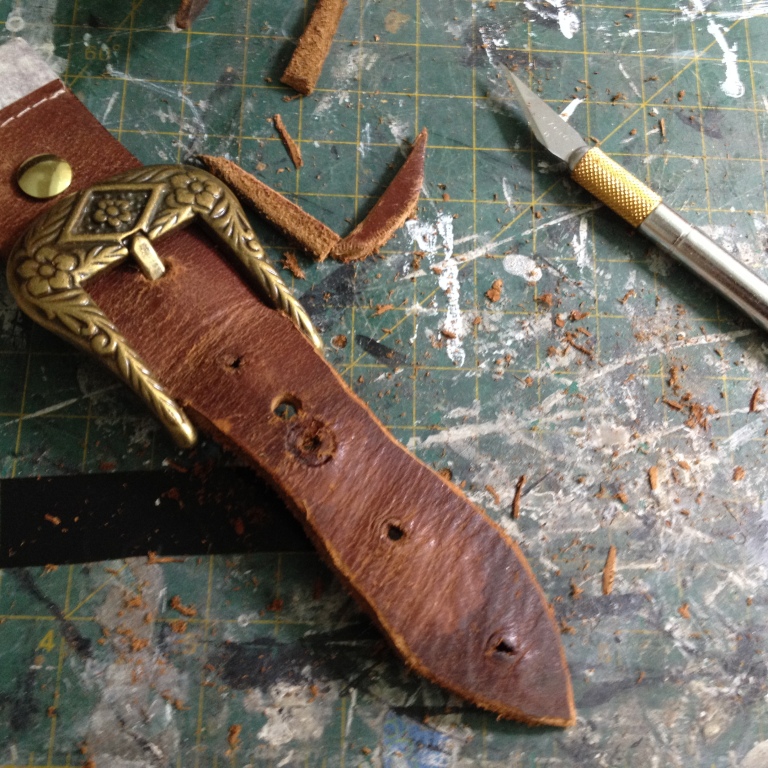
The thing is, I really liked the 1.5 wide belt strap & thought maybe the 1 inch buckle would work with some shaping, if I narrowed it to one inch at the buckle tongue...result was meh and then I realised I hadnt enough o the 1.5inch wide belt to use in the first place. The strap progressively grew in length the more I played around, from originally 5 inches to 13 at the end. (Sorry I keep switching from metric to inches when sewing; imperial often feels more intuitive, maybe as its based on body measurements?)
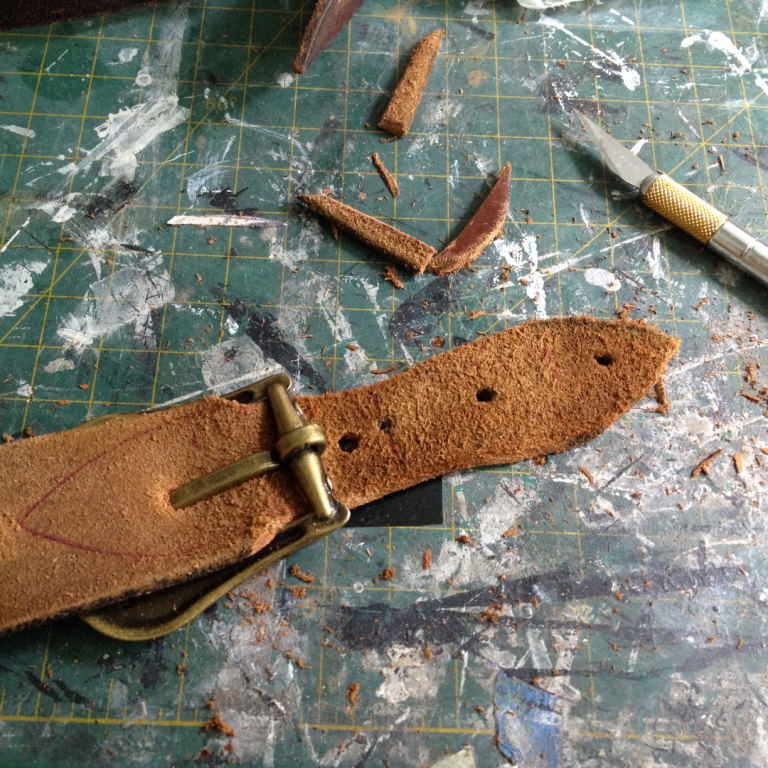
So that all took up some time but it was fun to do my first bit of (very basic) leatherworking, using tutorials here, here & here.
Using existing straps was a very attractive idea, its already nice & soft & polished & un-planet-threatening but I bought new in the end because 1: I needed longer lengths than I could thrift-find, 2: its actually not too expensive and 3: well, 1 mostly, wanted to be sure of goodly amount of the stuff as a fallback, so I wouldnt freak out cutting it up in case of disaster. Always prudent to expect disaster, when you're me.
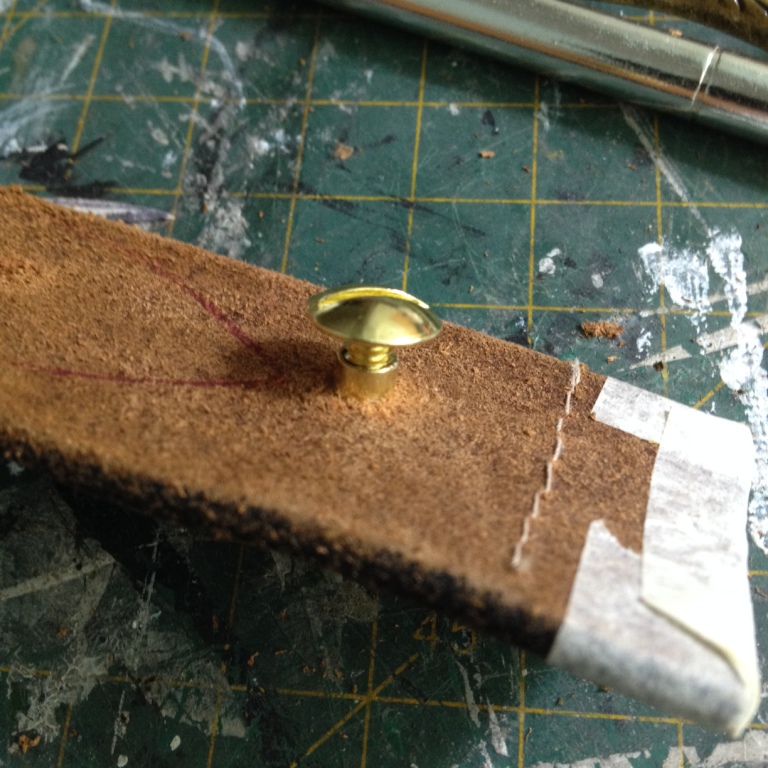
As for fixing this to the top, I thought Chicago Screws would be best, that way they could be removed when washing was required. Chicago screws are really cool & neat looking, they join two pieces of material together & can be unscrewed to separate them again. Great idea but the screws I had ordered looked a bit big & besides, I really wanted to sew the bugger right down so it was done for all time. It was getting the better of me.
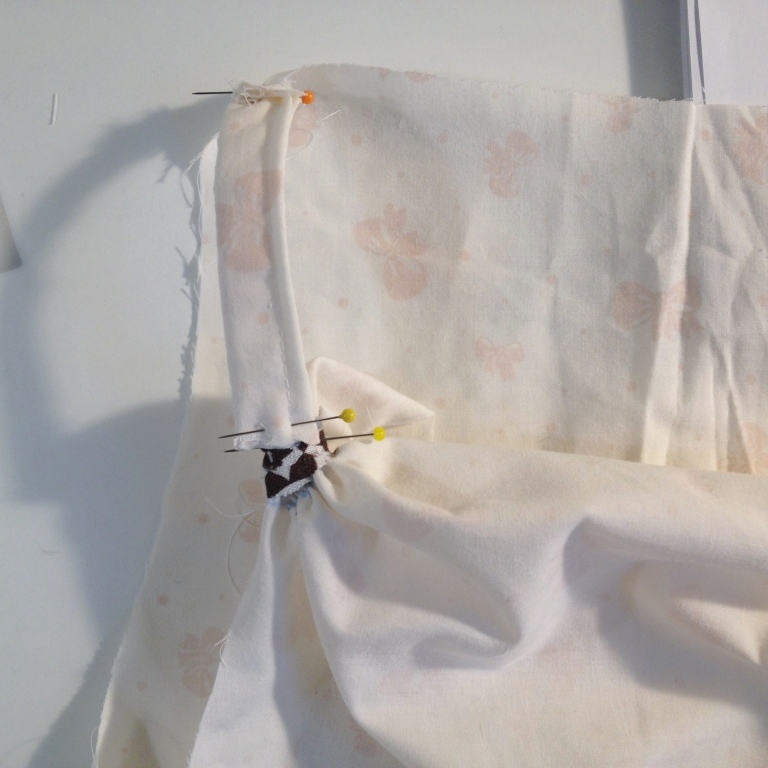
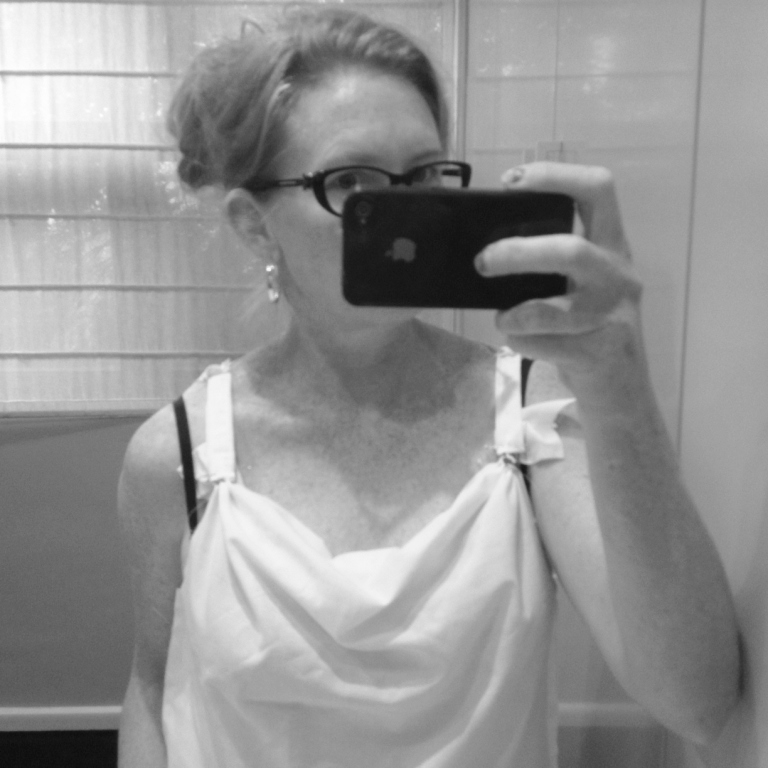
Arranging of drape was achieved by finger pleating & pretty much just scrunching it all up till it looked good then hand tacking it together then machine stitching back & forth till it felt solid. Much guesswork. Then I spent ages trying the top on & working out the best of best buckle/top of drape placement, keeping in mind that the 'hangover' (where the strap went down over the fabric) needed to cover the gathered drape at the side edges. Really hard to photograph oneself doing this.
Around this time I came across this project and the Xenia phenomenon, wow she makes some cool things, love the feathered headband. This is a really great DIY and as always when DIY's are documented by people who do neat work, it all looks so easy. Unlike mine!
Finally though, it came time to sew the straps and buckles on for reals, and man, thats when I REALLY started to avoid proceeding further, in favor of more buckle placement conundrum torture.All over again: Simple blunt ends? Simple blunt ends with the keepers only, no buckle? One buckle on one side. keeper on blunt end on other? Buckles facing up? Buckles facing down? Buckles above the drape? On the junction of top & strap? How much to overhang? How to make it look good? Does it all look stupid anyway? Is this just a dumb idea?? Suspecting this is a dumb idea. It begins to dawn on me that I'm really dumb & this is all a big waste of time. :(
Test piece, invaluable.
But I kept at it anyway & came to terms with fact that a buckle really had to cover over the gathering at the sides of drape because mess, and theres no other way to hide it, as well as the stitches attaching fabric to leather so that sorted that out, it was two buckles all the way.
I tell you, I had to keep the bit of belt leather & buckle that I'd played with in front of me at all times, that buckle direction was hard to figure out! Tricky to keep straight what on earth direction that thing went.
The maximum stitch length on my sewing machine seemed the perfect spacing for pilot holes, so with a leather needle and by turning the hand wheel to gently coax/force the stitches along, it was kind of like using the machine as a drill press. The holes were evenly spaced, more or less, the feed dogs handled drawing the material through & it worked out quite well. I did widen the holes again by hammering small nails through, and even then had to use an awl when doing the stitching itself, but that was due in part to the density of gathered tightly woven fabric as much as the leather.
Using black embroidery twist for stitching wasn't a great move but I wasn't sure at the time that the belt tip would cover them and black looked good against the dark tan leather, should this be exposed. The buckles, you may remember, came as a set & the belt tips worked out perfectly for covering over the leather/fabric join at the back, just prise the grips away a bit, slide onto the leather that just overhangs the stitching, then hammer into submission. Big success, pleased with this bit.
Then, the part I most feared could no longer be avoided. Things had to be irreversibly fixed on at the front.
Time to bring the plan together, the end was finally nigh.
Finally nigh!
I love it and I've been wearing it all day
And the wide top of the buckle perfectly hid all! ALL!
*Note, these are post-functional buckles. If I was Alexander McQueen, they would be fully functional but much to my surprise, I'm not Alexander McQueen at all, so decorative buckles it is. And facing the opposite direction. And I love them love them love them.
So. Good.
Making:
Front of top cut on the bias, which helps with the drape. I cut a size 12 and worked back from there, took about 2/3cm in each side. I used 1 inch buckles and 1 inch wide dark tan leather straps, both from Adelaide Leather and as for the rest, these are my final calculations:
• Reduce the back shoulder seam width to 1 inch, then trim down 20mm from the original shoulder.
• Length from underarm side seam to top of drape line at side, 5 inches.
• Length of strap in total: 13 inches
• Overhang at front, 5 inches
Not happy about:
Black leather-to-fabric stitching thread, hadn't thought that one through well. Easy to hand stitch a small patch to cover, potentially. Upside is, they're easily unpicked for washing
Not French seaming the side seams. I left them raw, very uncharacteristically, due to tweaking needed so for gaping elimination, had to take it in a couple of times & then unthinkingly double folded & stitched the armscyes over the top. Pinking has to suffice but really, French seamed it should be.
Assembly wise, first sew side seams, then double fold narrow hem at back neckline and front underarm to the cowl point, which on this is 5 inches up from side seam. Then its basically done really, save the star attraction, those leather straps. I gave free reign to frecking around with that, indecision and needless fretting, but I kinda liked the occupation, felt good to have a proper challenge in sewing something so uniquely different to norm. I had fun, in a way understood by only me. And any sewing person still reading this.
• It wasn’t a completely dumb idea after all :)








![[DIY] Maxi dress with leather straps fashion tutorial by xenia kuhn for fashion blog www.fashionrolla.com-8](https://images.squarespace-cdn.com/content/v1/5181dce5e4b0afdc0f46bce5/1449312701814-81B84WM26996D1WCD1MH/image-asset.jpeg)


