Whama-lama-ding-dong my first (sewing) make for 2015, a Celestial hack!
Pattern Fantastique's Celestial dress was definitely my dress of the year 2014 & now here we are again, a new year a new Celestial dress by jingo. This sleeveless hack was sent to me by the very lovely Nita-Jane at Pattern Fantastique; I've been stalking her demanding hacks and this came along at precisely the right time; I've been working intensely in the studio for some weeks now and it was definitely time for a break. And I hadn't sewn all year!
I've made the Celestial bodice/yoke approximately 100 times now, messing around with all the sleeve variations so omitting them altogether was a relief! The hack involves self lining the yoke and adding underarm facings at the yoke/skirt join. This make was easy except for me making it more complicated. As usual. Lord I piss me off sometimes; do it this way! That way! Combine a few fabrics! Add some piping! Such an idiot but sometimes this works out beautifully and I do like to think this dress is one of those occassions.
The style of this dress has got that 70's vibe which is definitely swinging through RTW fashion right now & the space age 70's film "Solaris" aesthetic that inspired the dress in the first place is spot on with my contrast panels & racing stripes. Think Star Trek. You wouldn't believe some of the costumes they designed for that. Plus it looks in tune with some artwork commissions I've completed lately so there's that.
The pattern piece for the underarm facings is one of those simple looking shapes that has actually been shaped very cleverly; when I made my gingham version I used self made bias but this is a lot better. And what a cunning method of lining the yoke for this version! It involves sewing the neckline and side armholes together as usual, then rolling the yoke across-ways from armhole to armhole, stitching two raw edges sides together then pulling out a perfectly finished edge and a lined yoke! This process wasn't entirely clear to me, when pre-reading the instructions (am I the only one who enjoys reading pattern instructions? Like, for recreation, I love reading how a garment is to be put together, always something to learn. Some like cook books, I like sewing pattern instructions), so I just followed the directions as told and hoped for the best. I even checked my yoke against the photo after the cross-ways rolling and it looked the same so...
Yes of course it worked. You just pull it out! Neat-o!
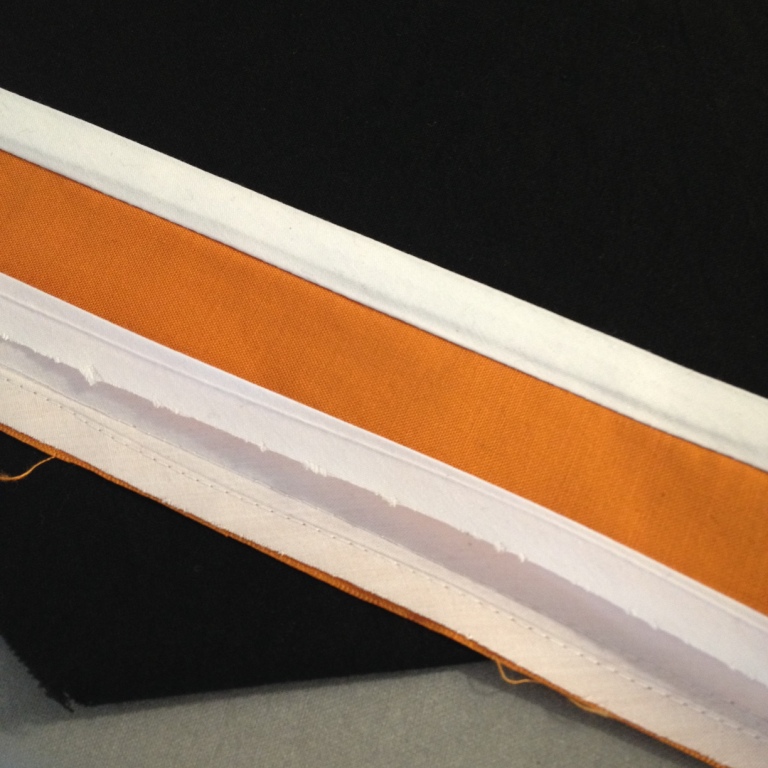
Which brings me to a point worth stressing before going any further: definitely mark the wrong & right sides of the yoke (unless you're using a different fabric for lining). Mine, as you can see, is torn shreds of masking tape which is allowed because I'm an artist. So I'm allowed to look a bit industrial. Some may prefer to use pretty washi tape for this purpose but I tend to forget if I've placed said tape on wrong side or right side so actually writing "WRONG SIDE" on masking tape on the wrong side works best for me. Smiley face icon. Another thing I would note: this dress goes together like a dream. The seams, notches & markings are spot on, every time; this so rarely happens to me, there always seems to be a dodgy seam join somewhere on my makes, but not with this pattern. Or perhaps I'm just paying attention here because I really like this dress. Which means I'm not always paying attention when sewing which would be fair to say. Always with the unpicking, me, bloody always. (If emoticons could roll their eyes, I'd put one here.)
Maxi length, uses a whole lot of fabric but feels goddess like.
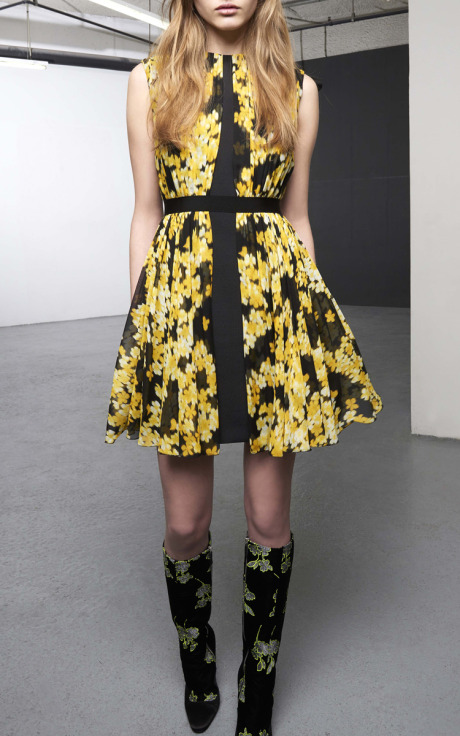
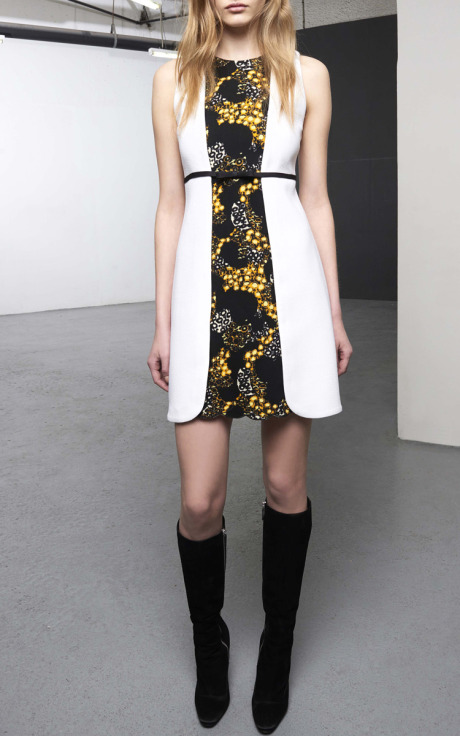
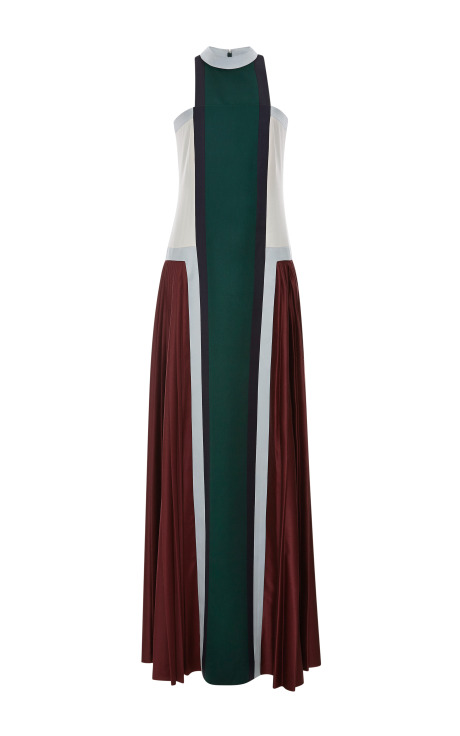
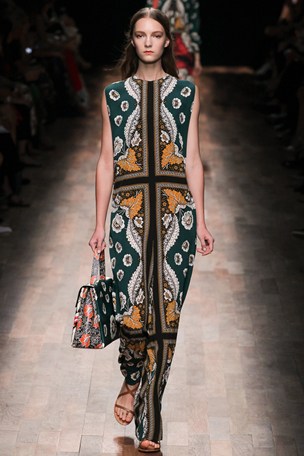
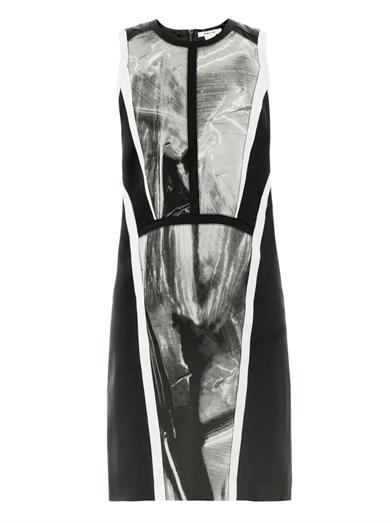
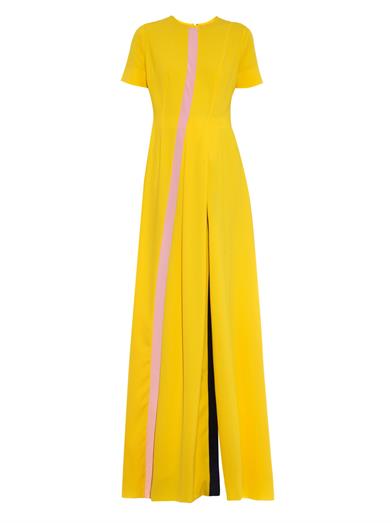
I do find the shapes on this dress really lend themselves to some interesting customisations. The Giambattista Valli Pre-Fall 2015 dresses below were the trigger for my orange center stripe.
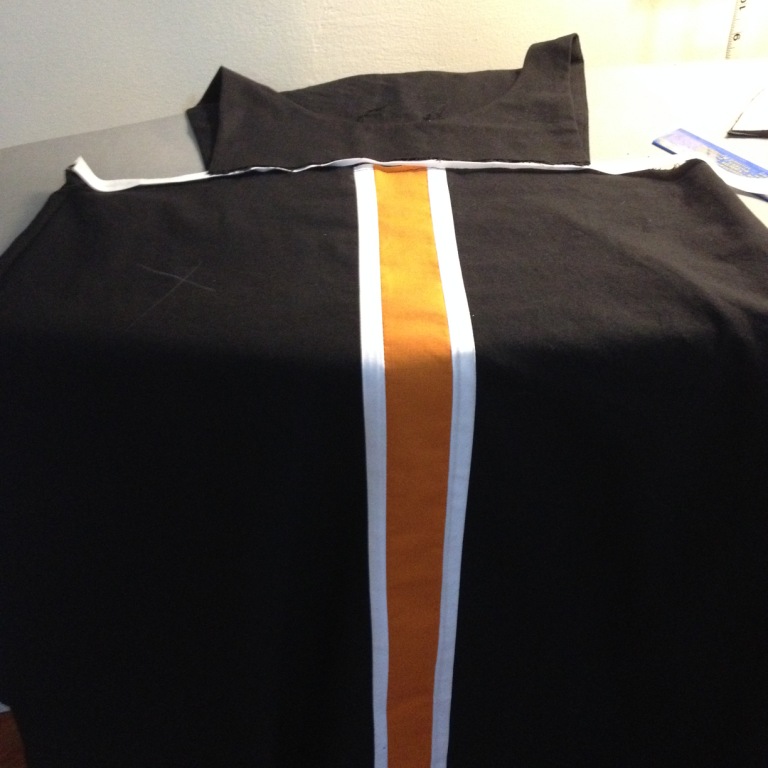
Given that I really wanted a black maxi and that maxi's can look, well, roomy (enormous, fat & rotund) in silhouette, I thought the long central stripe might do something towards lengthening (slimming) the overall look. I do prefer my dresses to not make me look enormous, fat & rotund, as a rule.
More of the colour/pattern sectional panelling and that lean central line below.
Top row above, Mary Katrantzou SS15, Valentino RTW SS15. Bottom row above Helmut Lang, Roksanda
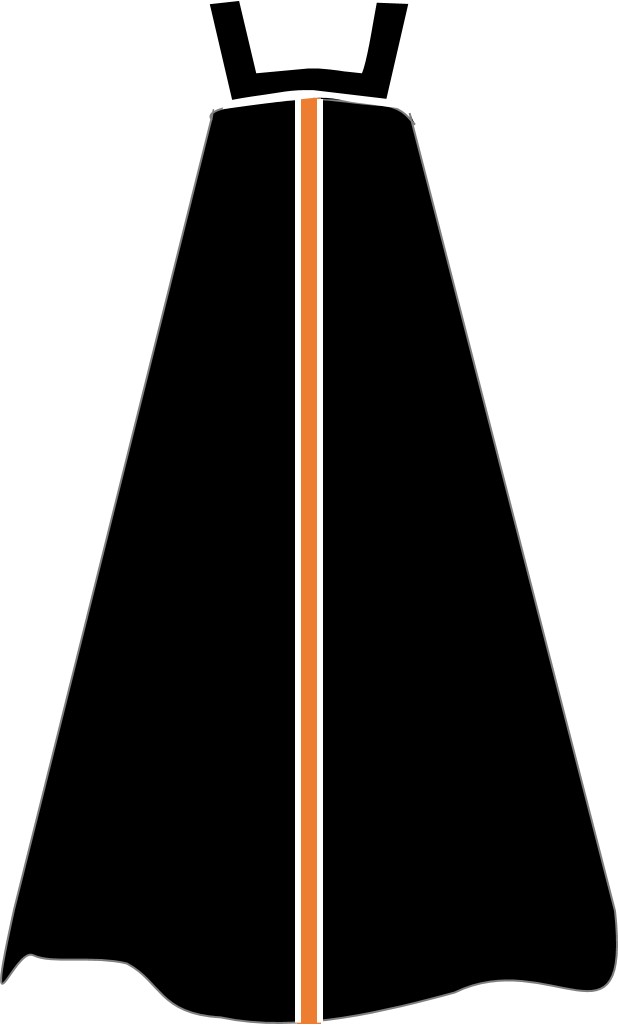
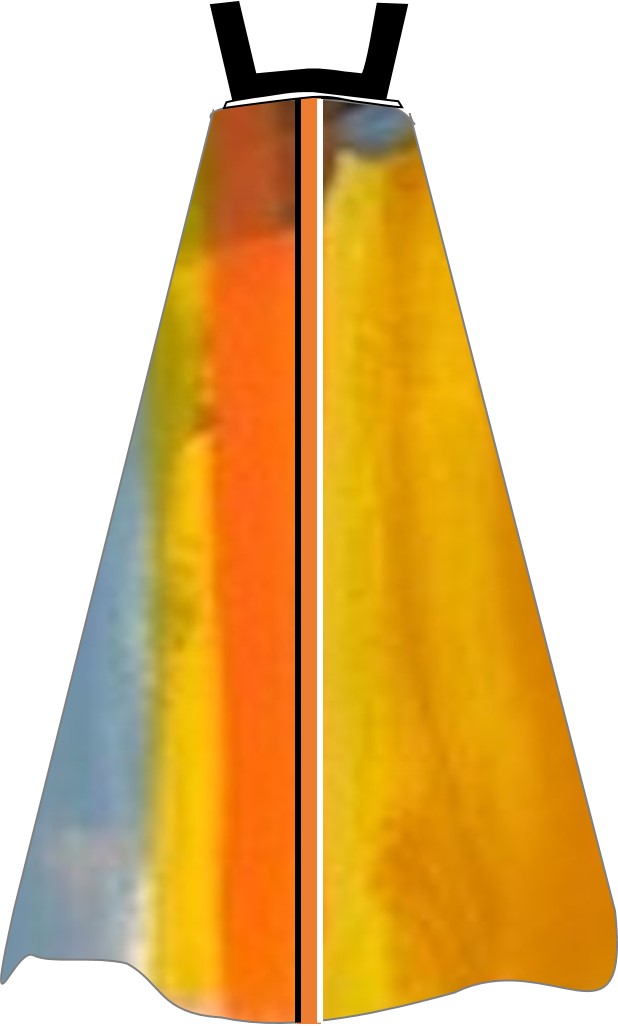
Inserting the orange stripe was quite straightforward, once I'd decided how wide and believe me, this took some time! One cm? Two cm? Did a sketch, above. Two point five centimeters?? Settled on 3.5cm so including seam allowance, I cut a 5.5cm length of beautiful burnt orange cotton and a corresponding amount from the center dress skirt. Then edged this with a store-bought white cotton bias binding. Which I thought looked rather fetching against my lightweight black cotton dress fabric. Or, should I use a custom made hand painted fabric?! With different trims each side of center?! Idiot. Just. Make. A damn dress. Stern face emoji. (I write with emojis all the time now, I even speak them: wuh-teh-fuh.)
Using ready-made bias tape feels like a bit of a cheat as generally I make my own but man it's quicker! Also, the edges are far more reliable as regards width & crease lines; it's really hard for me to sew really straight so I really need the assistance. I stitched down the inside of the folded edge of bias tape closest to the centre of the strip then opened the fold on the other side & pressed that flat. Then if my measuring was right - and it was, more or less - the raw edges of both bias tape and orange strip should be even. More or less they were, by jingo. Then, same with line across skirt/yoke, right across the top of the skirt section, all the way around. Looks very schmick I think. This was a bit more time consuming, too many straight/curvy lines! There was a lot of wuh-teh-fuh going on. But, having deliberated over the width of the horizontal strip - maybe thin, just a narrow white line? Same width as vertical stripes?- I'm glad I decided to make the white bias all the same widths. My orange strip did pucker a bit after ironing. Why? I mean, wuh-teh-FUH?? Everything save the bias tape pre-washed. It was perfect. Maybe it shrank with steam, I dont know. If I do this again, and I'm bound to, I like it, I'll use a lightweight iron-on interfacing like a fussy person. And then I wont see the puckering and only the puckering every time I look at the damn dress.
The skirt facings were a snap although I hand stitched these rather than top stitching; I thought this might look like an unfortunate underarm sweat mark shape outline, yerk. I machined the hem at 1cm except for the orange/white section which I caught with a few hand stitches.
And whamo and tah-dah, one foxy looking maxi goddess dress! From outer space. Smiley face!
Maxi gloriousness
