
Okeydokey folks, time fer some BALSA WOOD.
Chapter three in the mini sculpture gallery project: making some mini sculptures.
For chapter one click here. This one is the genesis chapter; the one with The Big Idea. Pffft.
For chapter two click here. This is about dioramas. A lot of them and it's really interesting.
THIS chapter is about making the jolly little balsa wood sculpture pieces to go into my idea/s for dioramas. And this is a really interesting chapter too.
So. I have the maquettes from that resort commission (see chapter one) but I want some new, different pieces as well. I’ve got several different approaches to my diorama gallery on the go so far and I’d like some flexibility to find what works best with what. One can never know what will work and what wont until it's tried out, y'know. Therefore I'll get on with making more than a few "maquettes for large timber sculpture" so I've got some to choose amongst. Volume is the way to go, just keep making & see what happens.
One needs inspiration if one's gonna do this out of nowhere, one needs to have a look around.
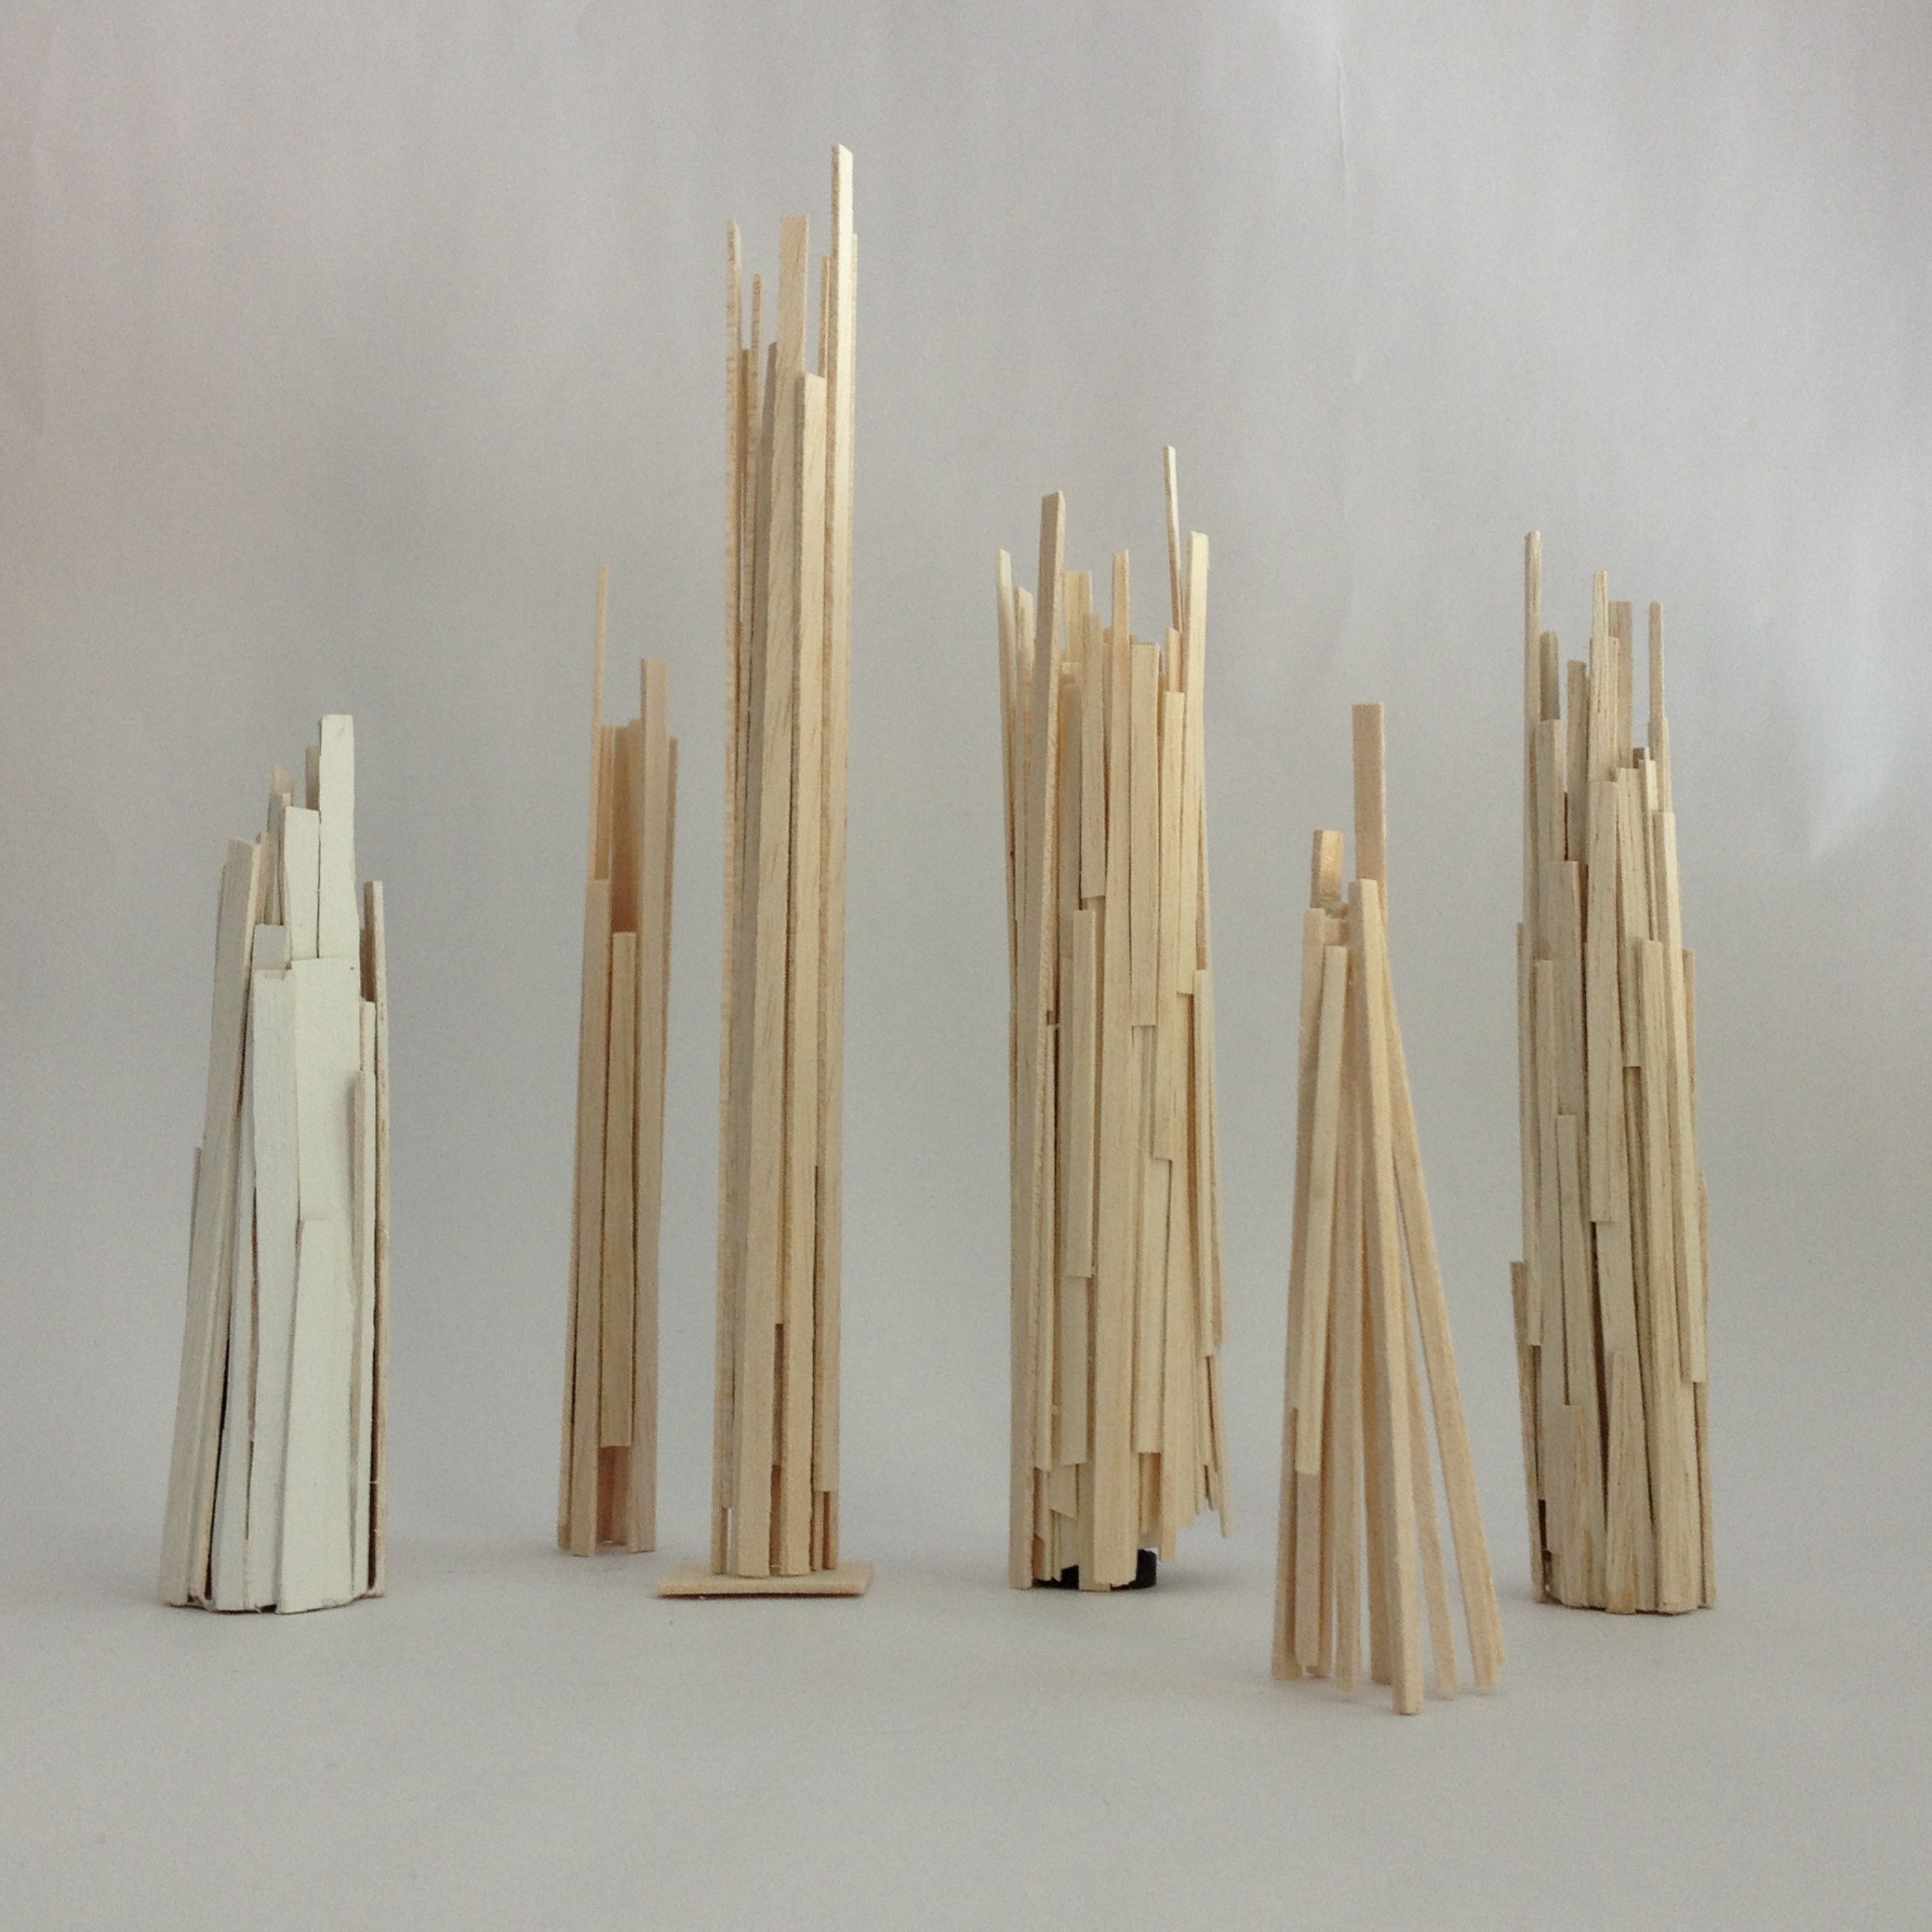
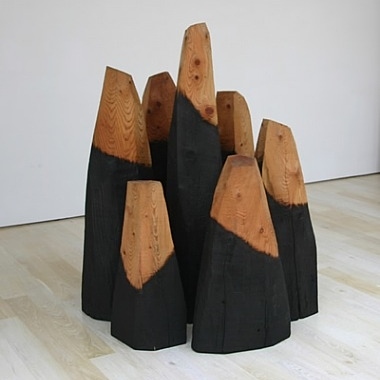
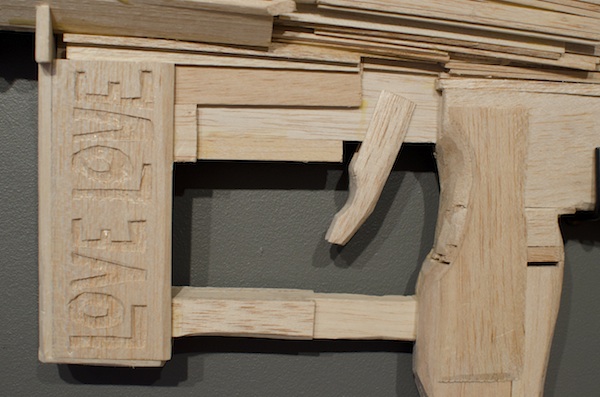
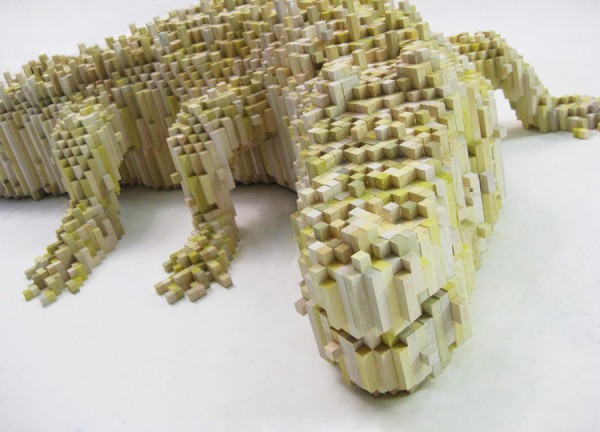
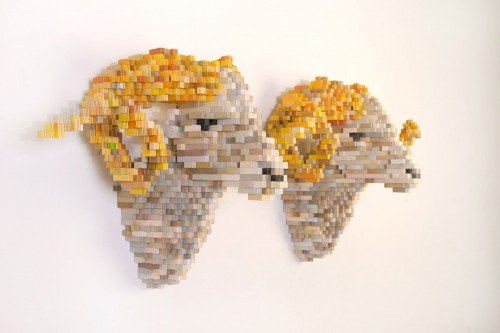
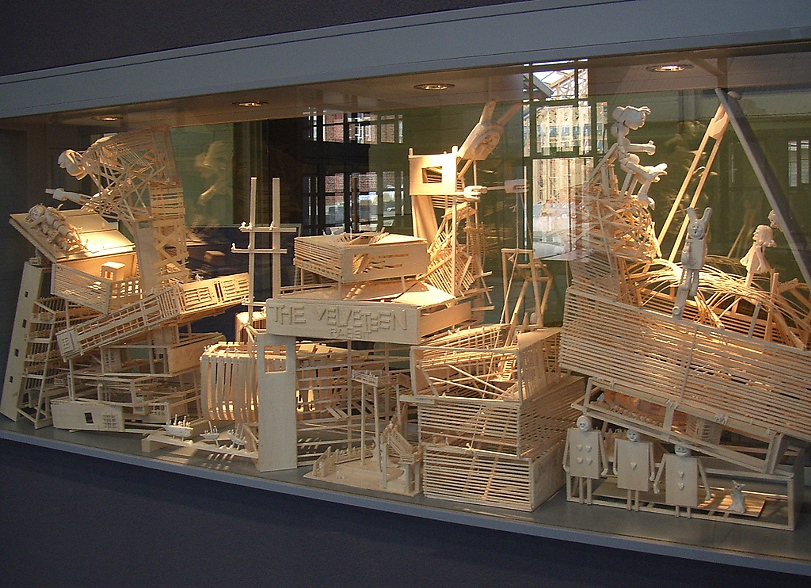
First up, look at these sculptures by Australian artist Robert Bridgwater. The following images are from his 2007 exhibition "Little Light Of Mine", at Niagara Galleries and from elsewhere on the net.
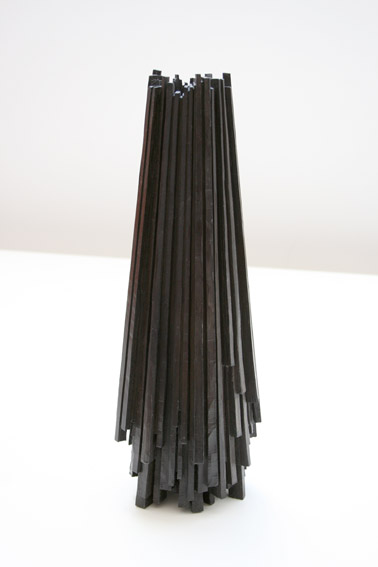
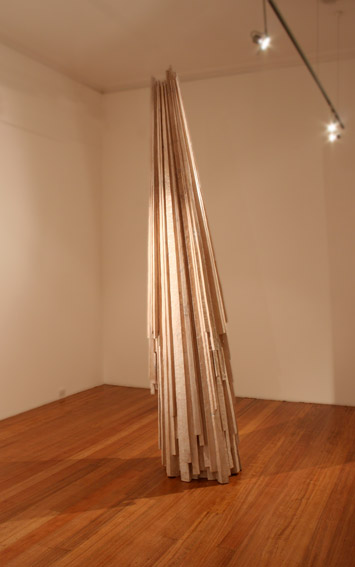
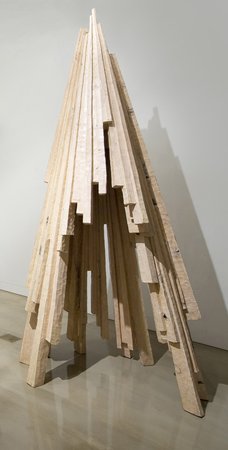
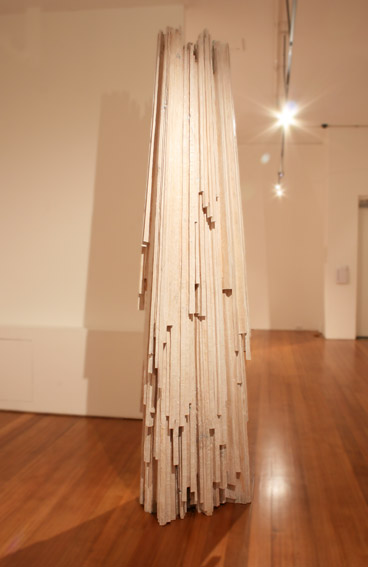
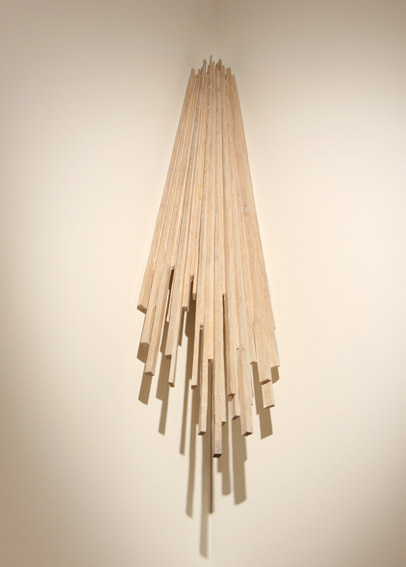
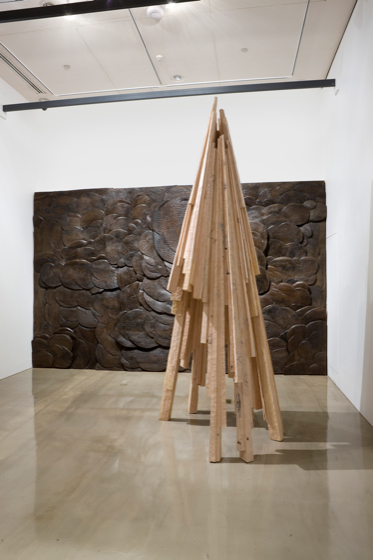
The gallery notes that his work is "...concerned with the energy of form in relation to the space in which it interacts, his work shares the minimalist interest in structural formality, geometry, seriality and truth to materials while reflecting on the natural environment and phenomena..."
I like these stacks they're quite lovely. So I'll have a go at making somthing along these lines, some wee ones. But first up, need to get self some balsa wood from local hardware store.

Mmmmmmmmmm
Needed:
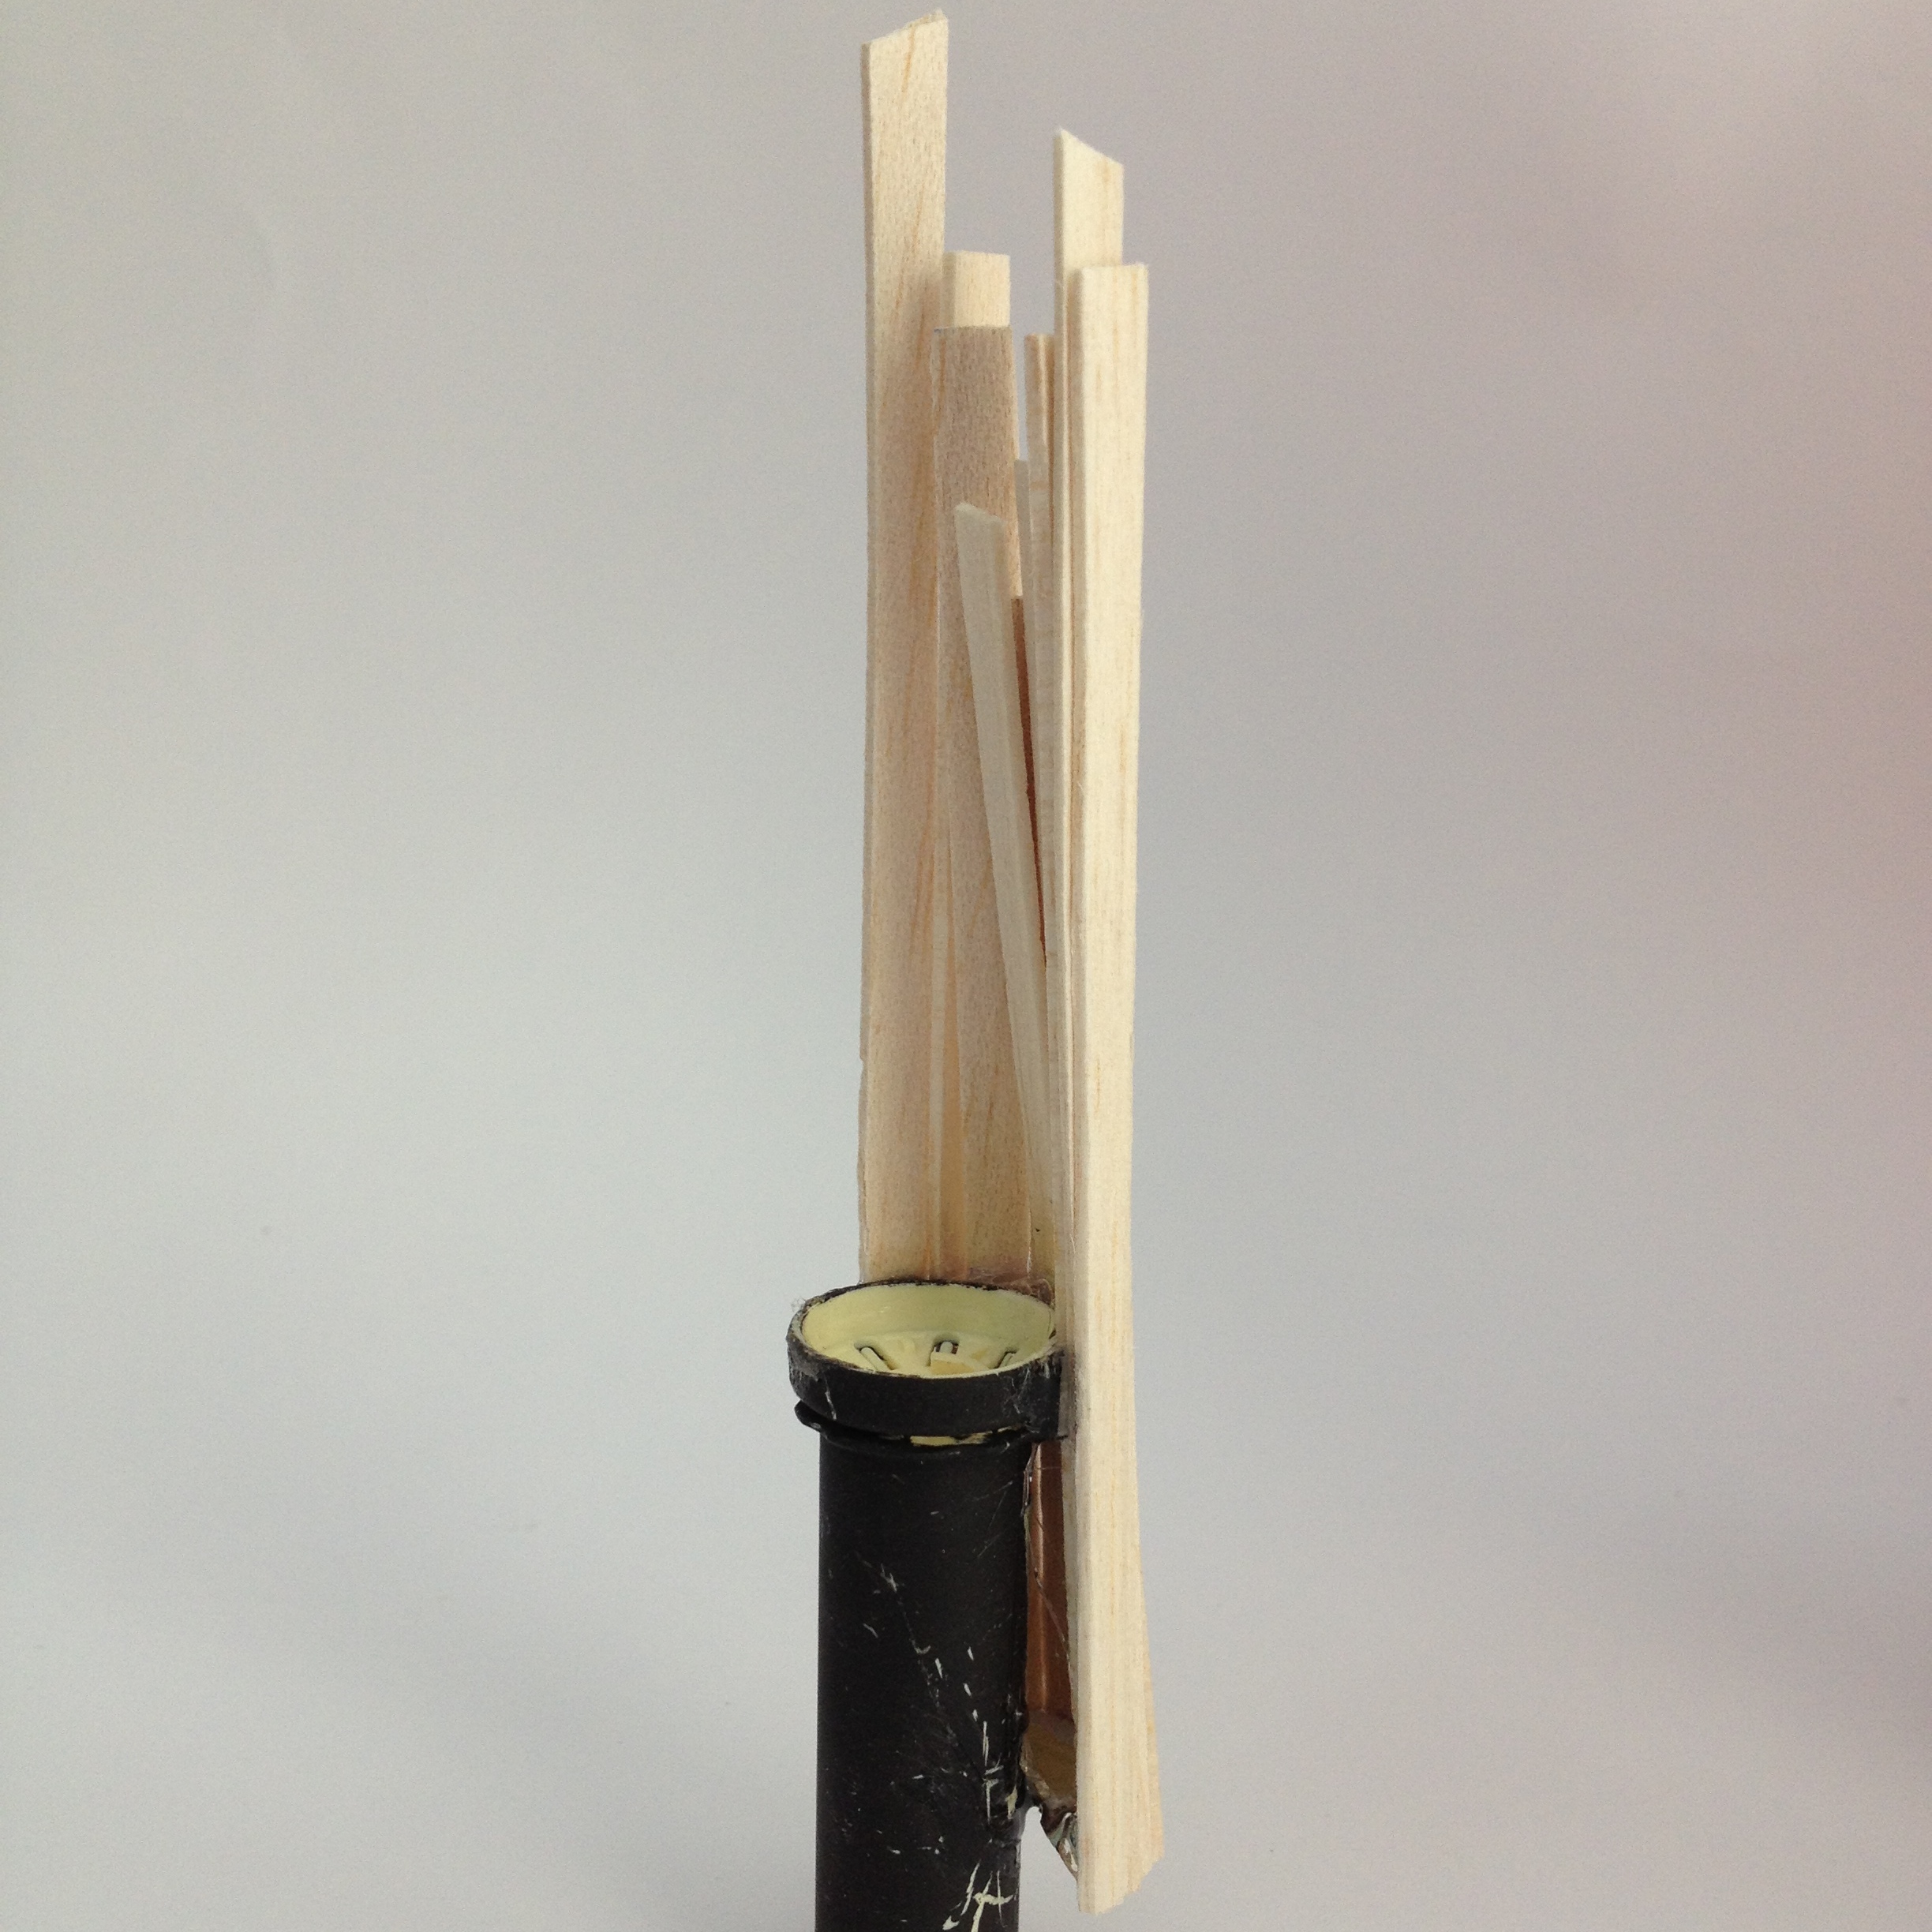
an empty thread spool or hey, use an un-empty one and thehellwithit, you can do what you want.
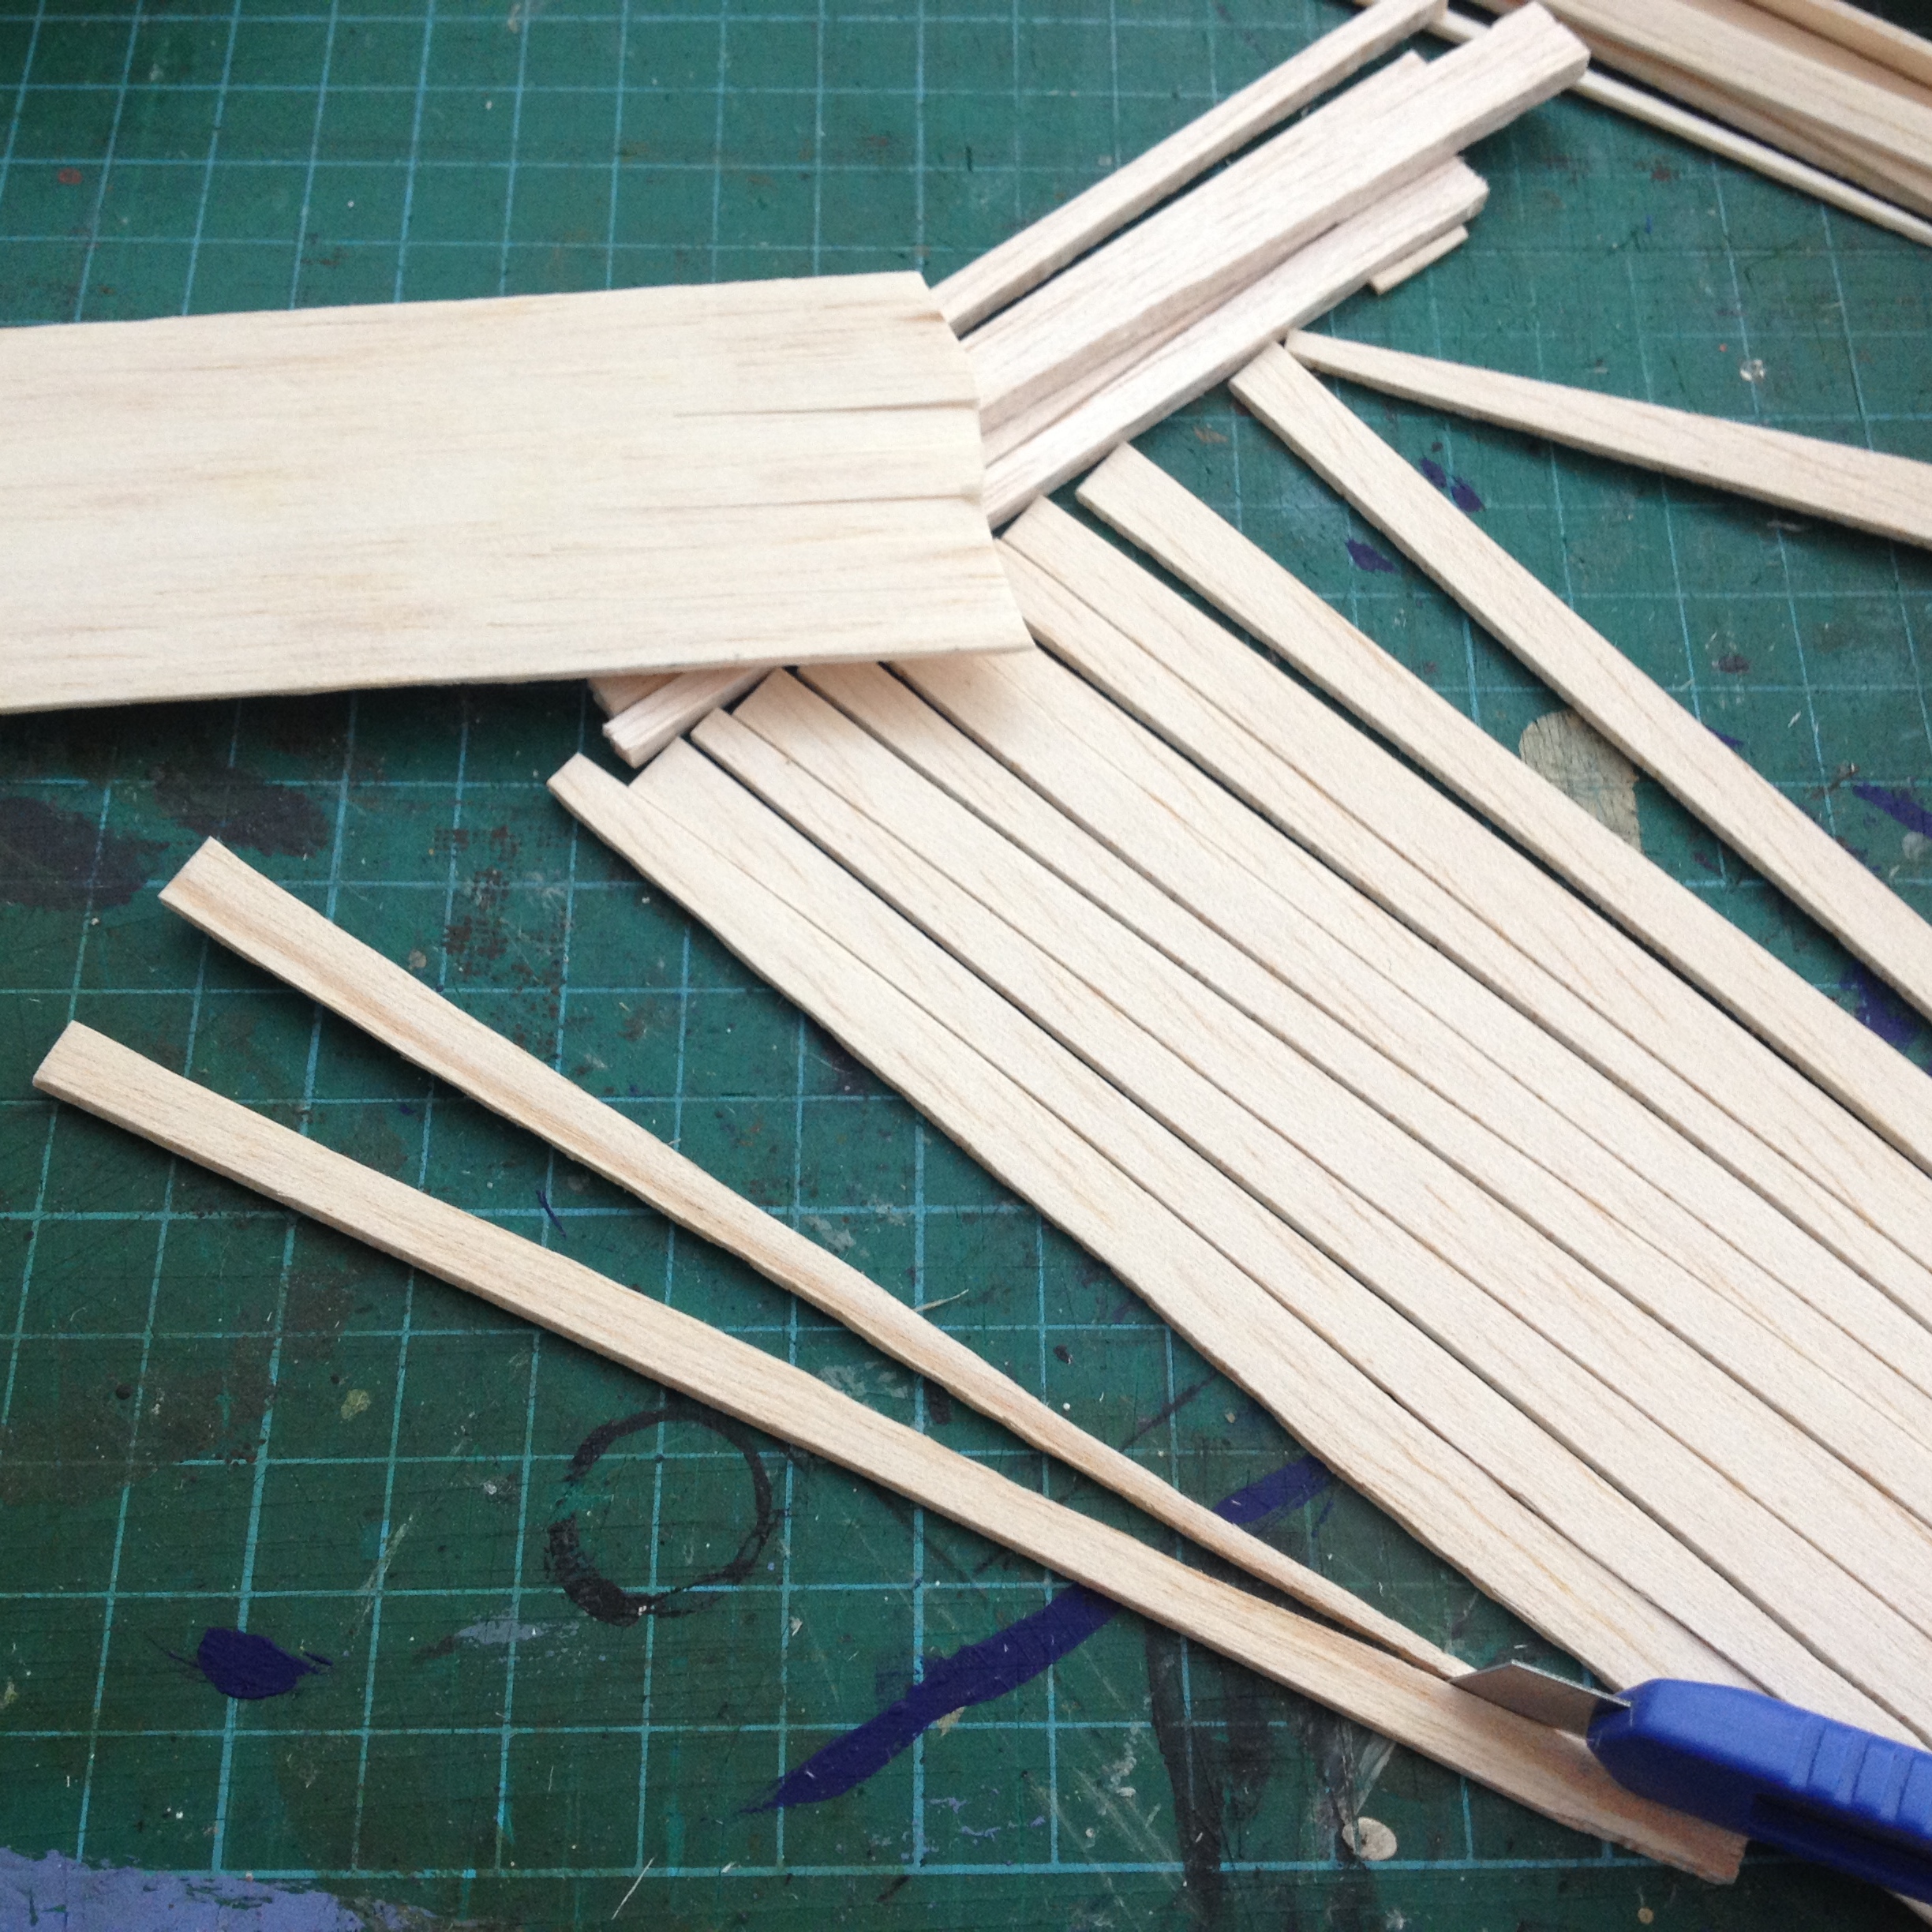
a sheet of 1.5mm balsa, a blade & some craft glue.
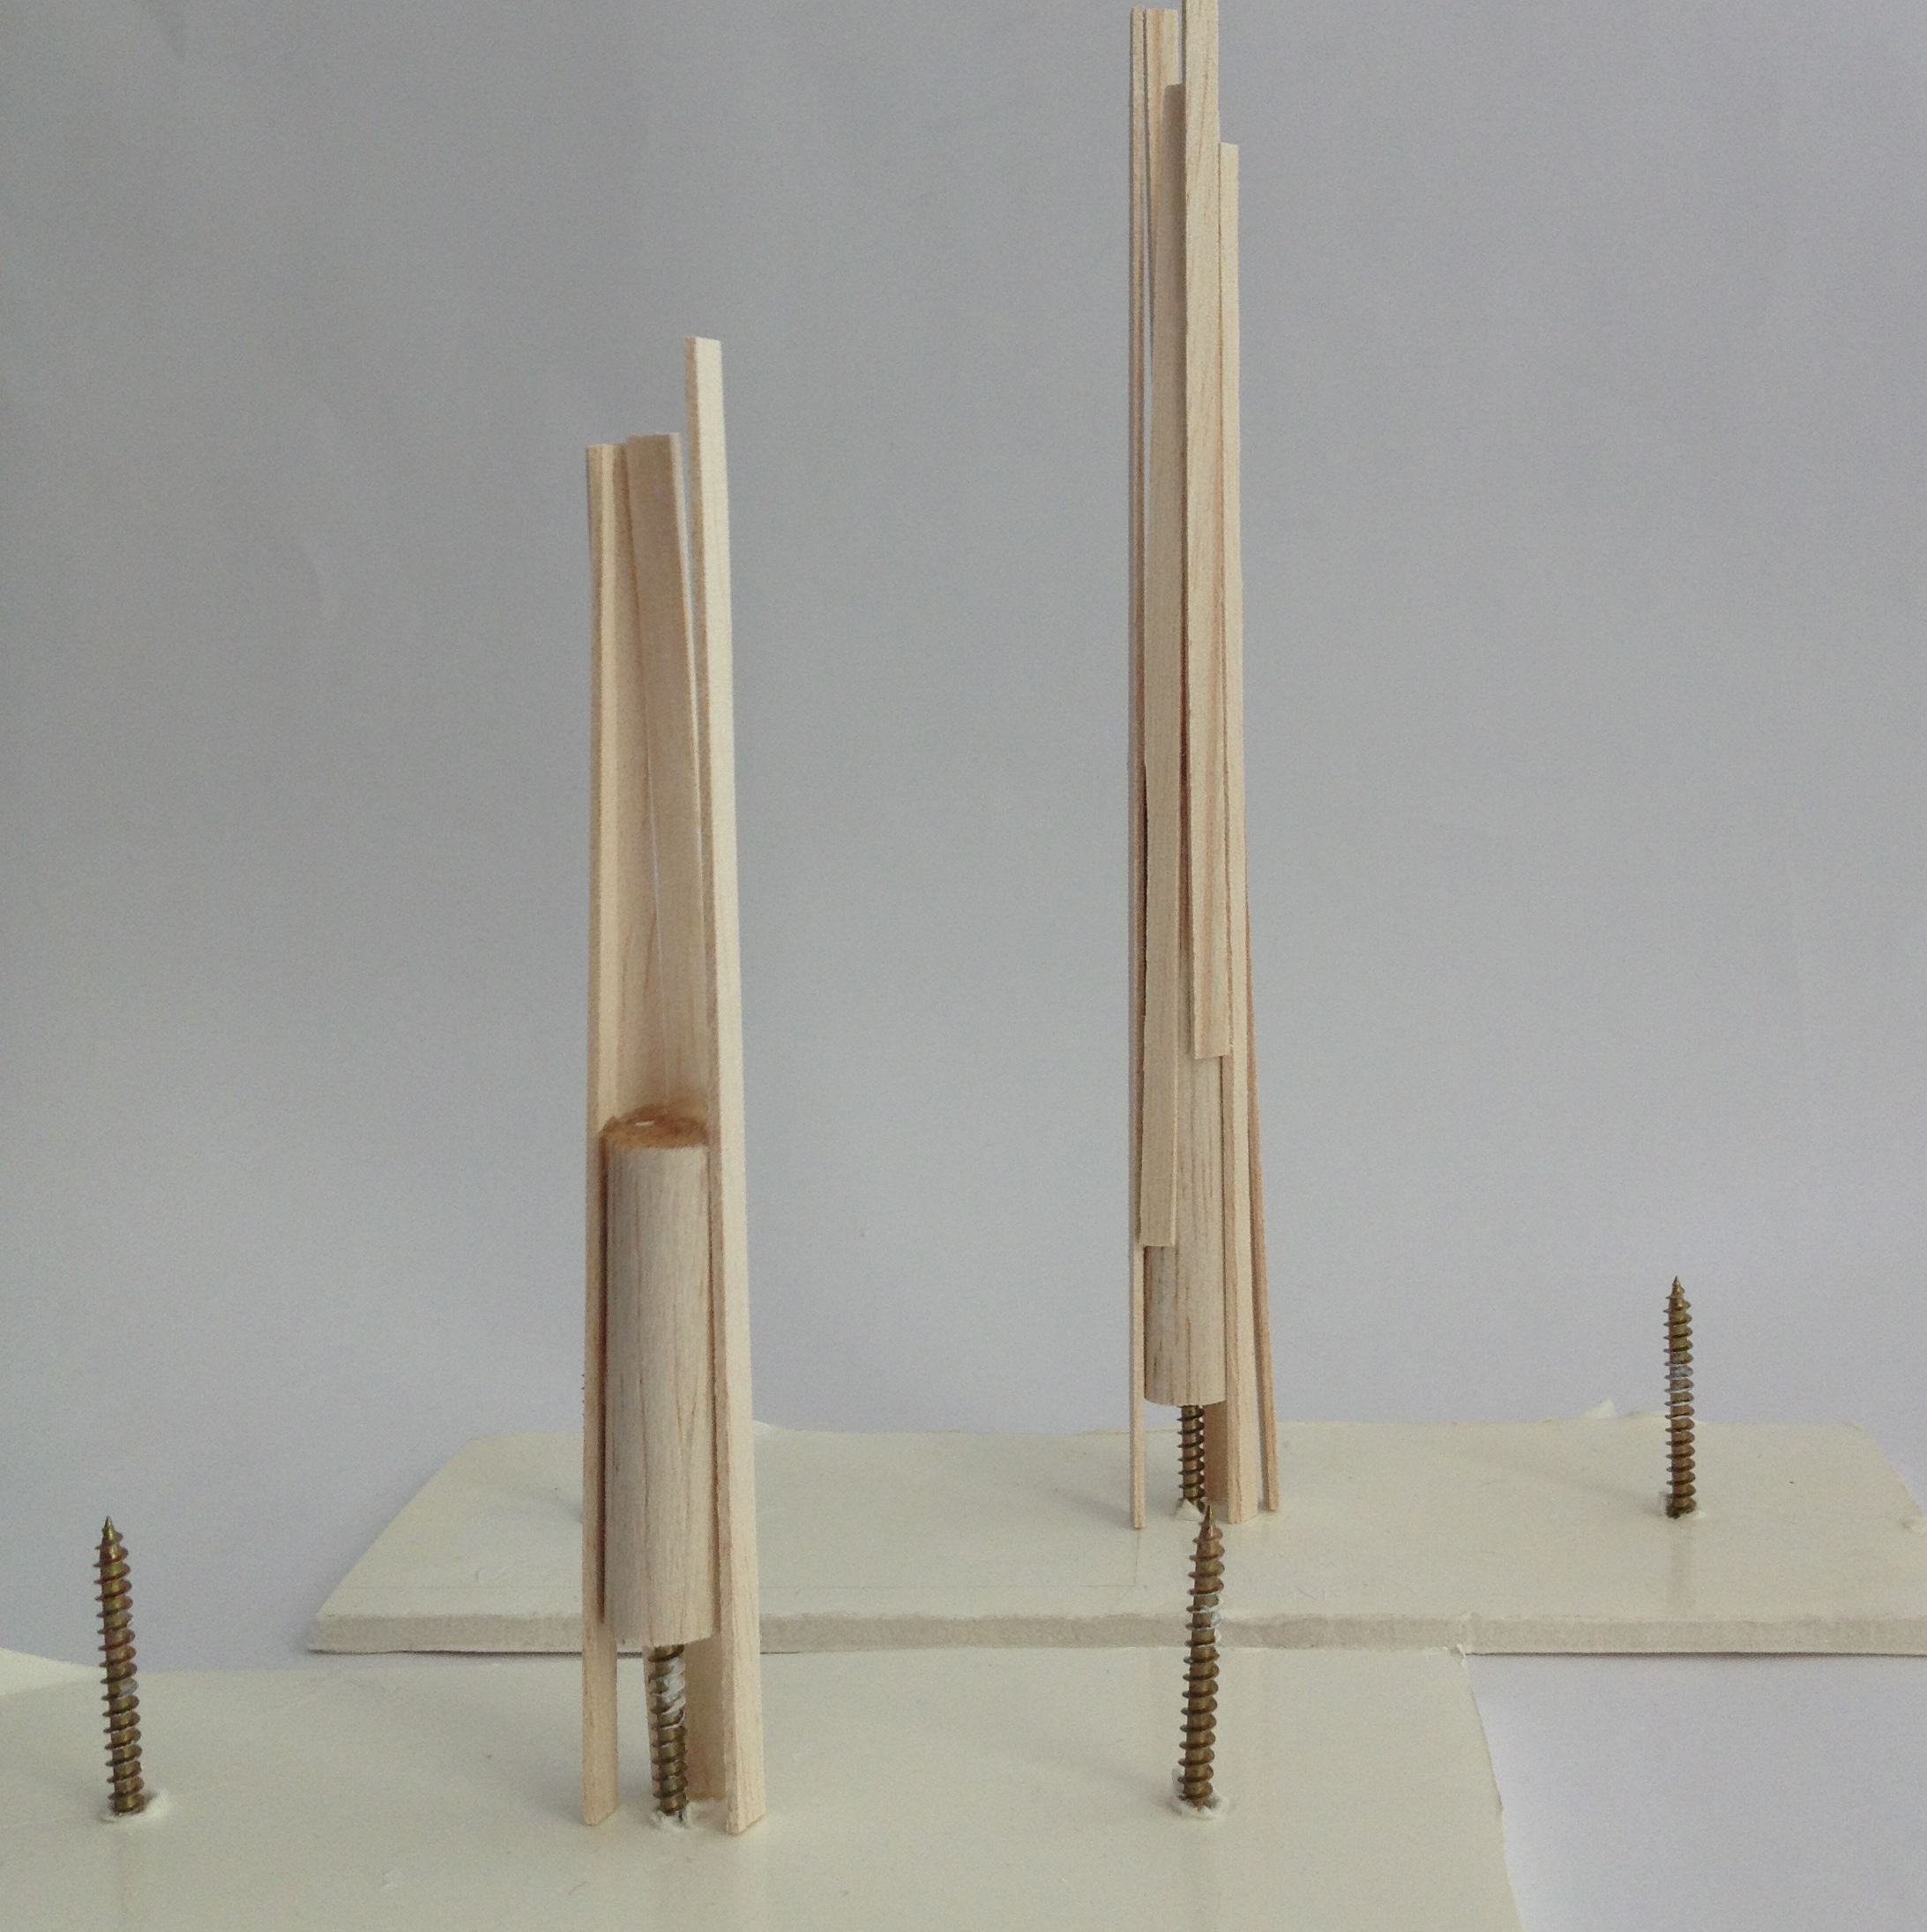
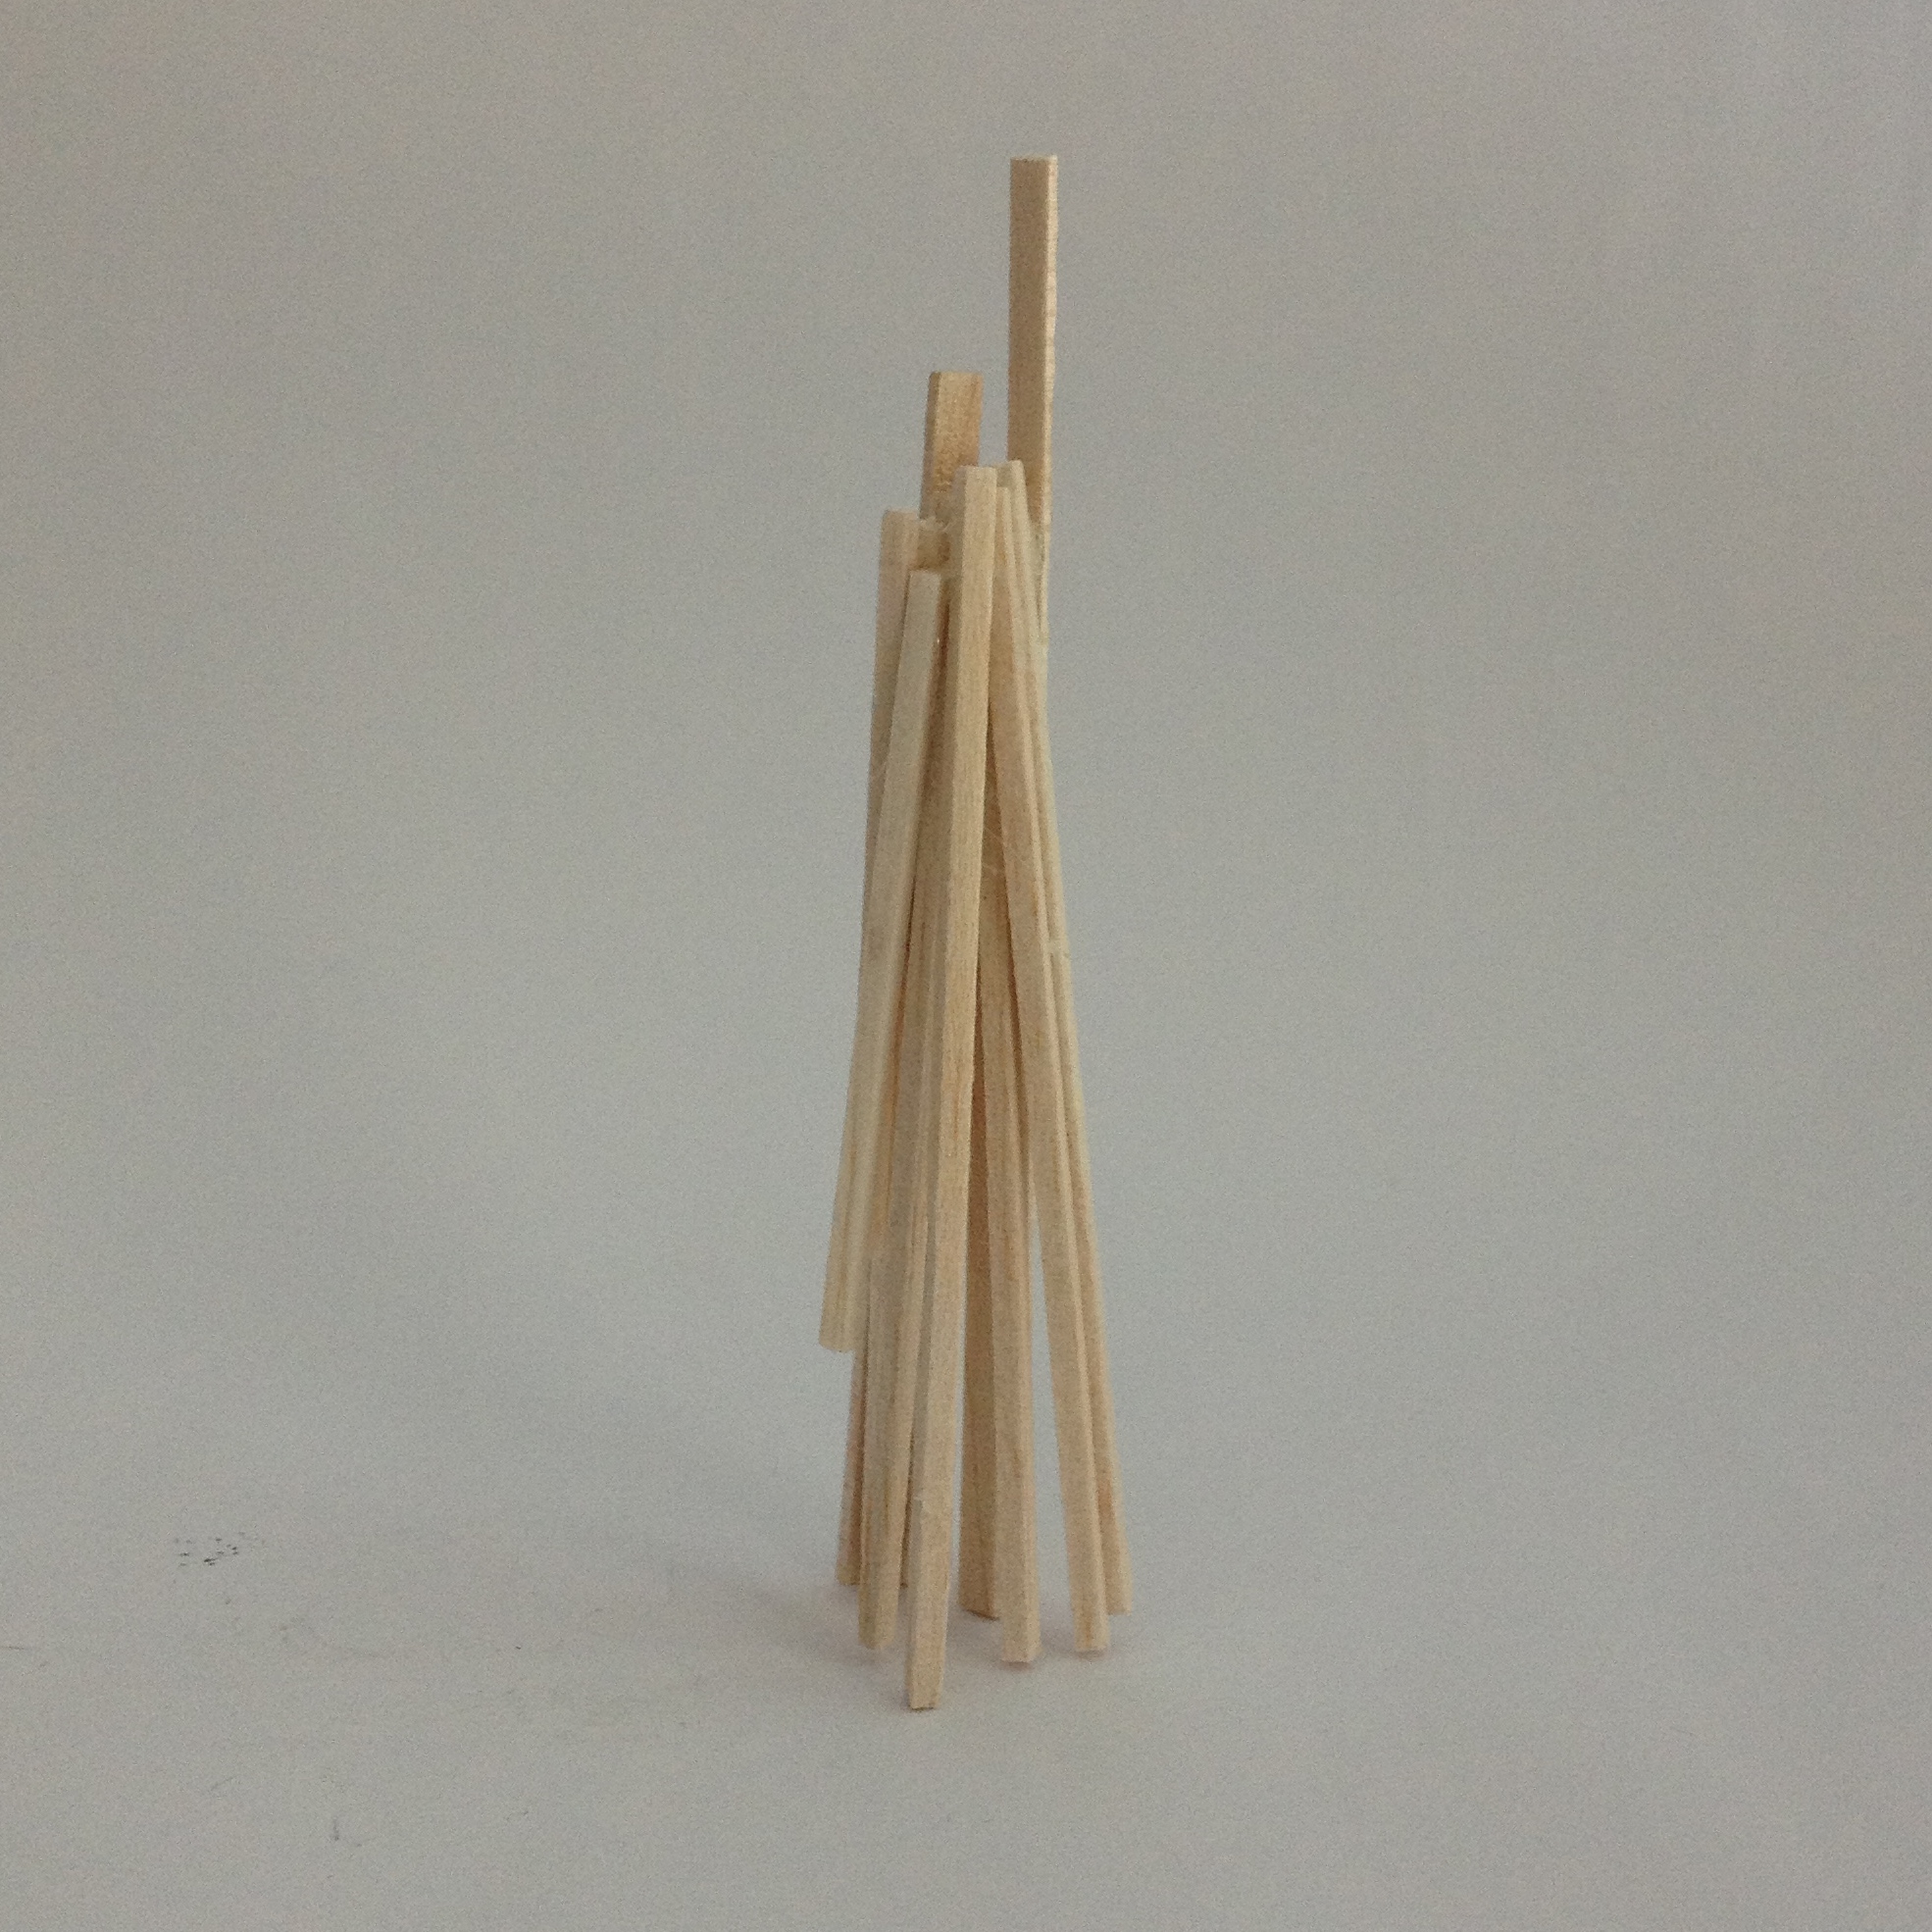
Then presto, assemble wee sculpture.
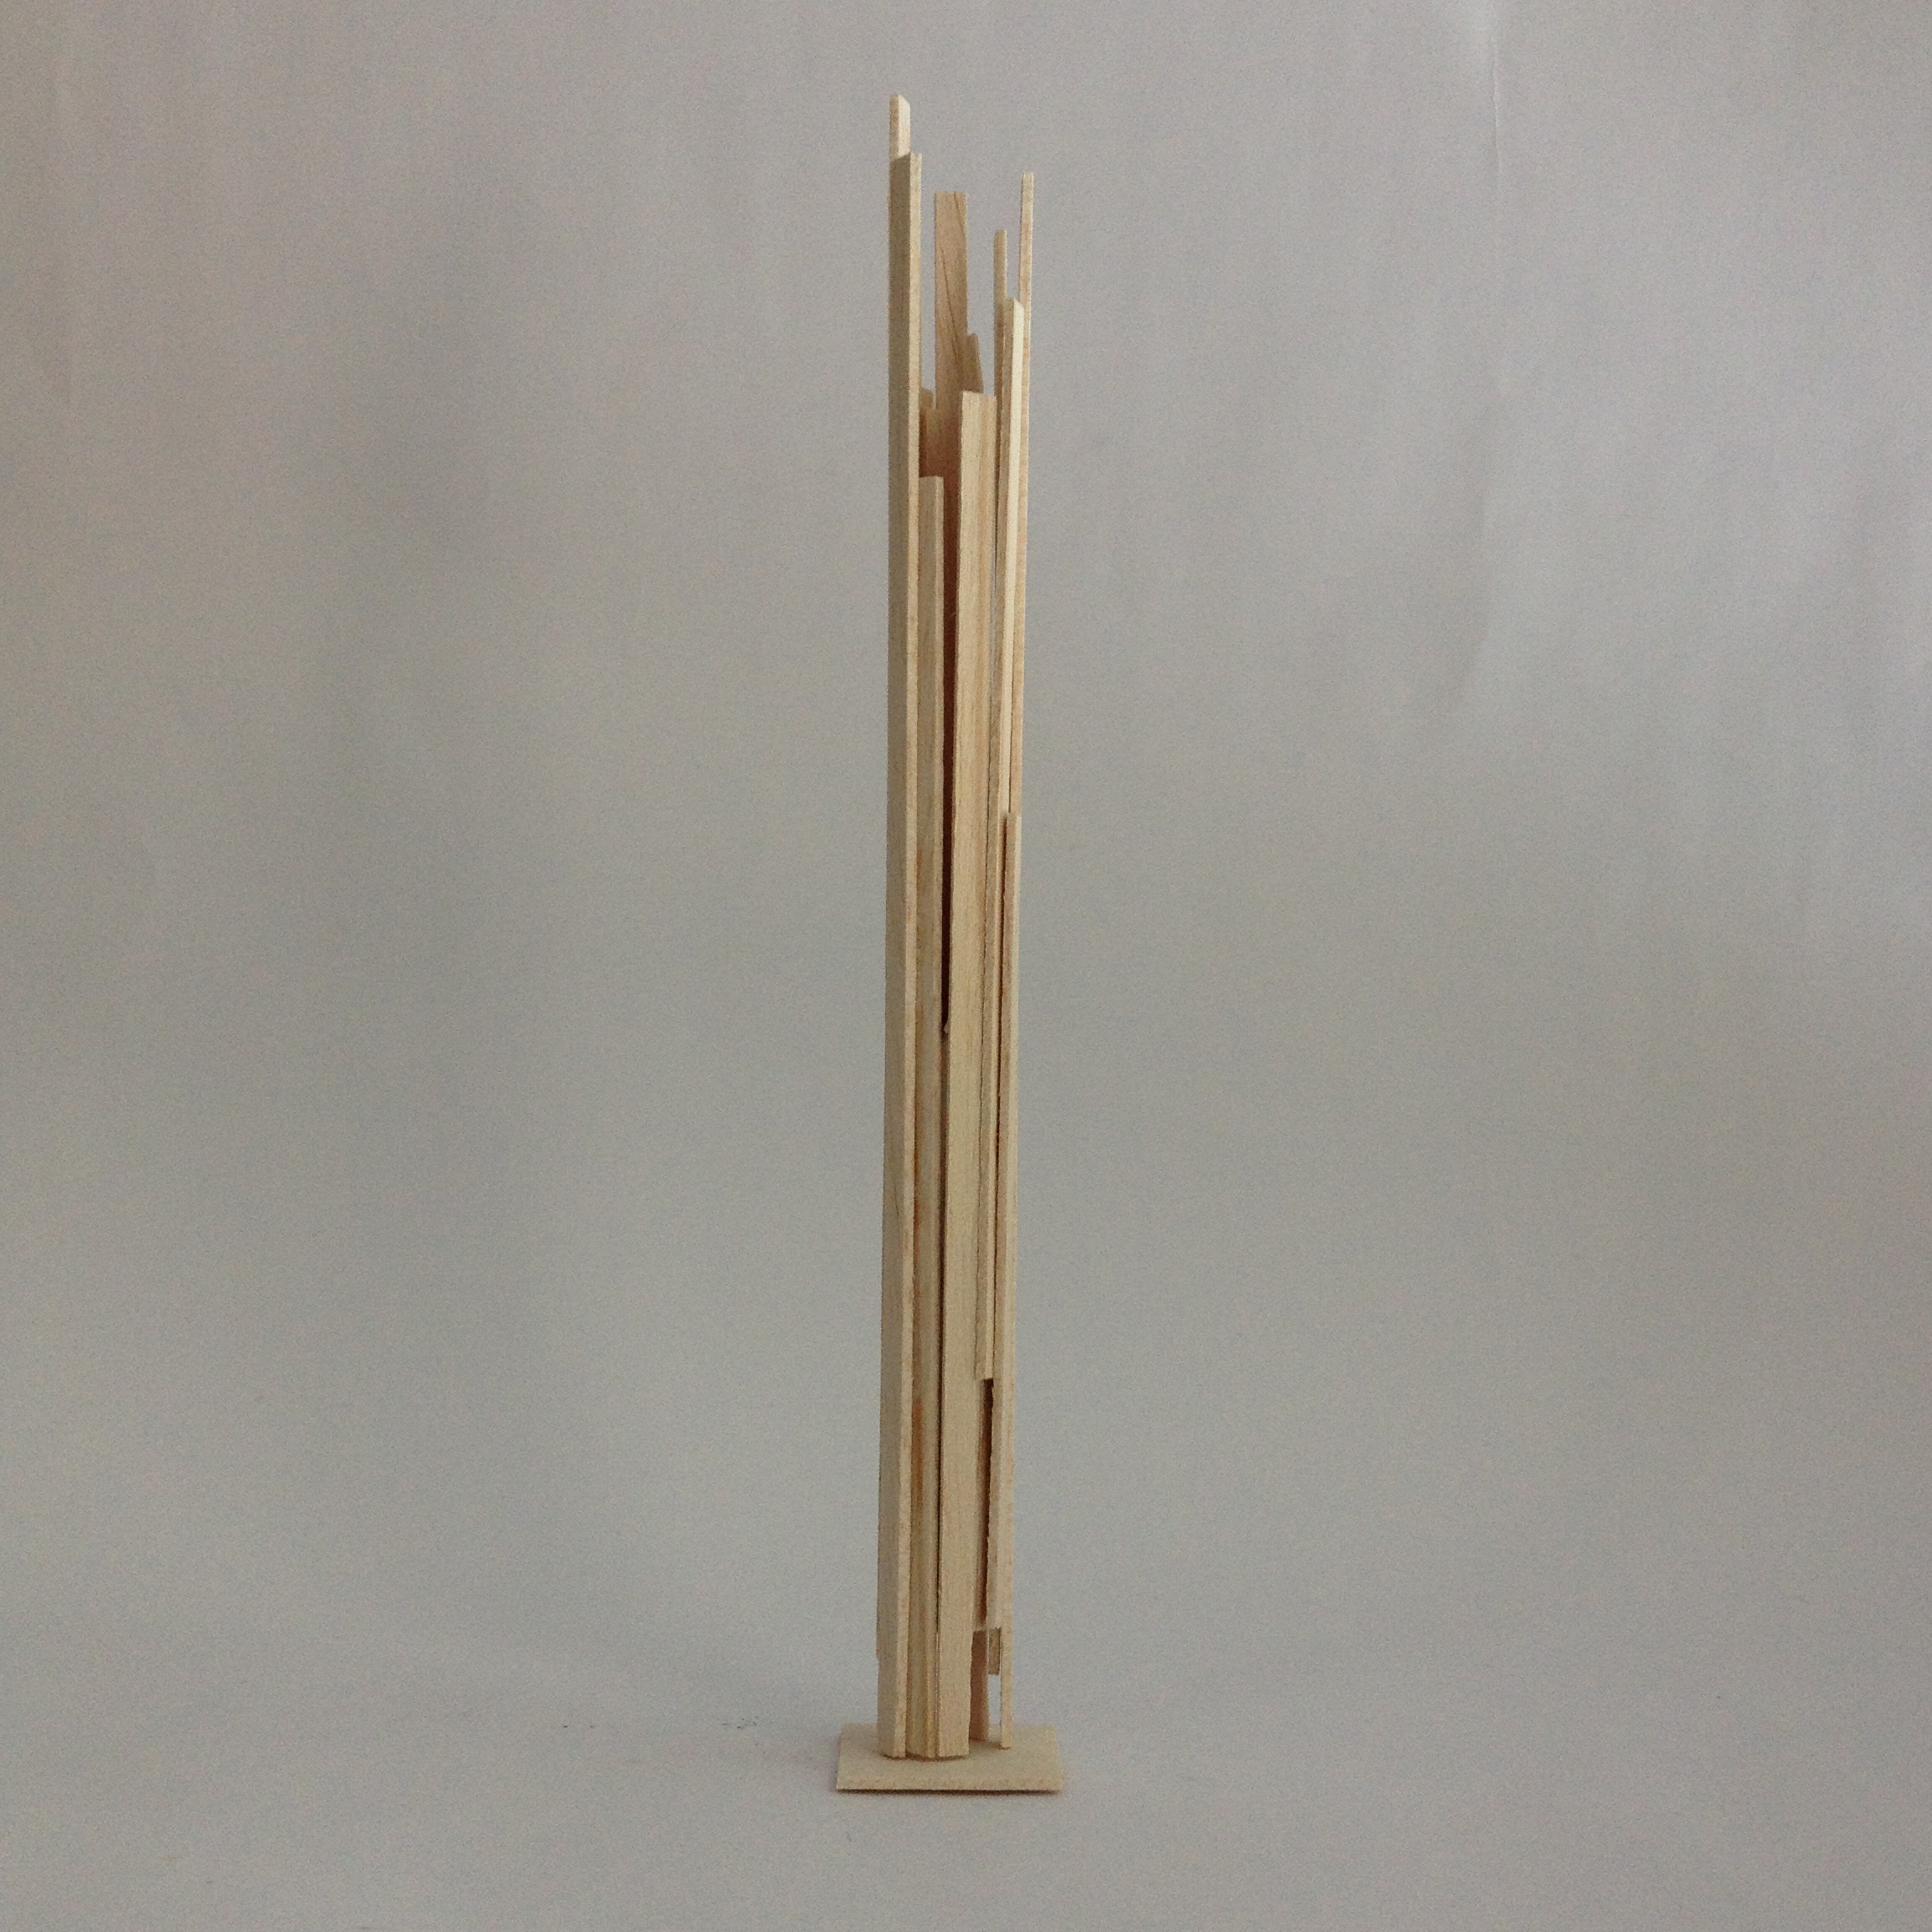
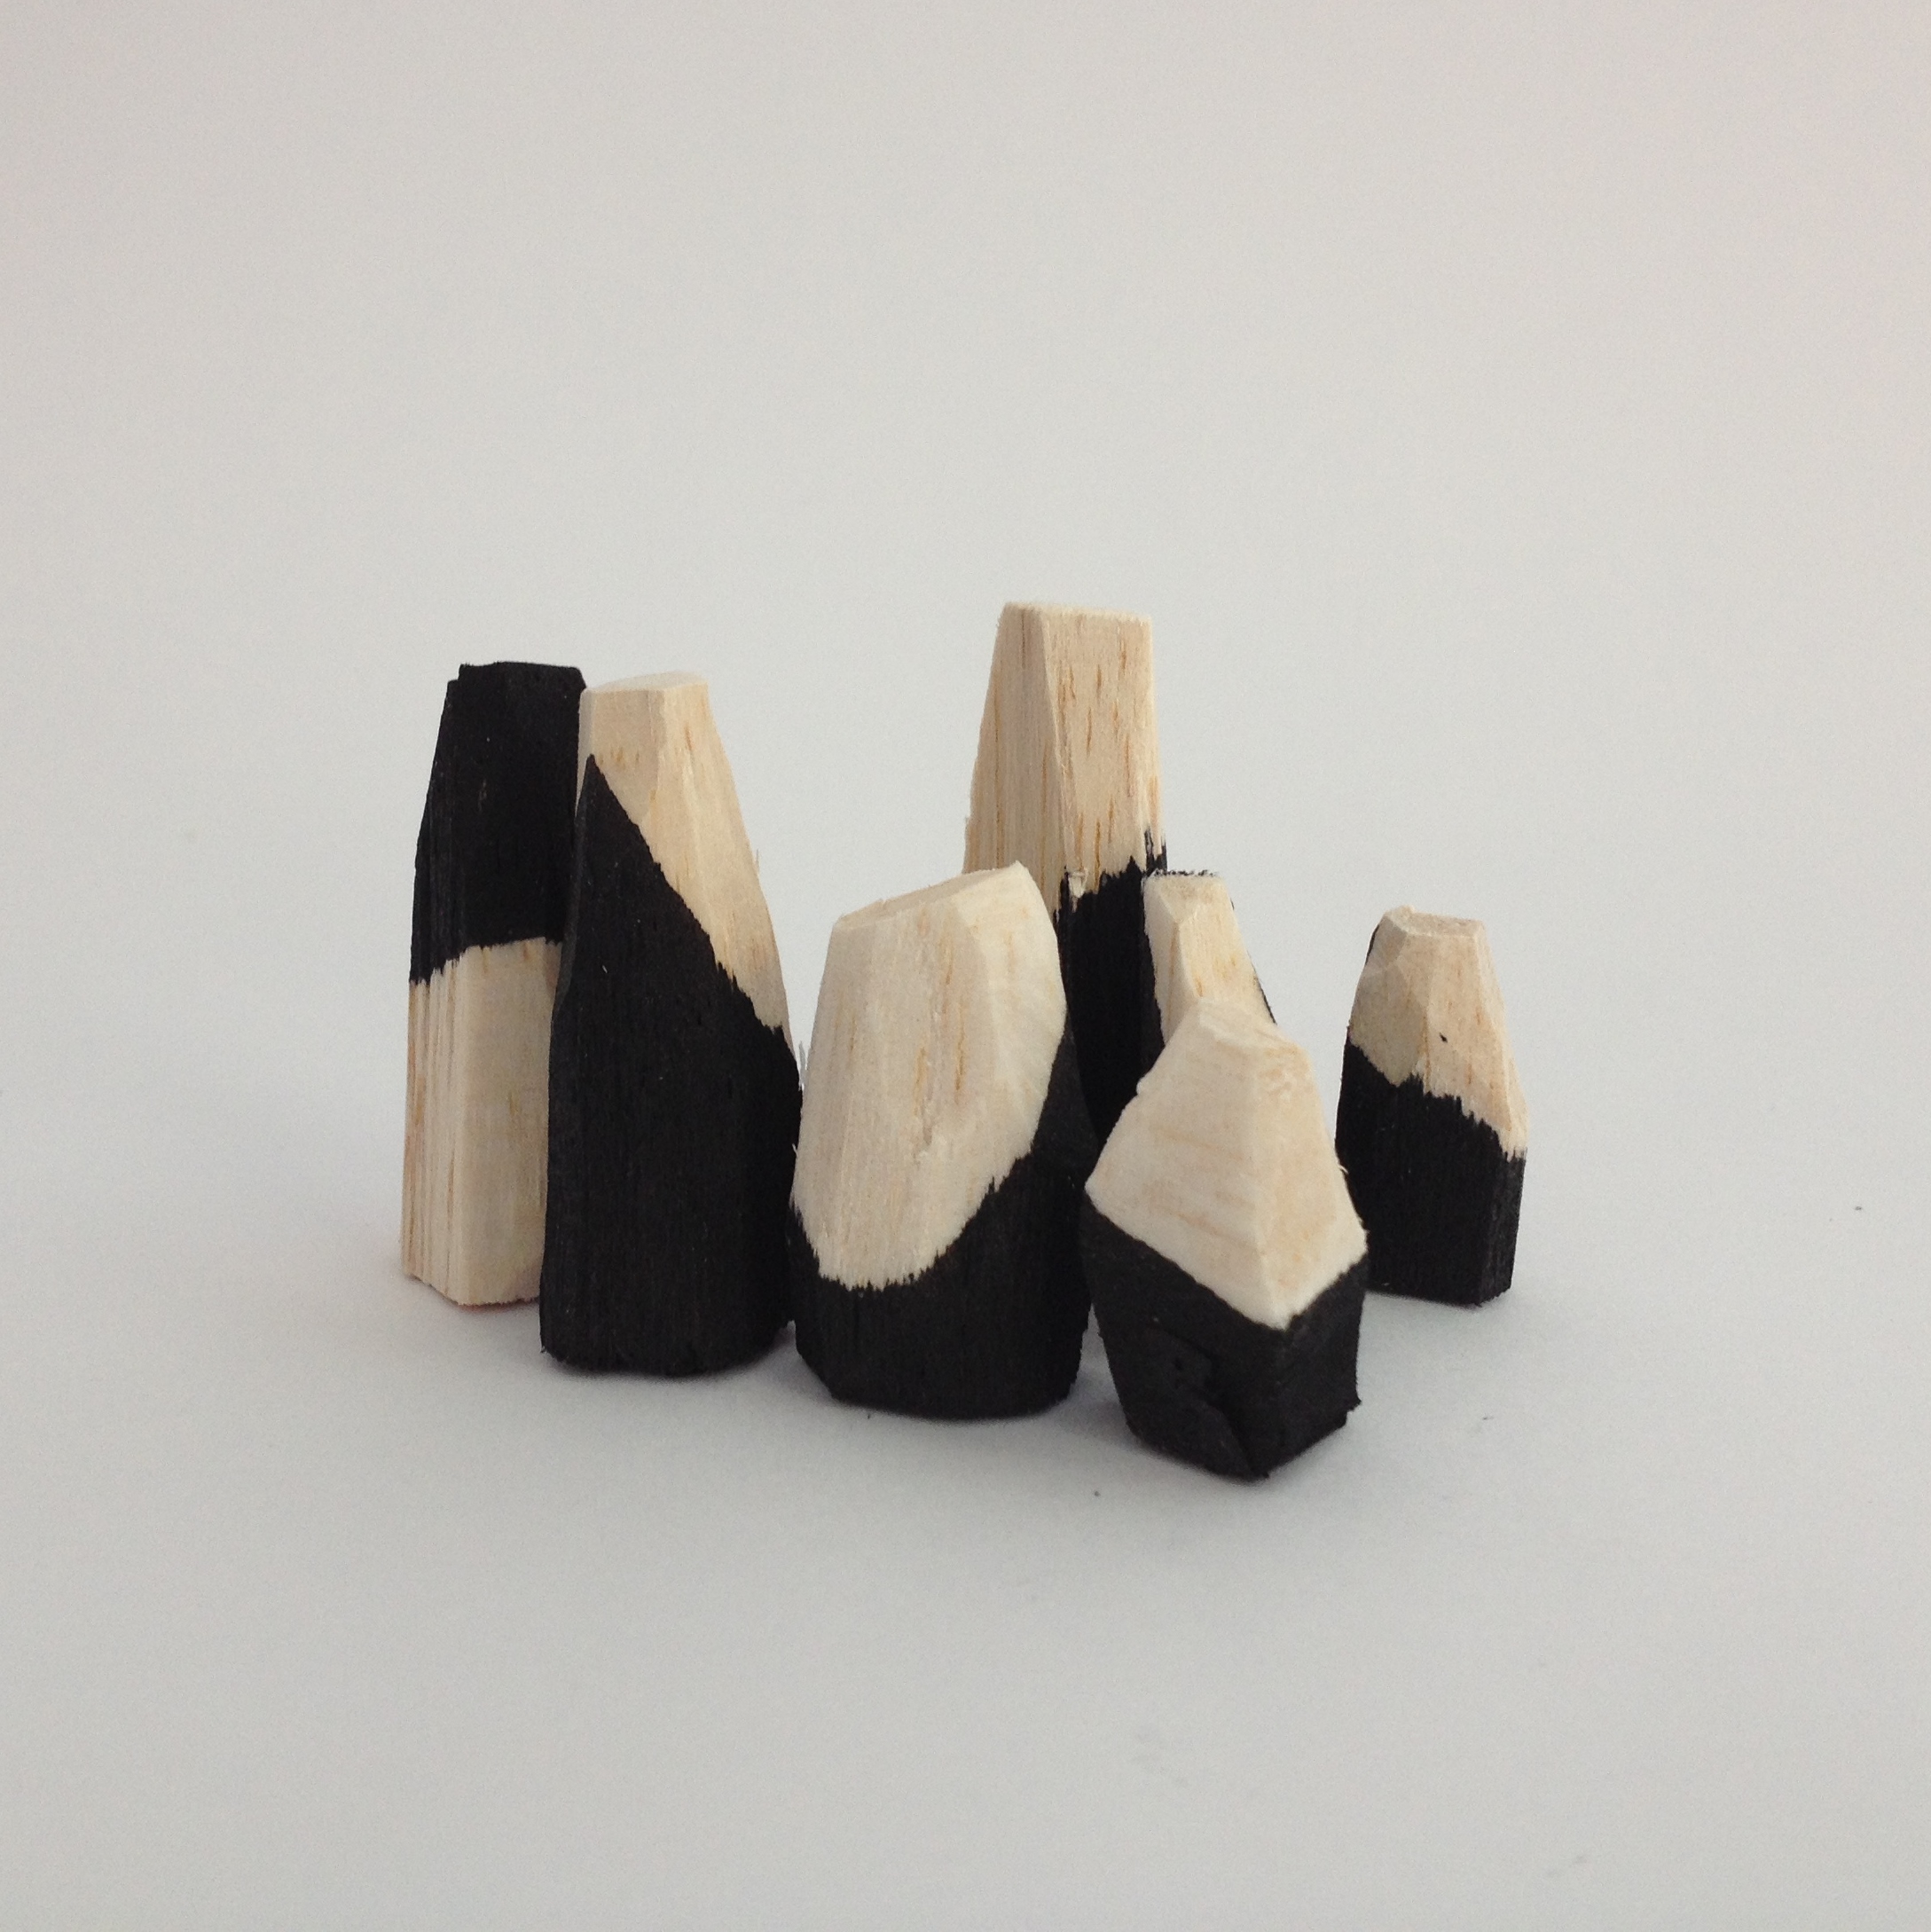
Like so, below, or find another simple yet cunning method of making these. The short length of dowel, fixed atop a screw & poked through foam core board worked pretty well, fyi, but the cotton reel is much more stable as the base is broader, duh. The one shown here had been painted black once upon a time for something or other which bothers me not as I'll probably be painting this one when assembled, see how it goes.
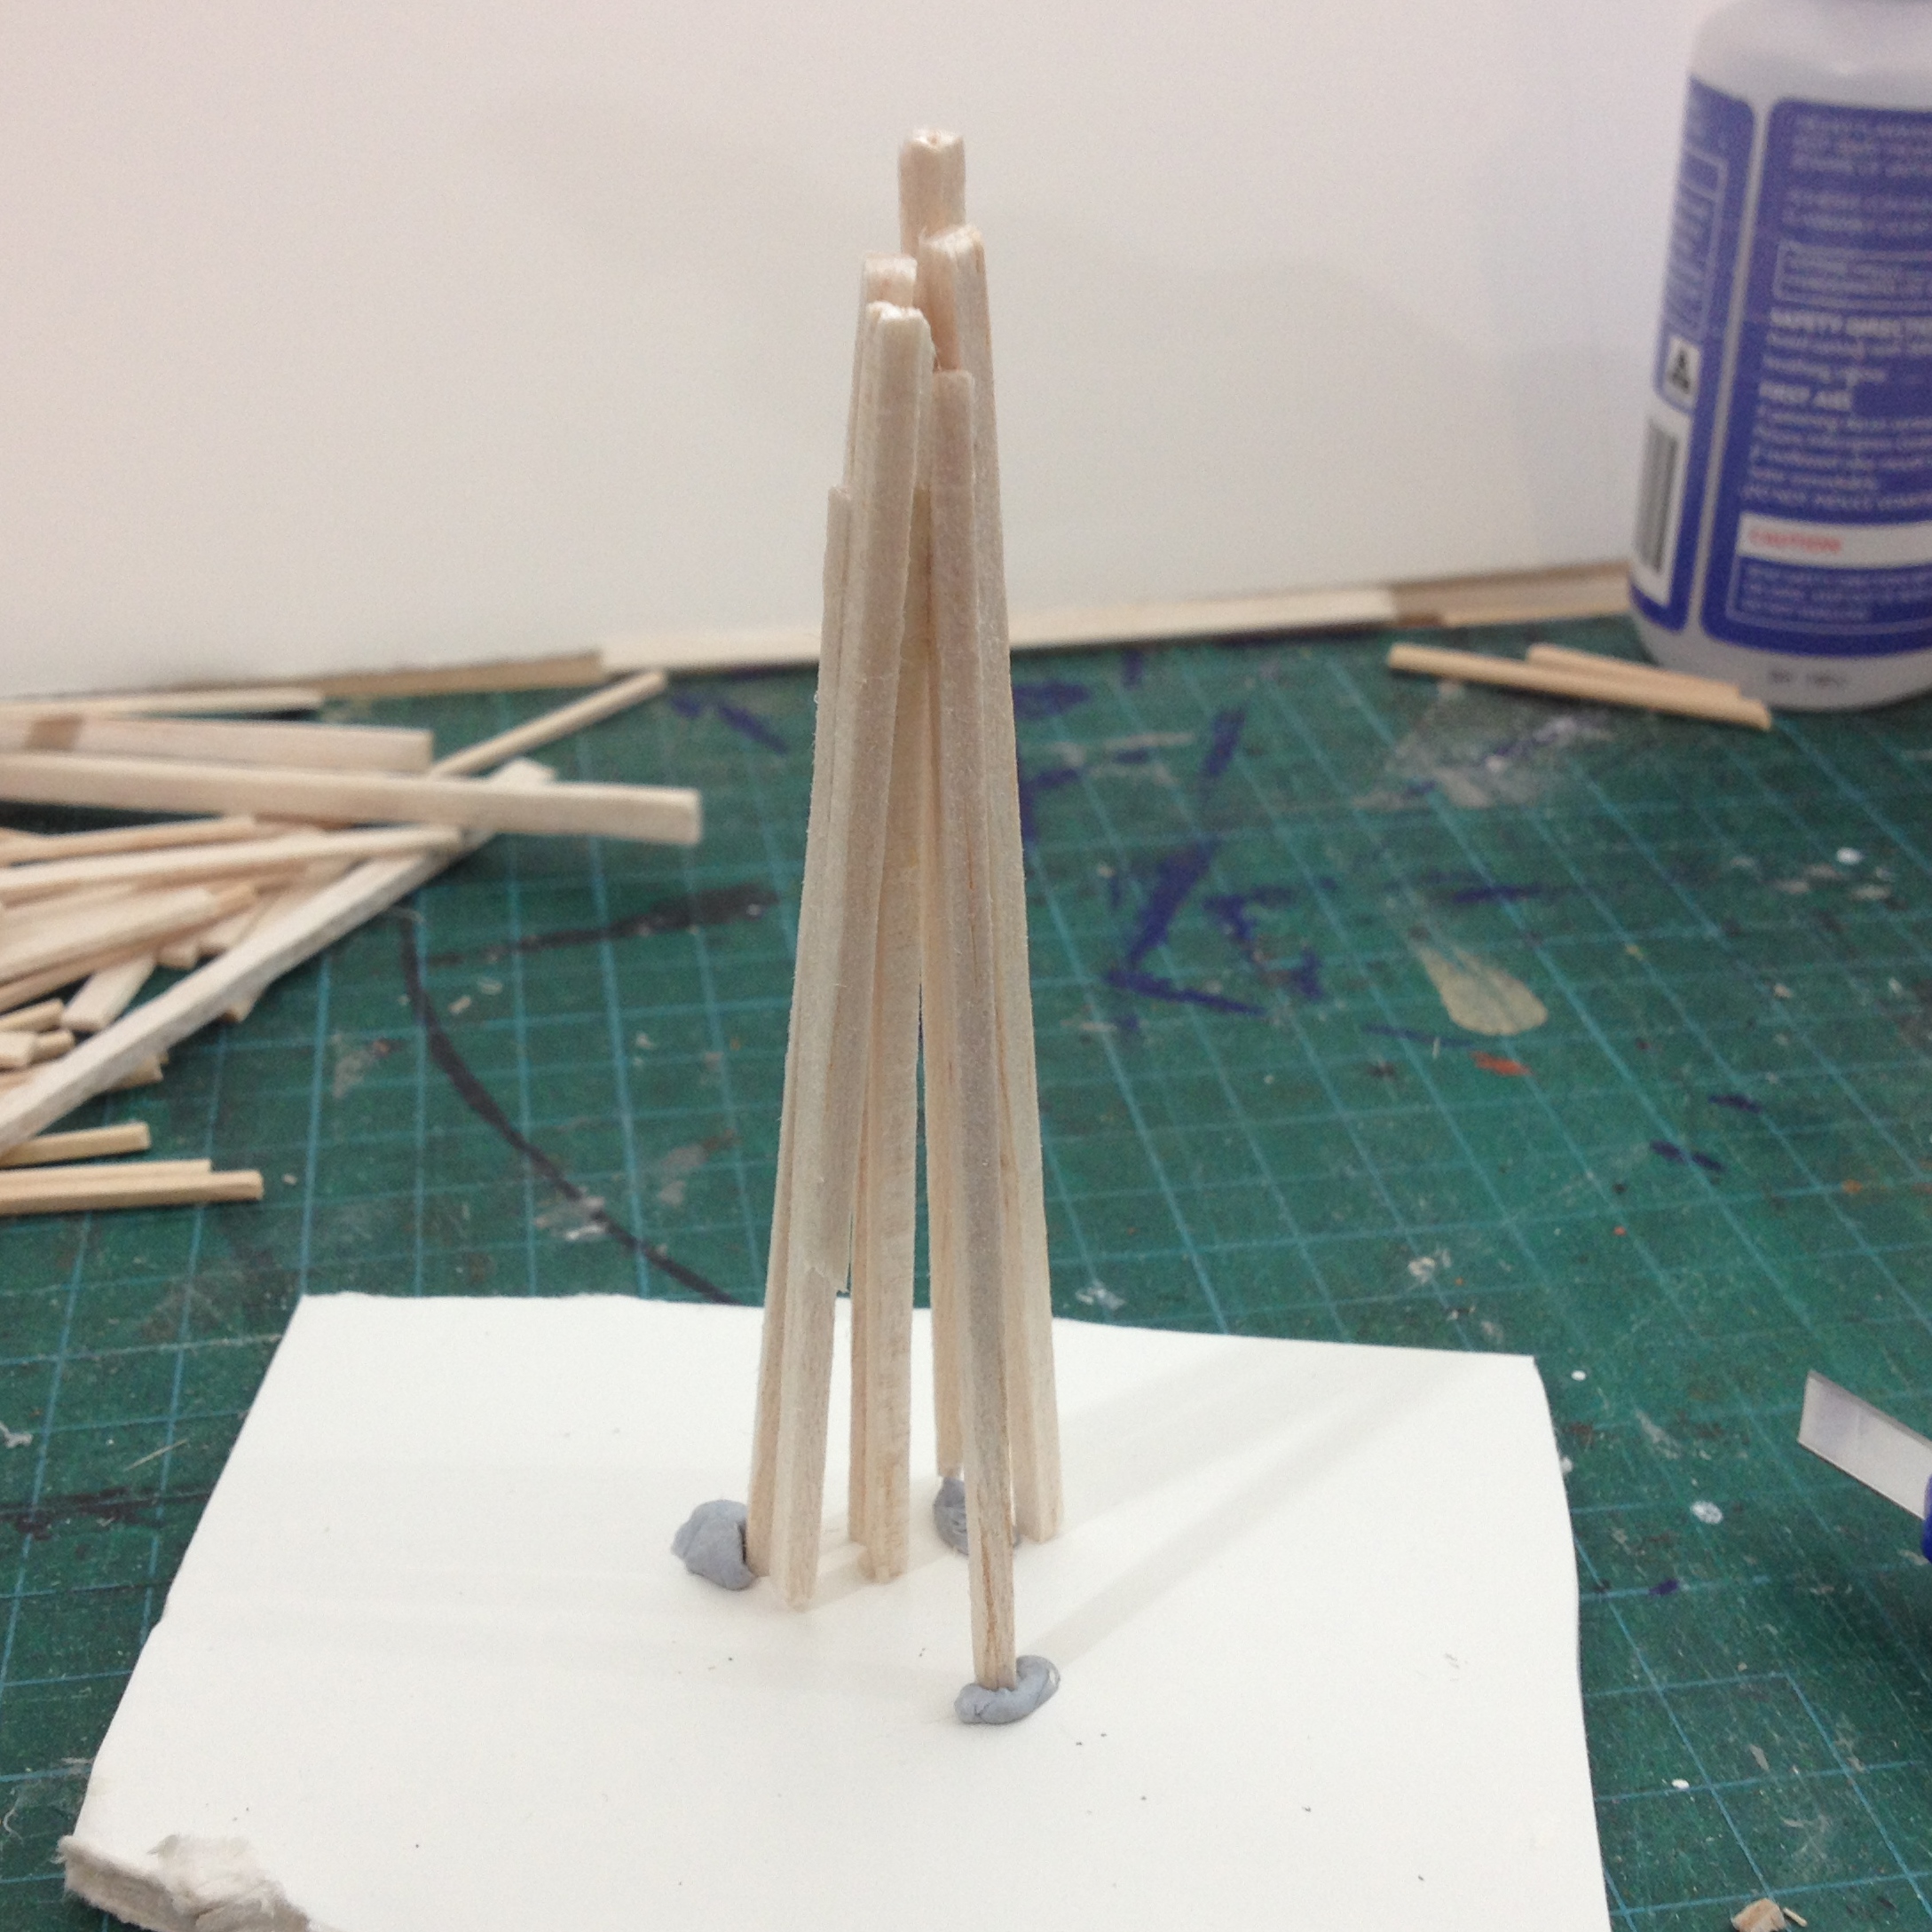
This one, not happy.
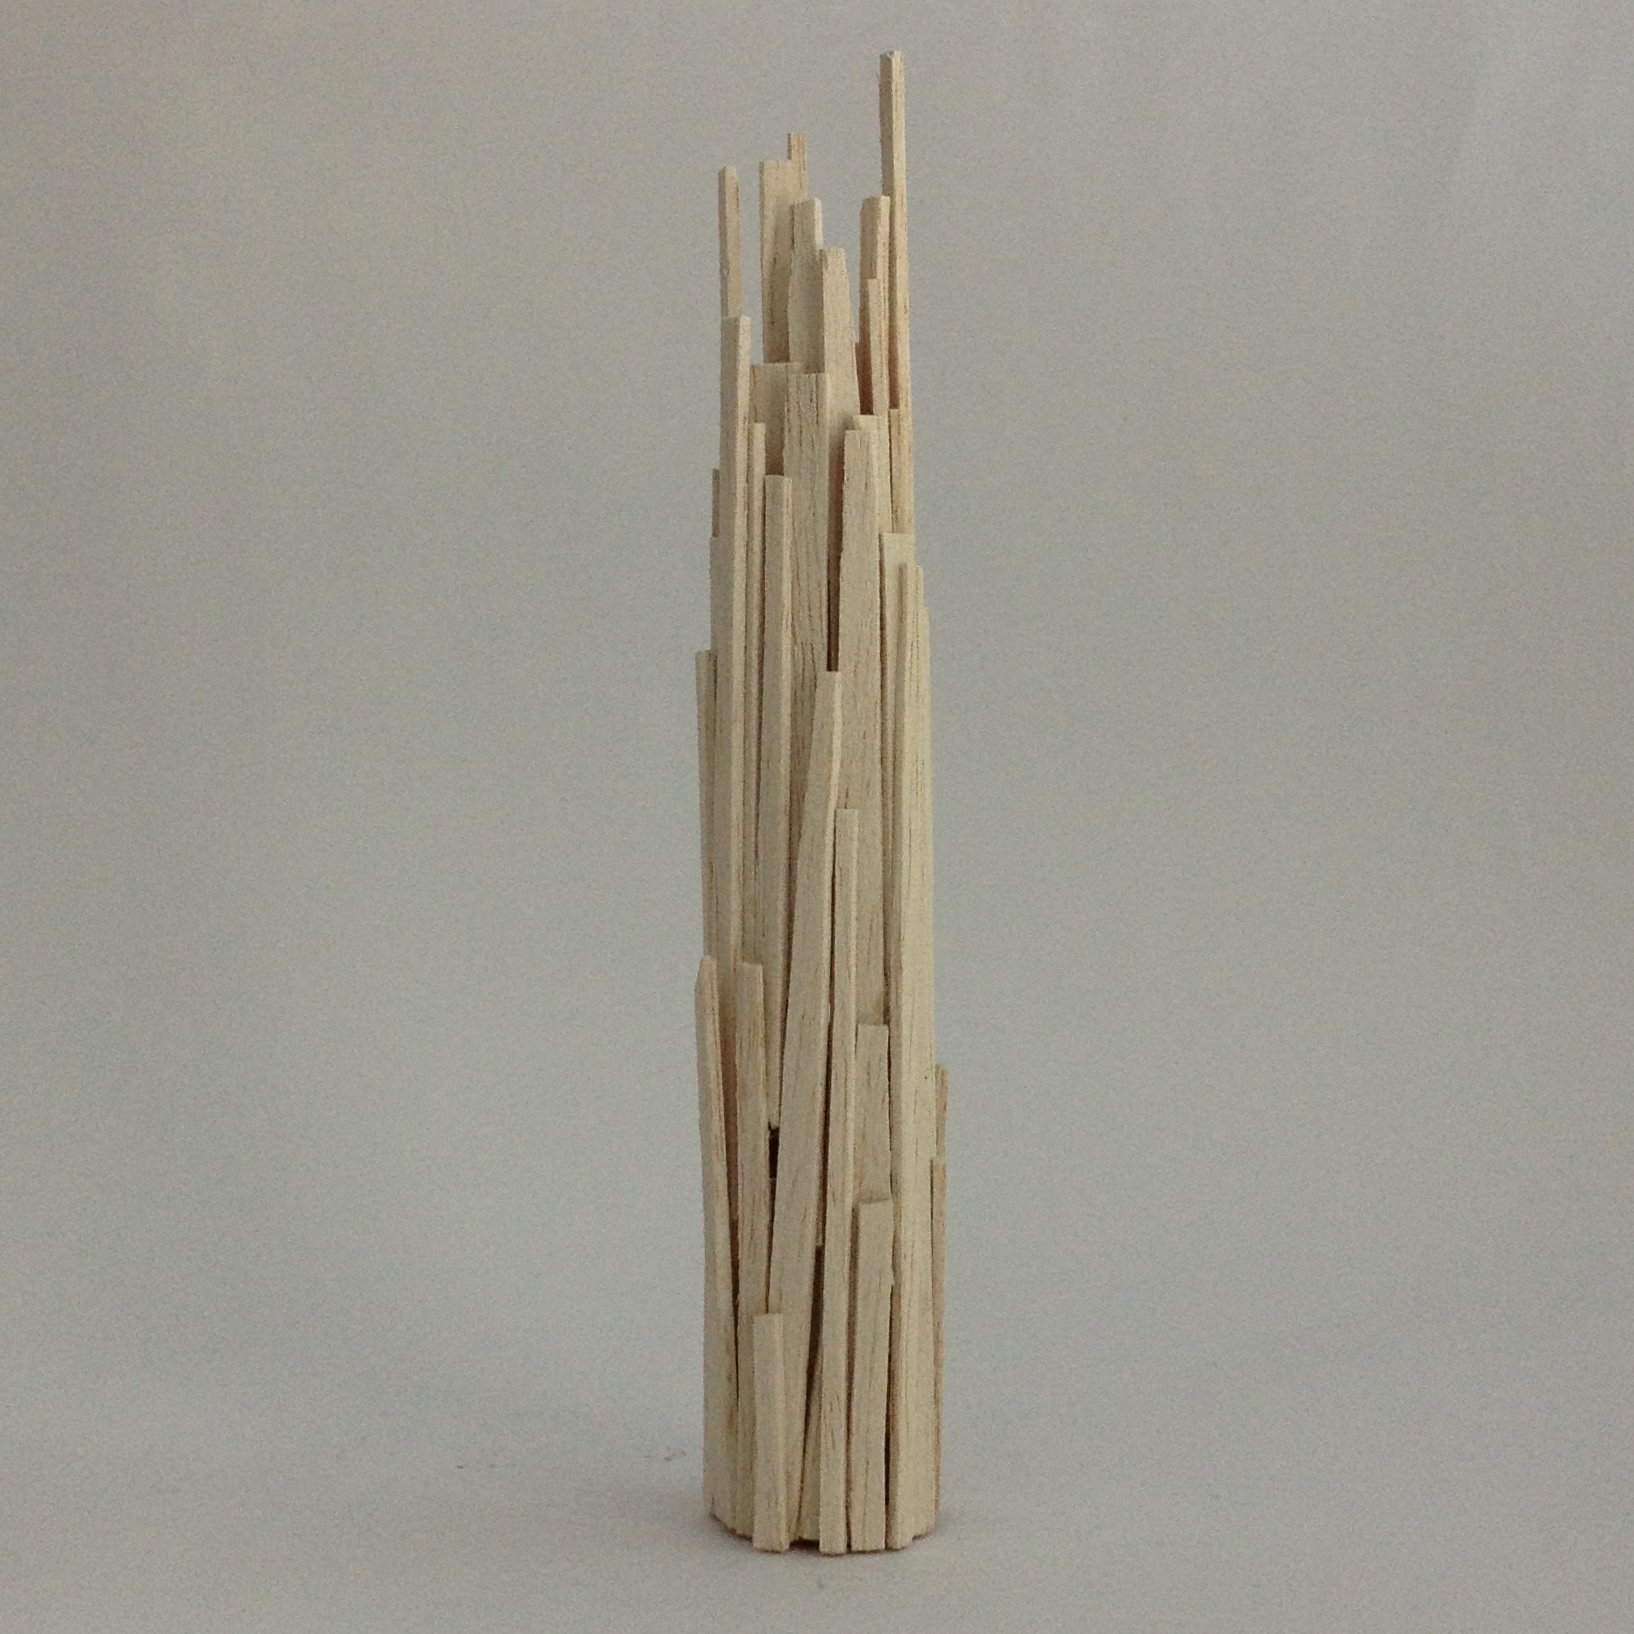
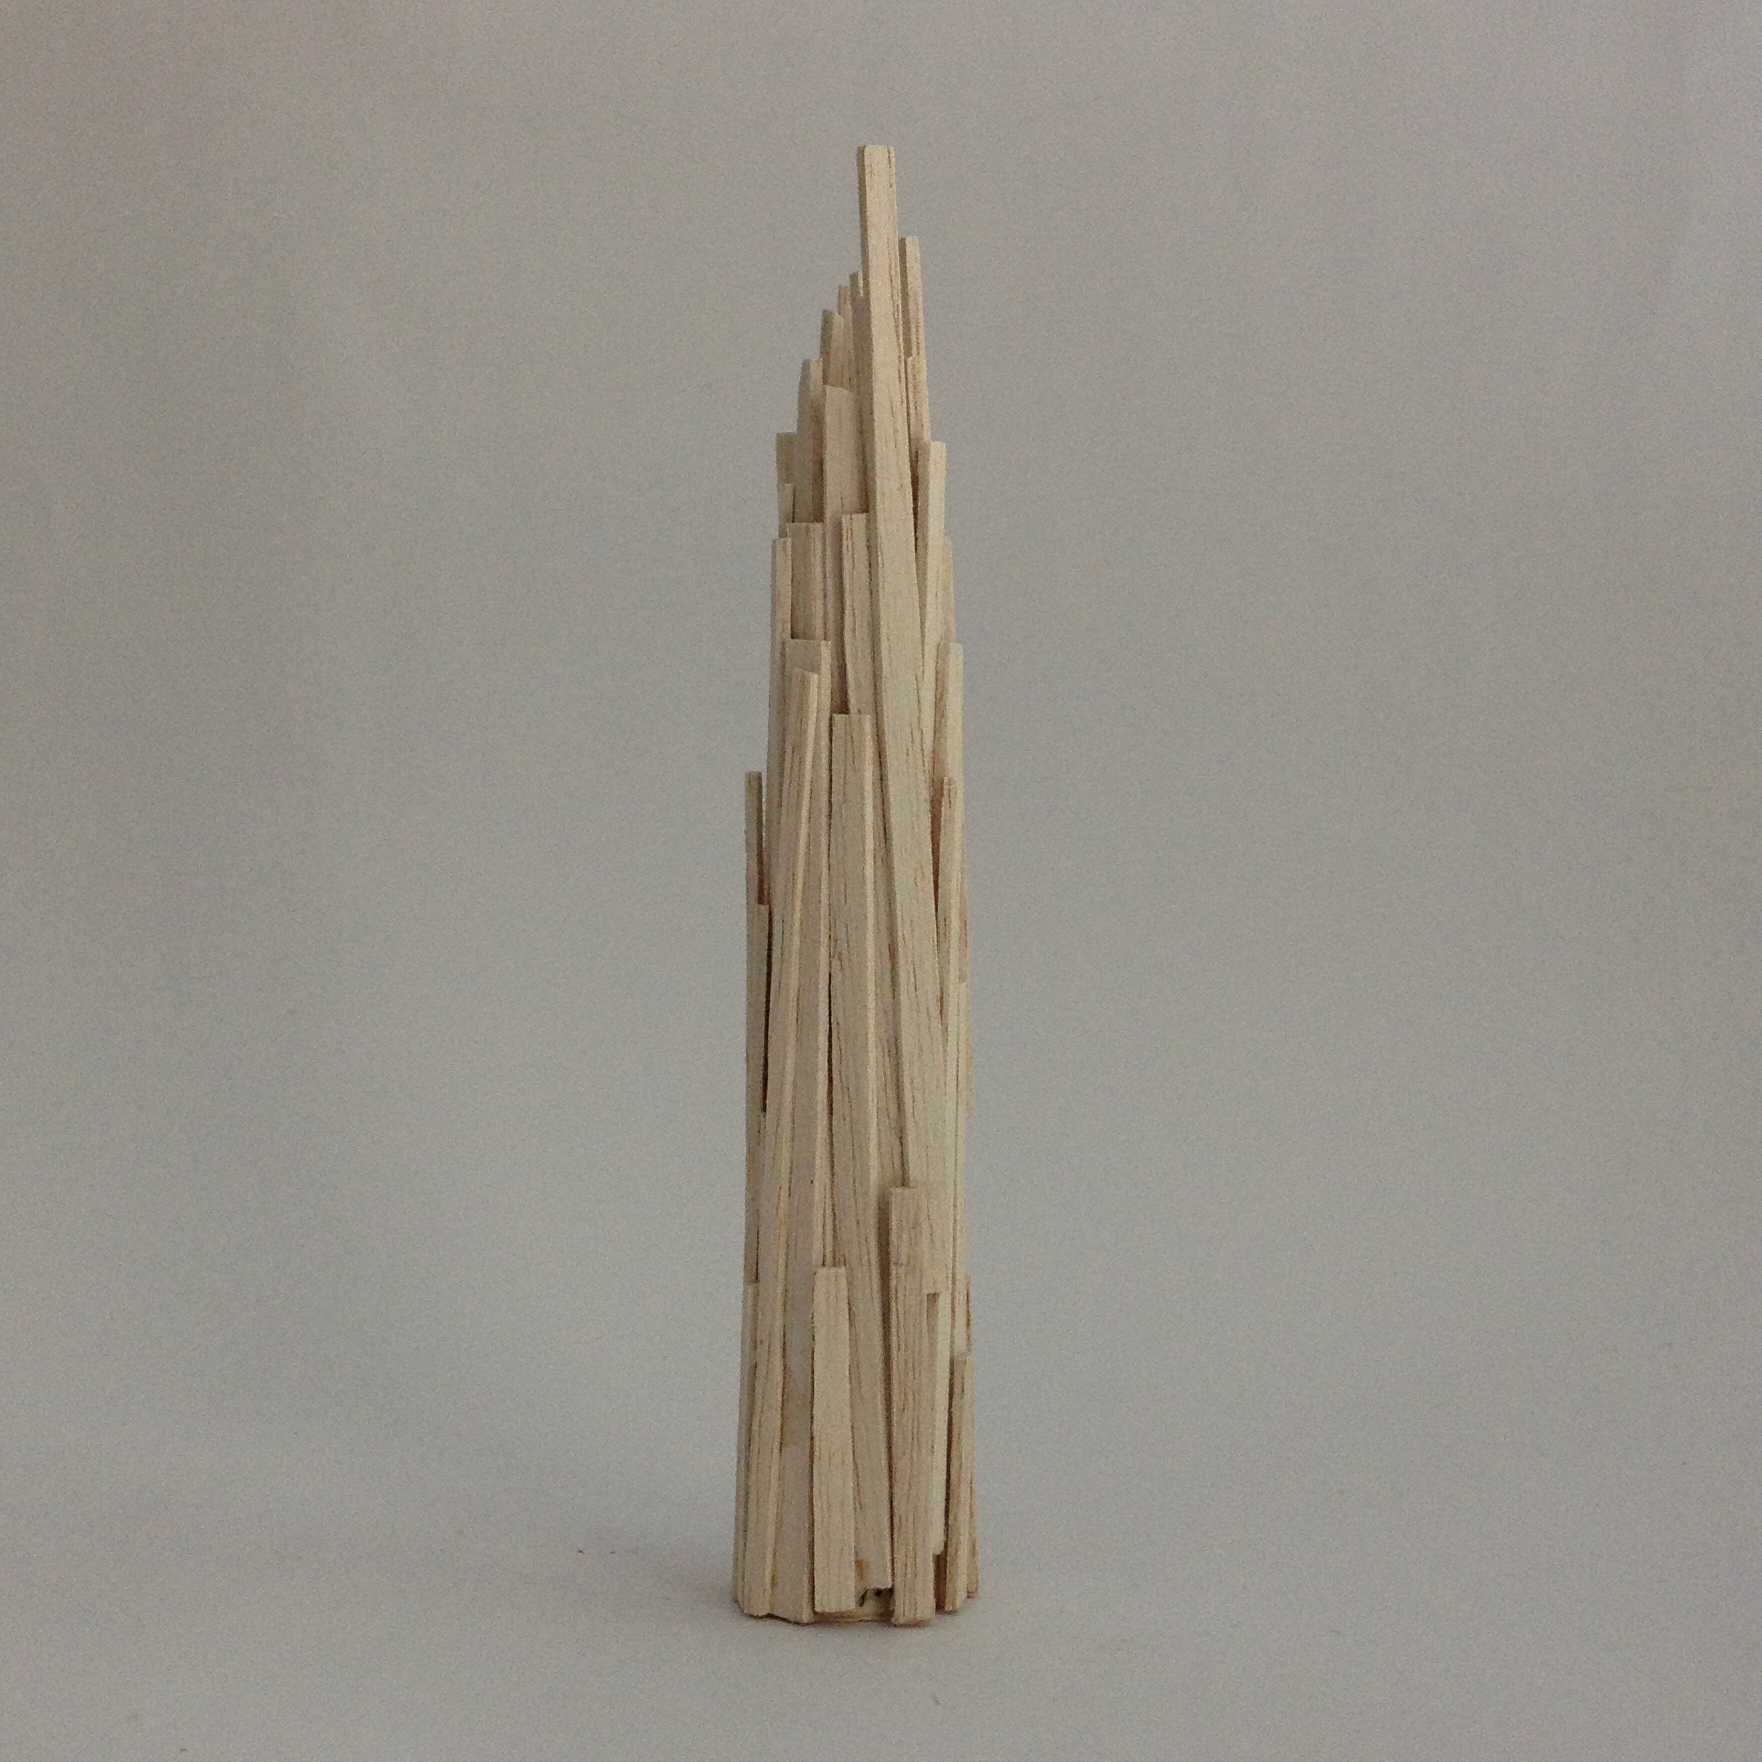
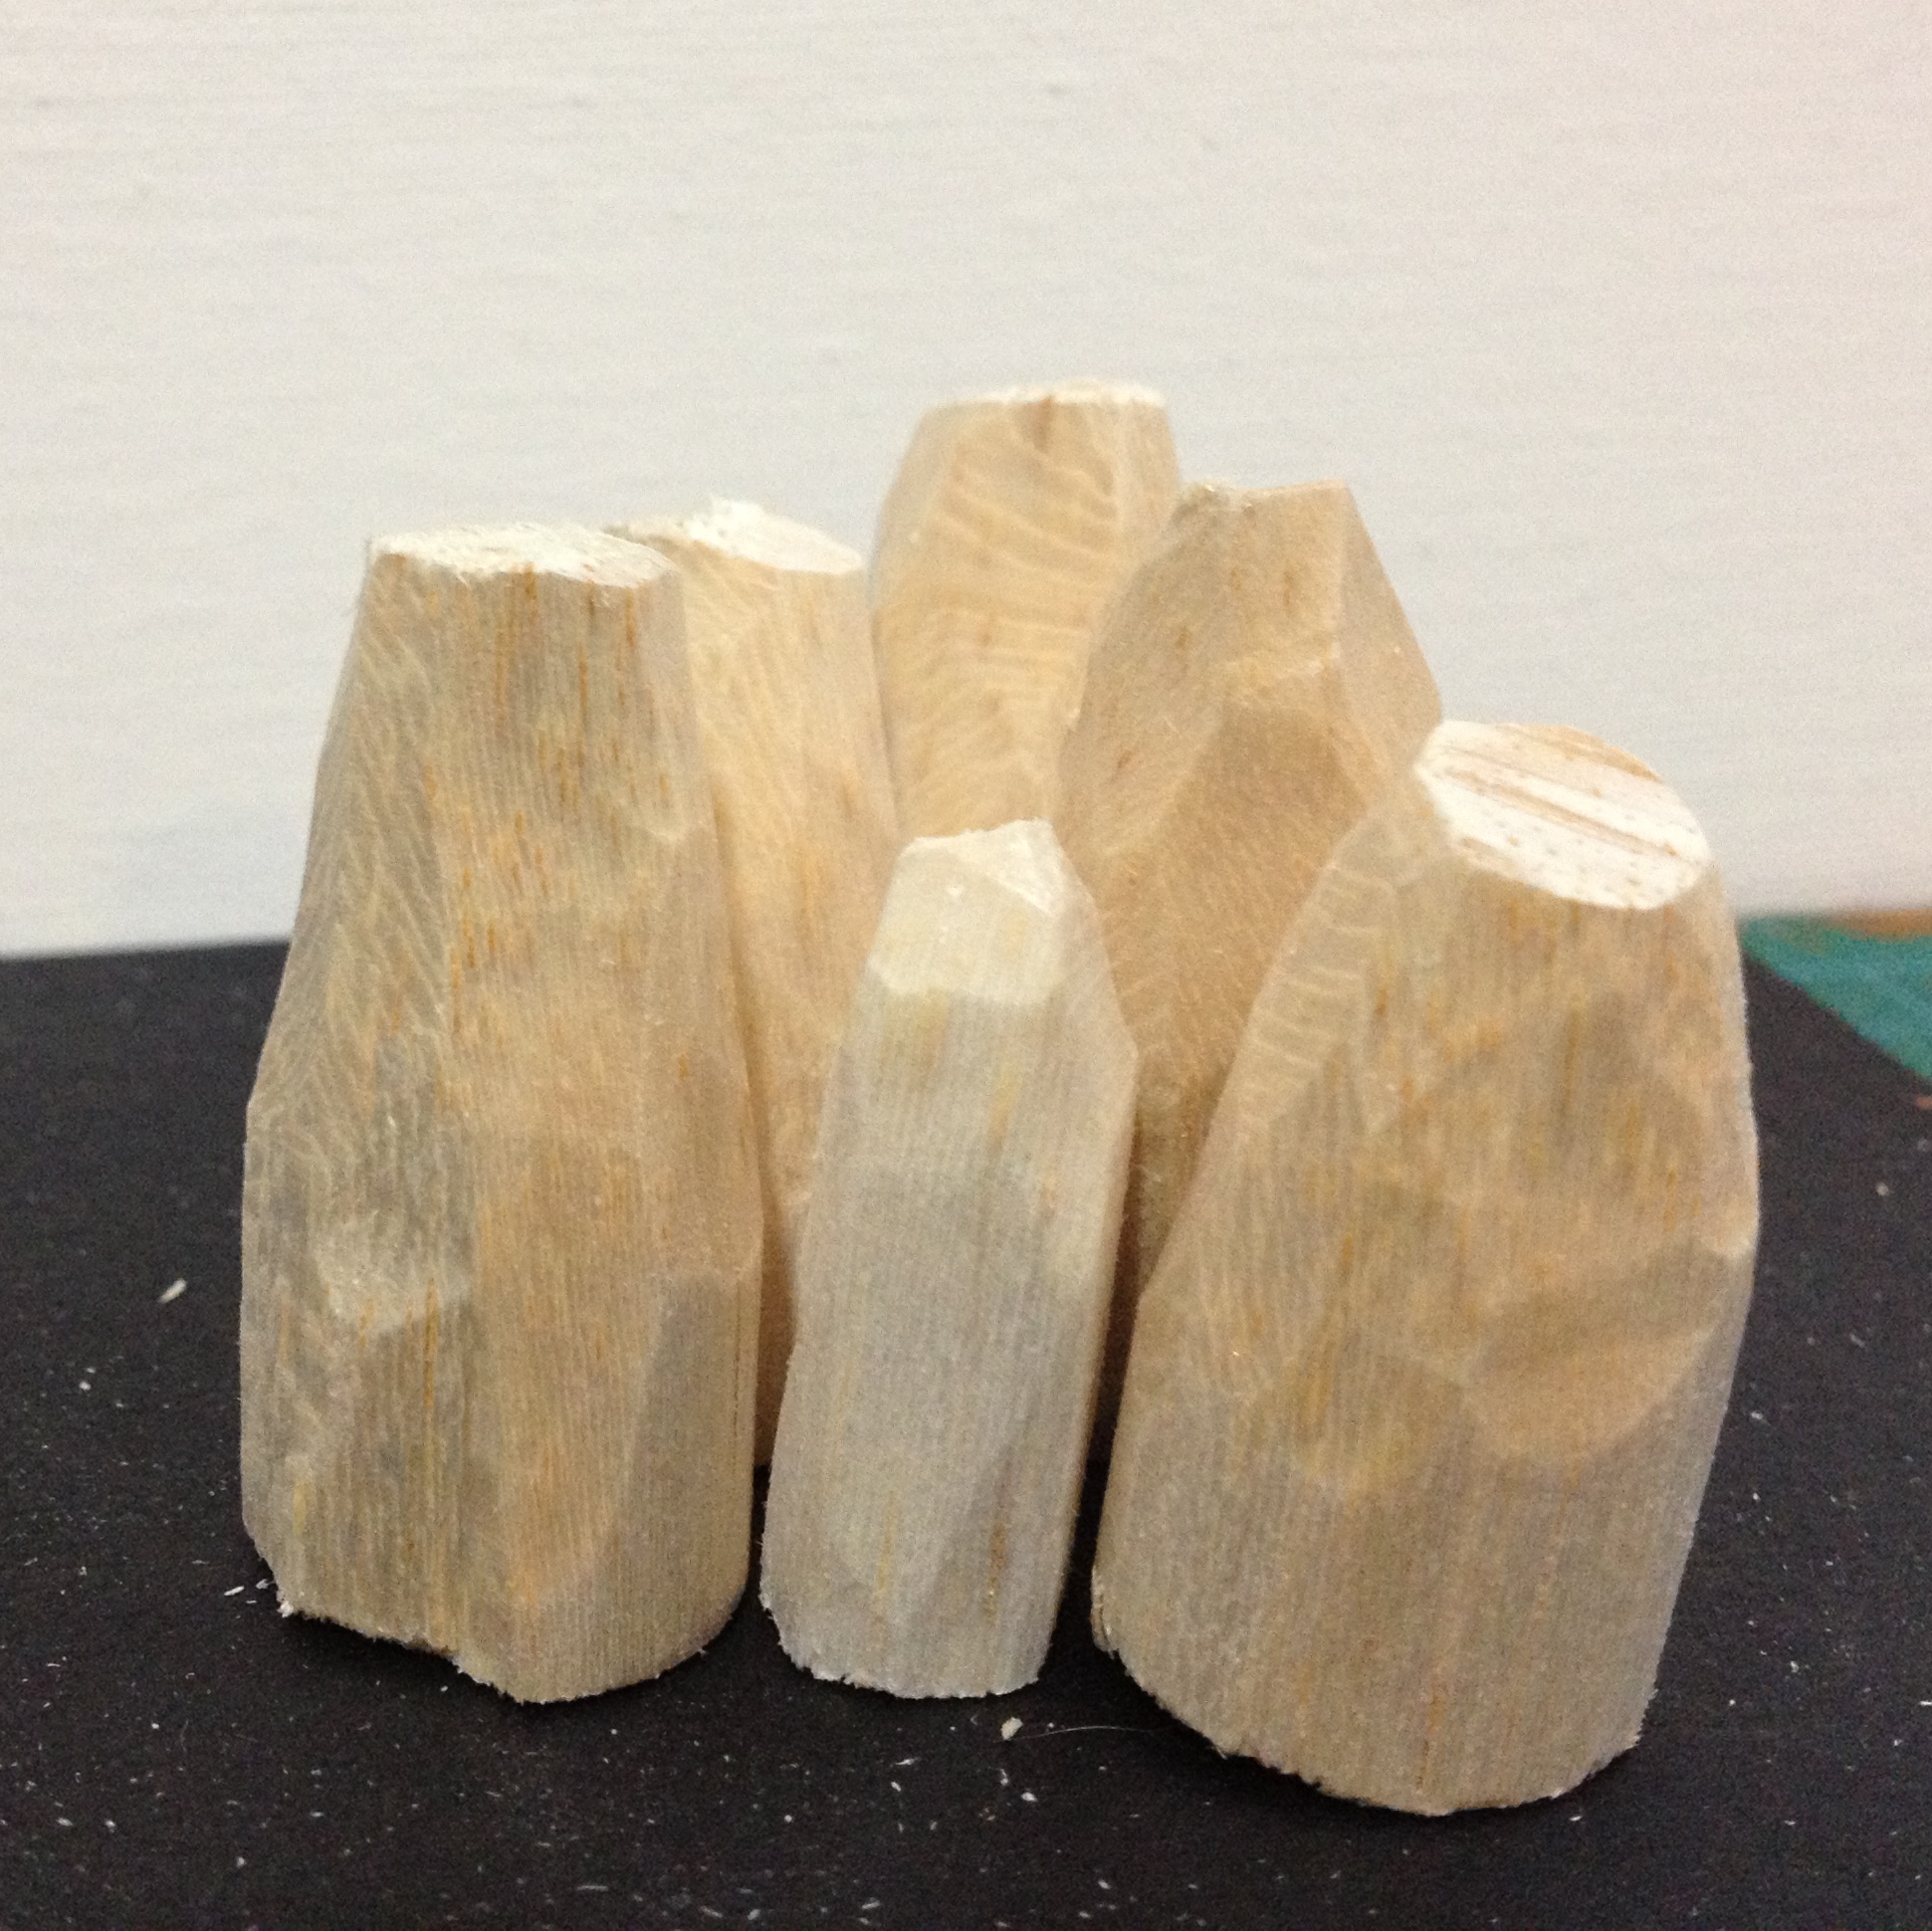
Balance is key with these pieces, getting the right balance so they stand up of course, but also between the random nature of the stacking, the variations in wood sizes, and the implied tension that appears to keep these all together. Just keep putting slices of wood against each other and see how it looks really, only way to fly; just make the damn things.
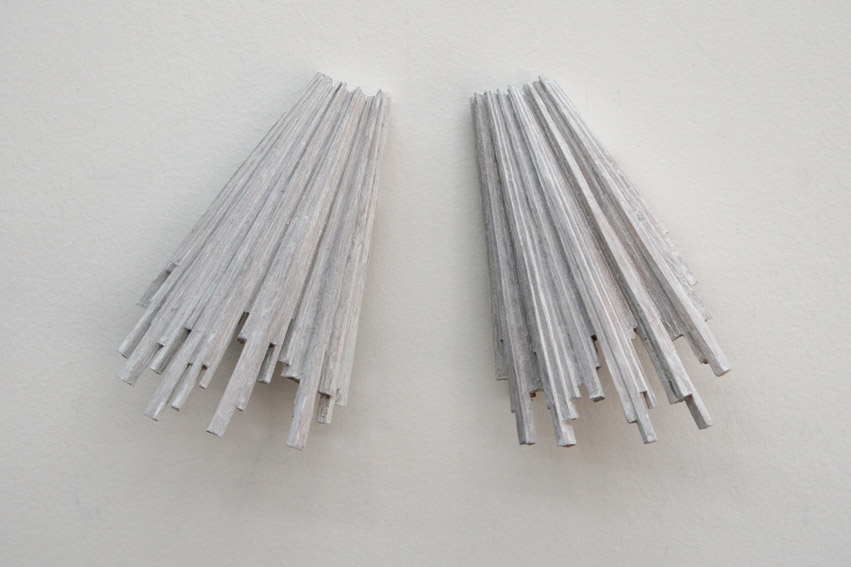
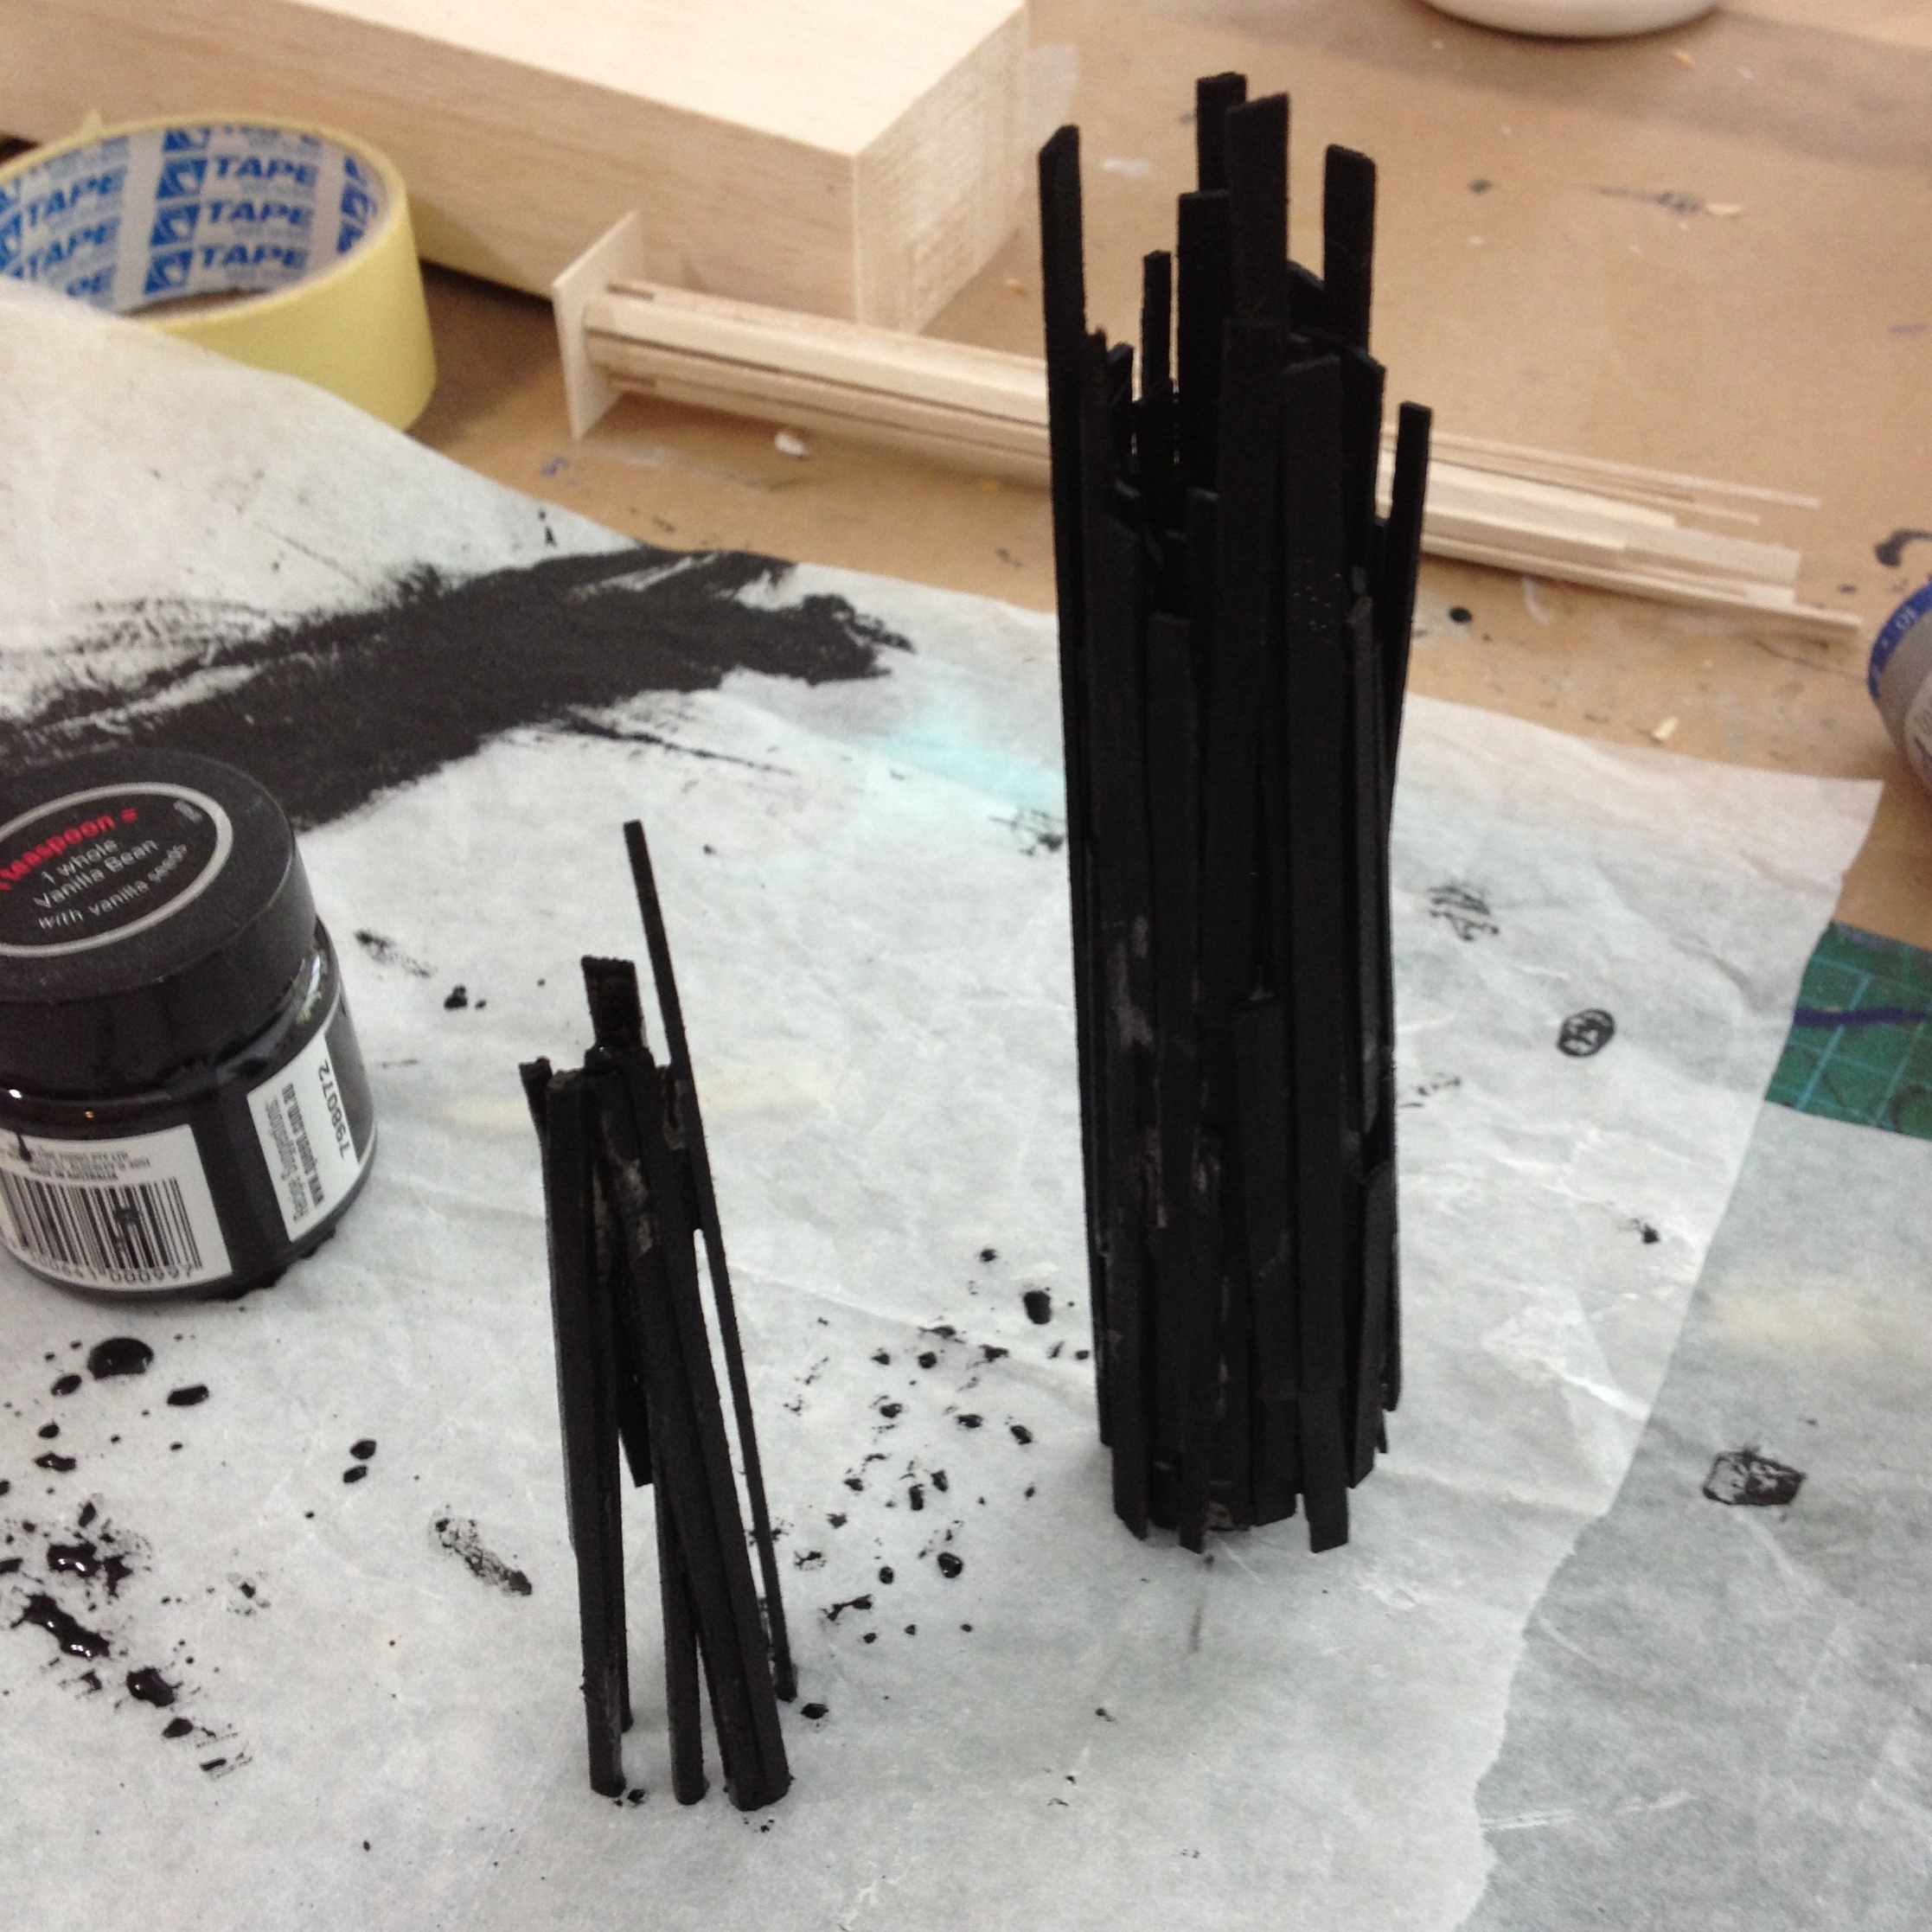
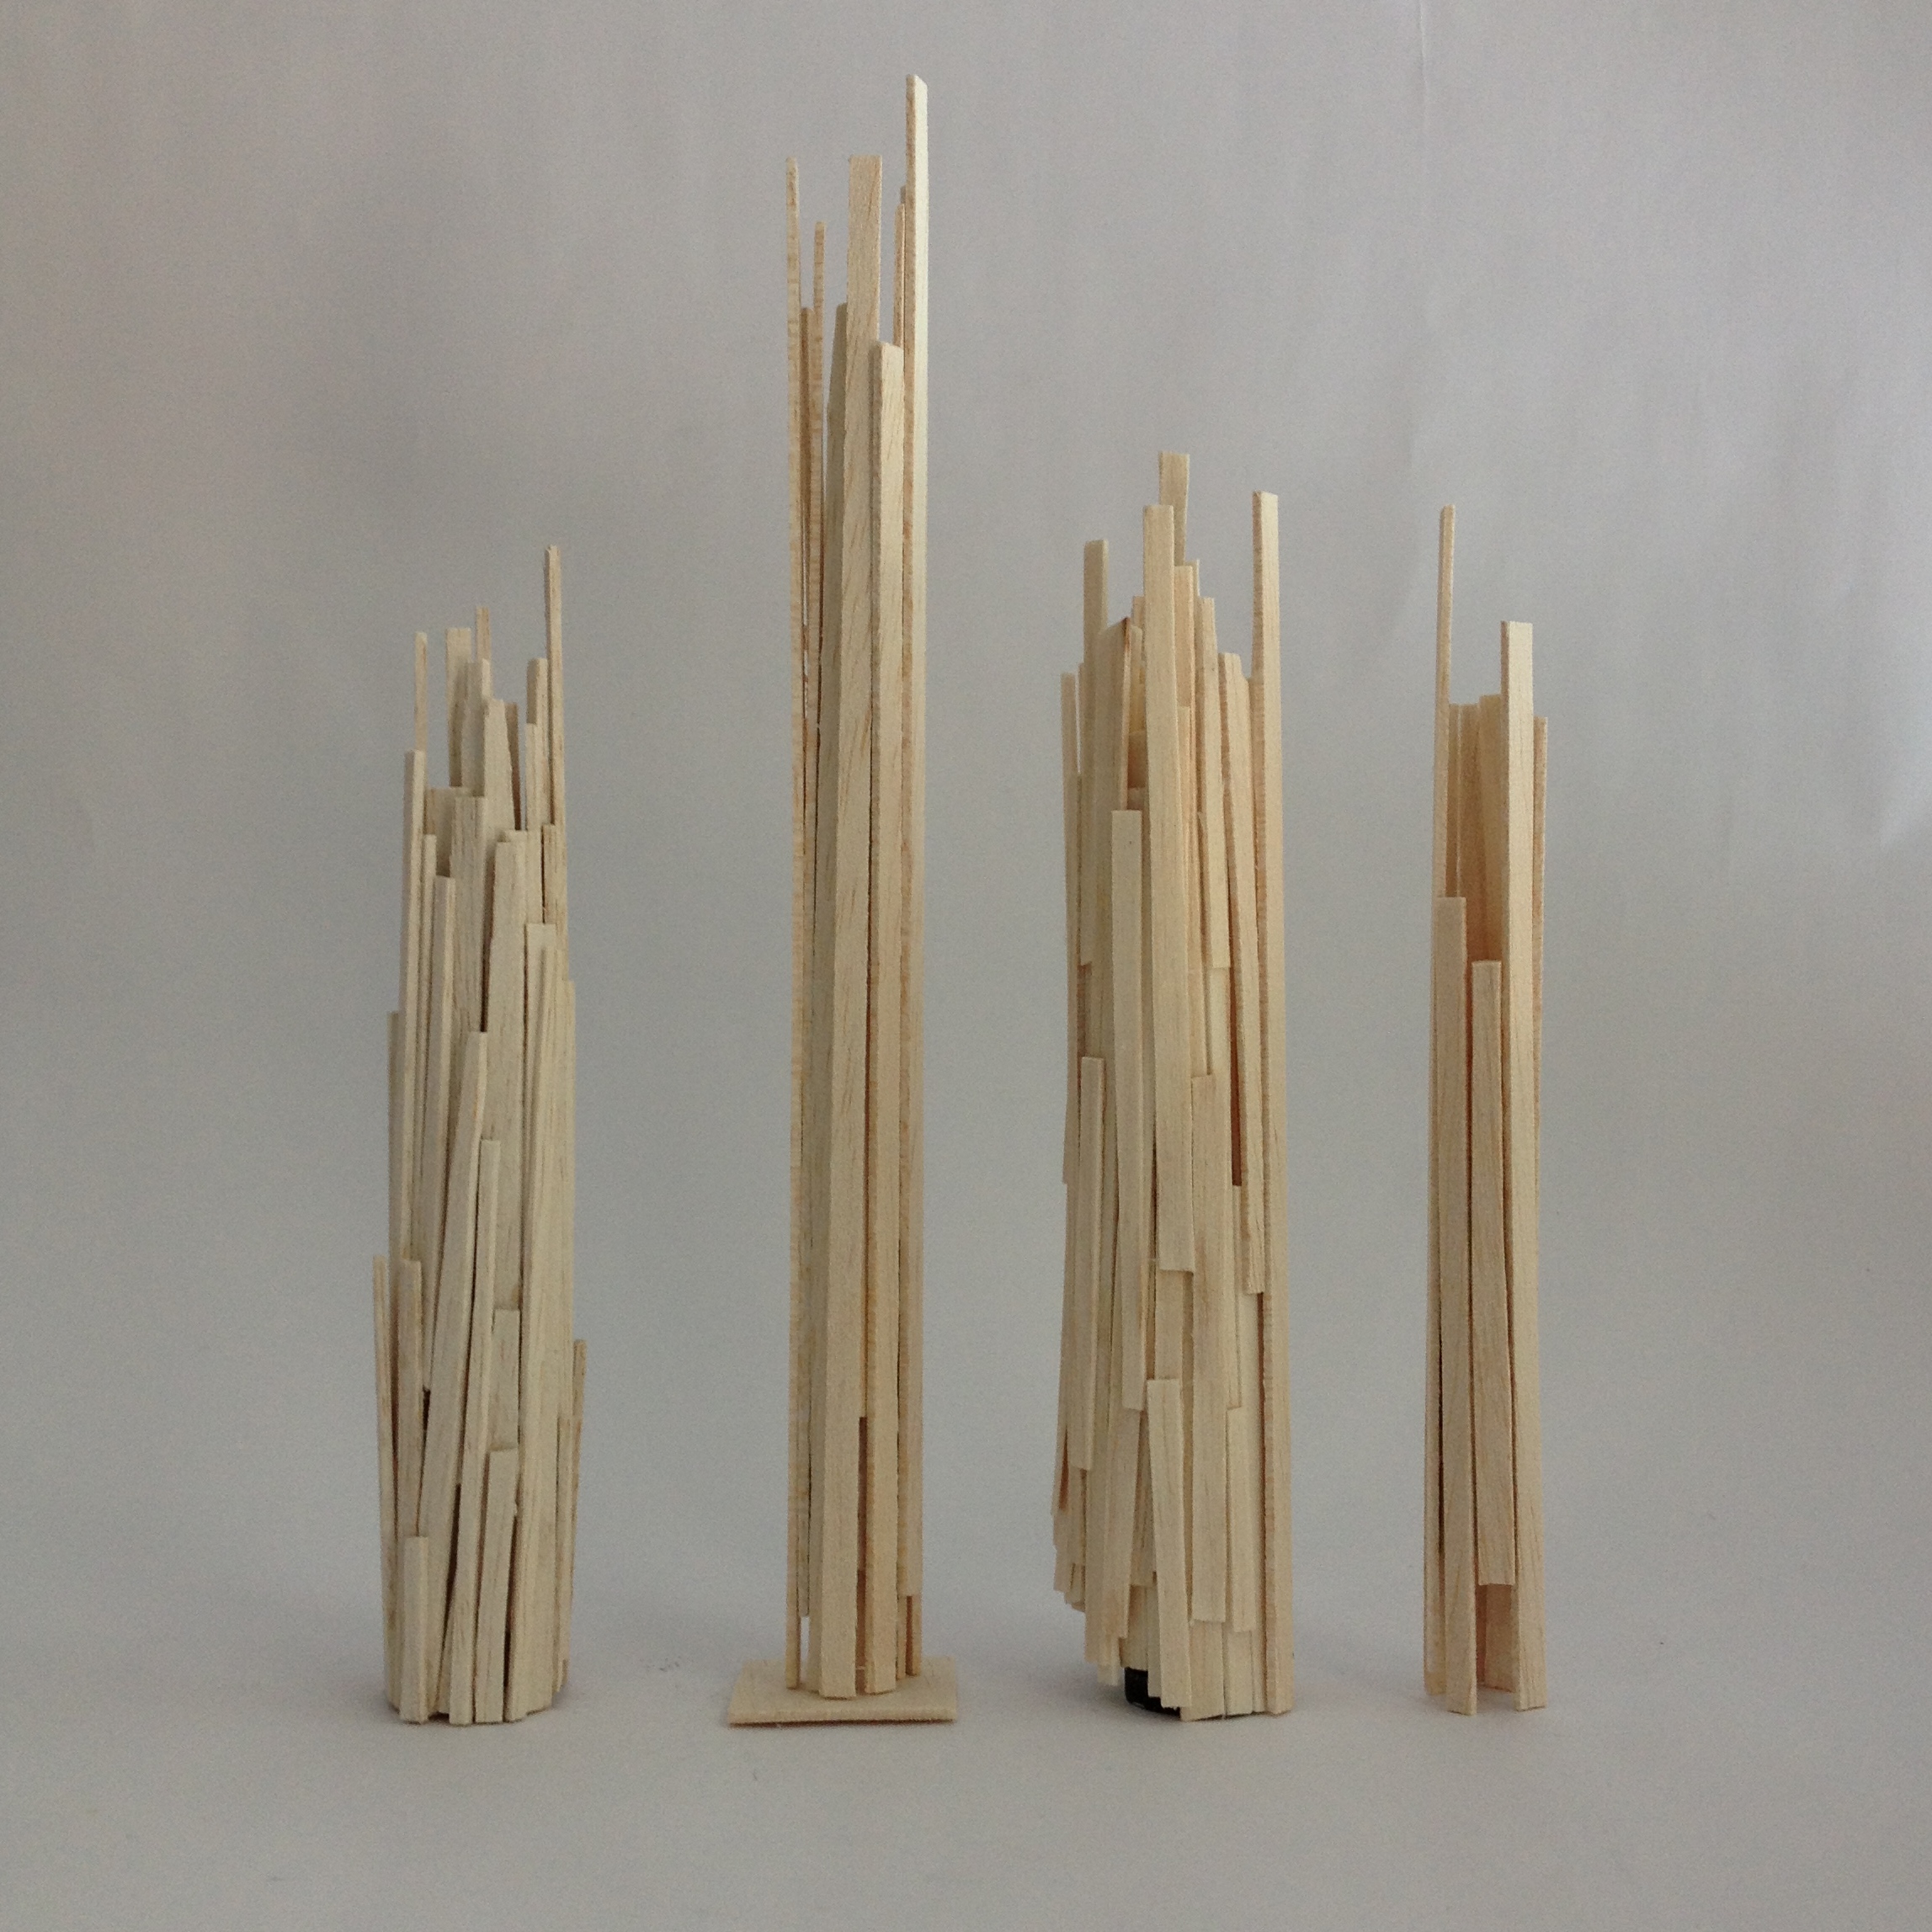
I made several, only 2 of which I’m happy with.

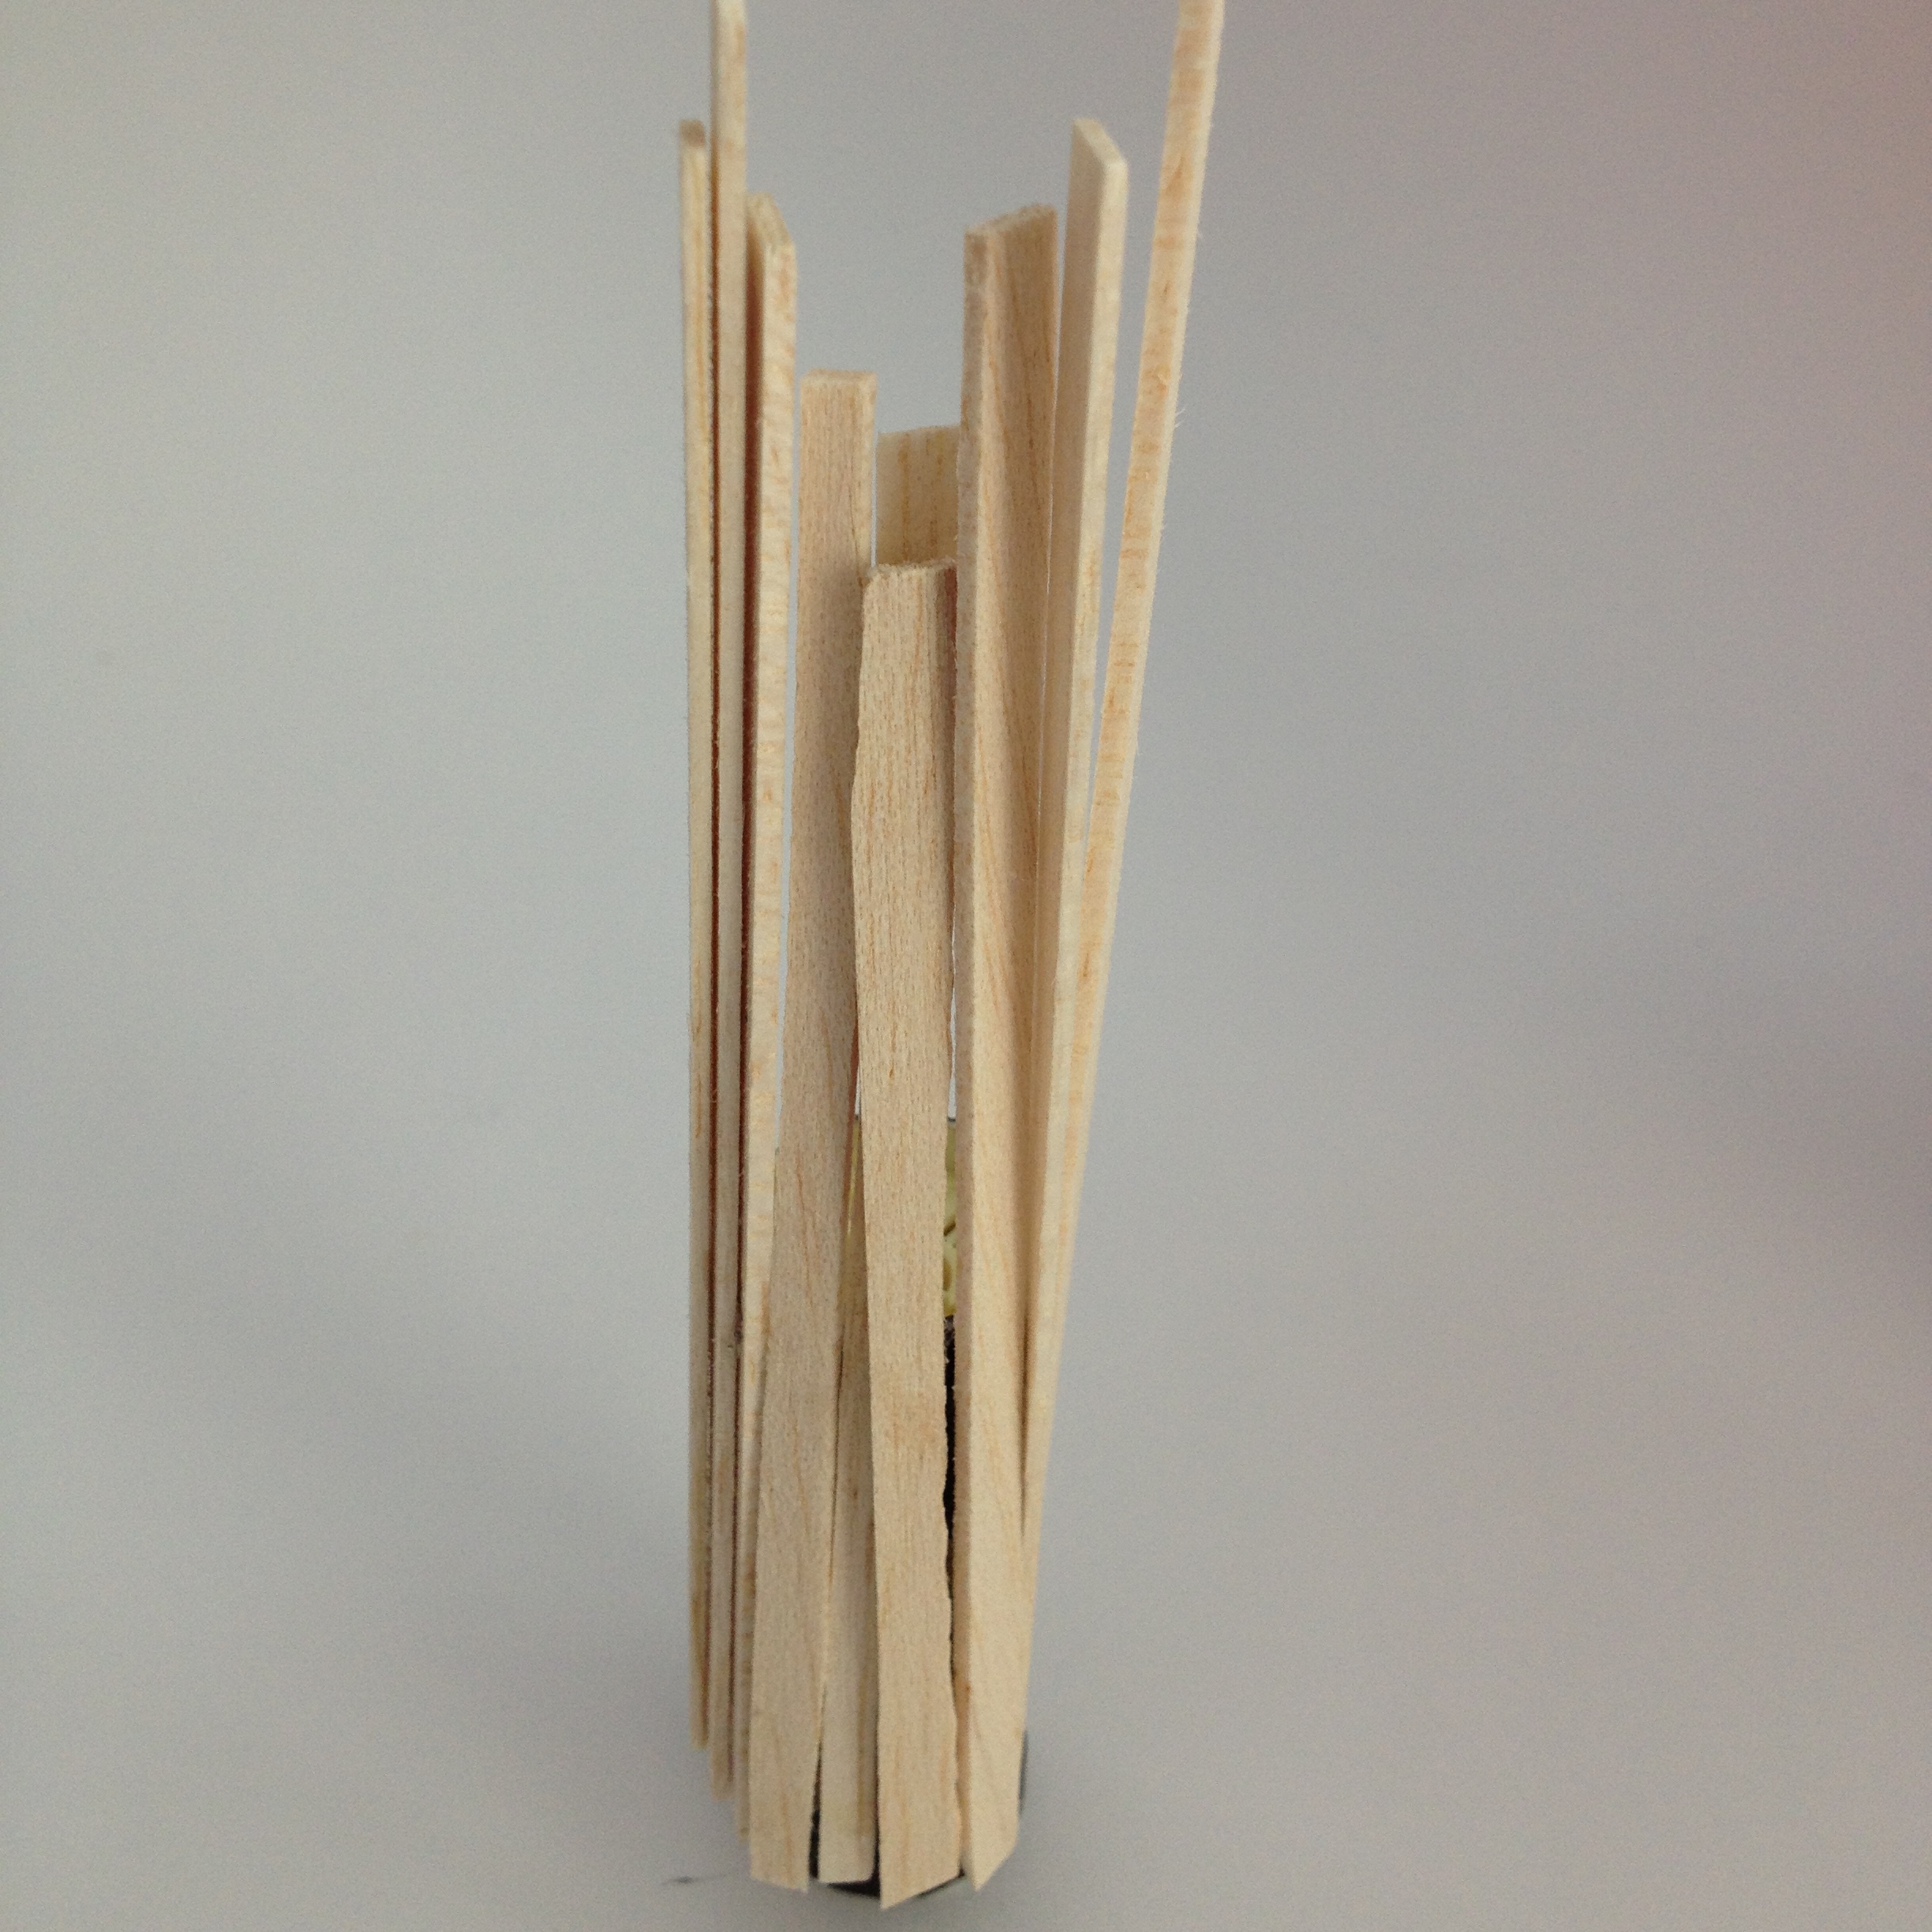
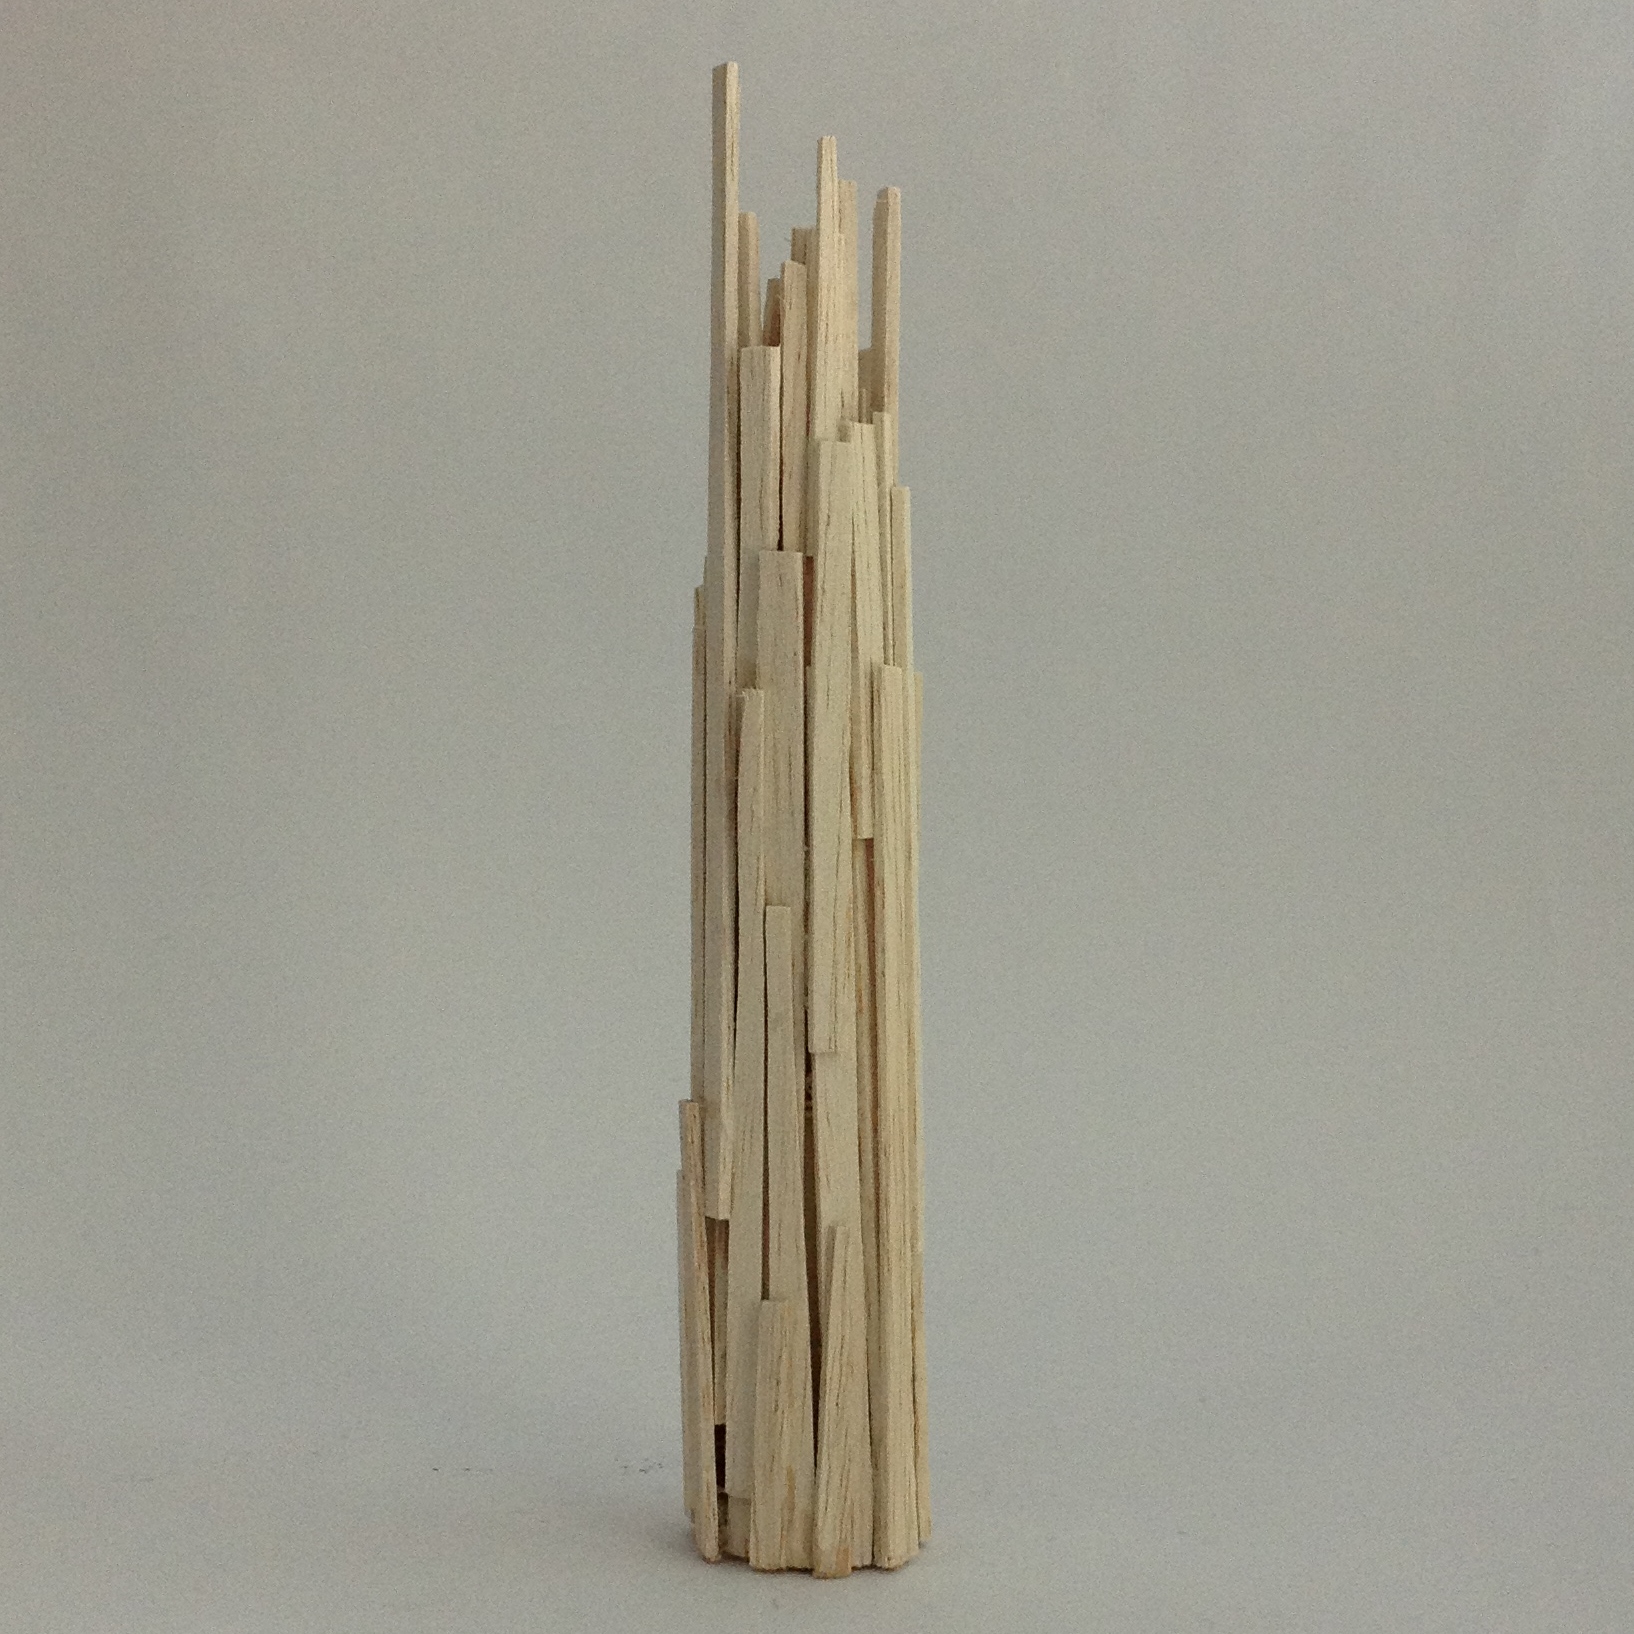
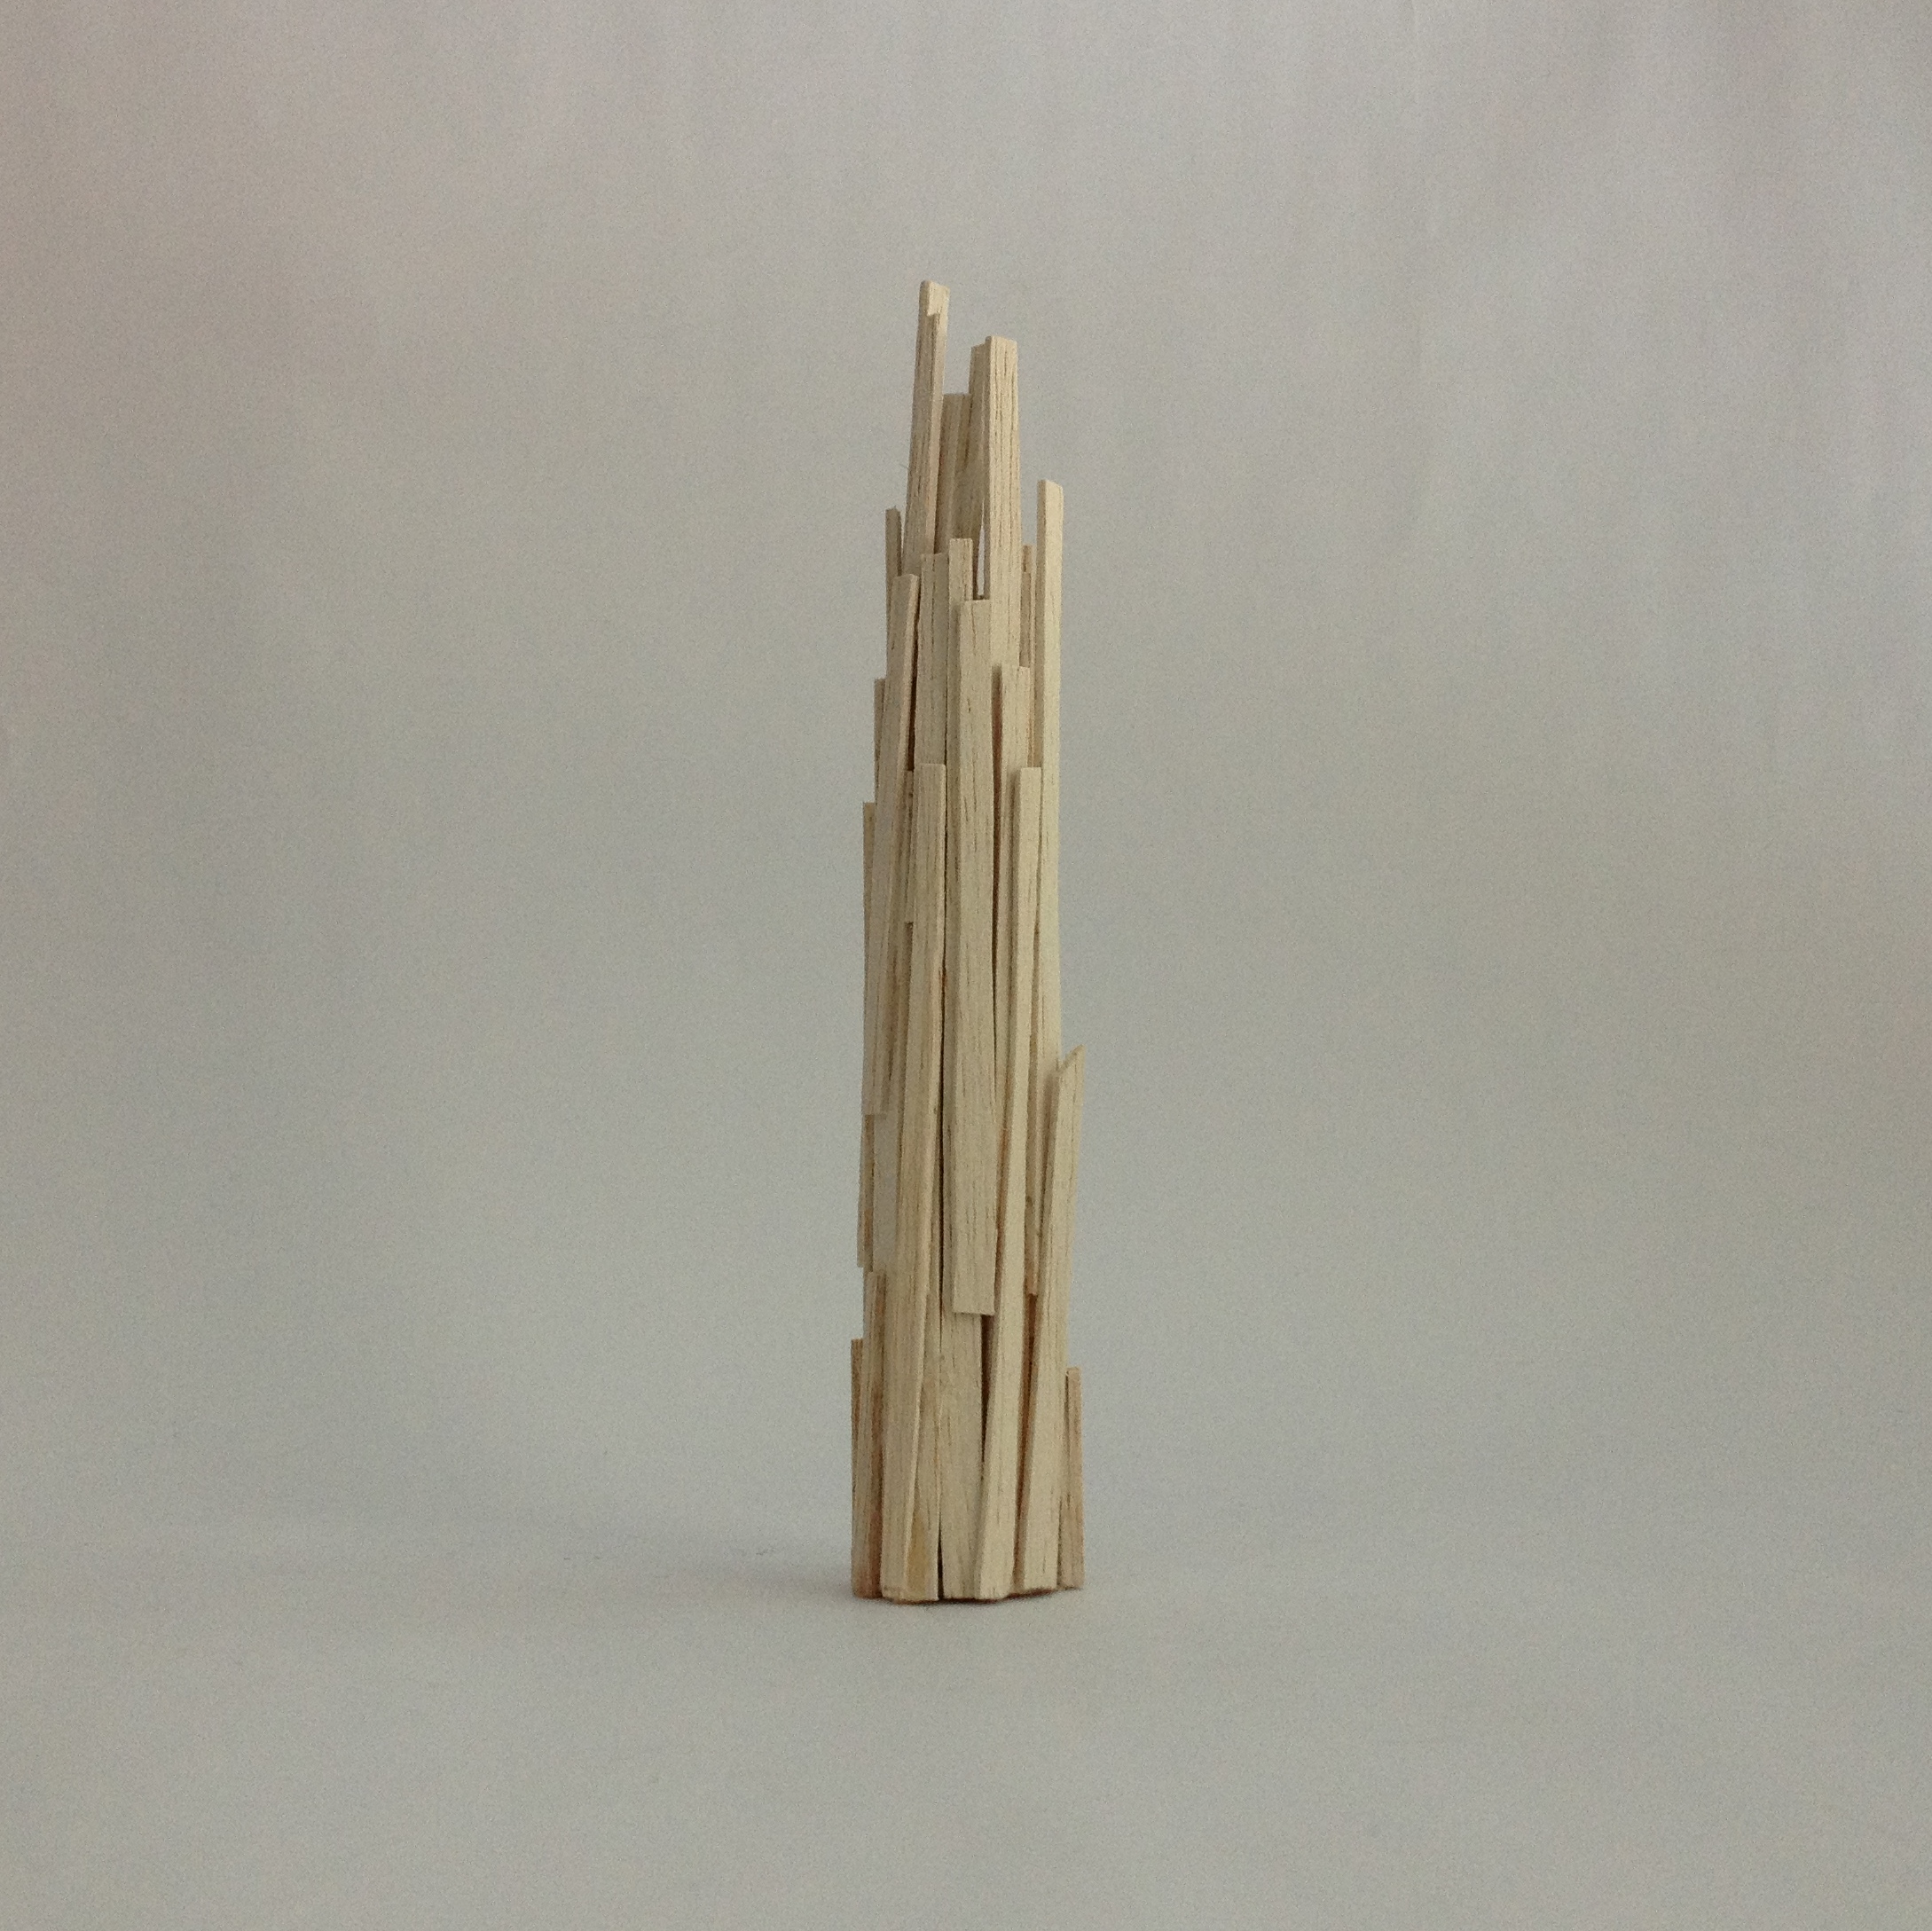
Ok so these were underway.
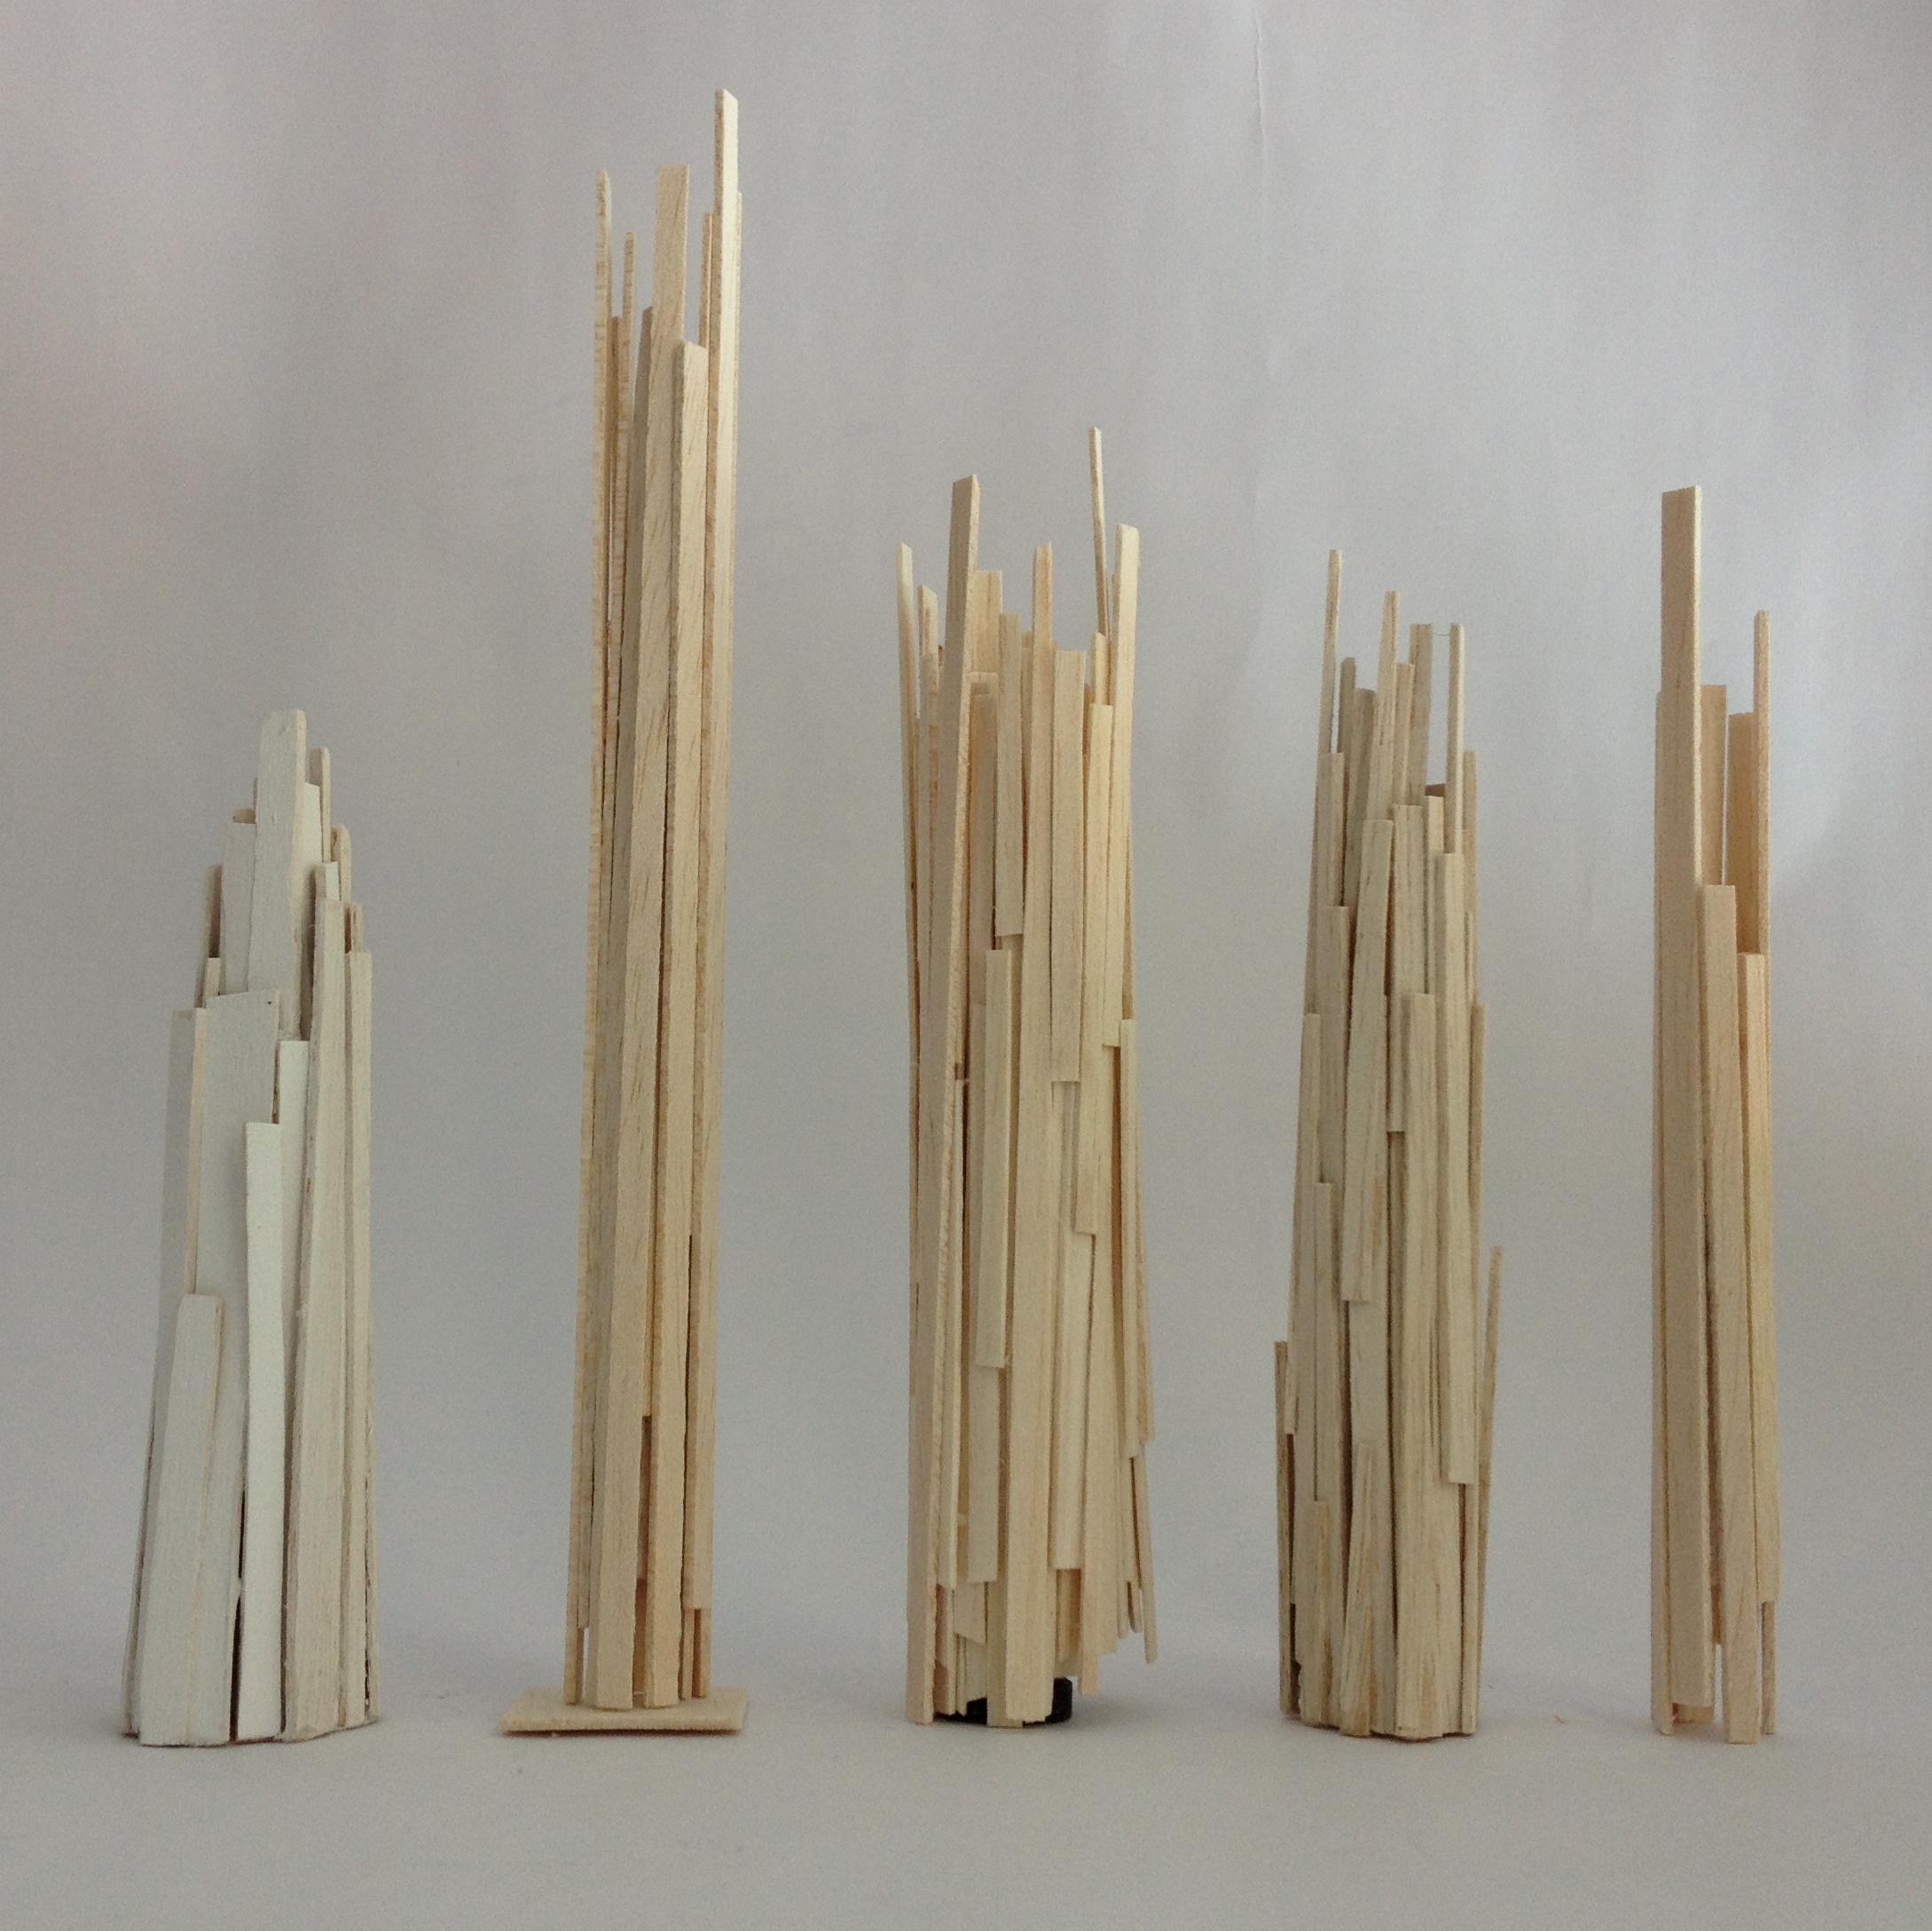
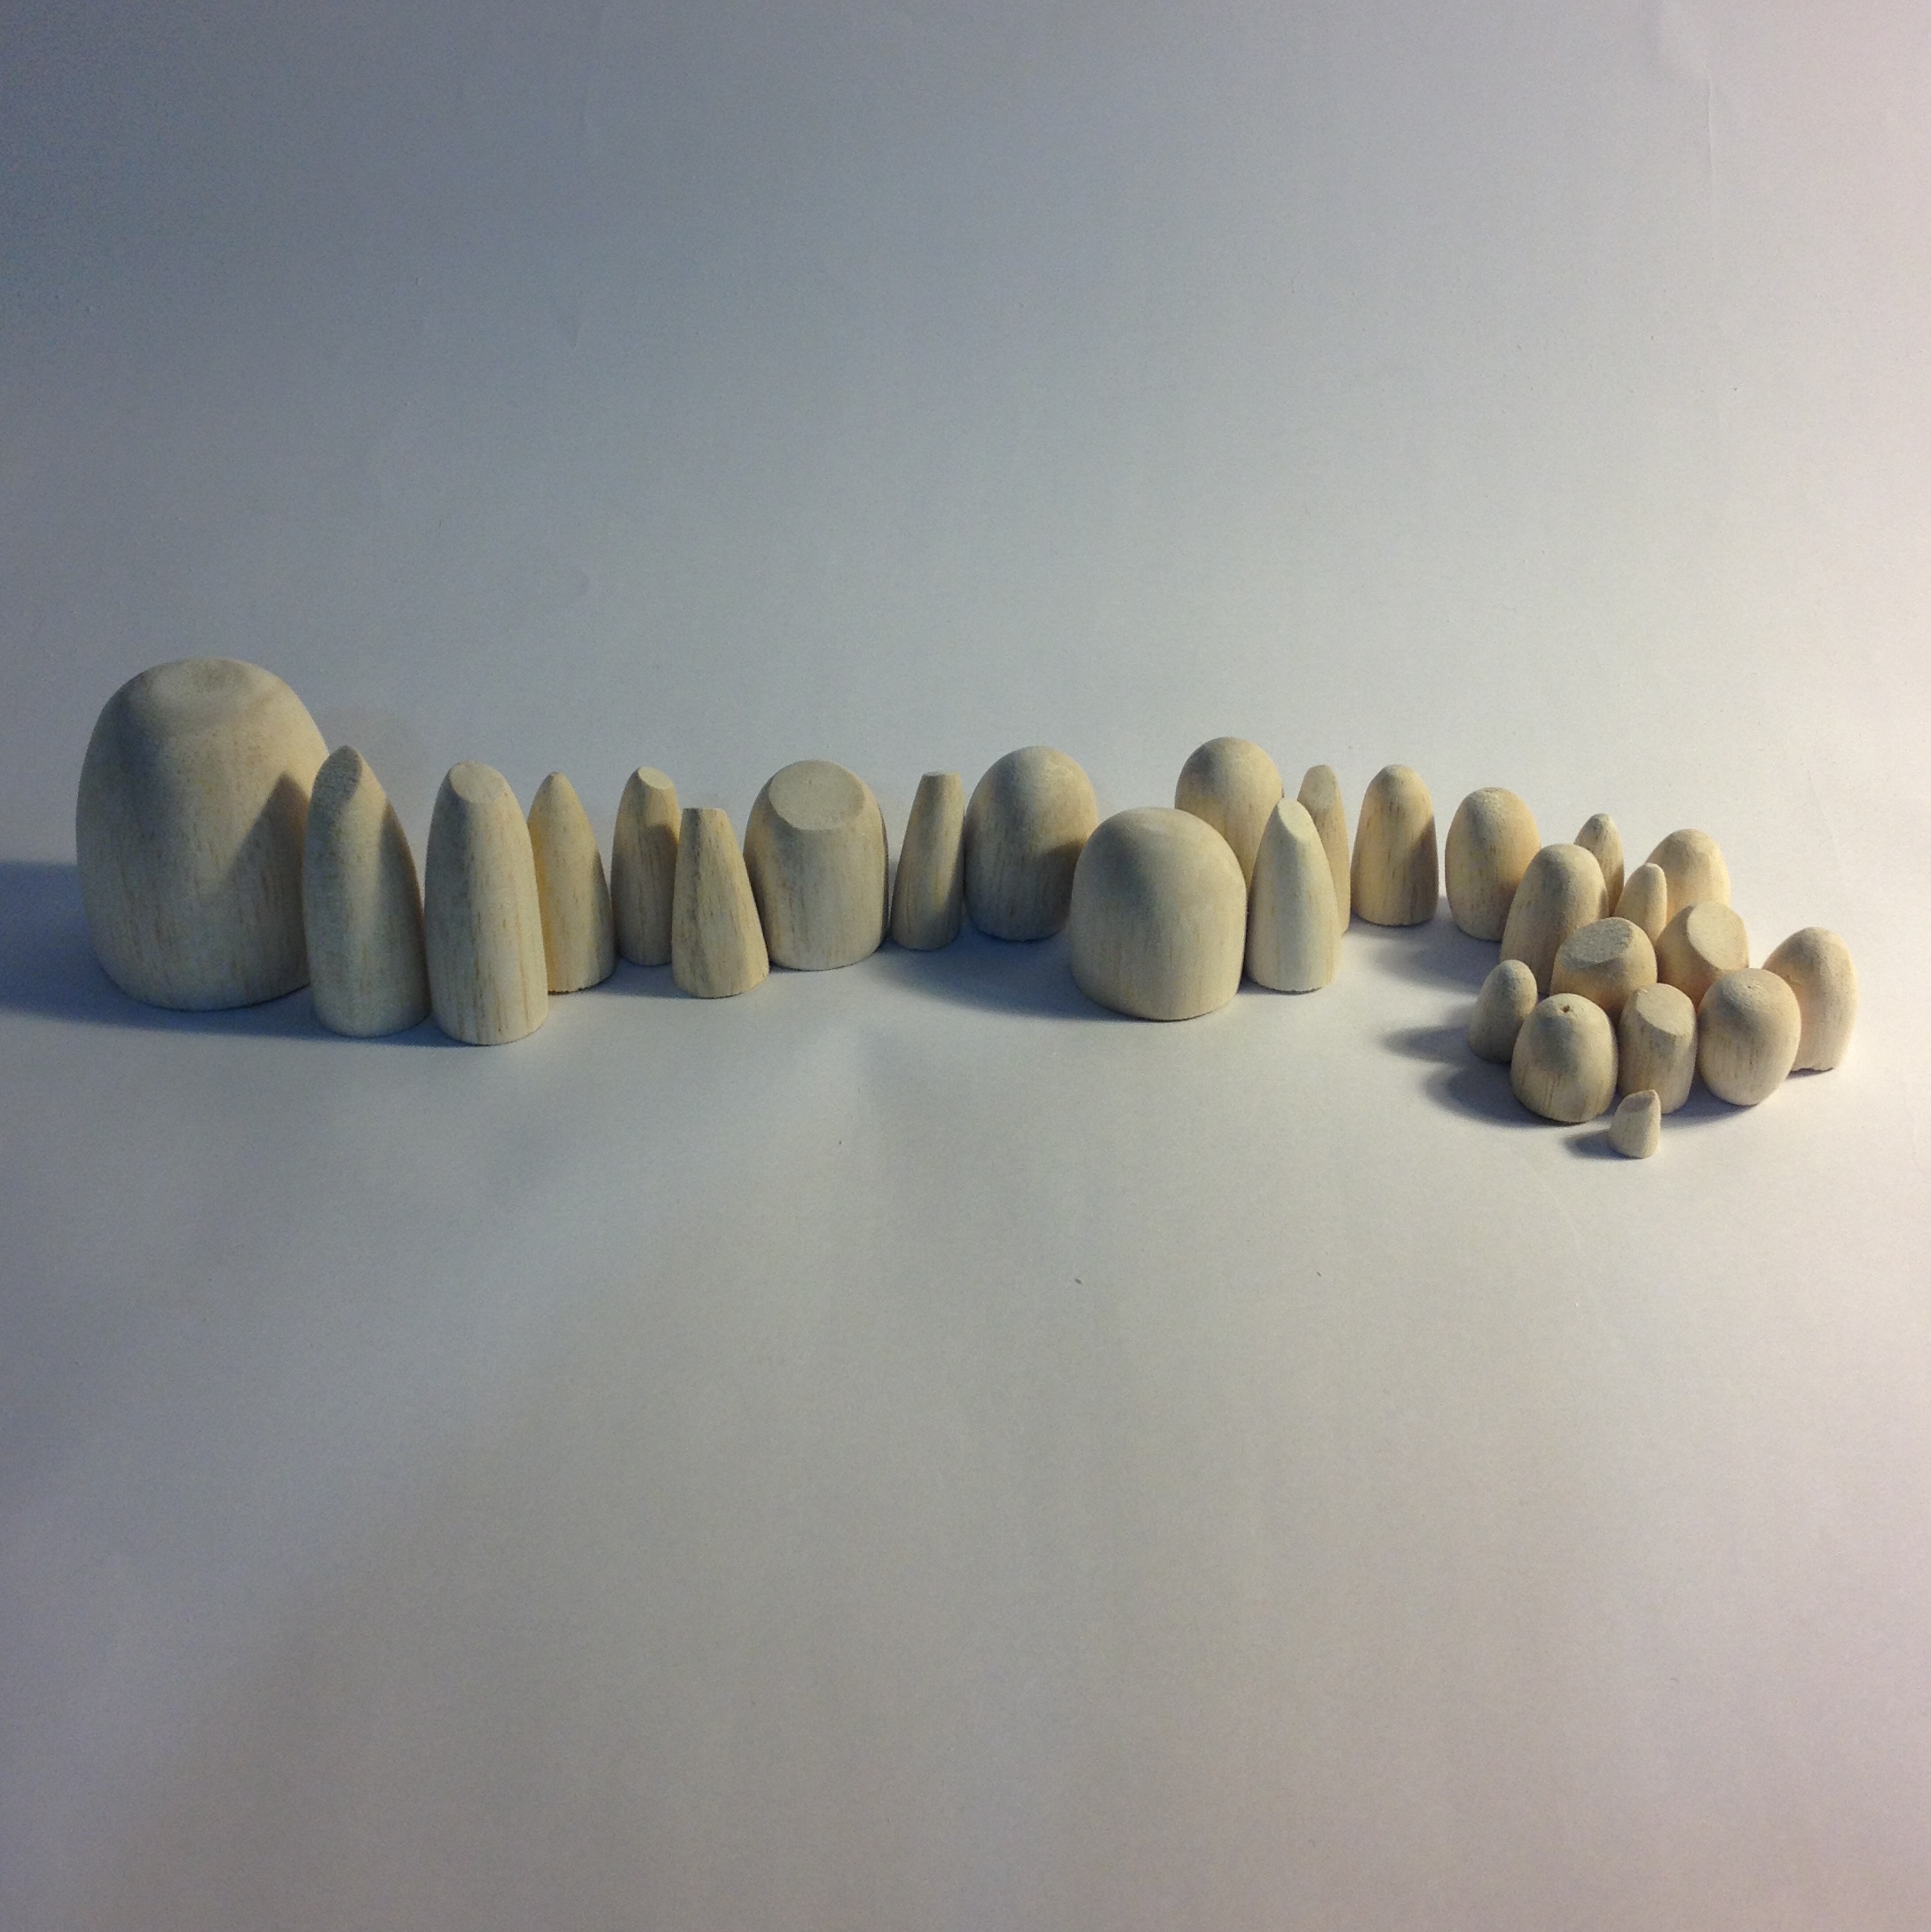
And these are them done:
Next.
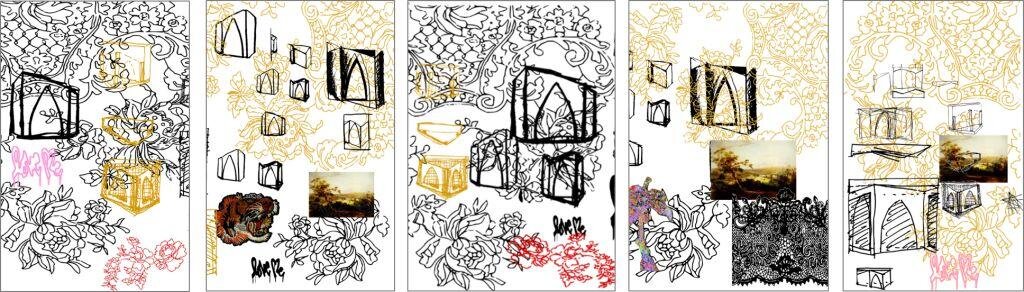
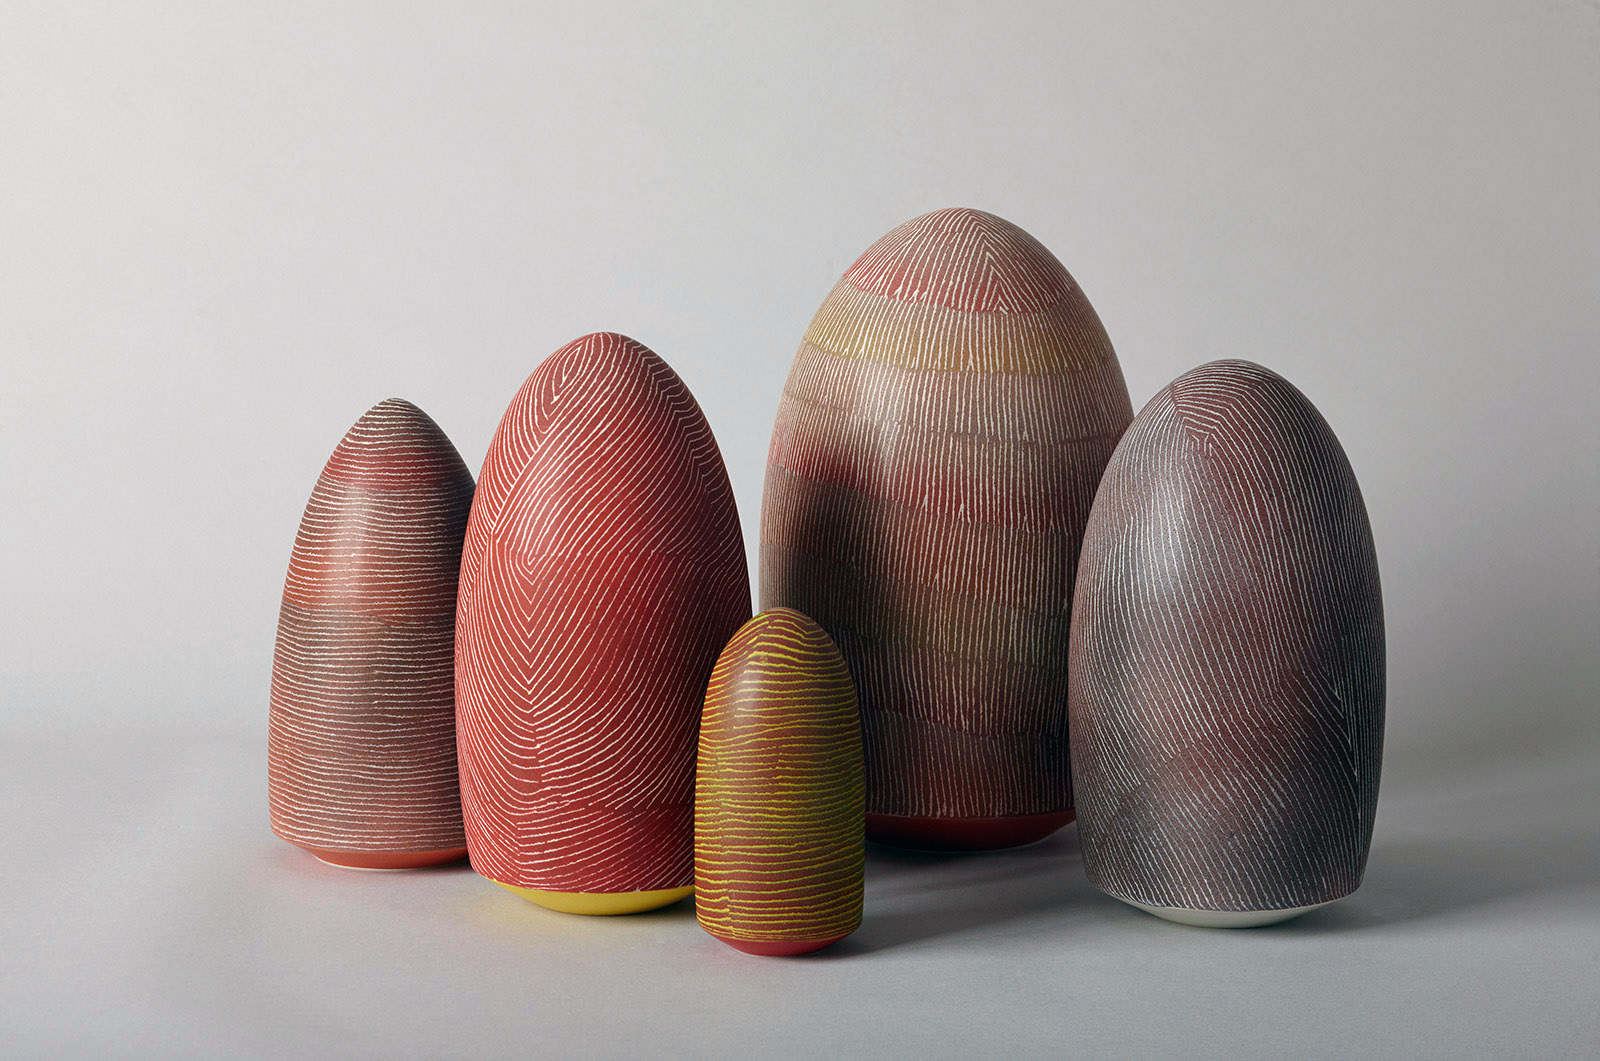
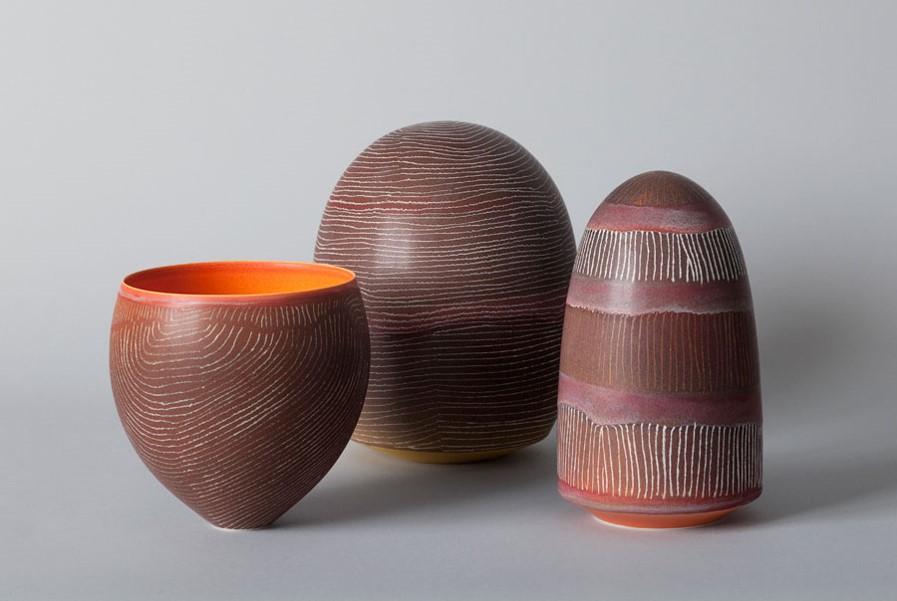
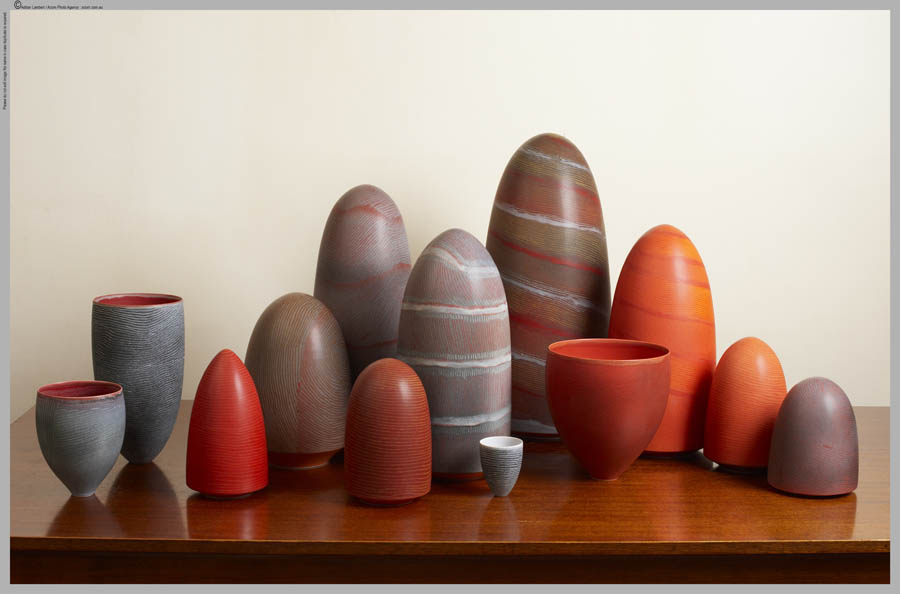
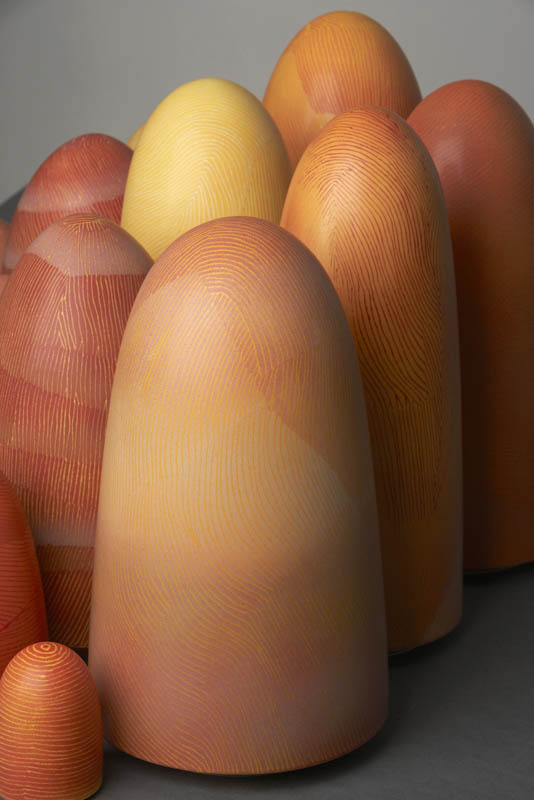
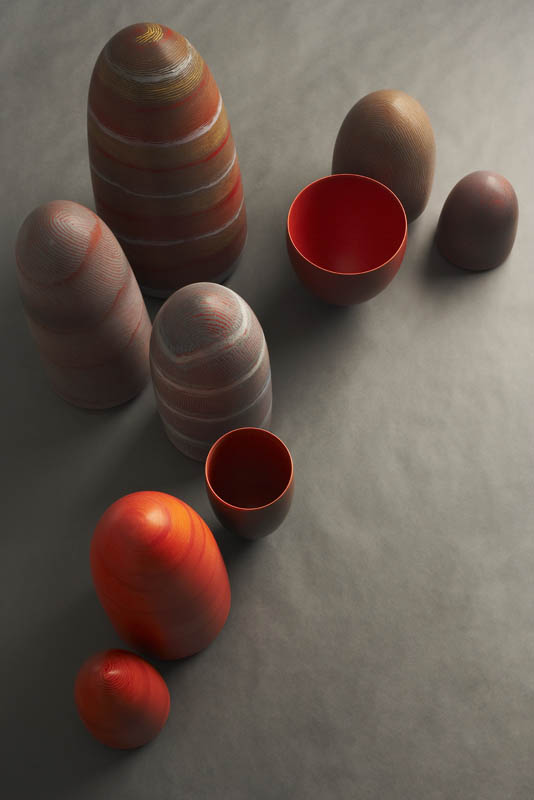
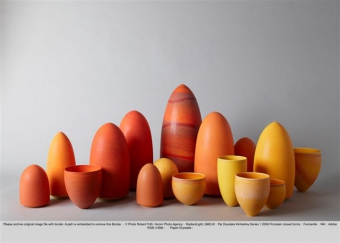
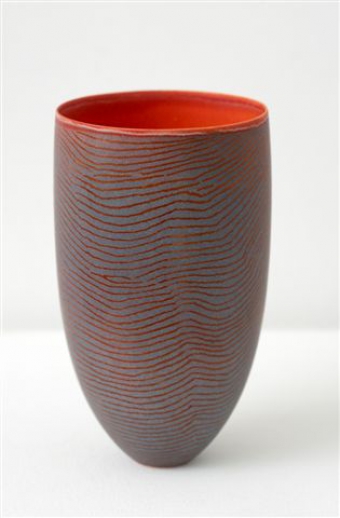
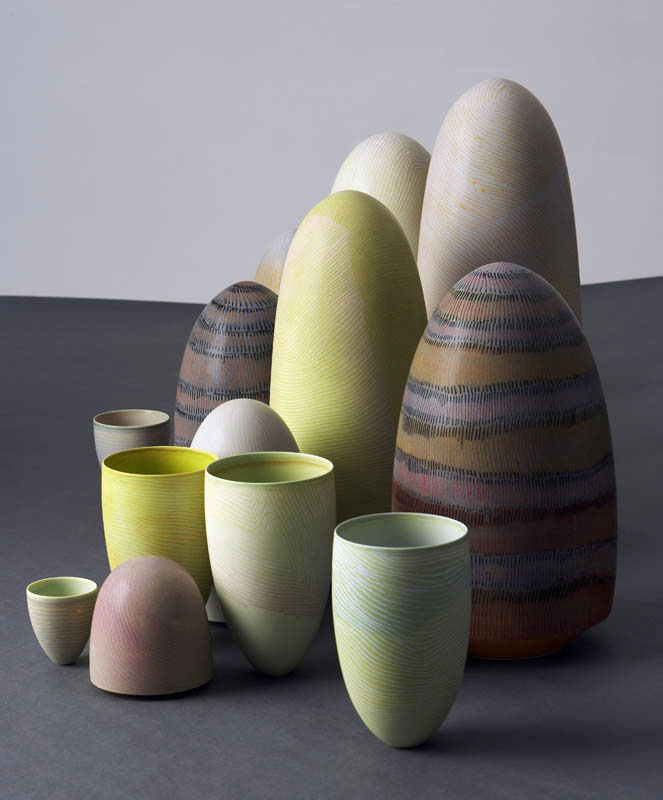
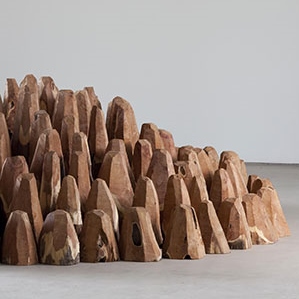
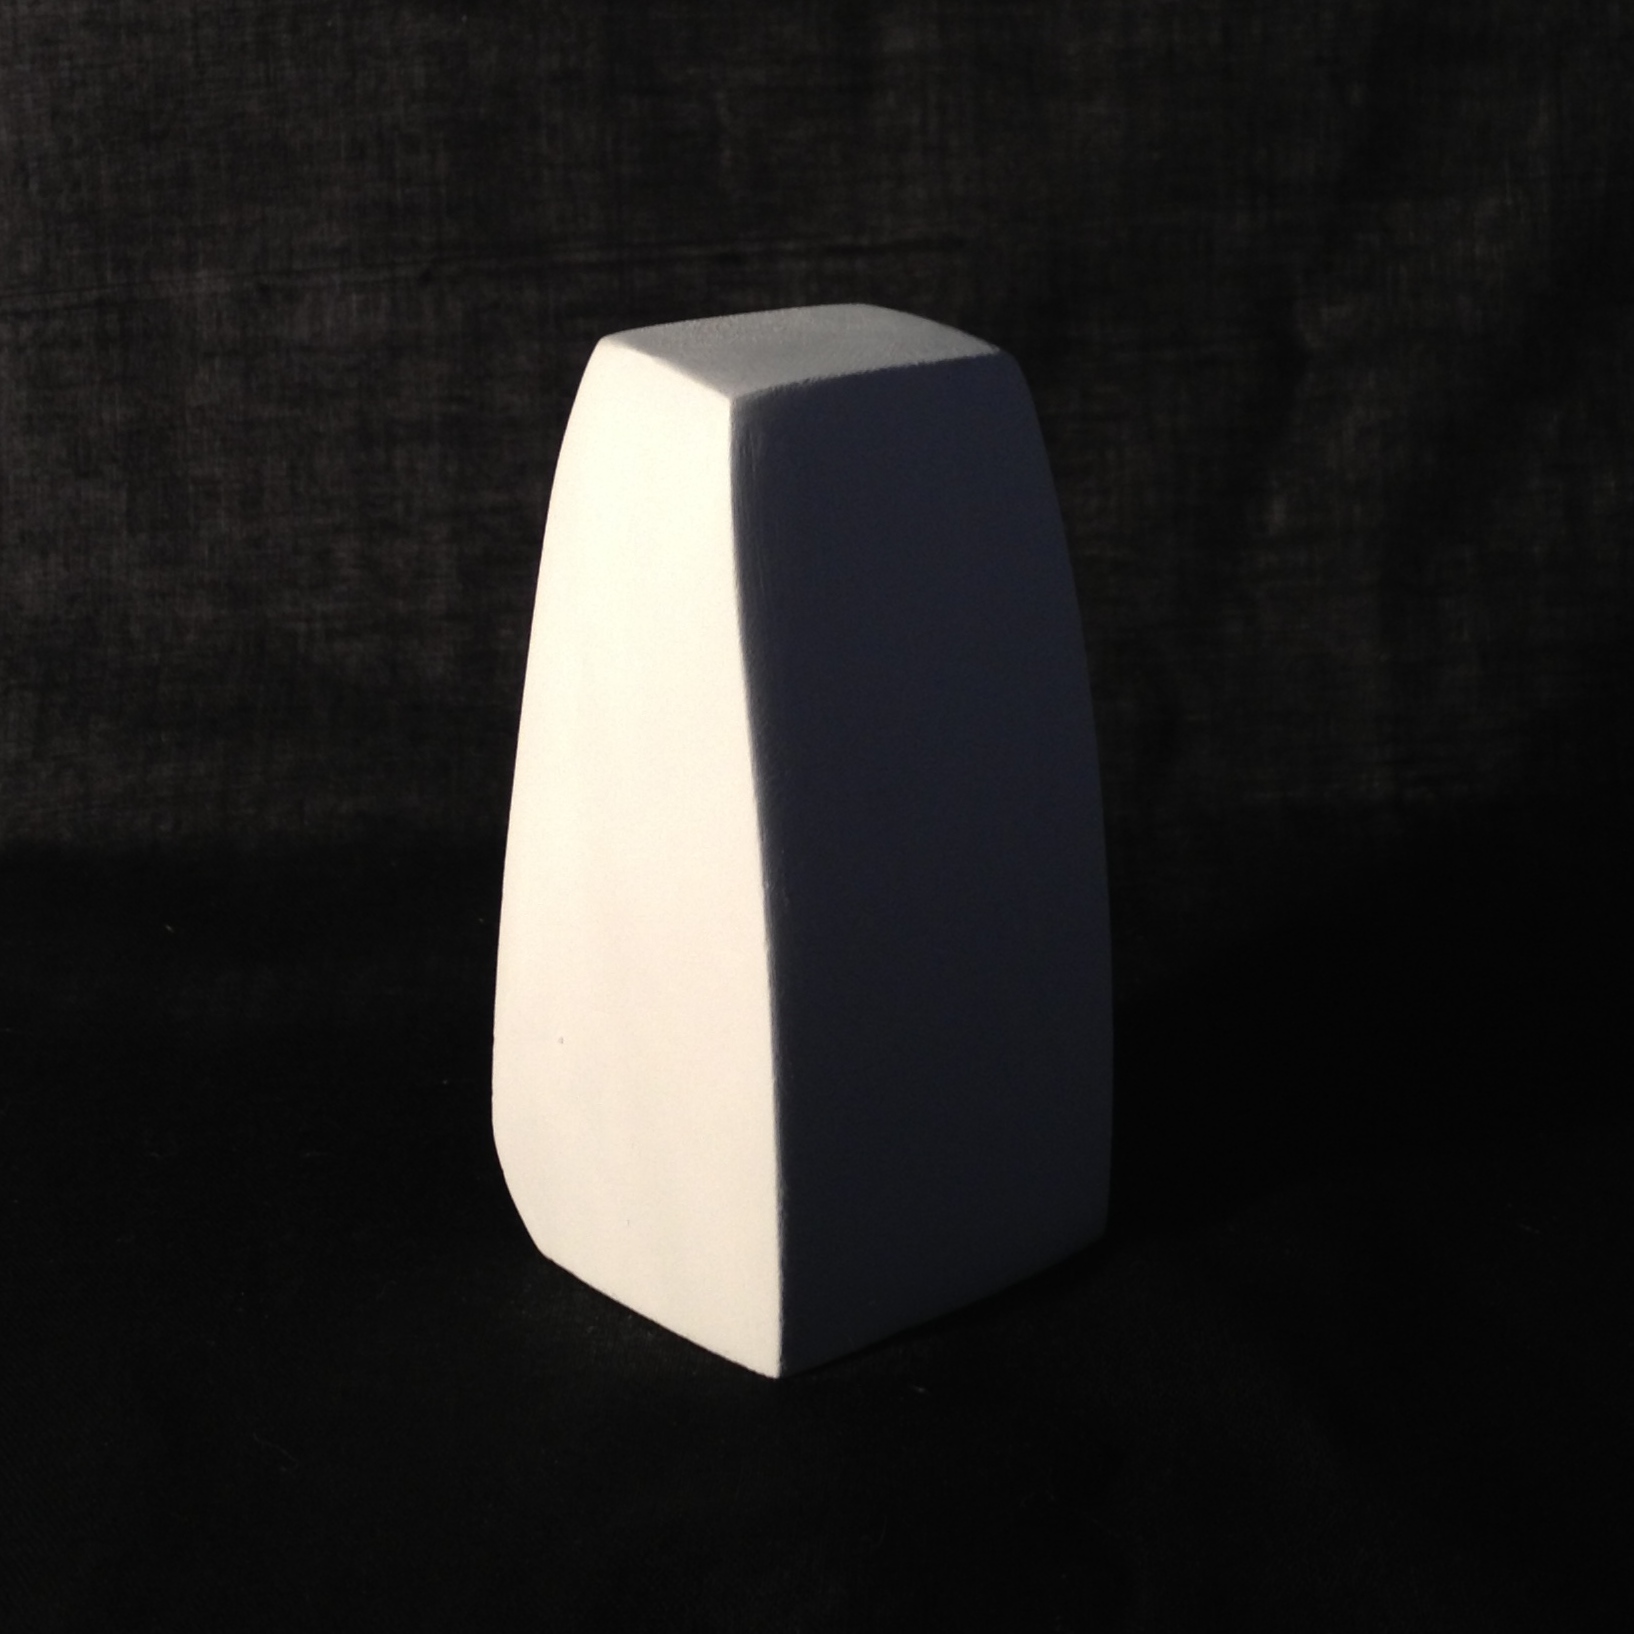
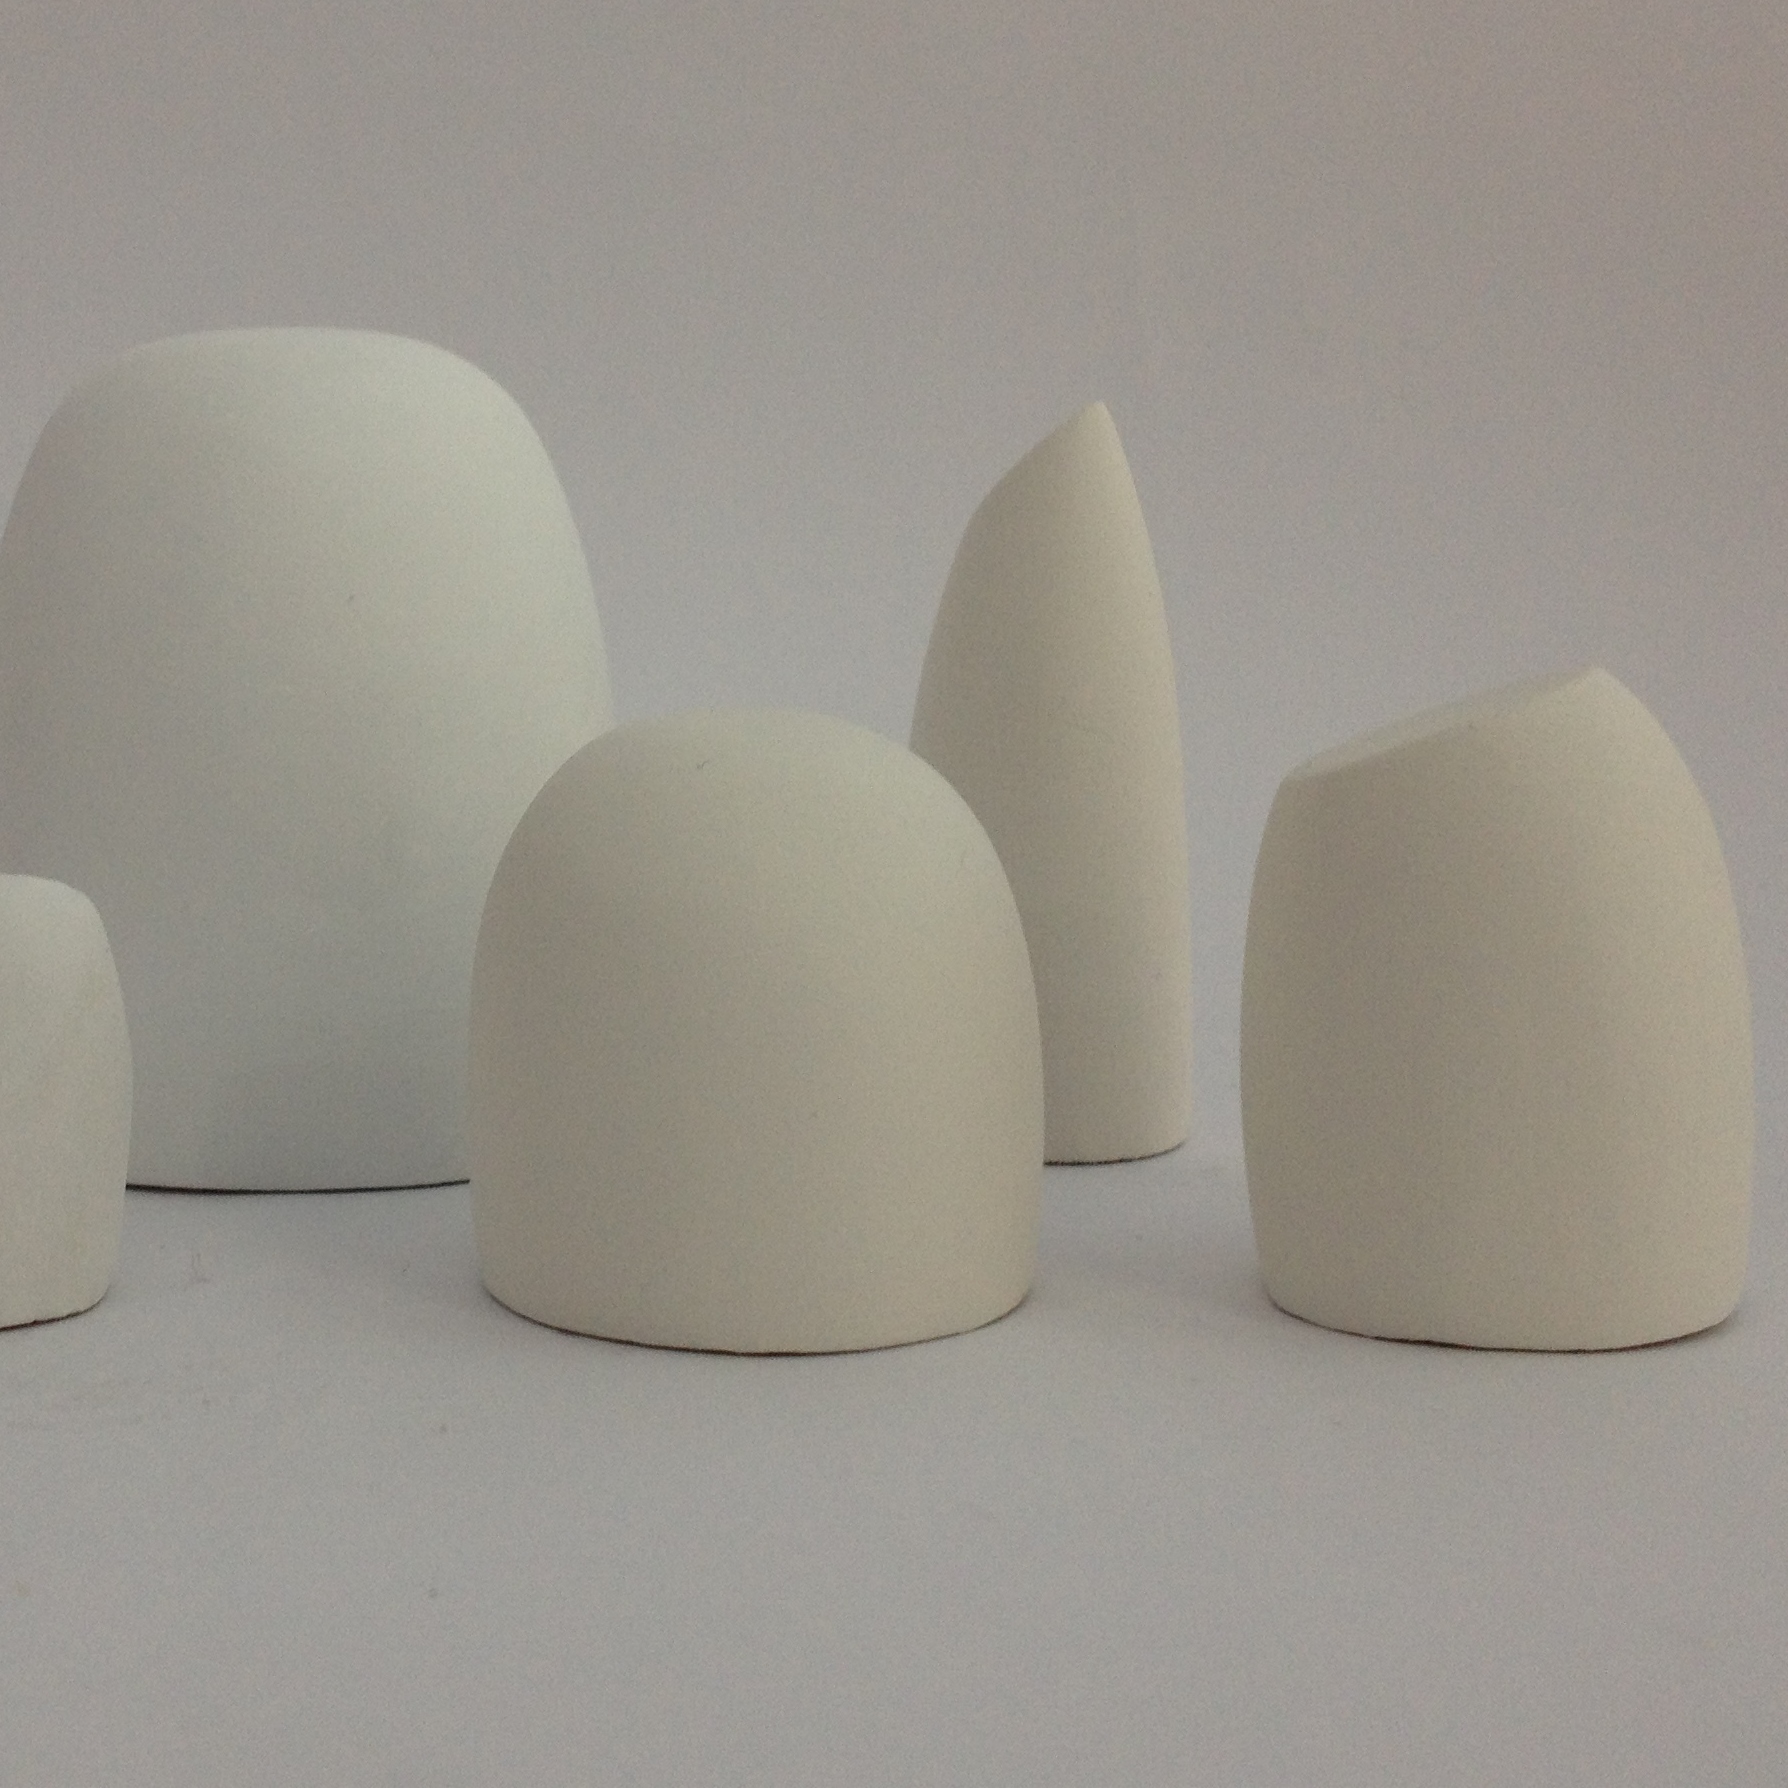
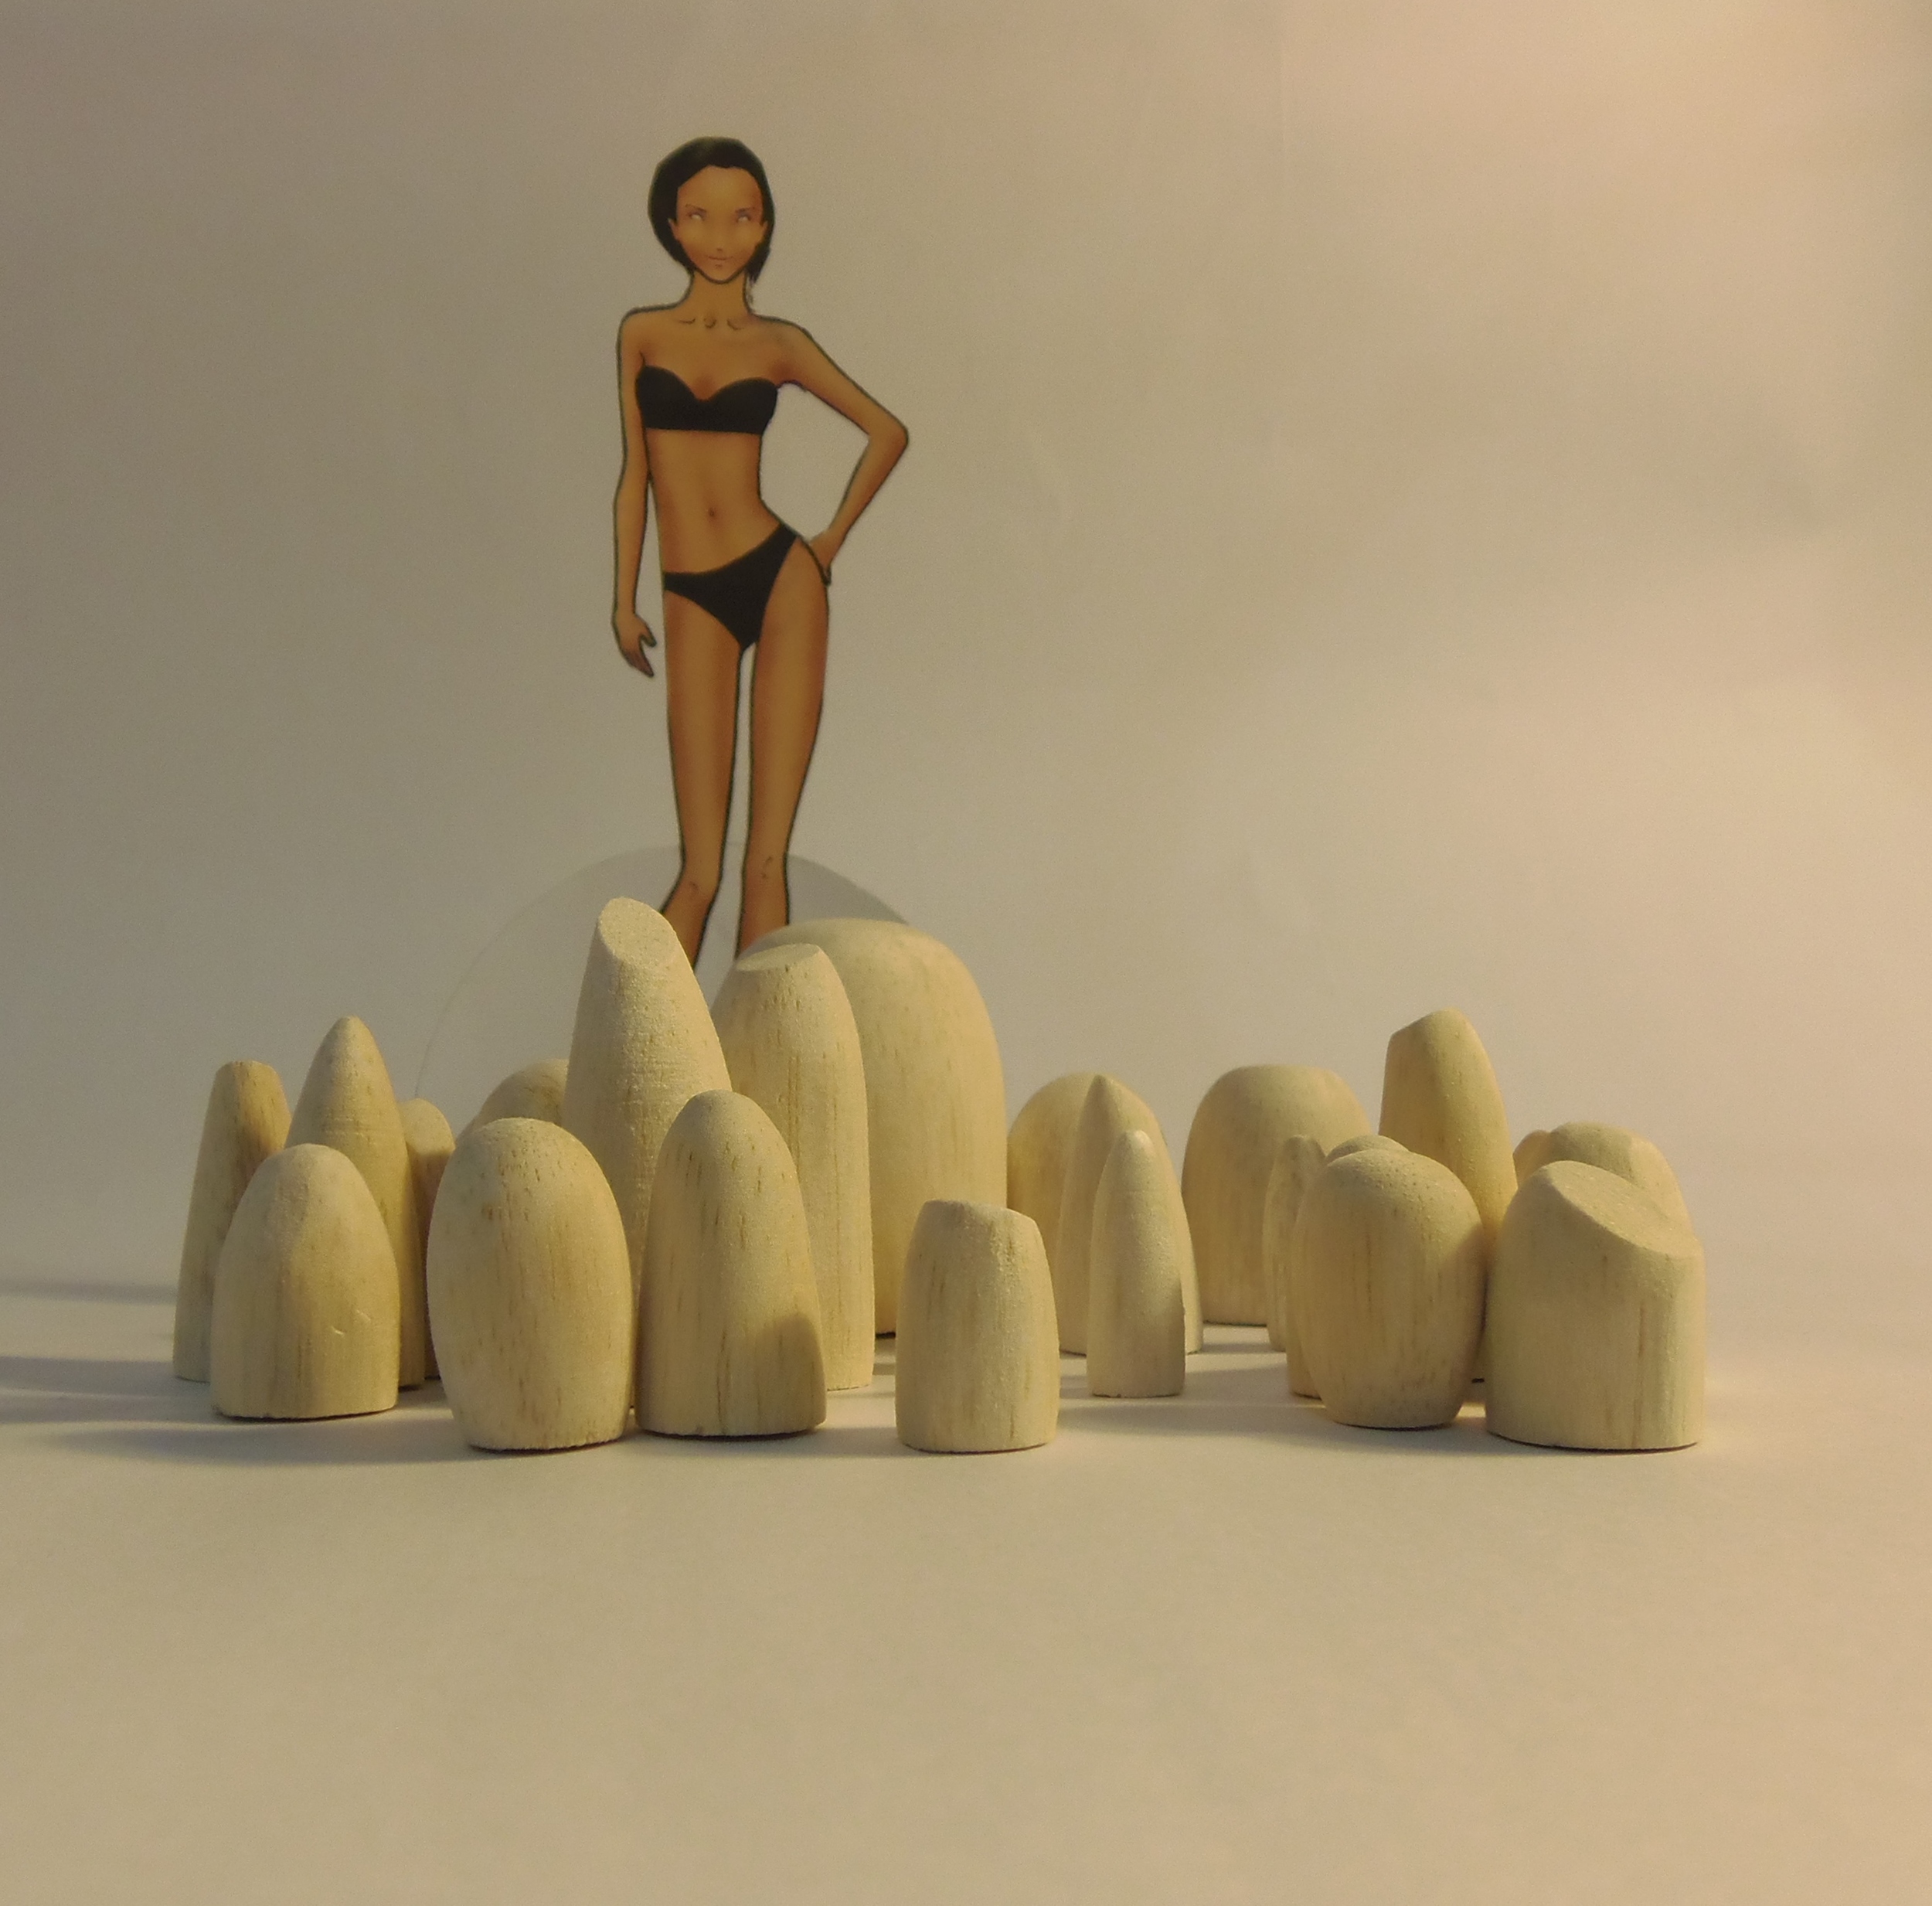
I absolutely love these pieces of Pippin Drysdale's. I just adore them. Image these REALLY BIG! Omg, gorgeous.

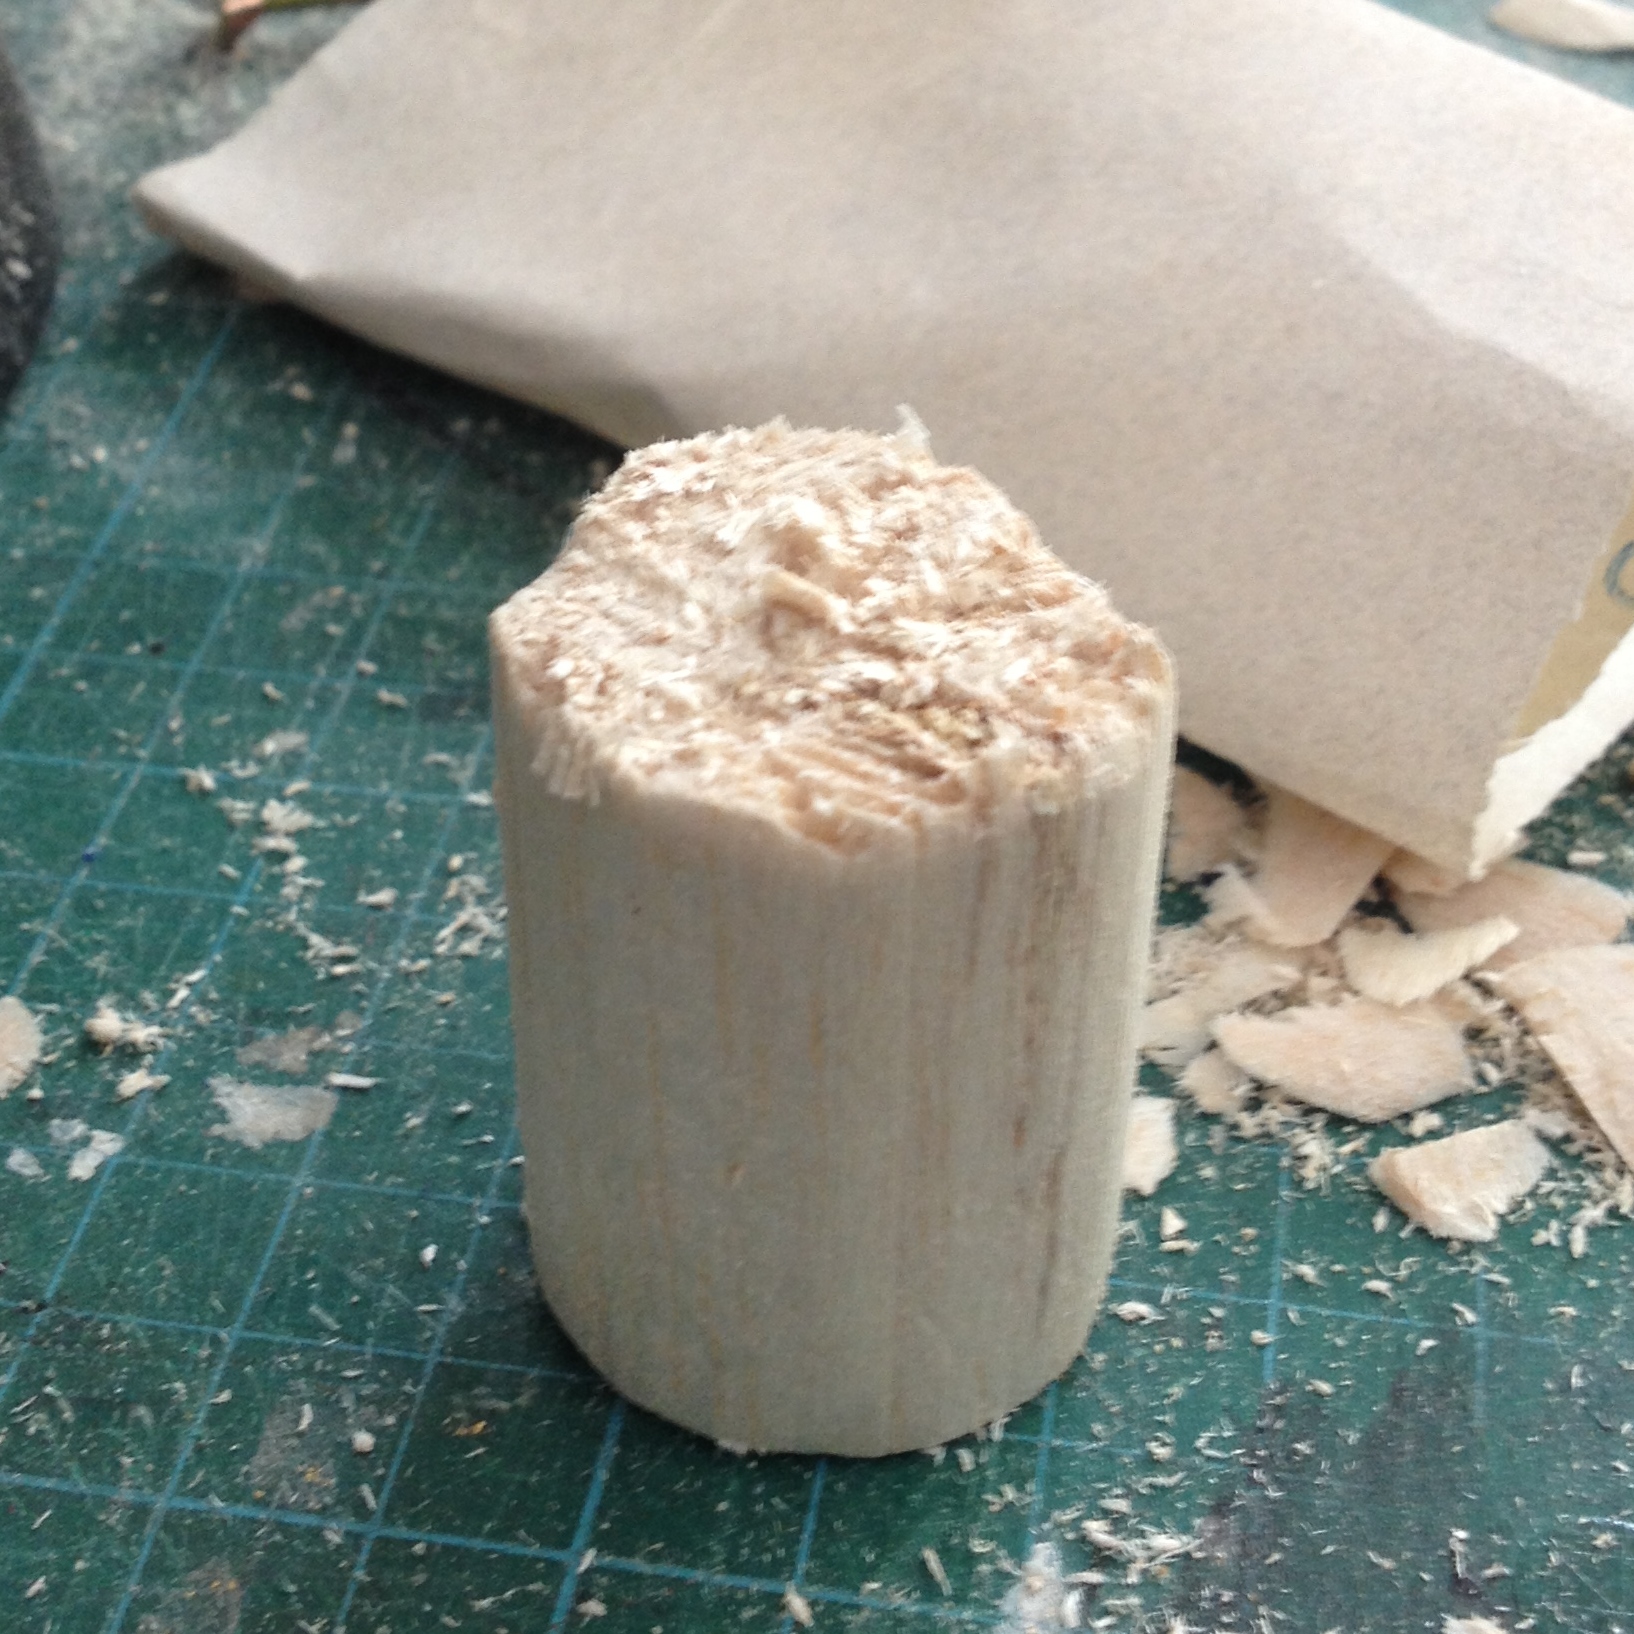
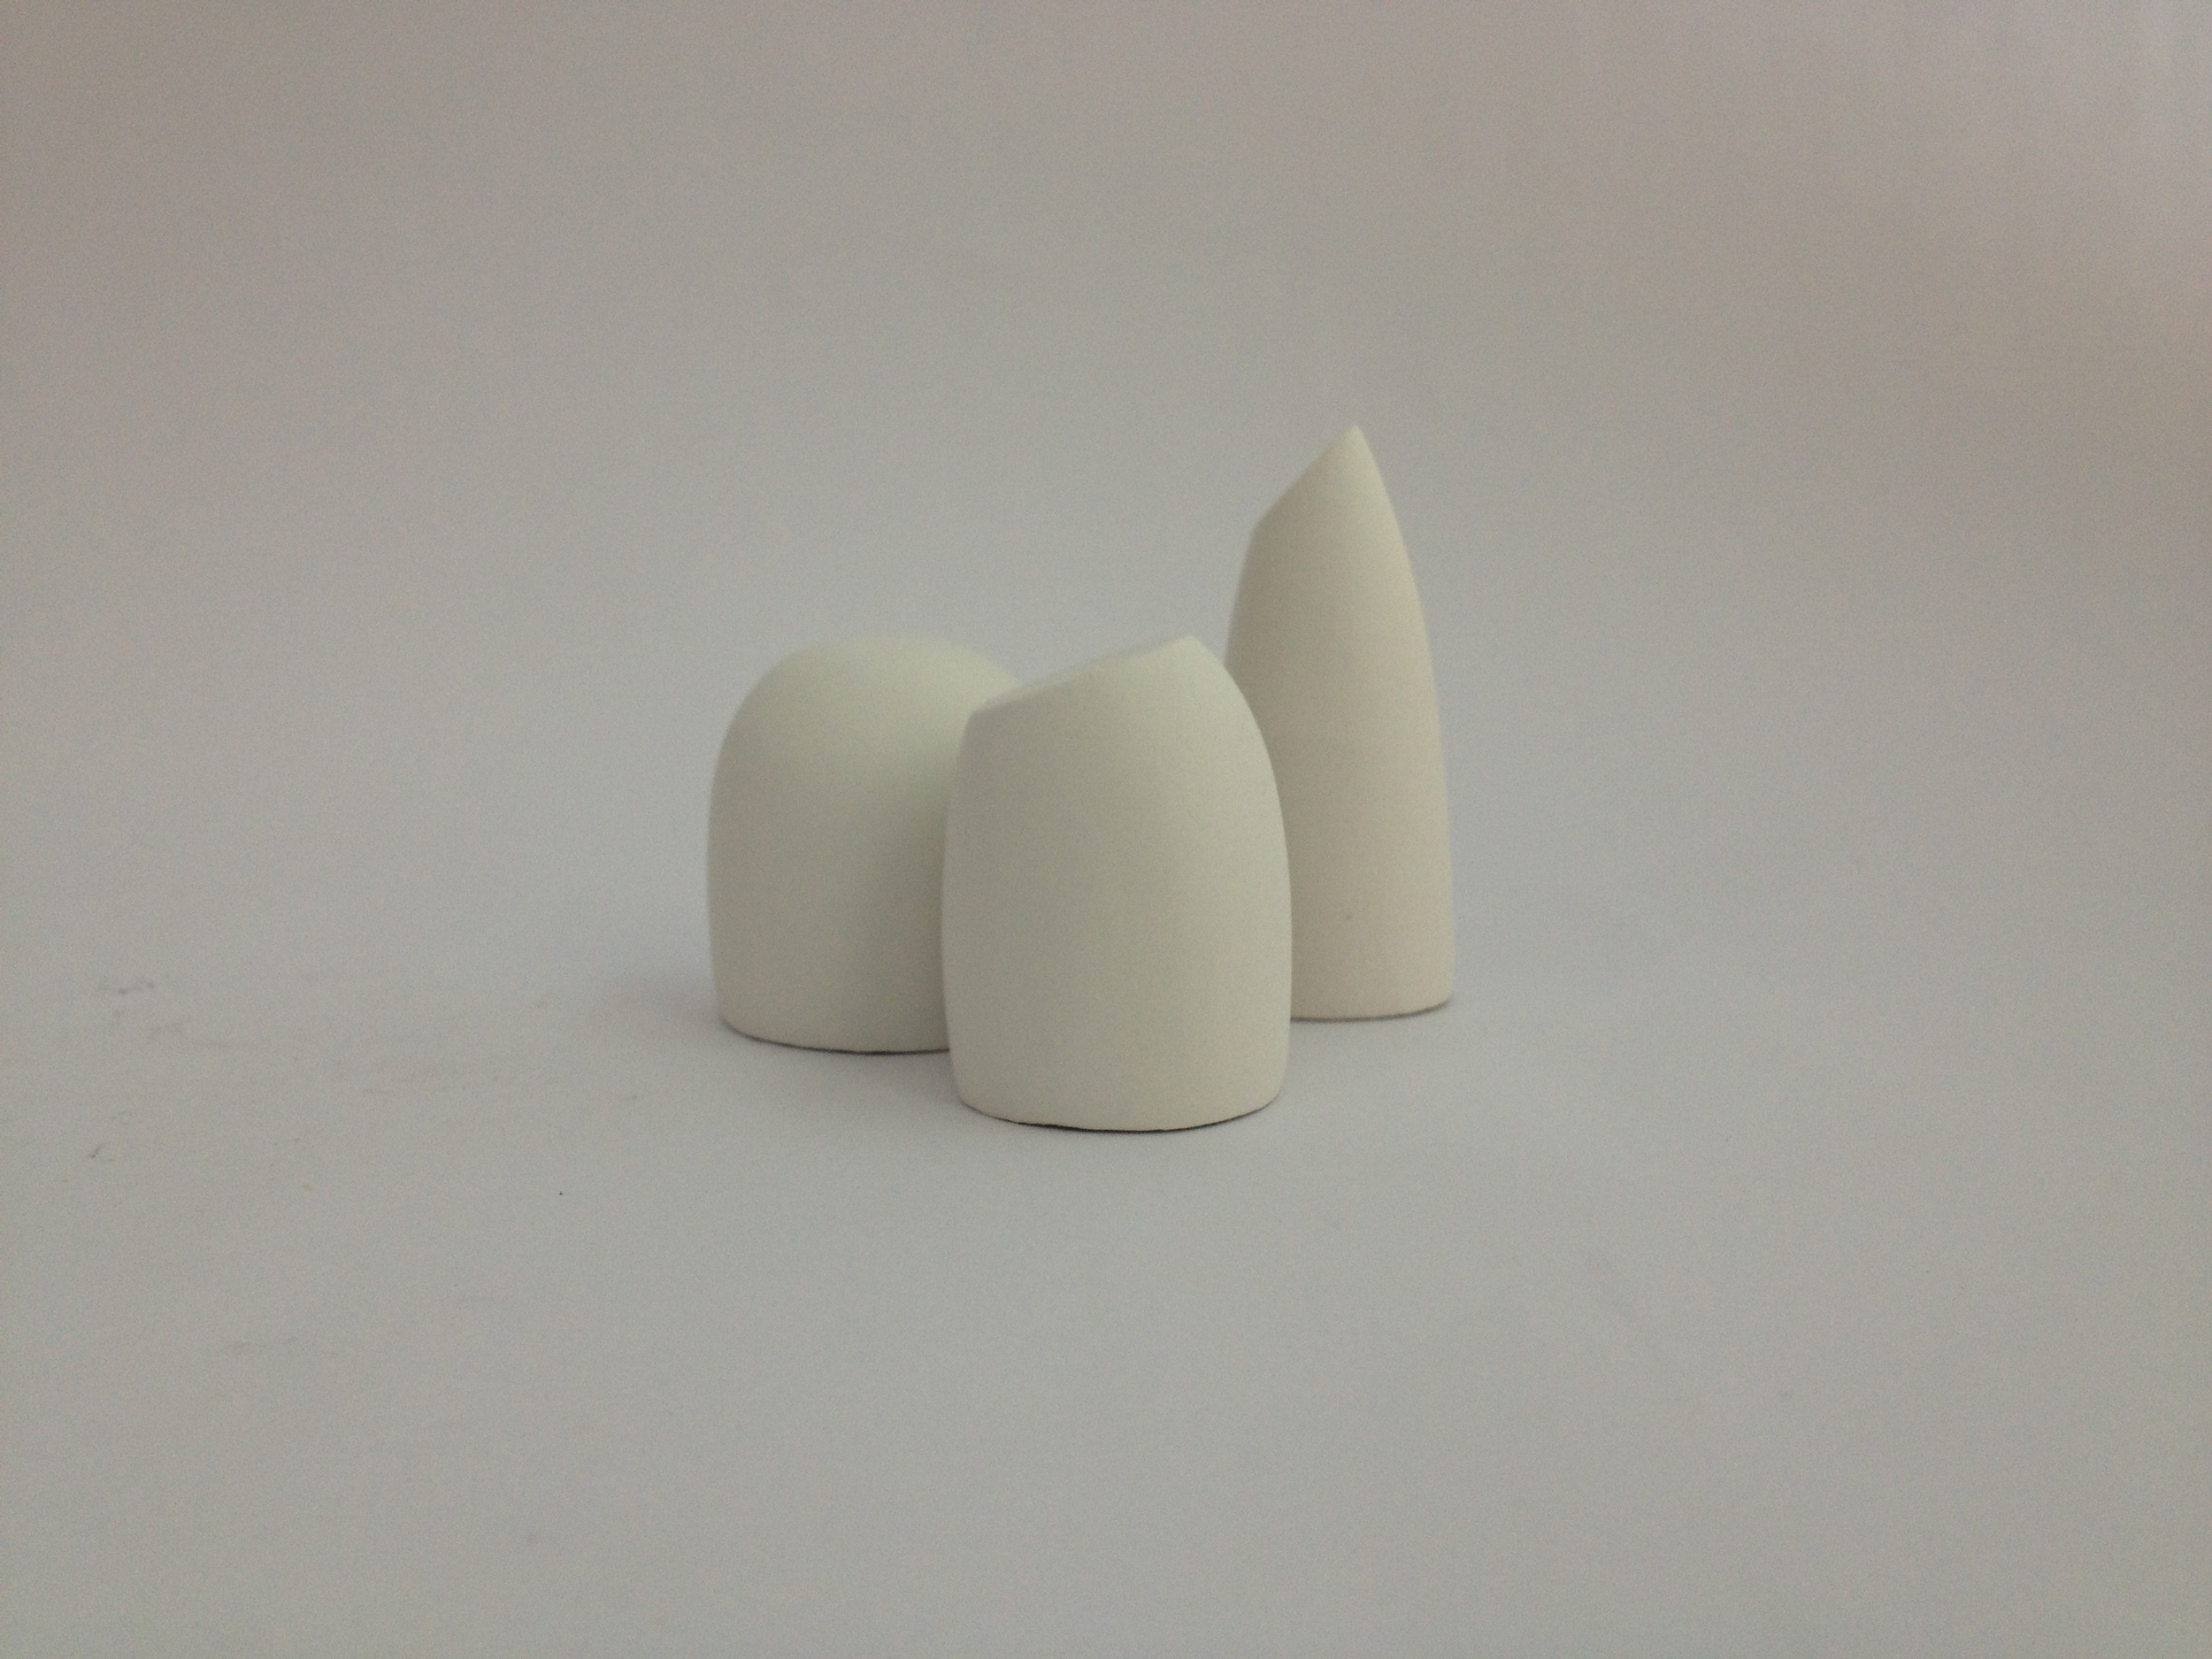
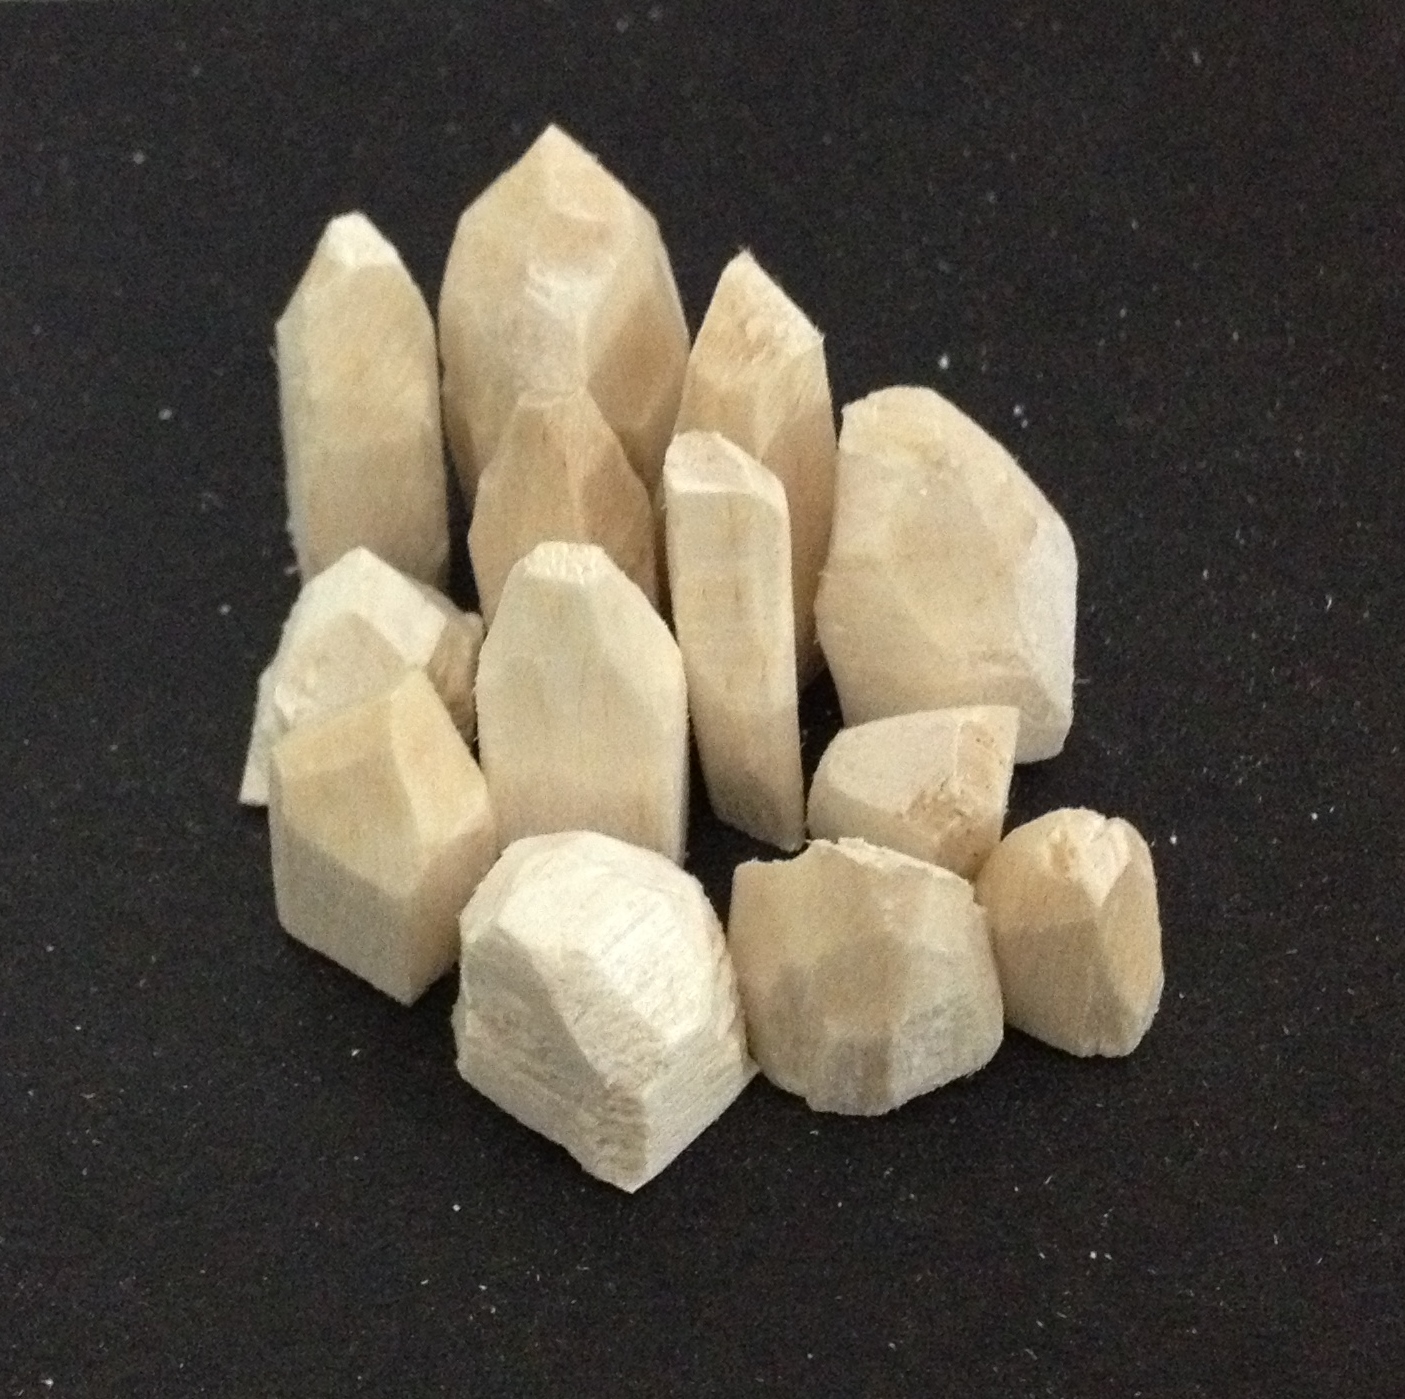
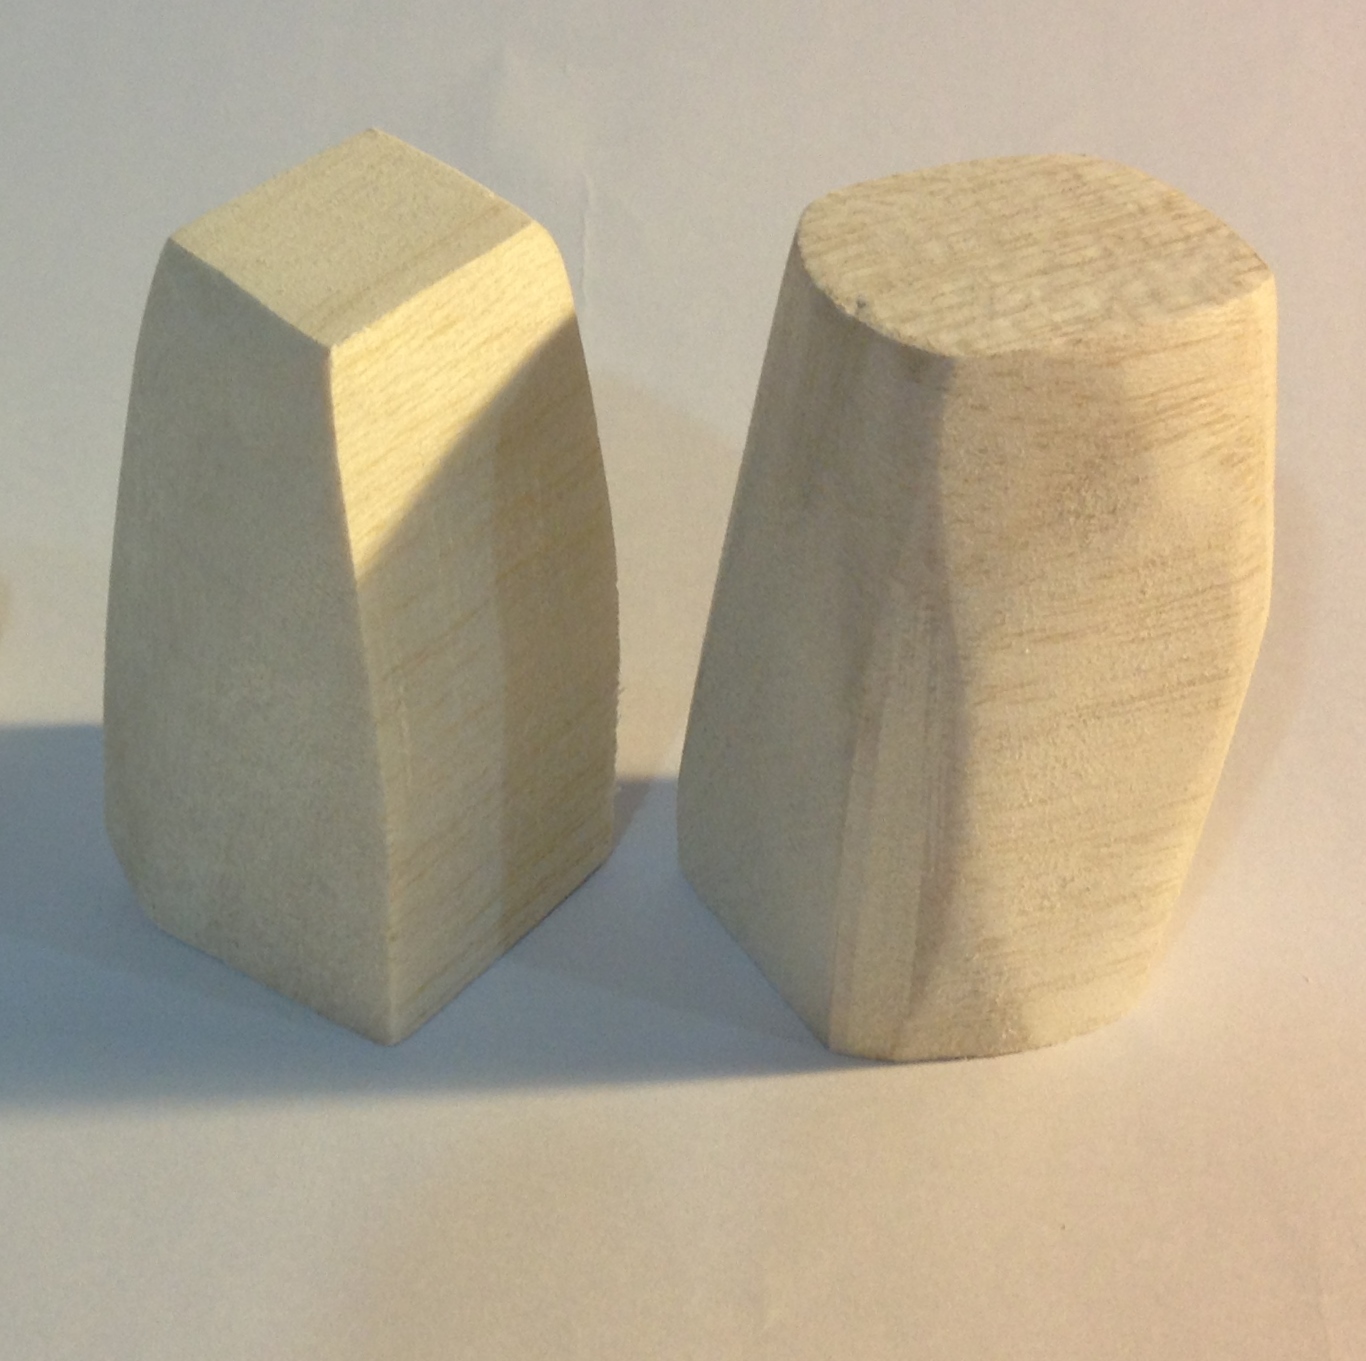
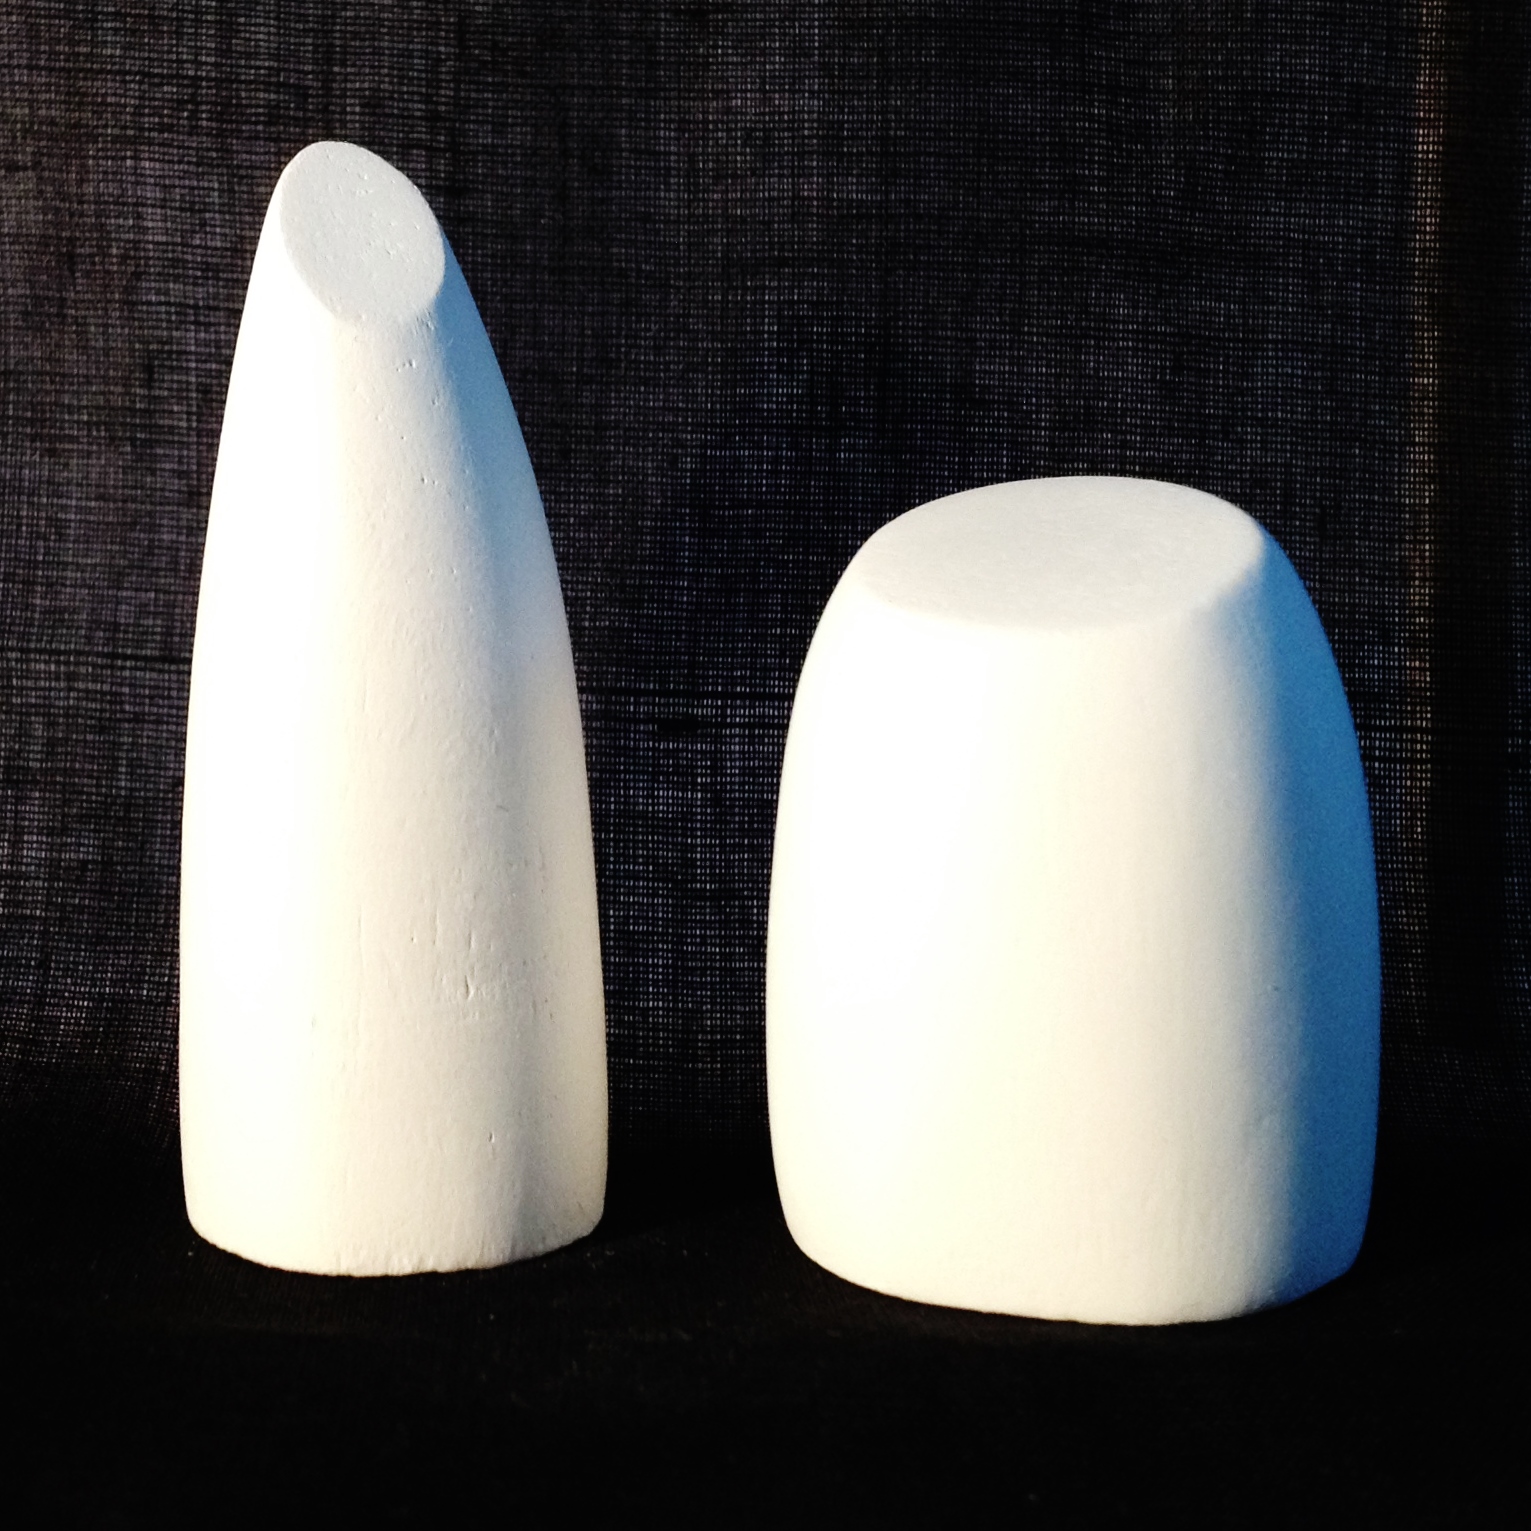
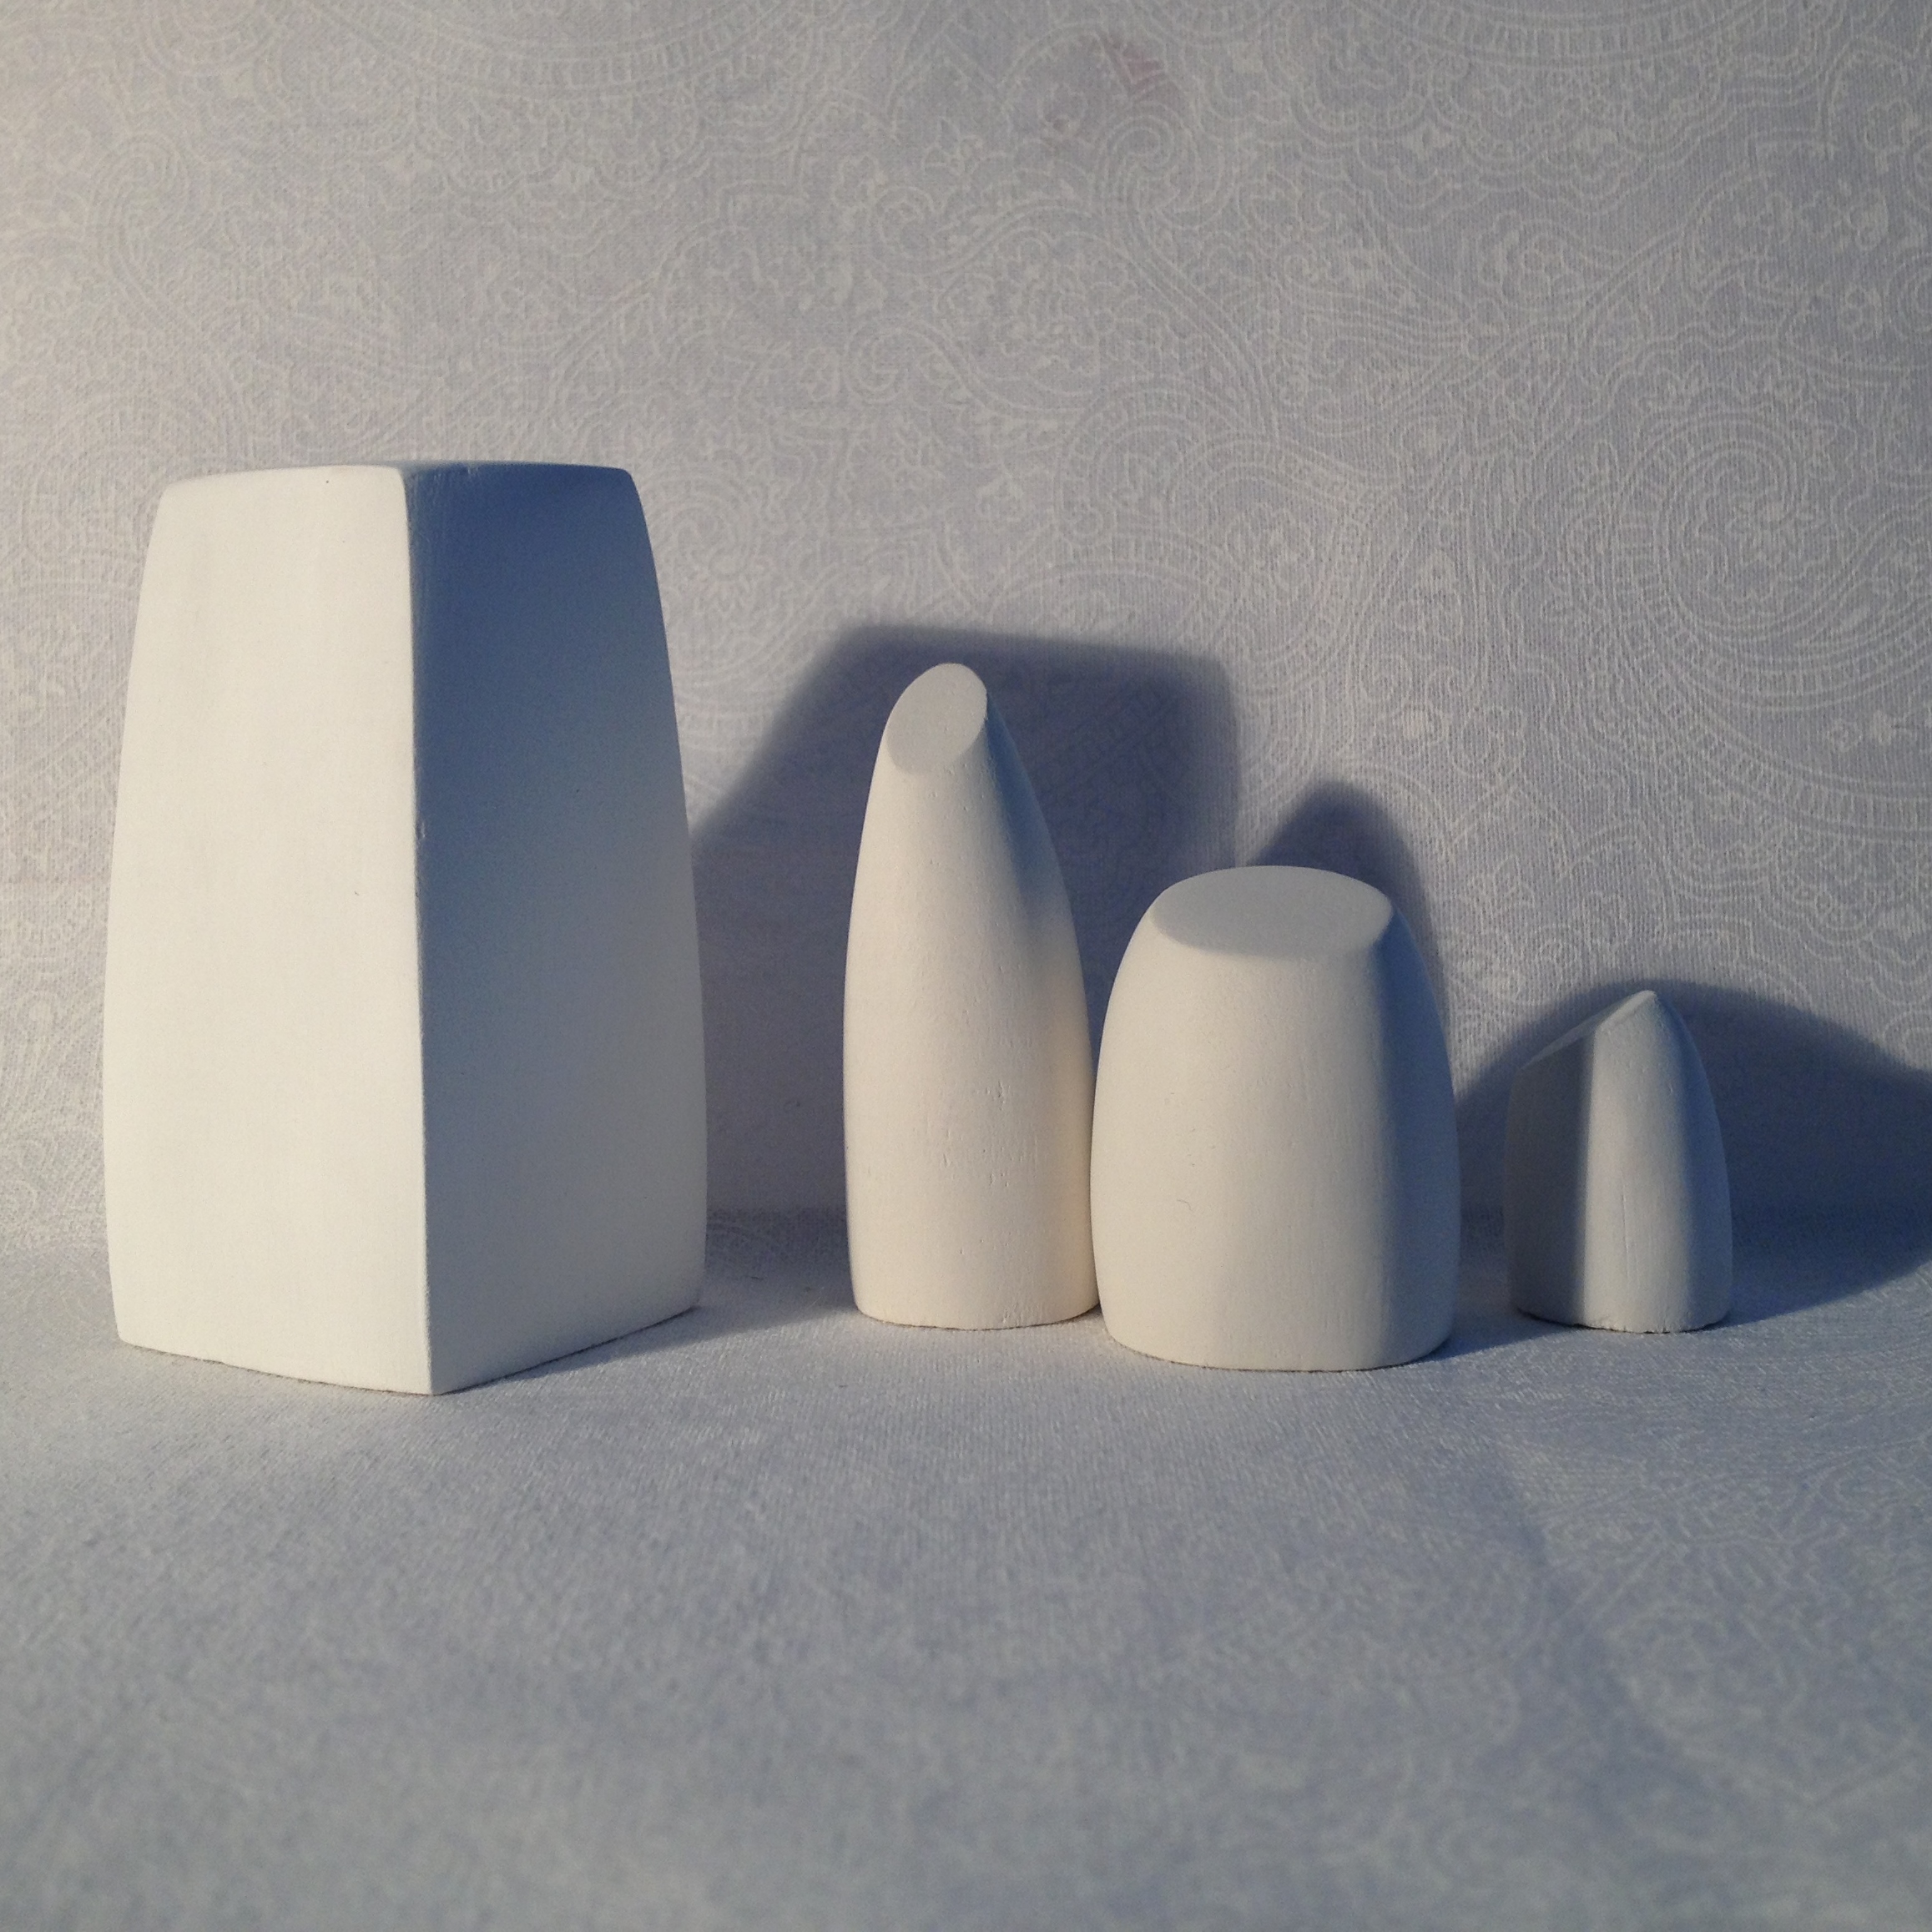
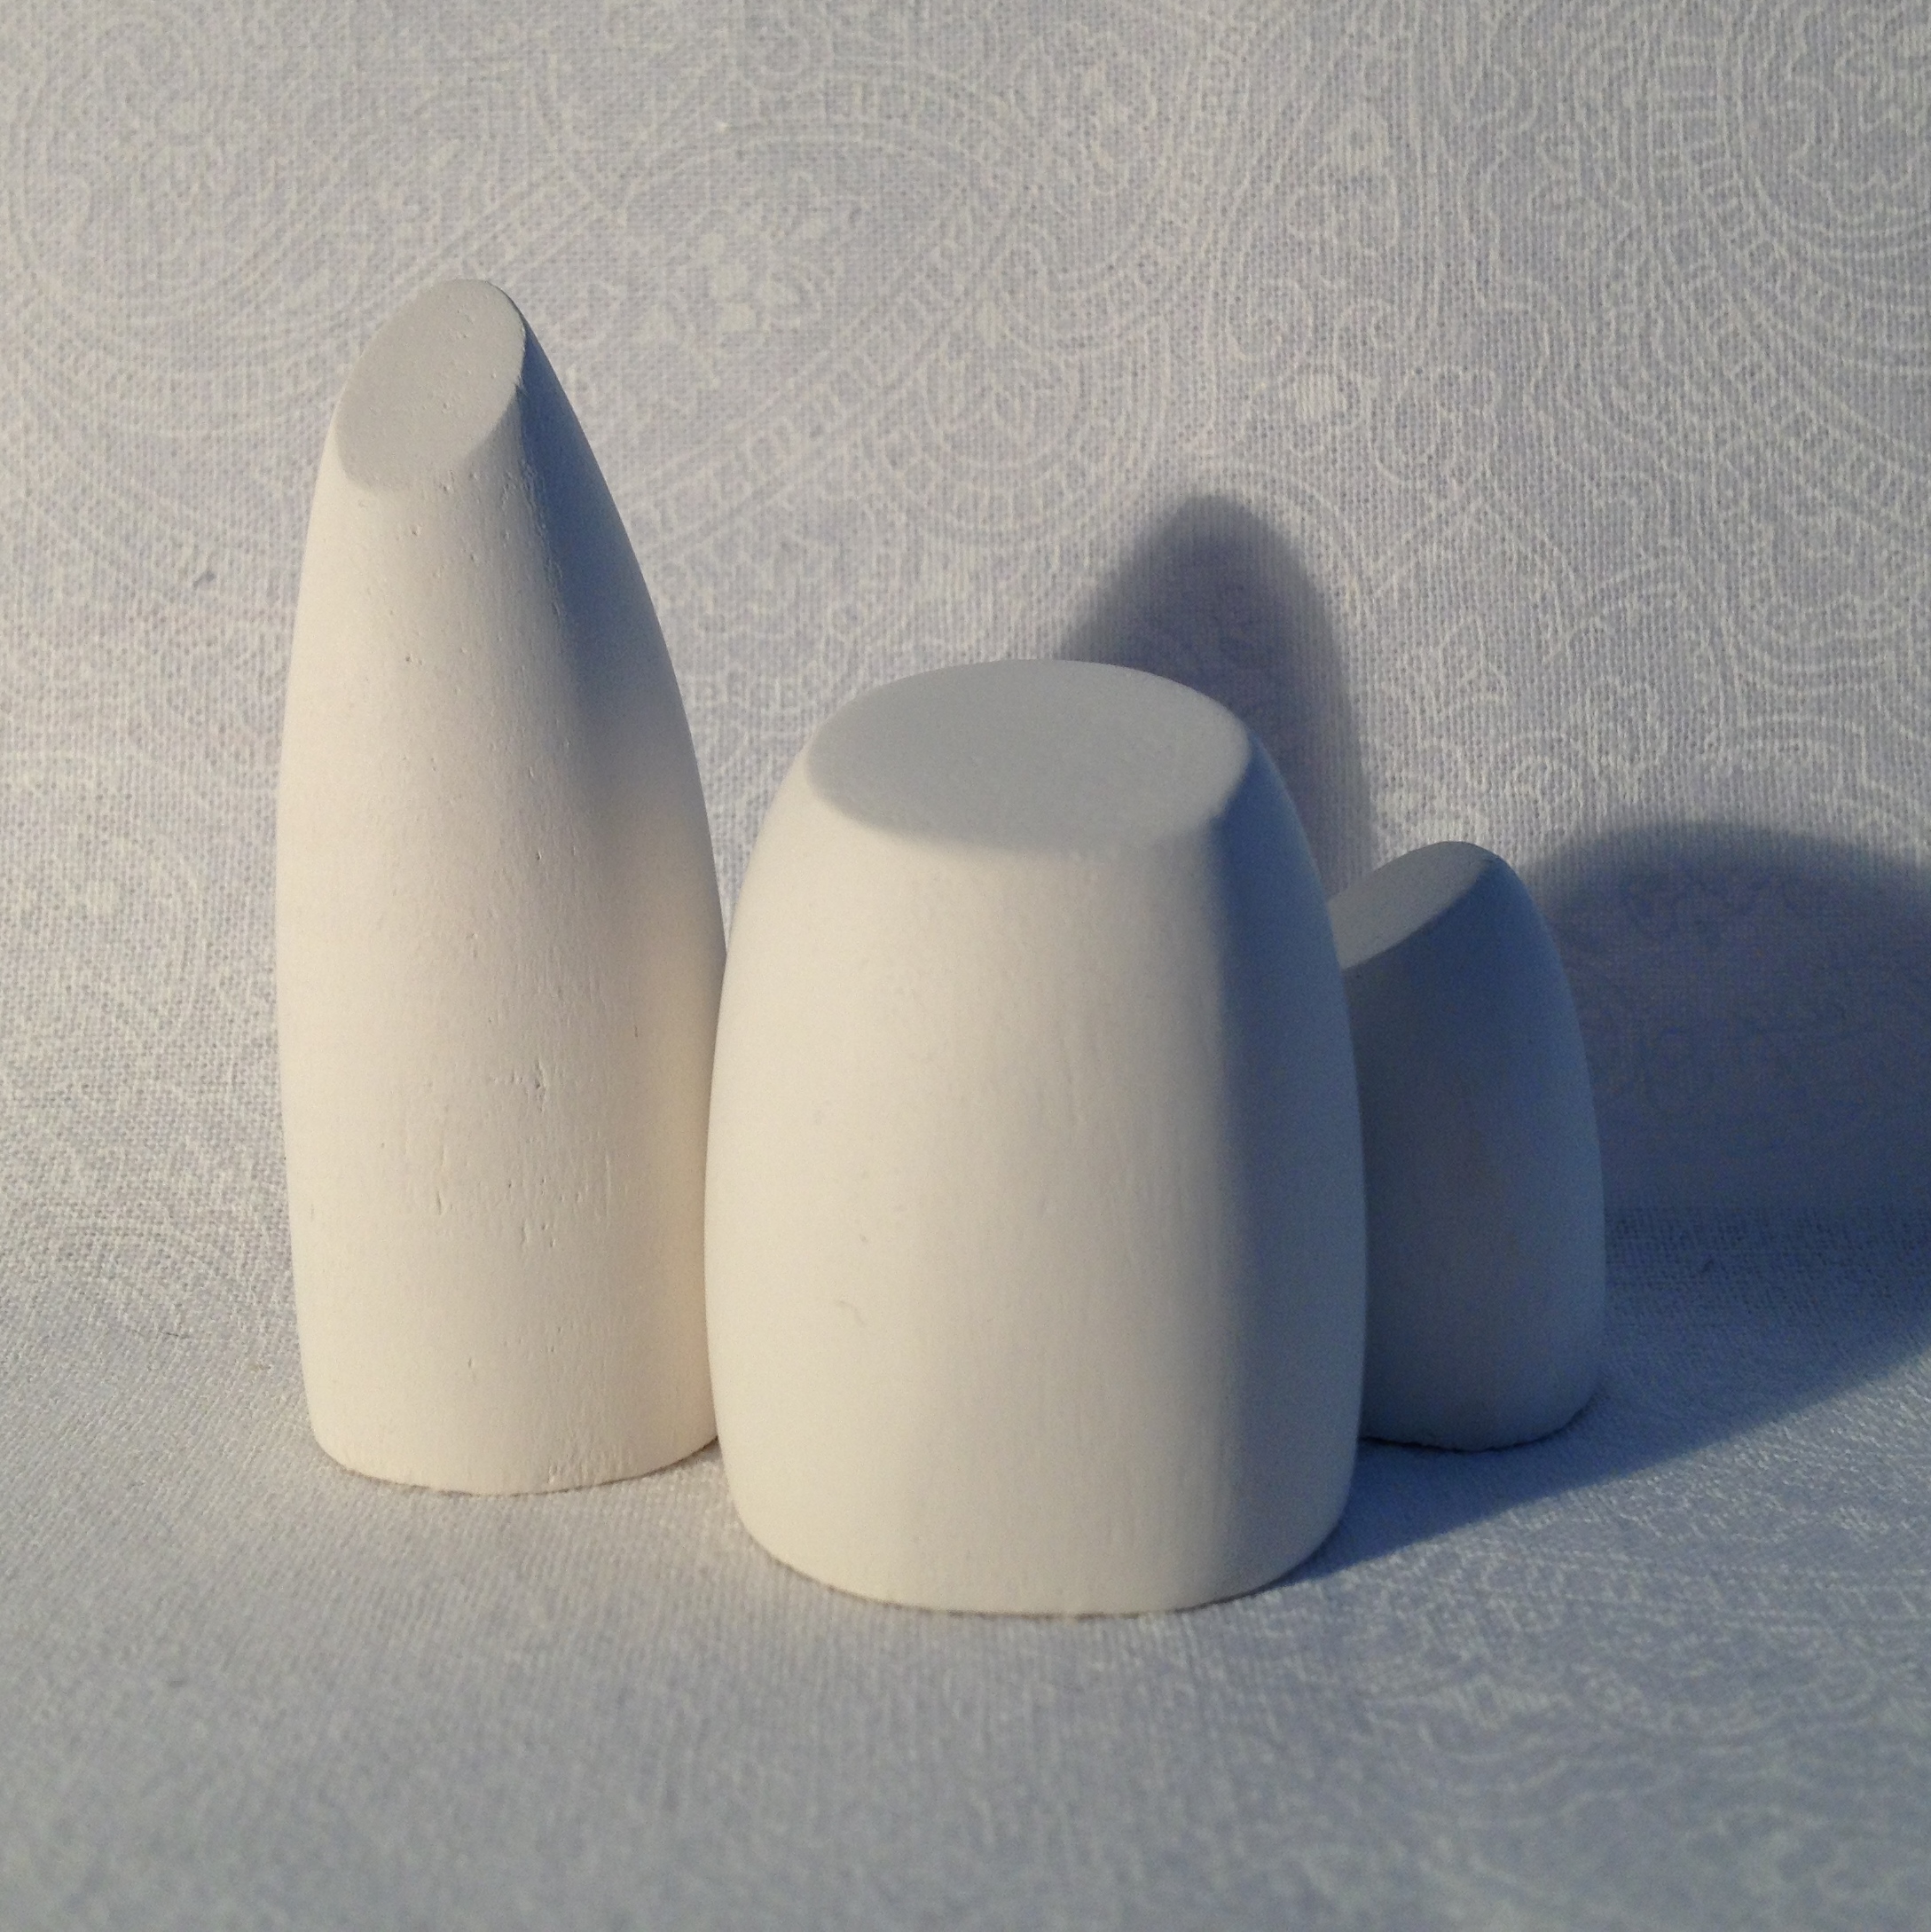
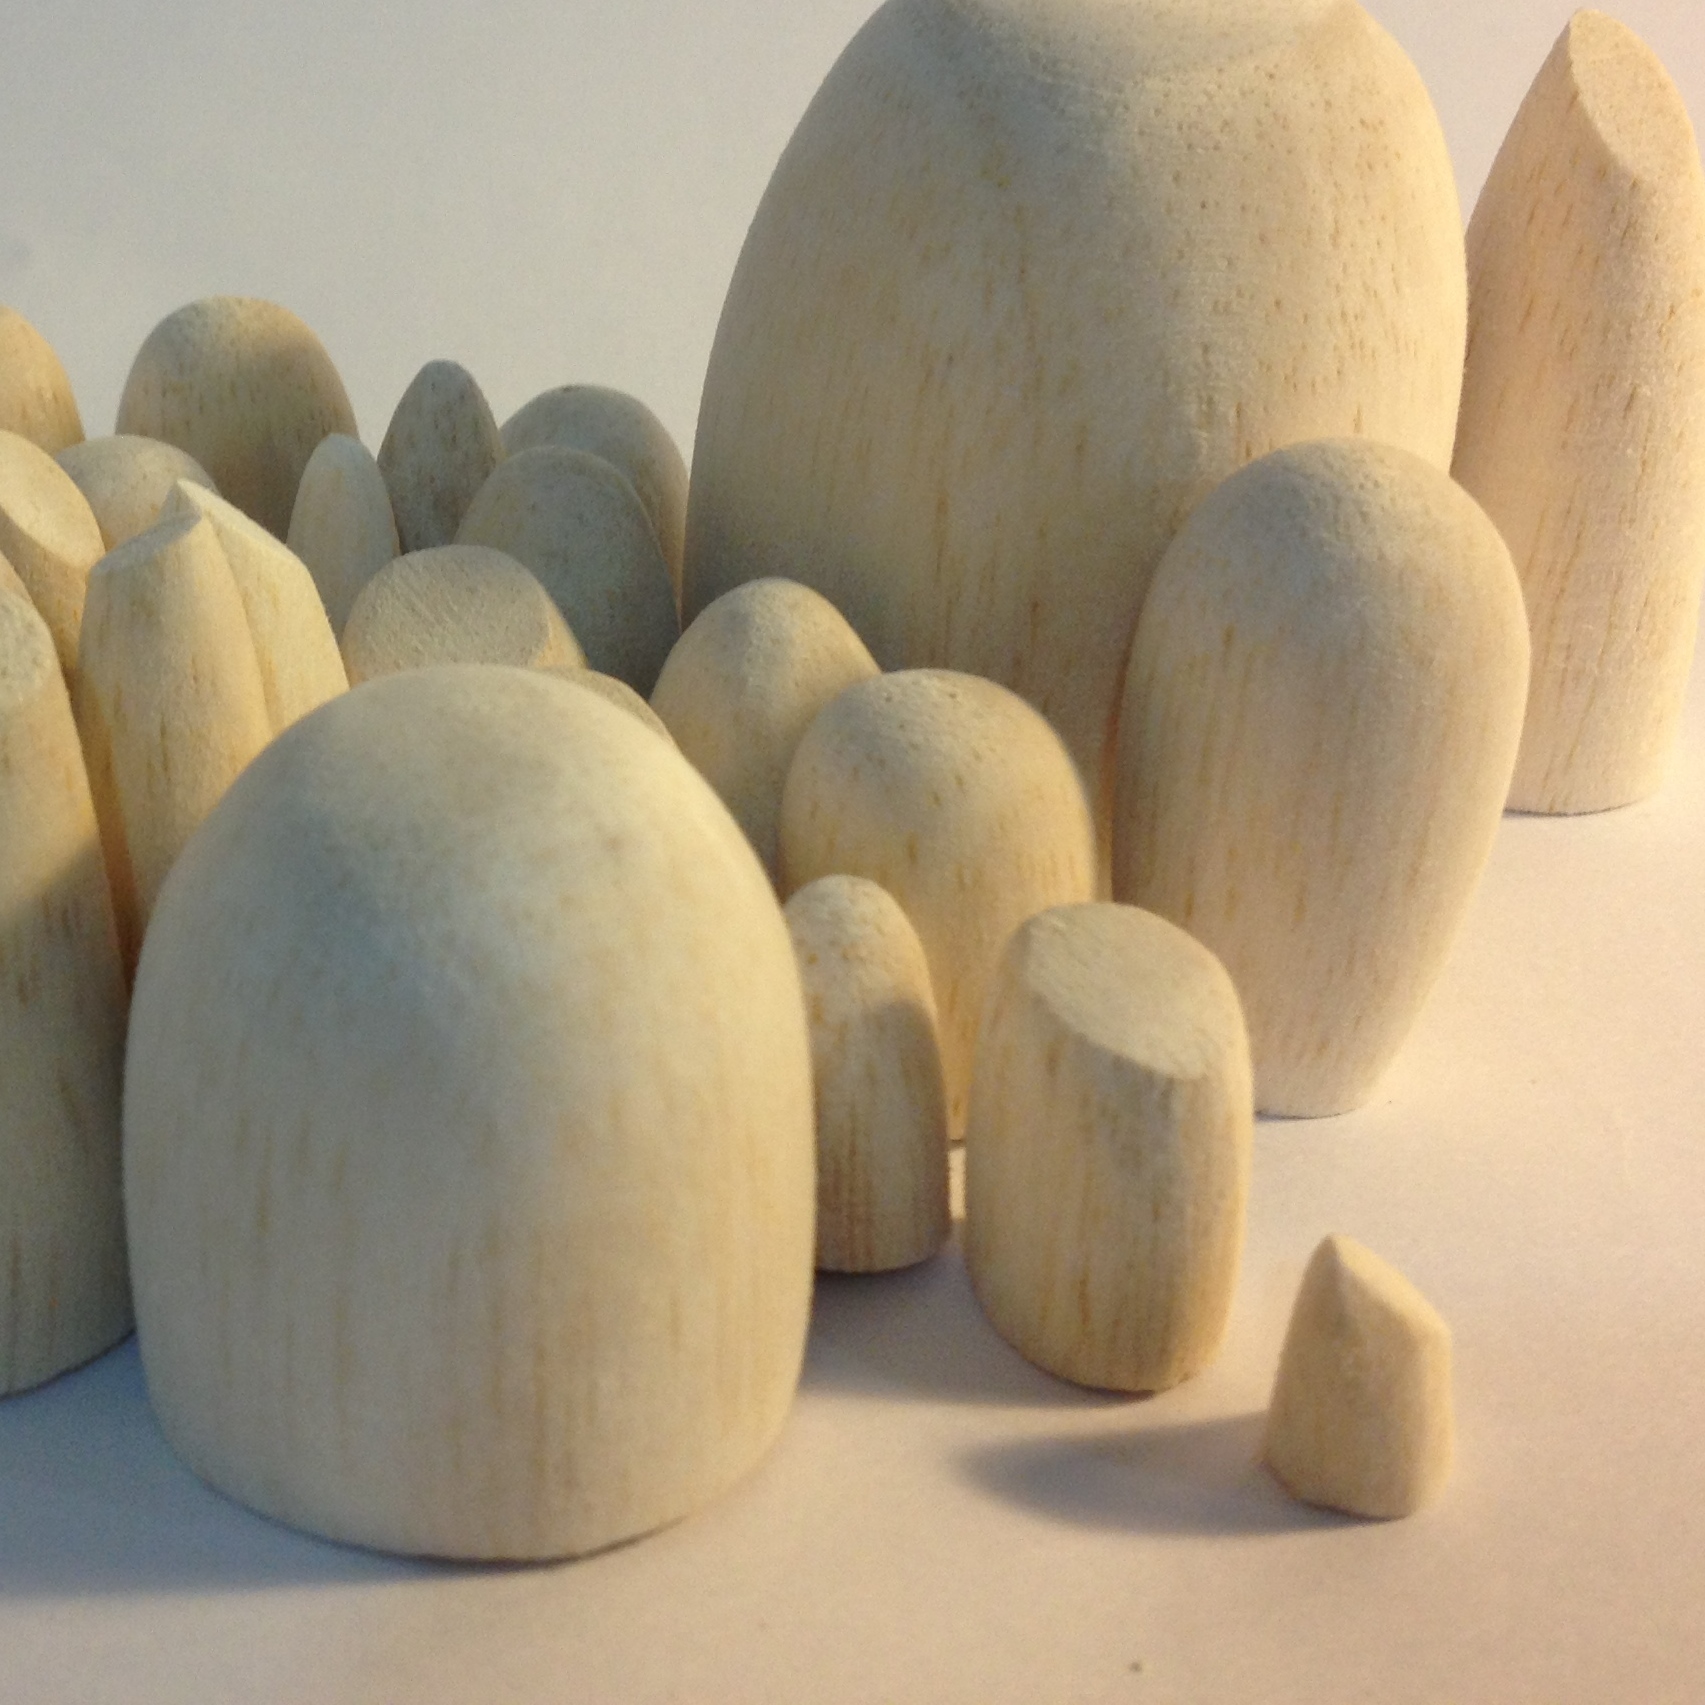
I started making some little dome things and it was addictive, so I made lots of them.
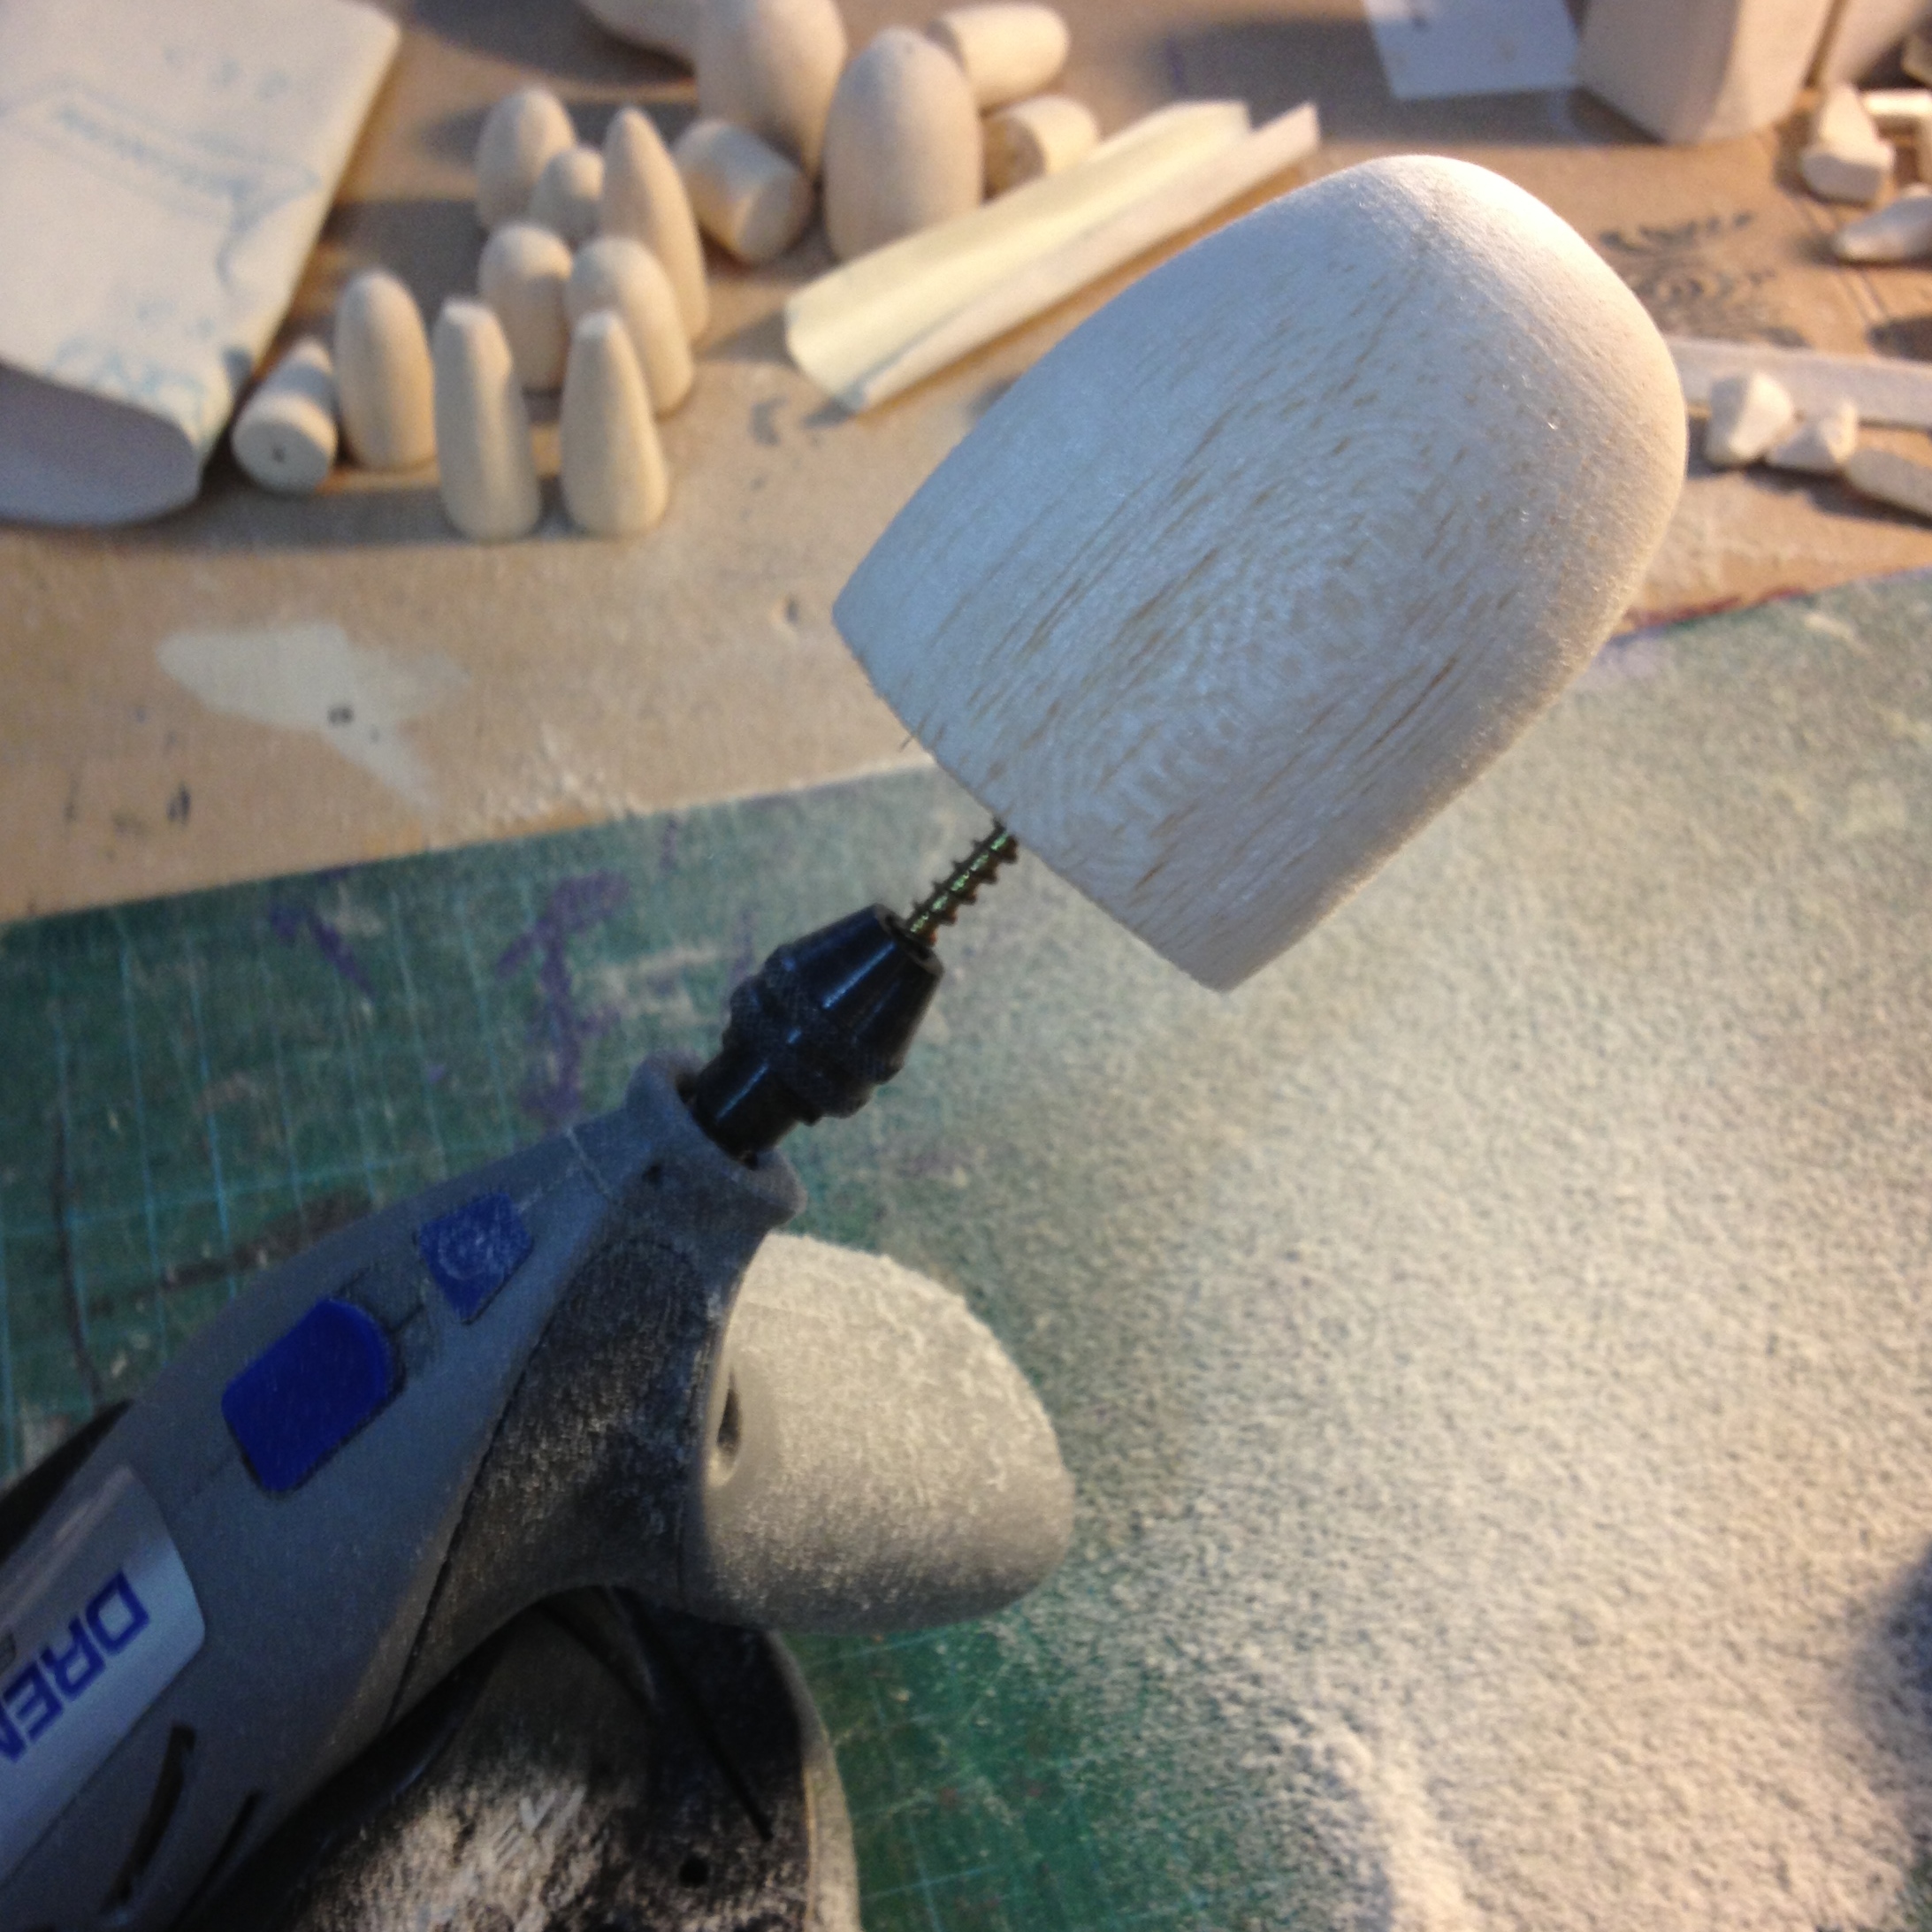
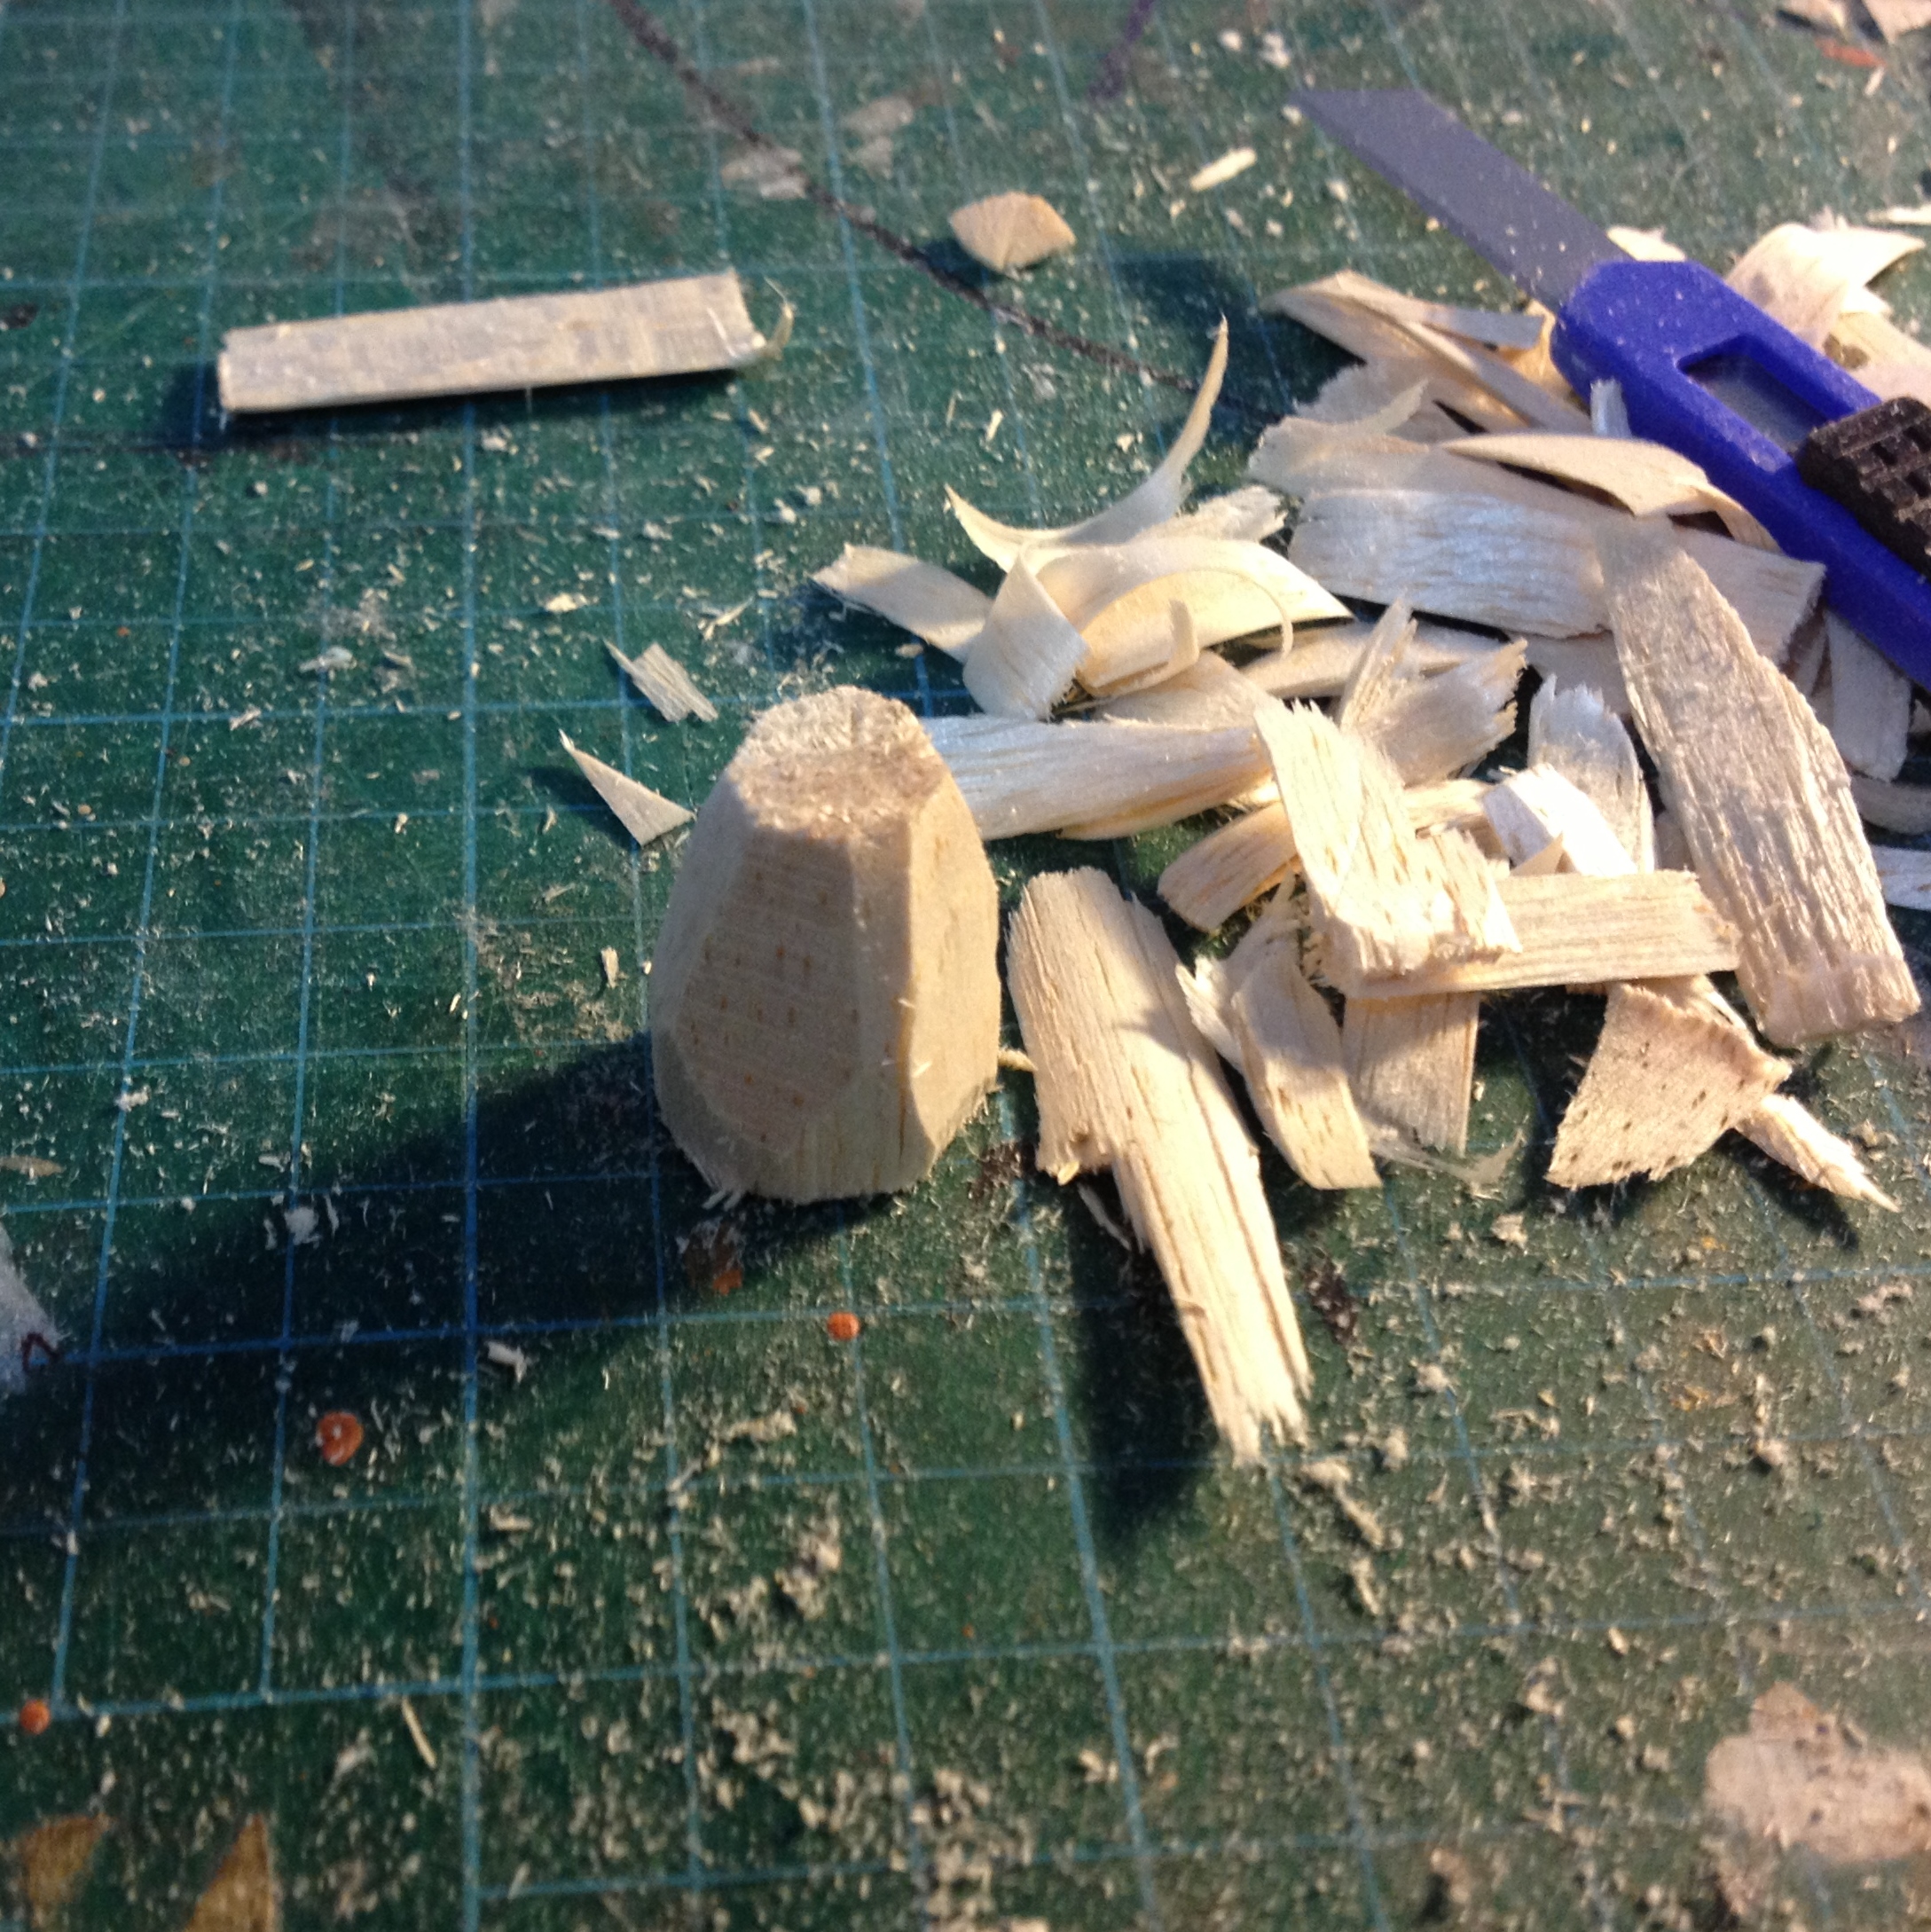
Start with short cut lengths of balsa dowel, shave the top down to a rough dome shape.
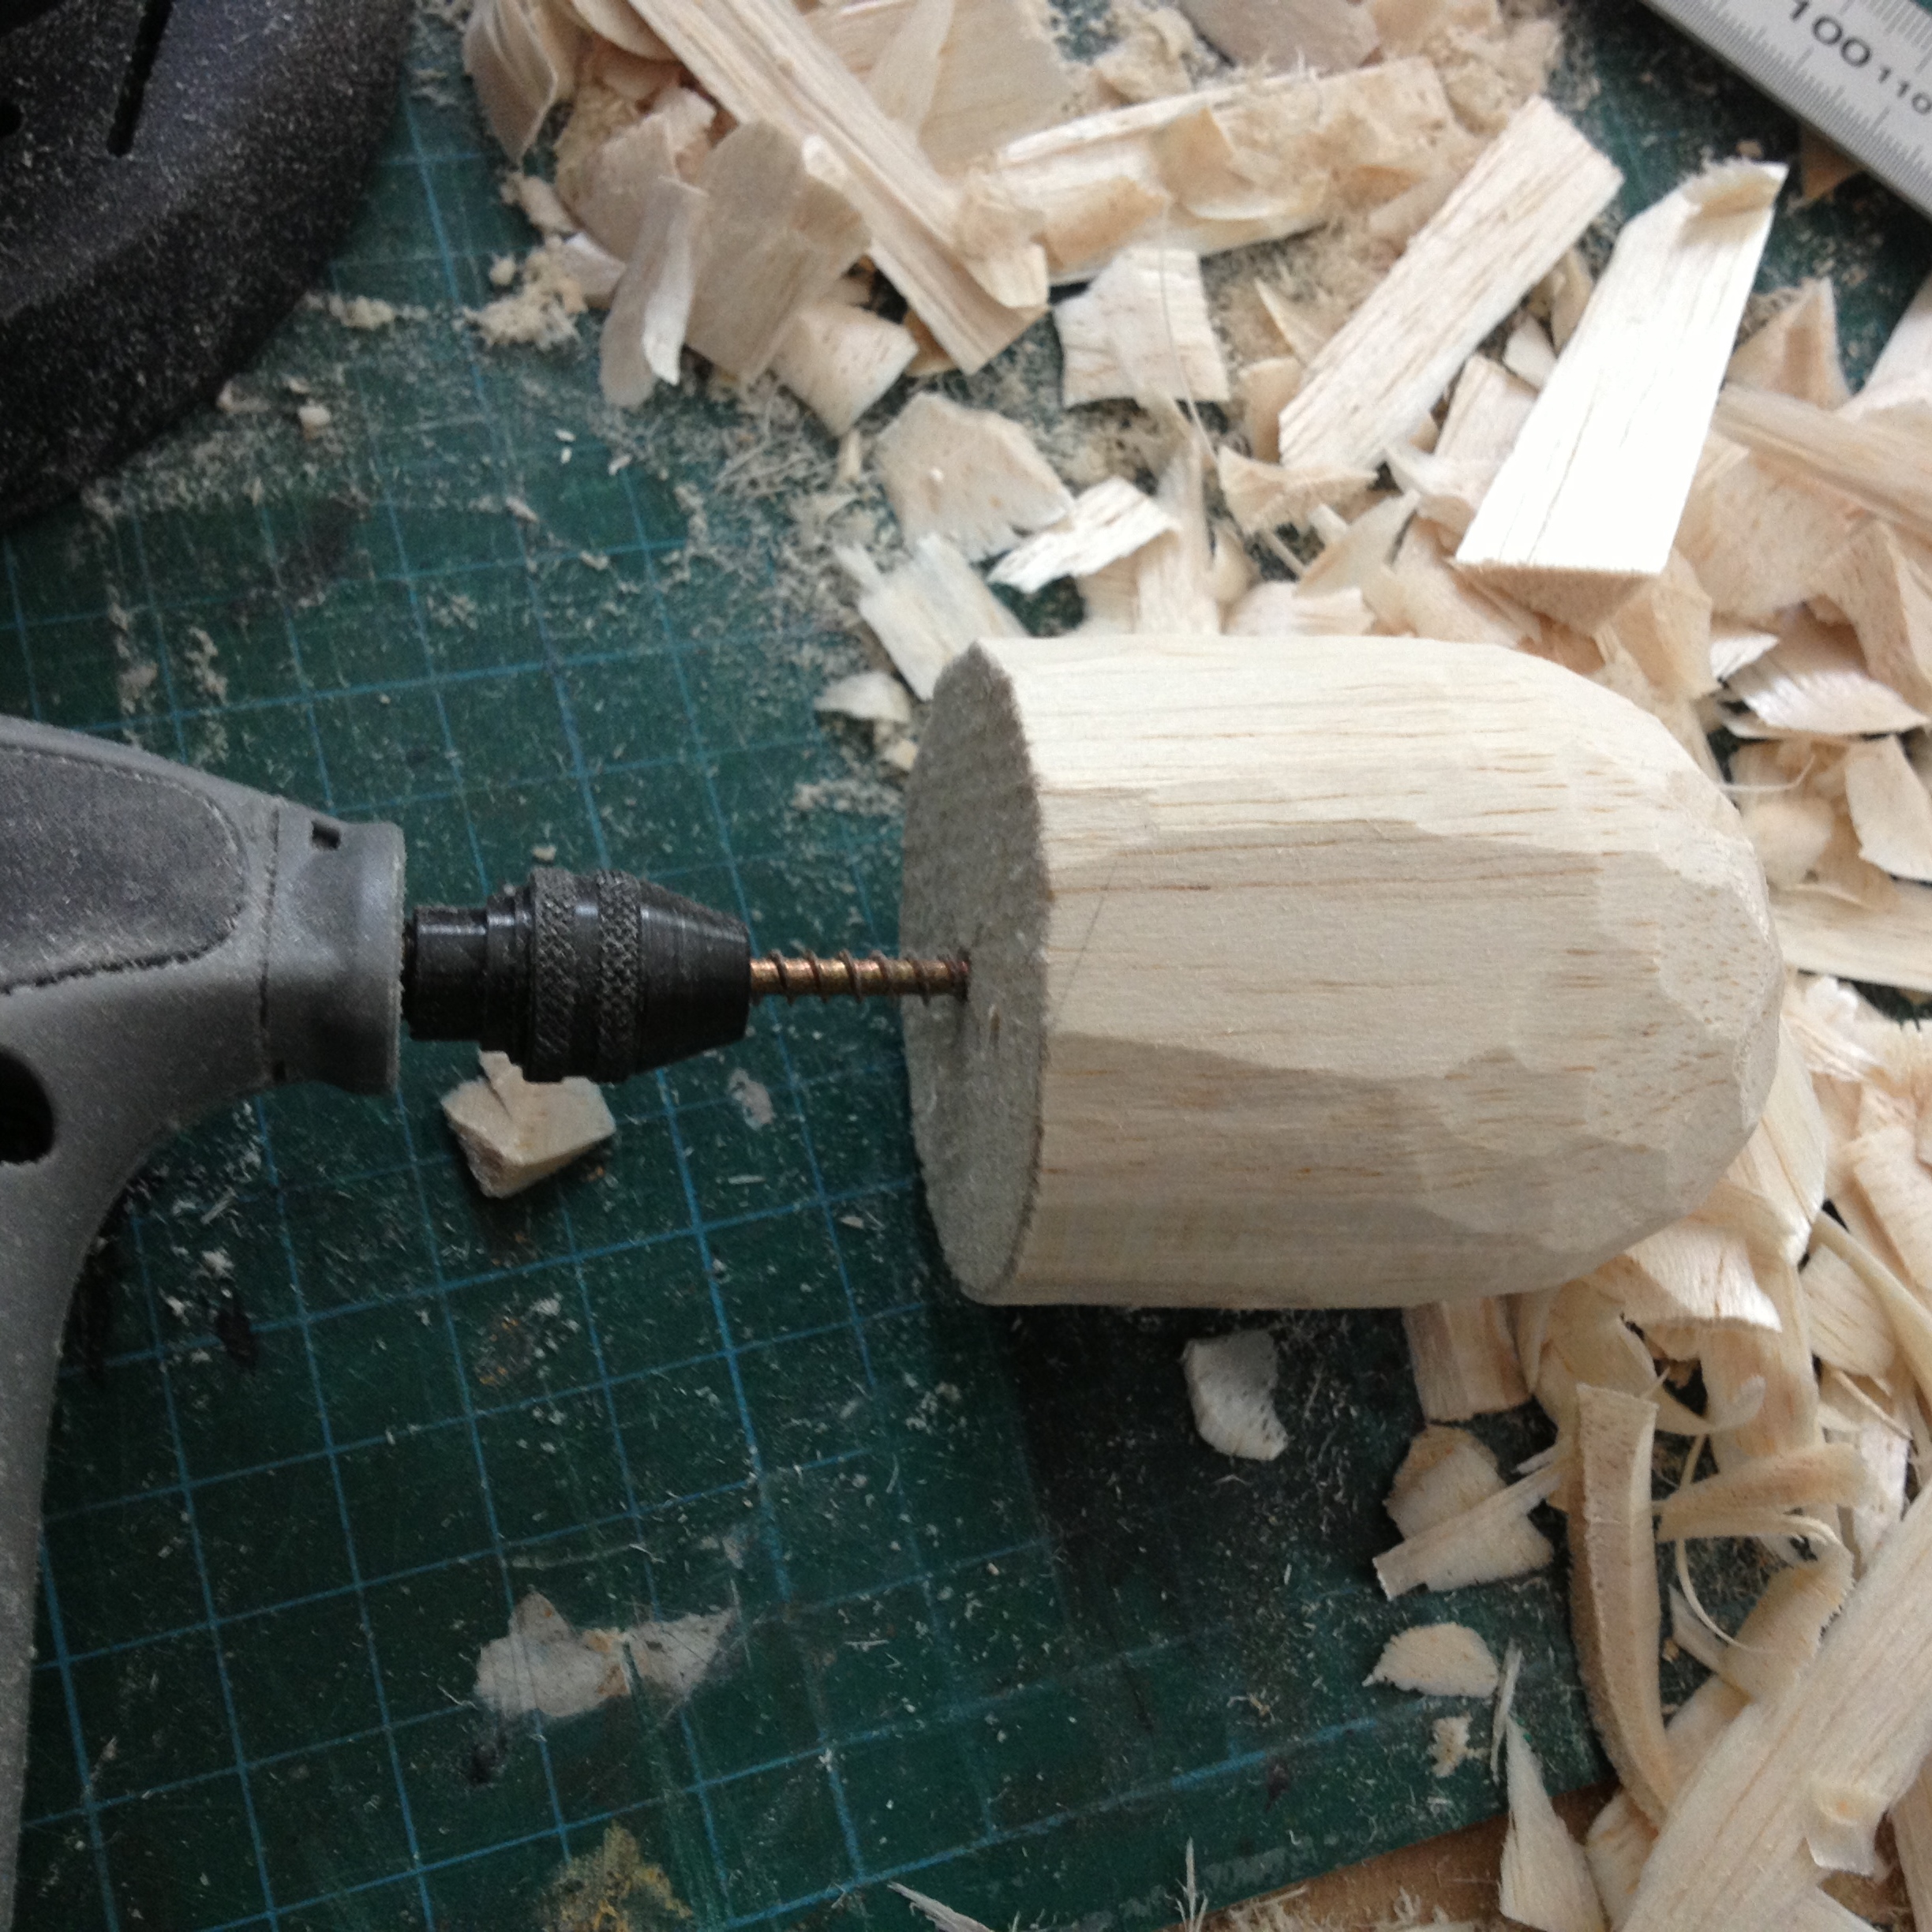
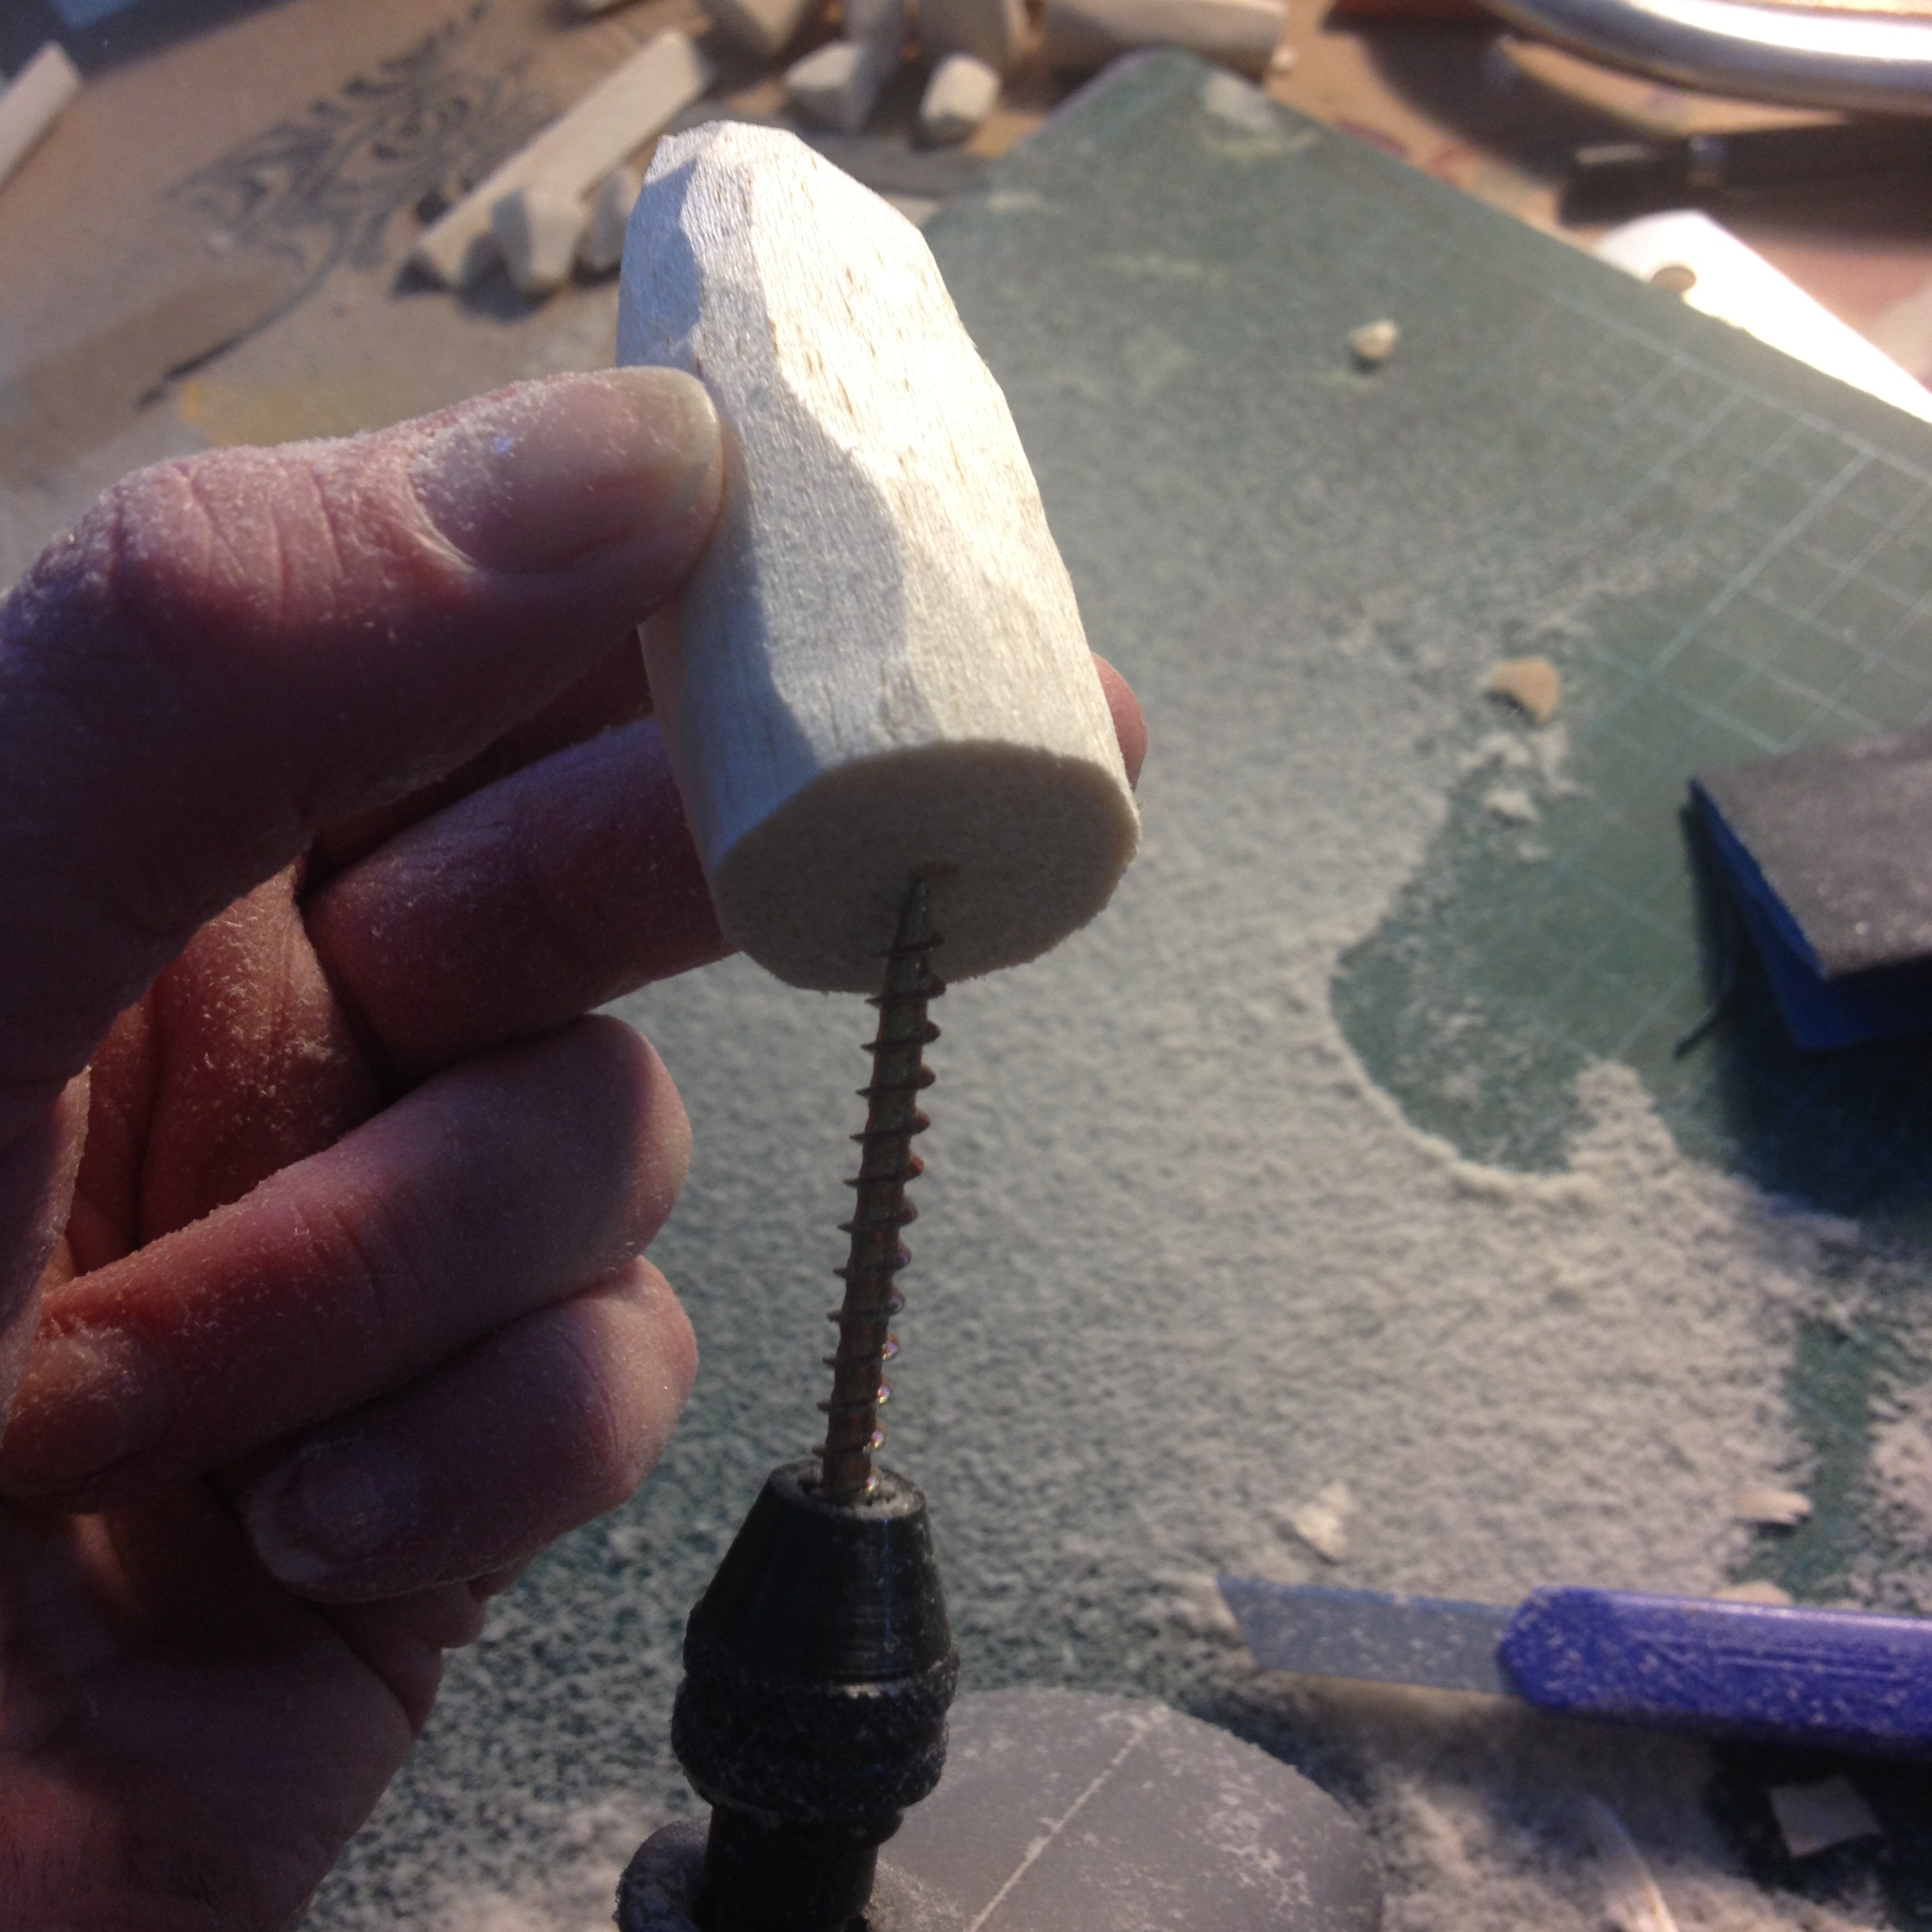
Then cunningly cut the head off a wood screw, clamp this into a universal chuck on the Dremel and screw on the piece of balsa. Bingo, mini lathe.
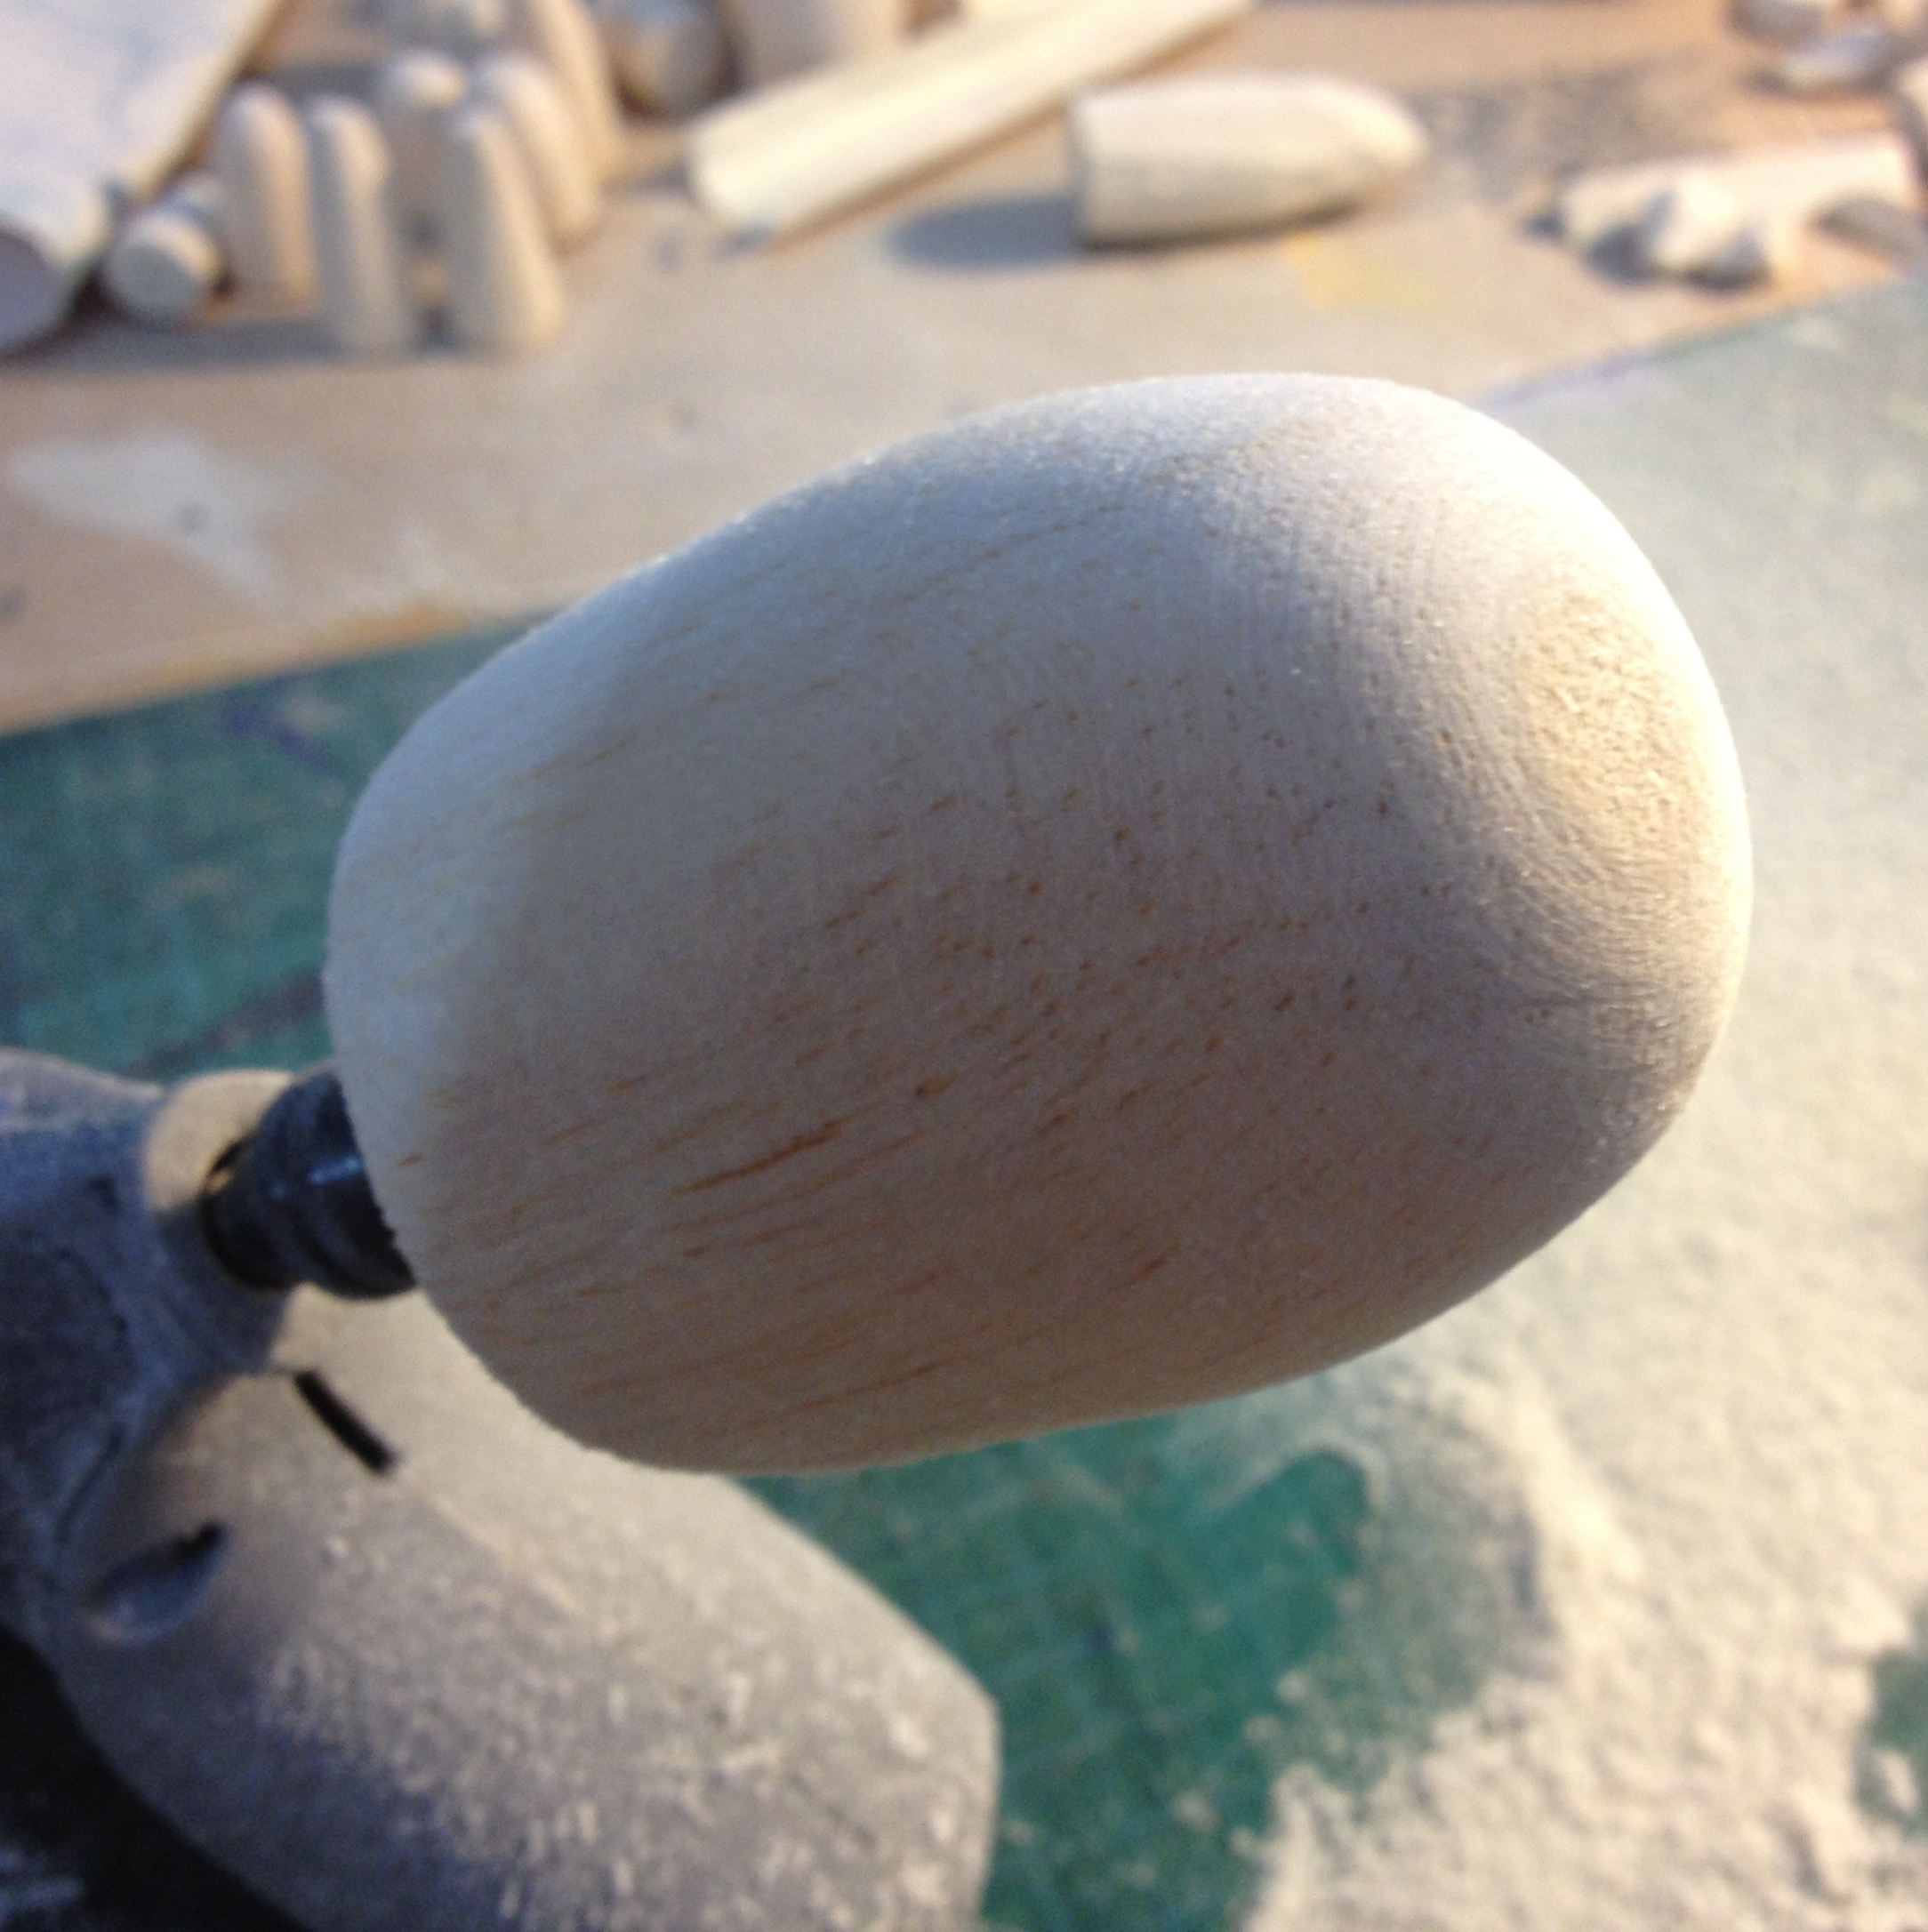
I glued 180 & 220 grit sandpaper to strips of balsa about 15mm wide, like an emery board in fact. (Actually I did try just using plain old emery boards, but proper sandpaper is far superior.) Use the flat face of the balsa stick that's covered in sandpaper against the spinning shape to kind of sand it, shaping against the turning action. Before long a lovely smooth even surface materialises.
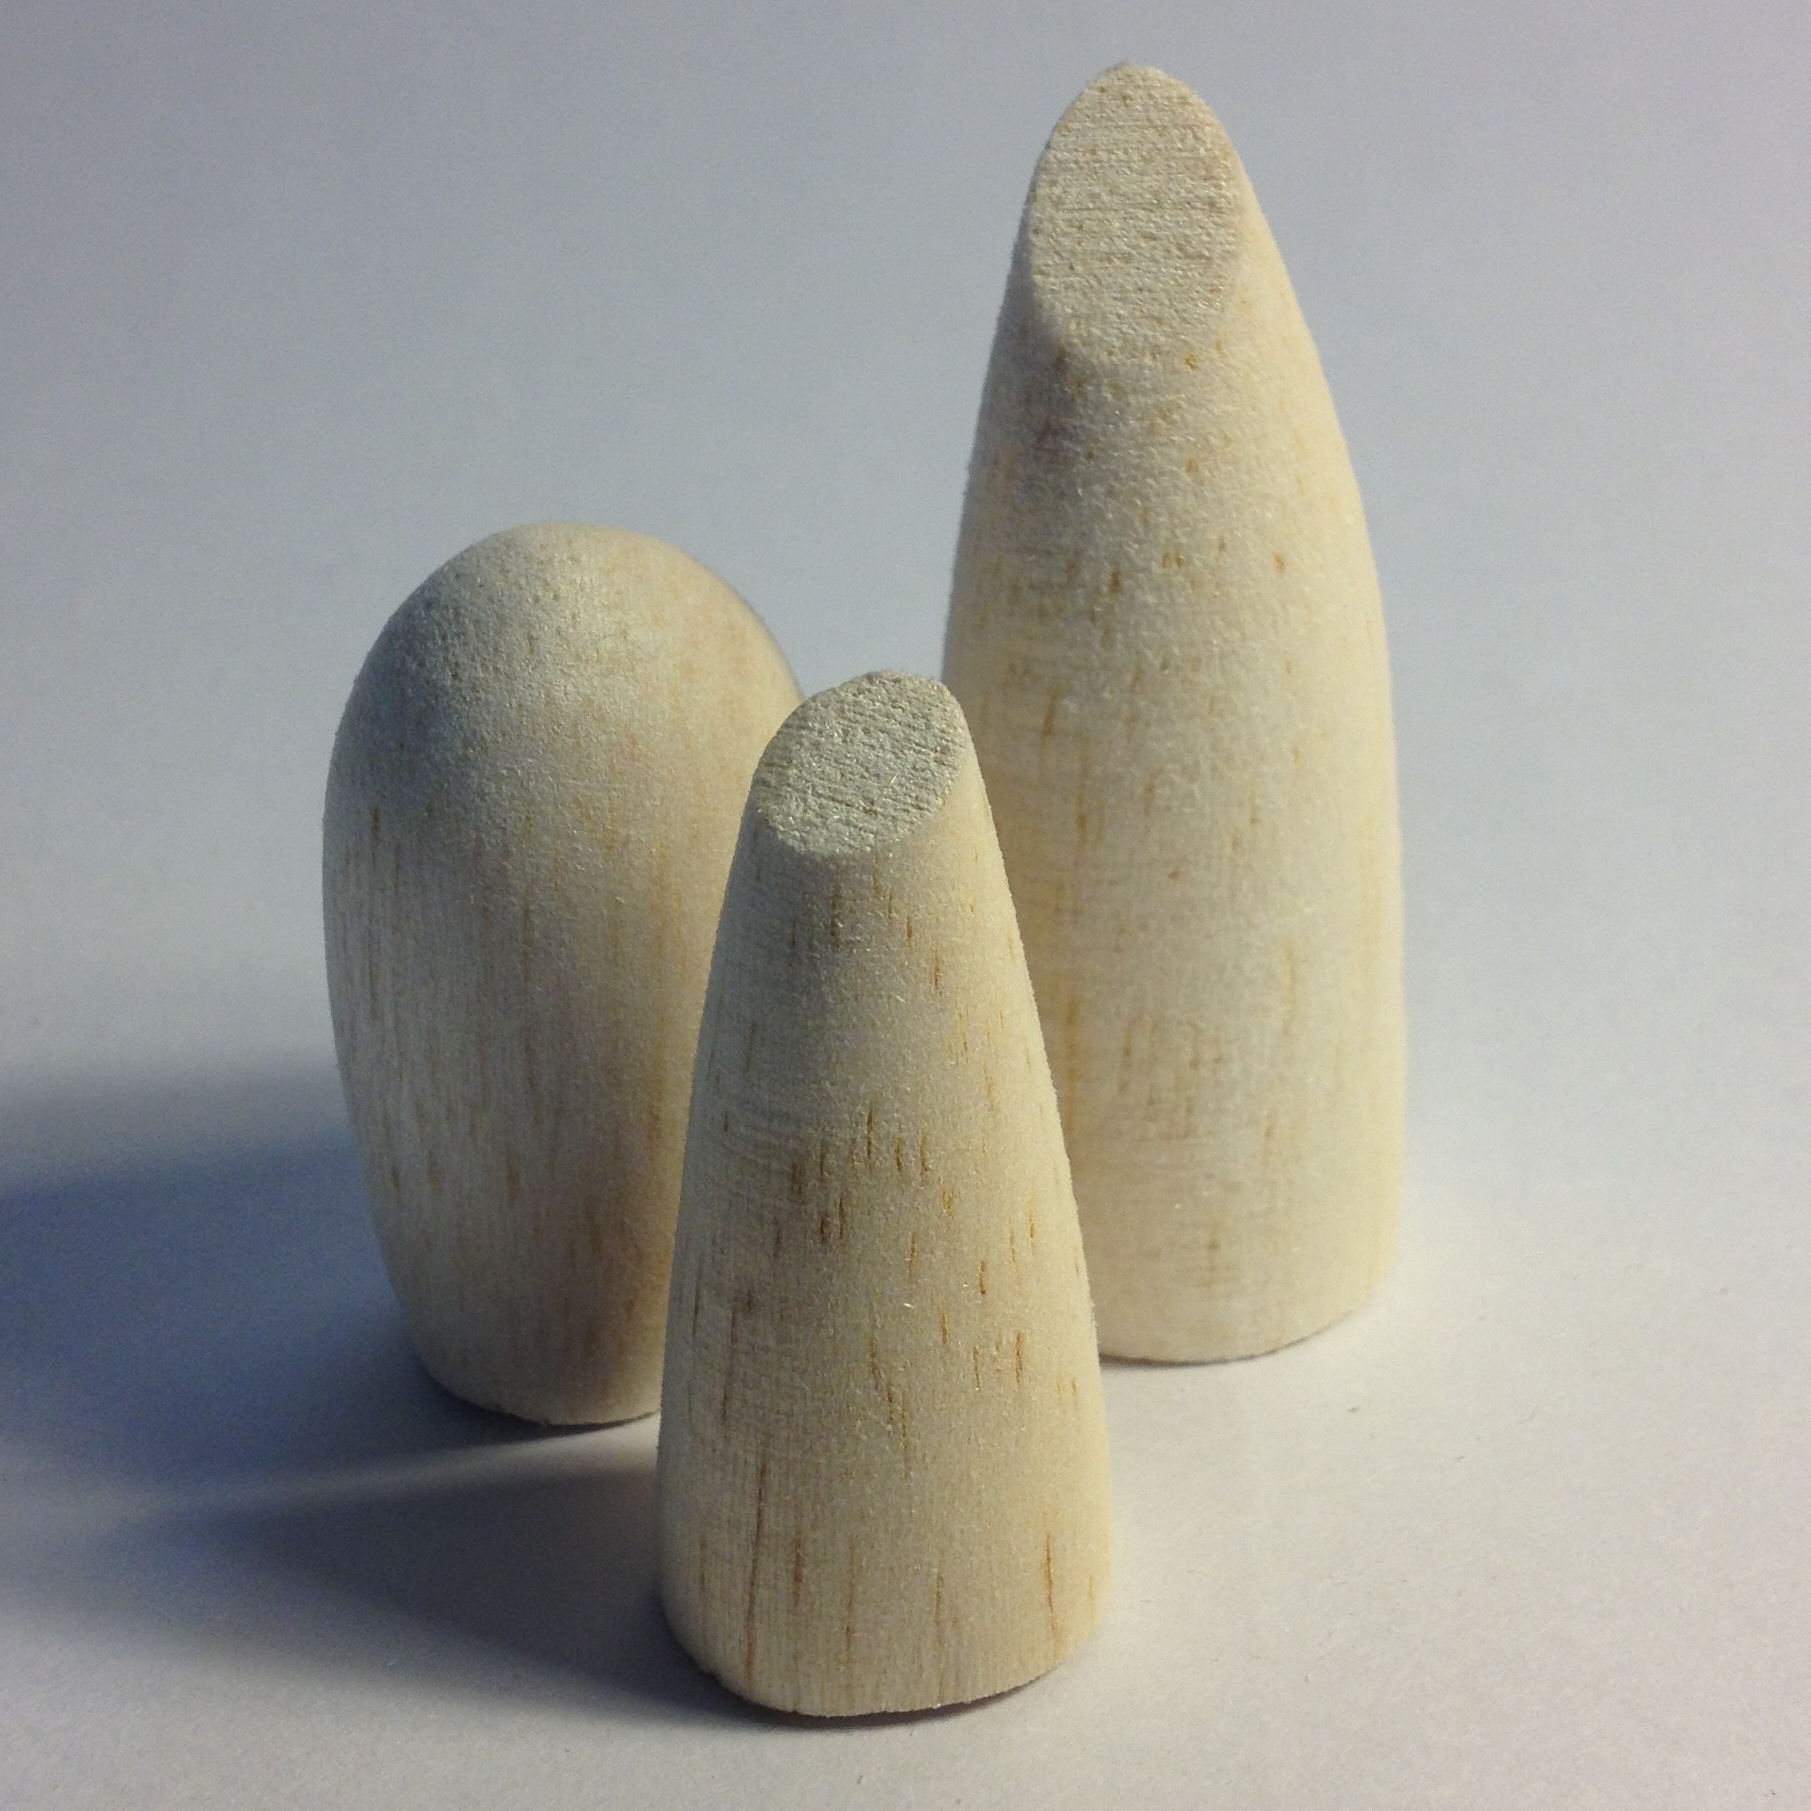
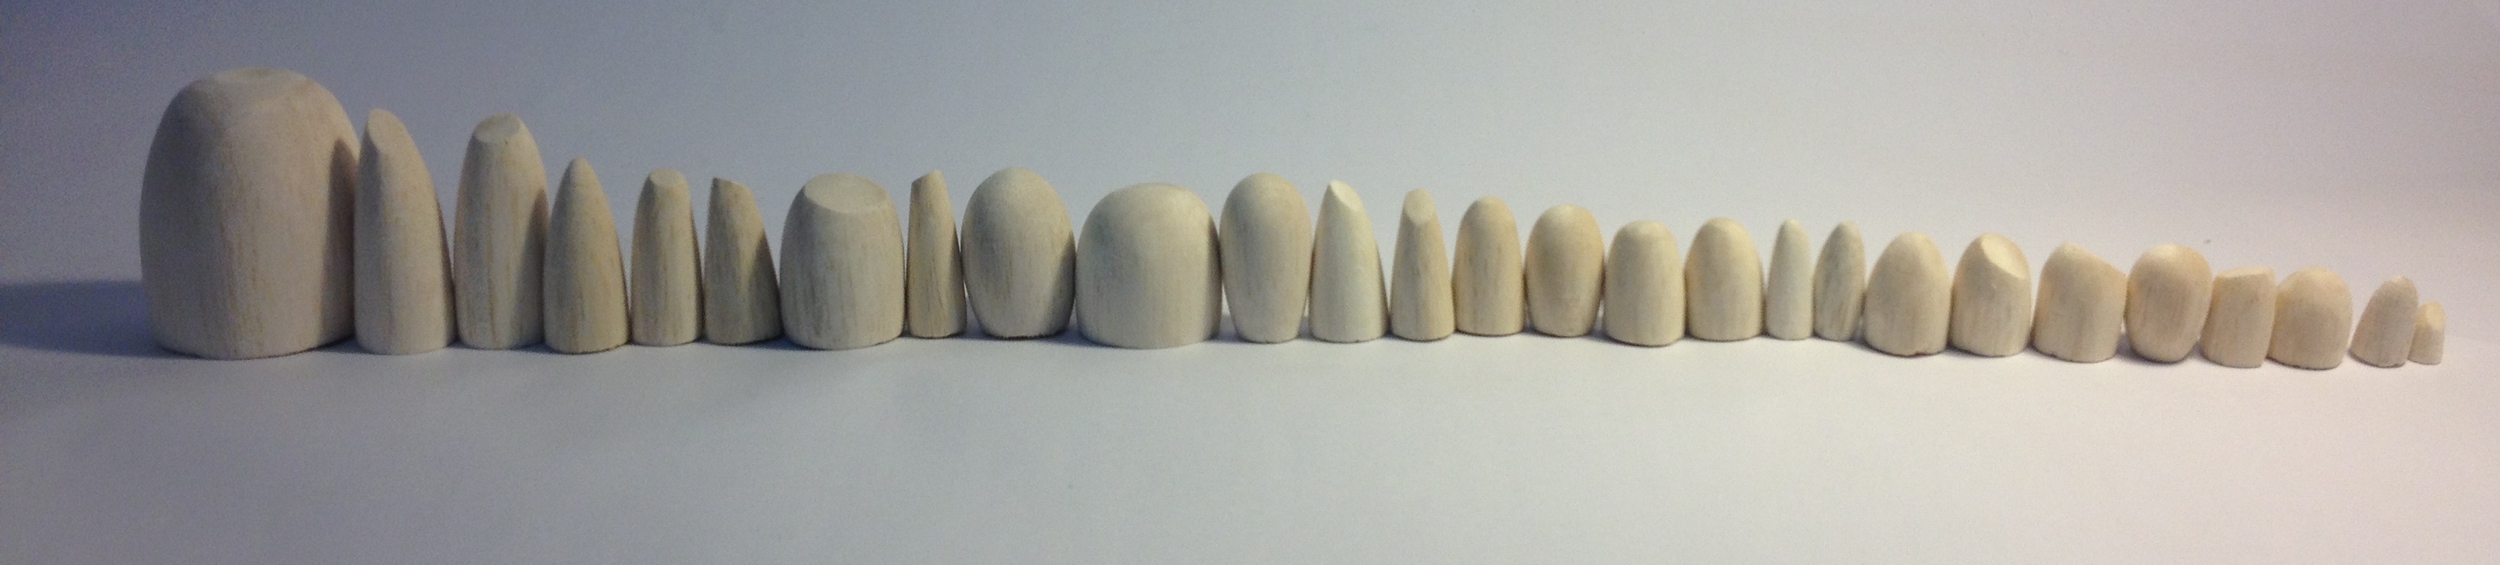
Balsa wood is so soft, the whole thing is pretty quick work. And it really is compelling, this spinning little nub of soft wood being sanded into smoothness. Cannot help but make lots and lots of them in fact.
The neutral colour of the timber is appealing and all white seems obvious, but I’m tempted to do a painted patina job on a few bigger pieces too…Or maybe not, might need to up the scale a bit for that. And anyway I need to move on.


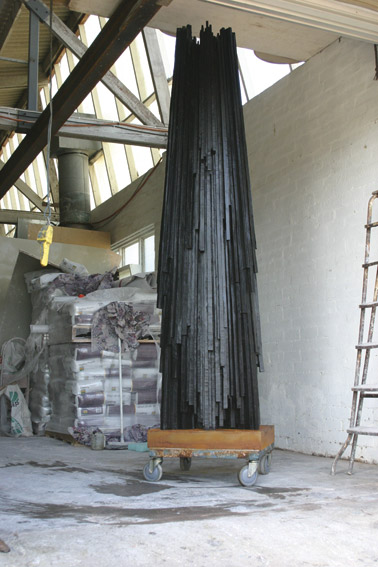
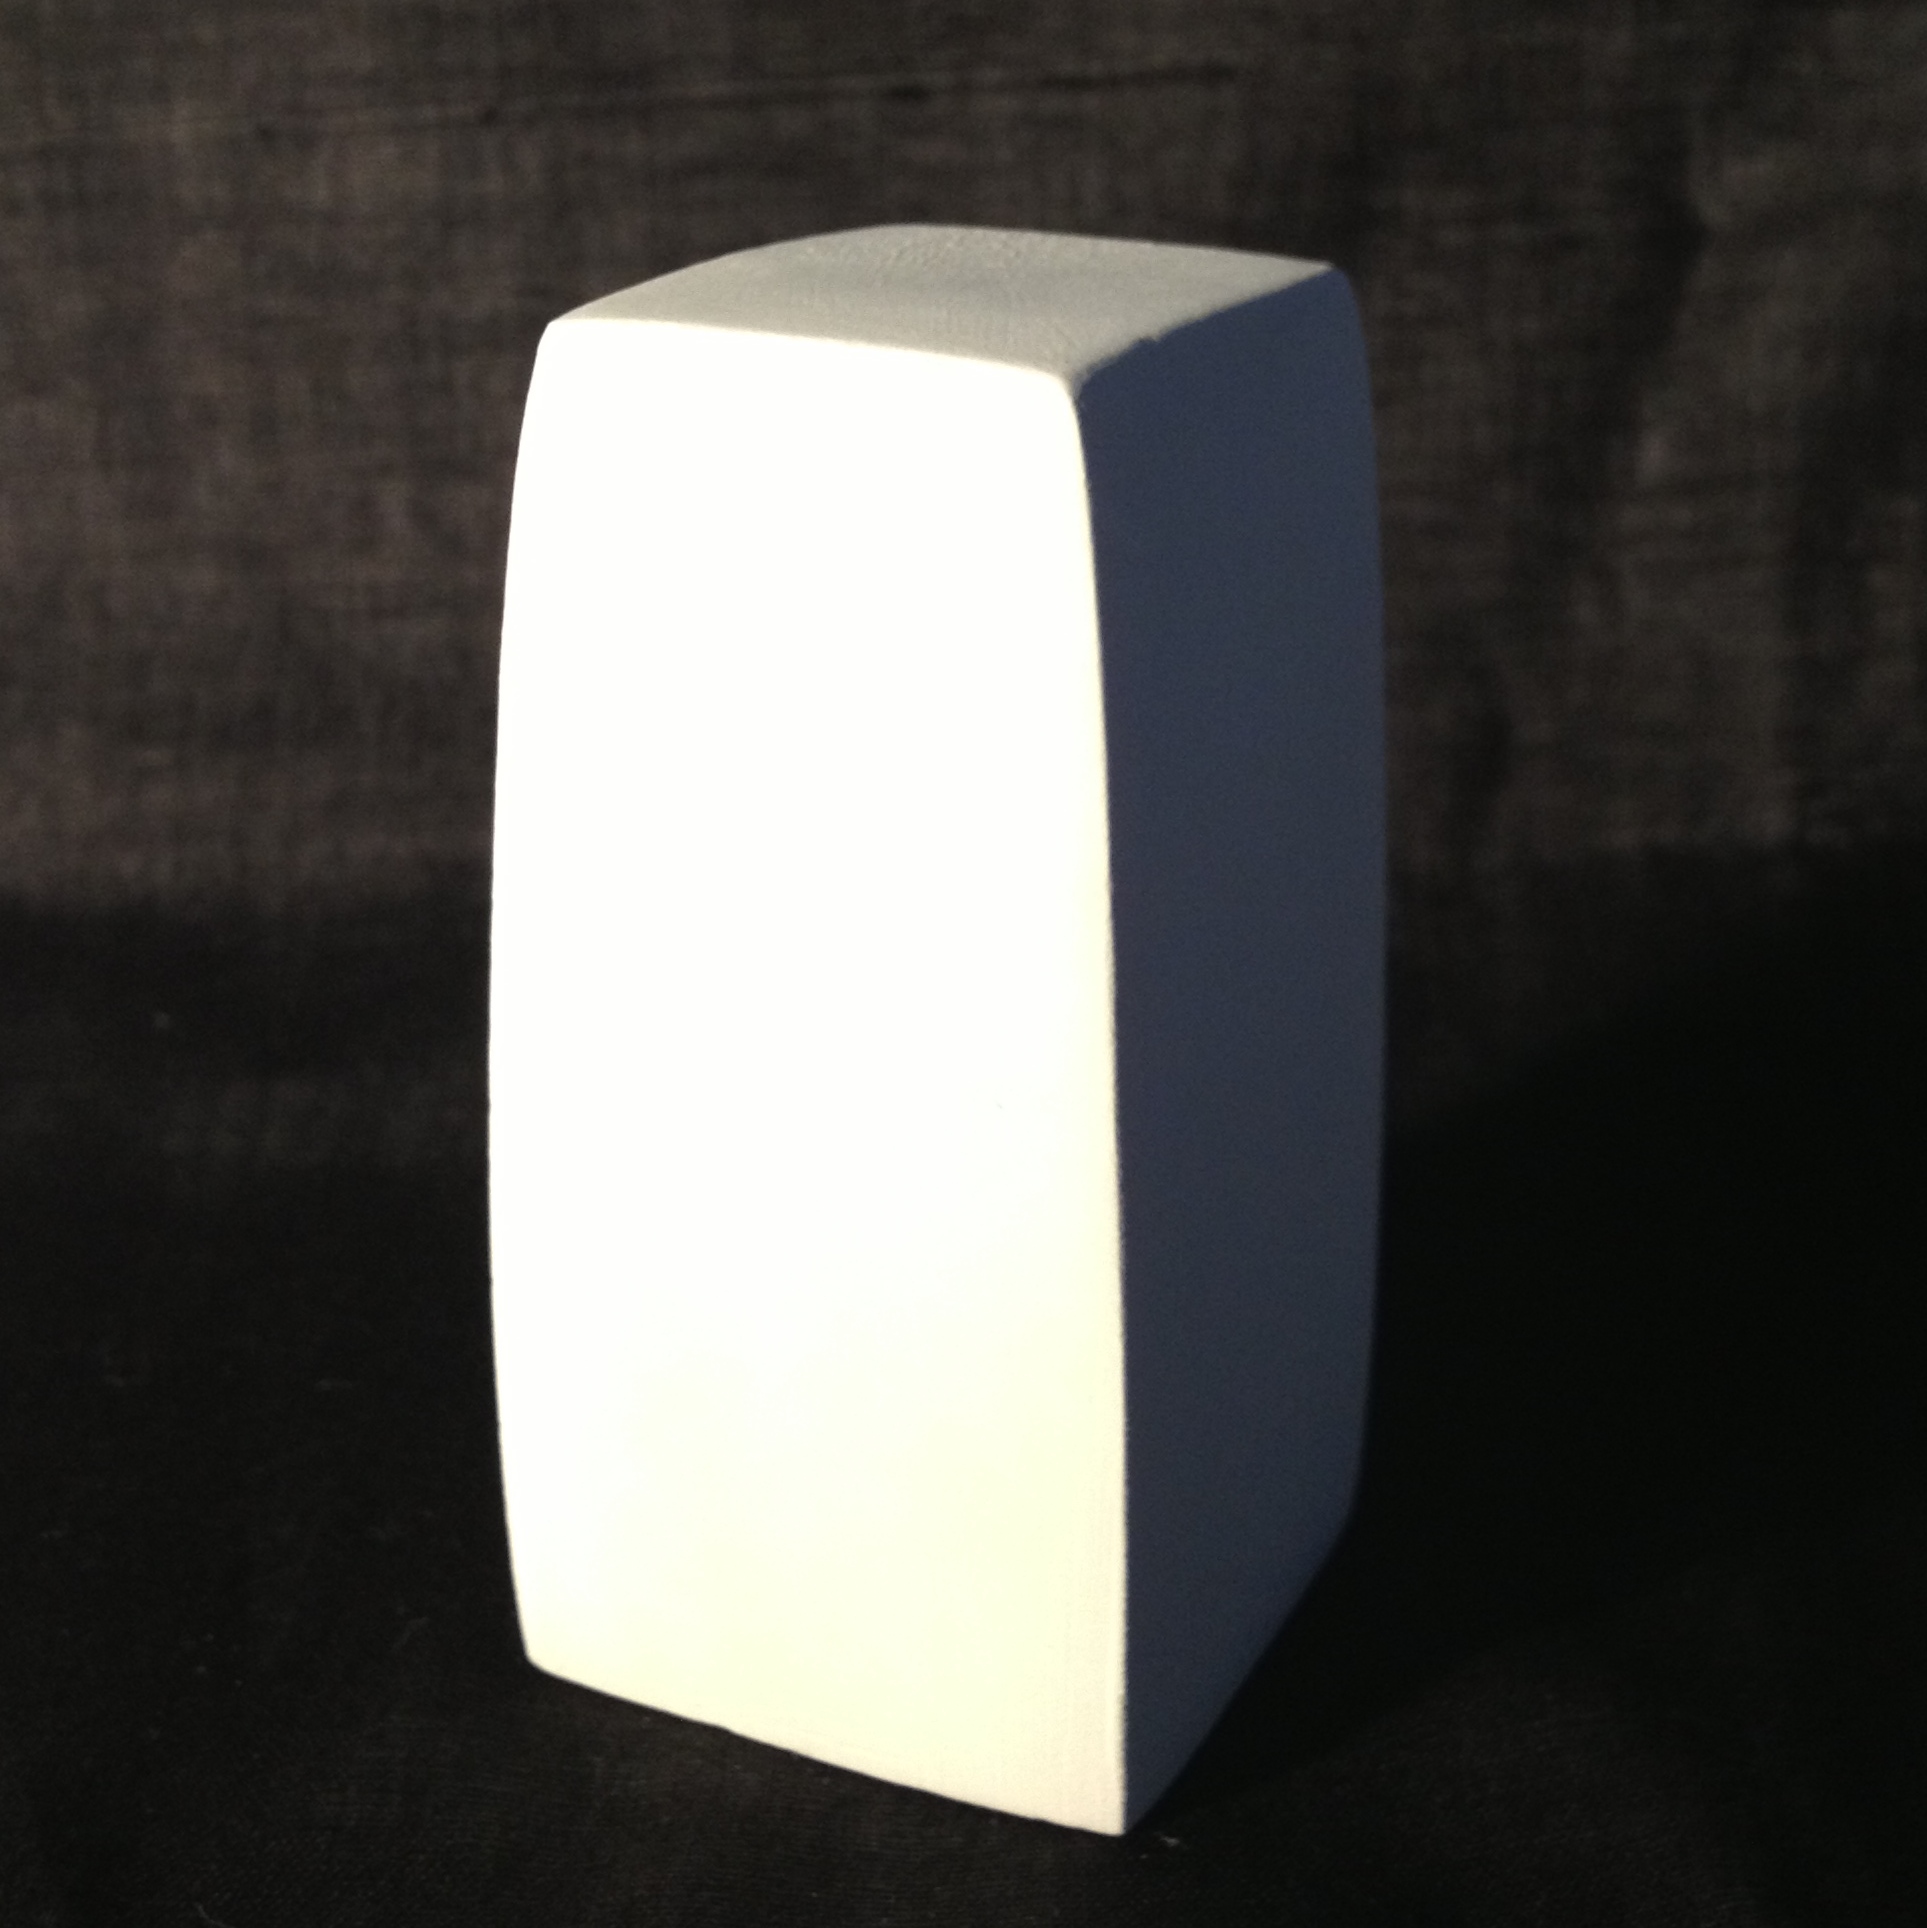
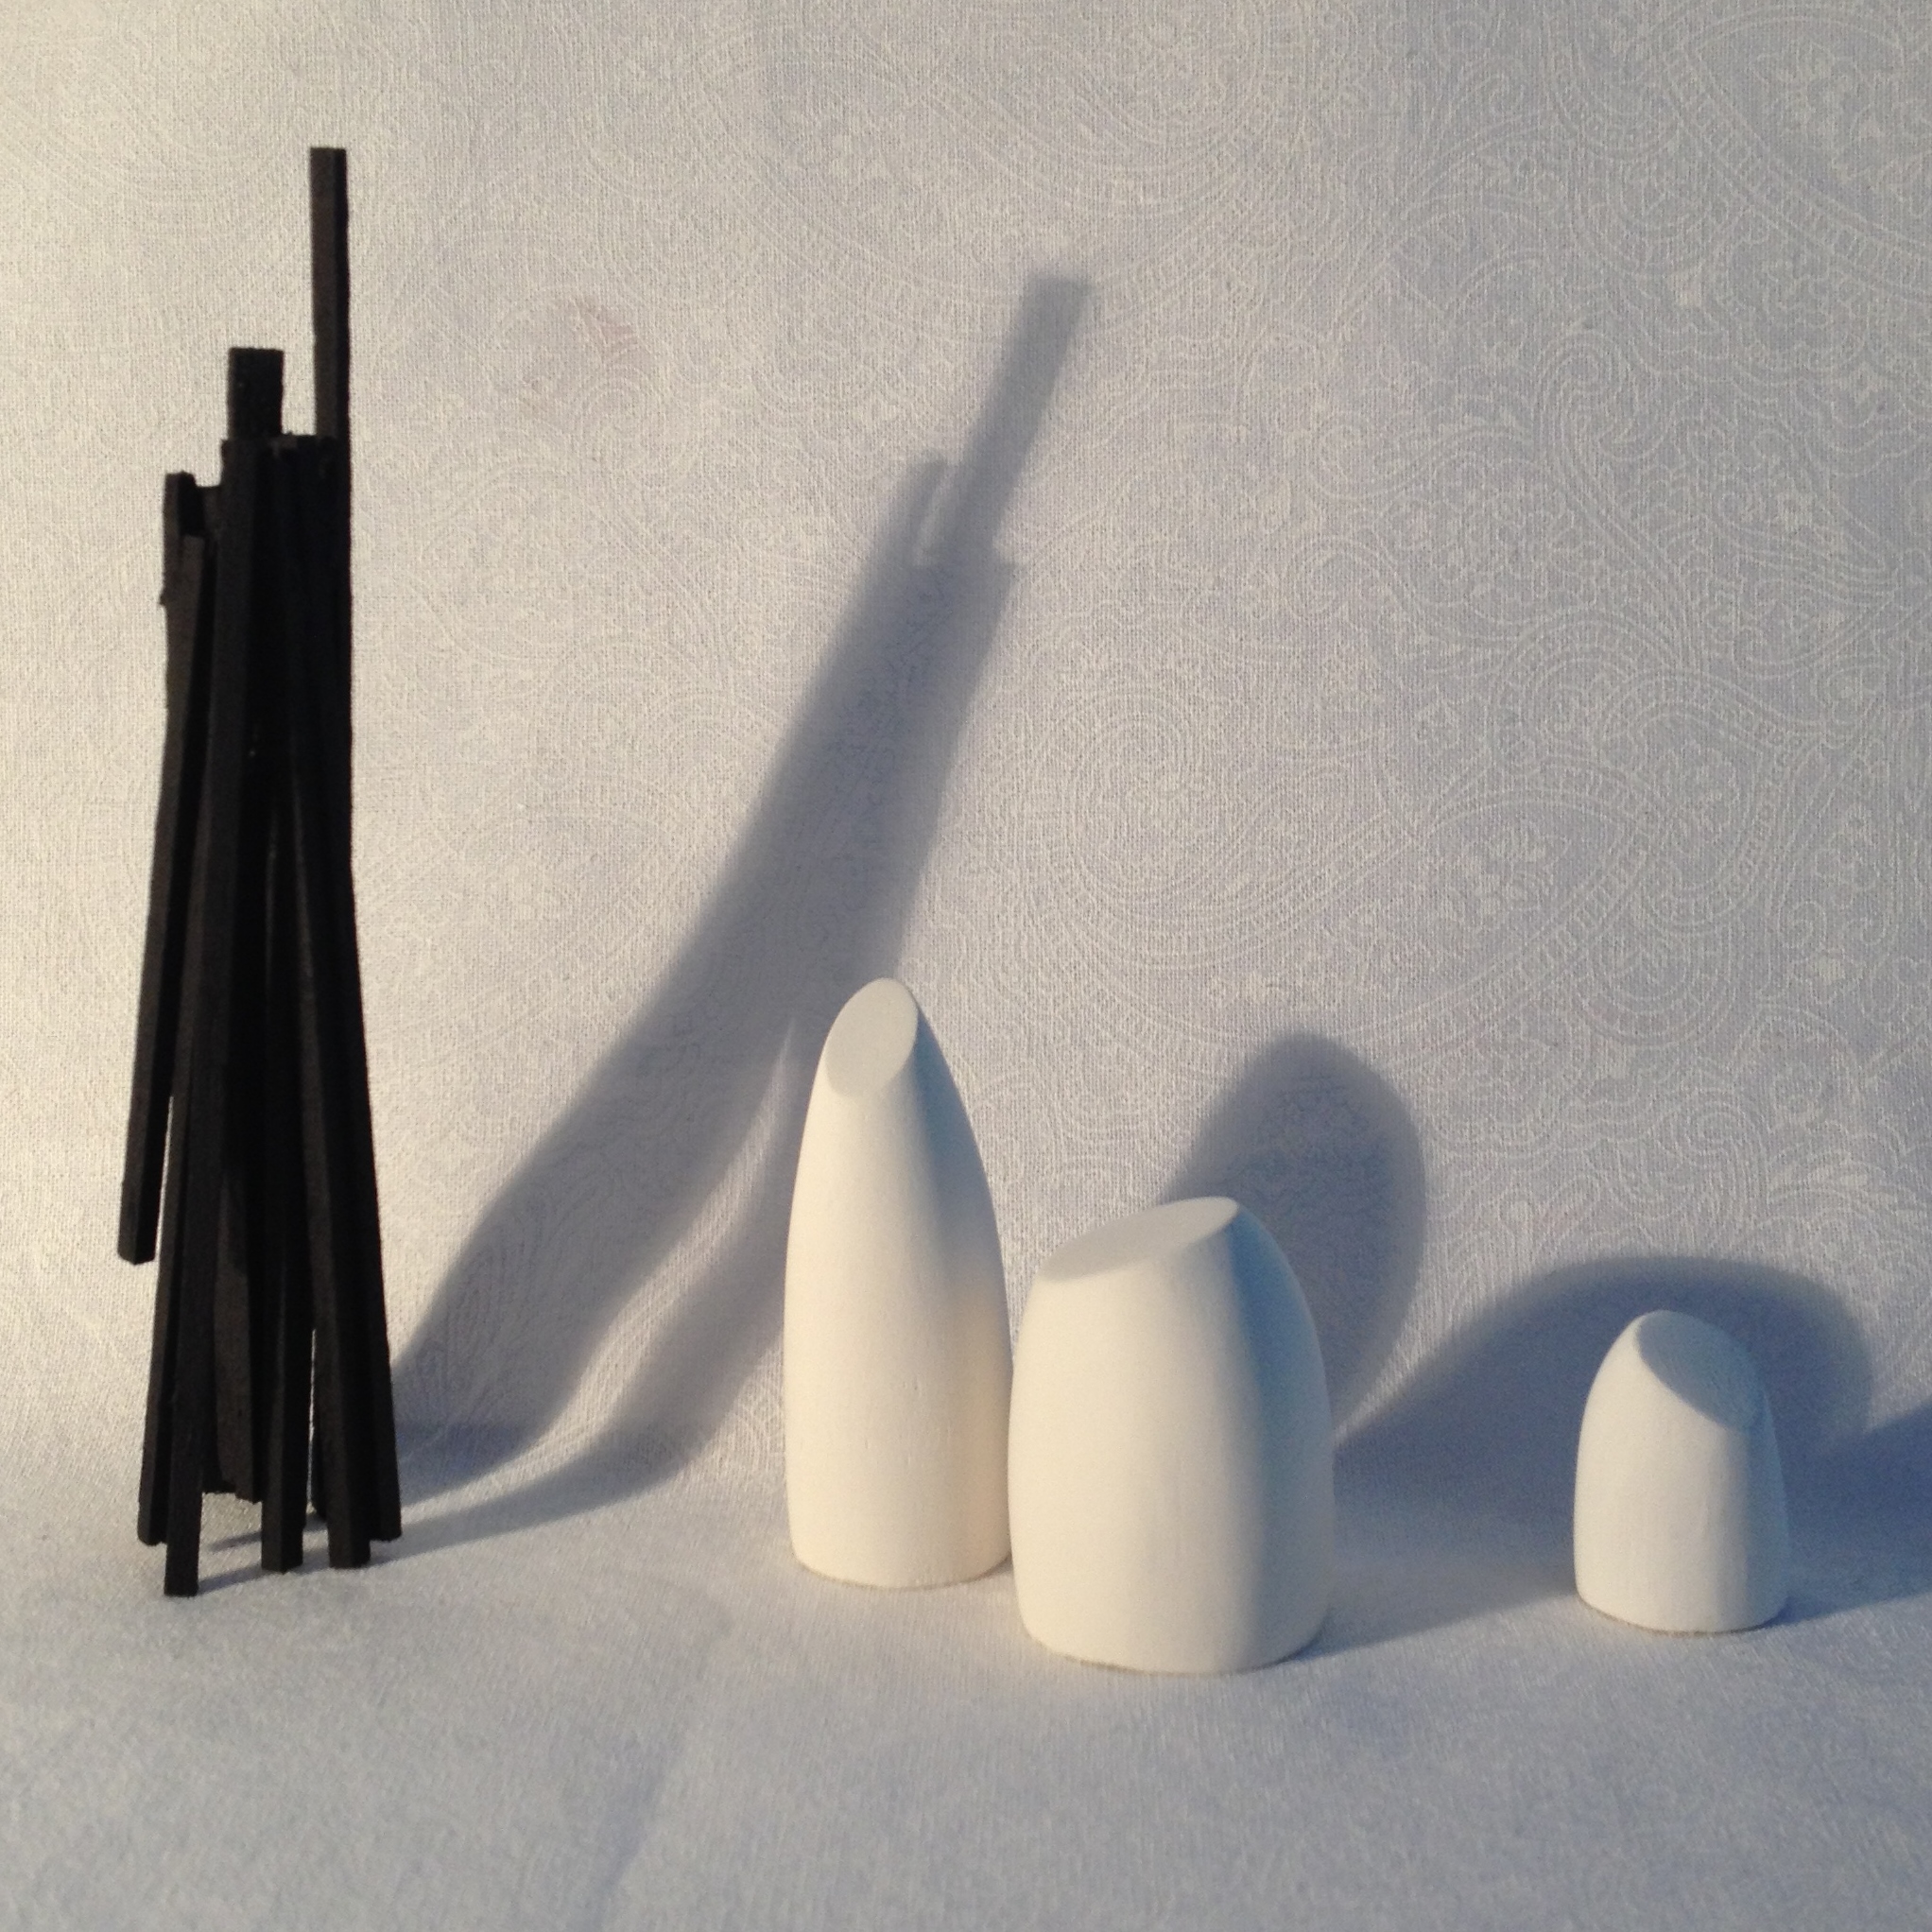
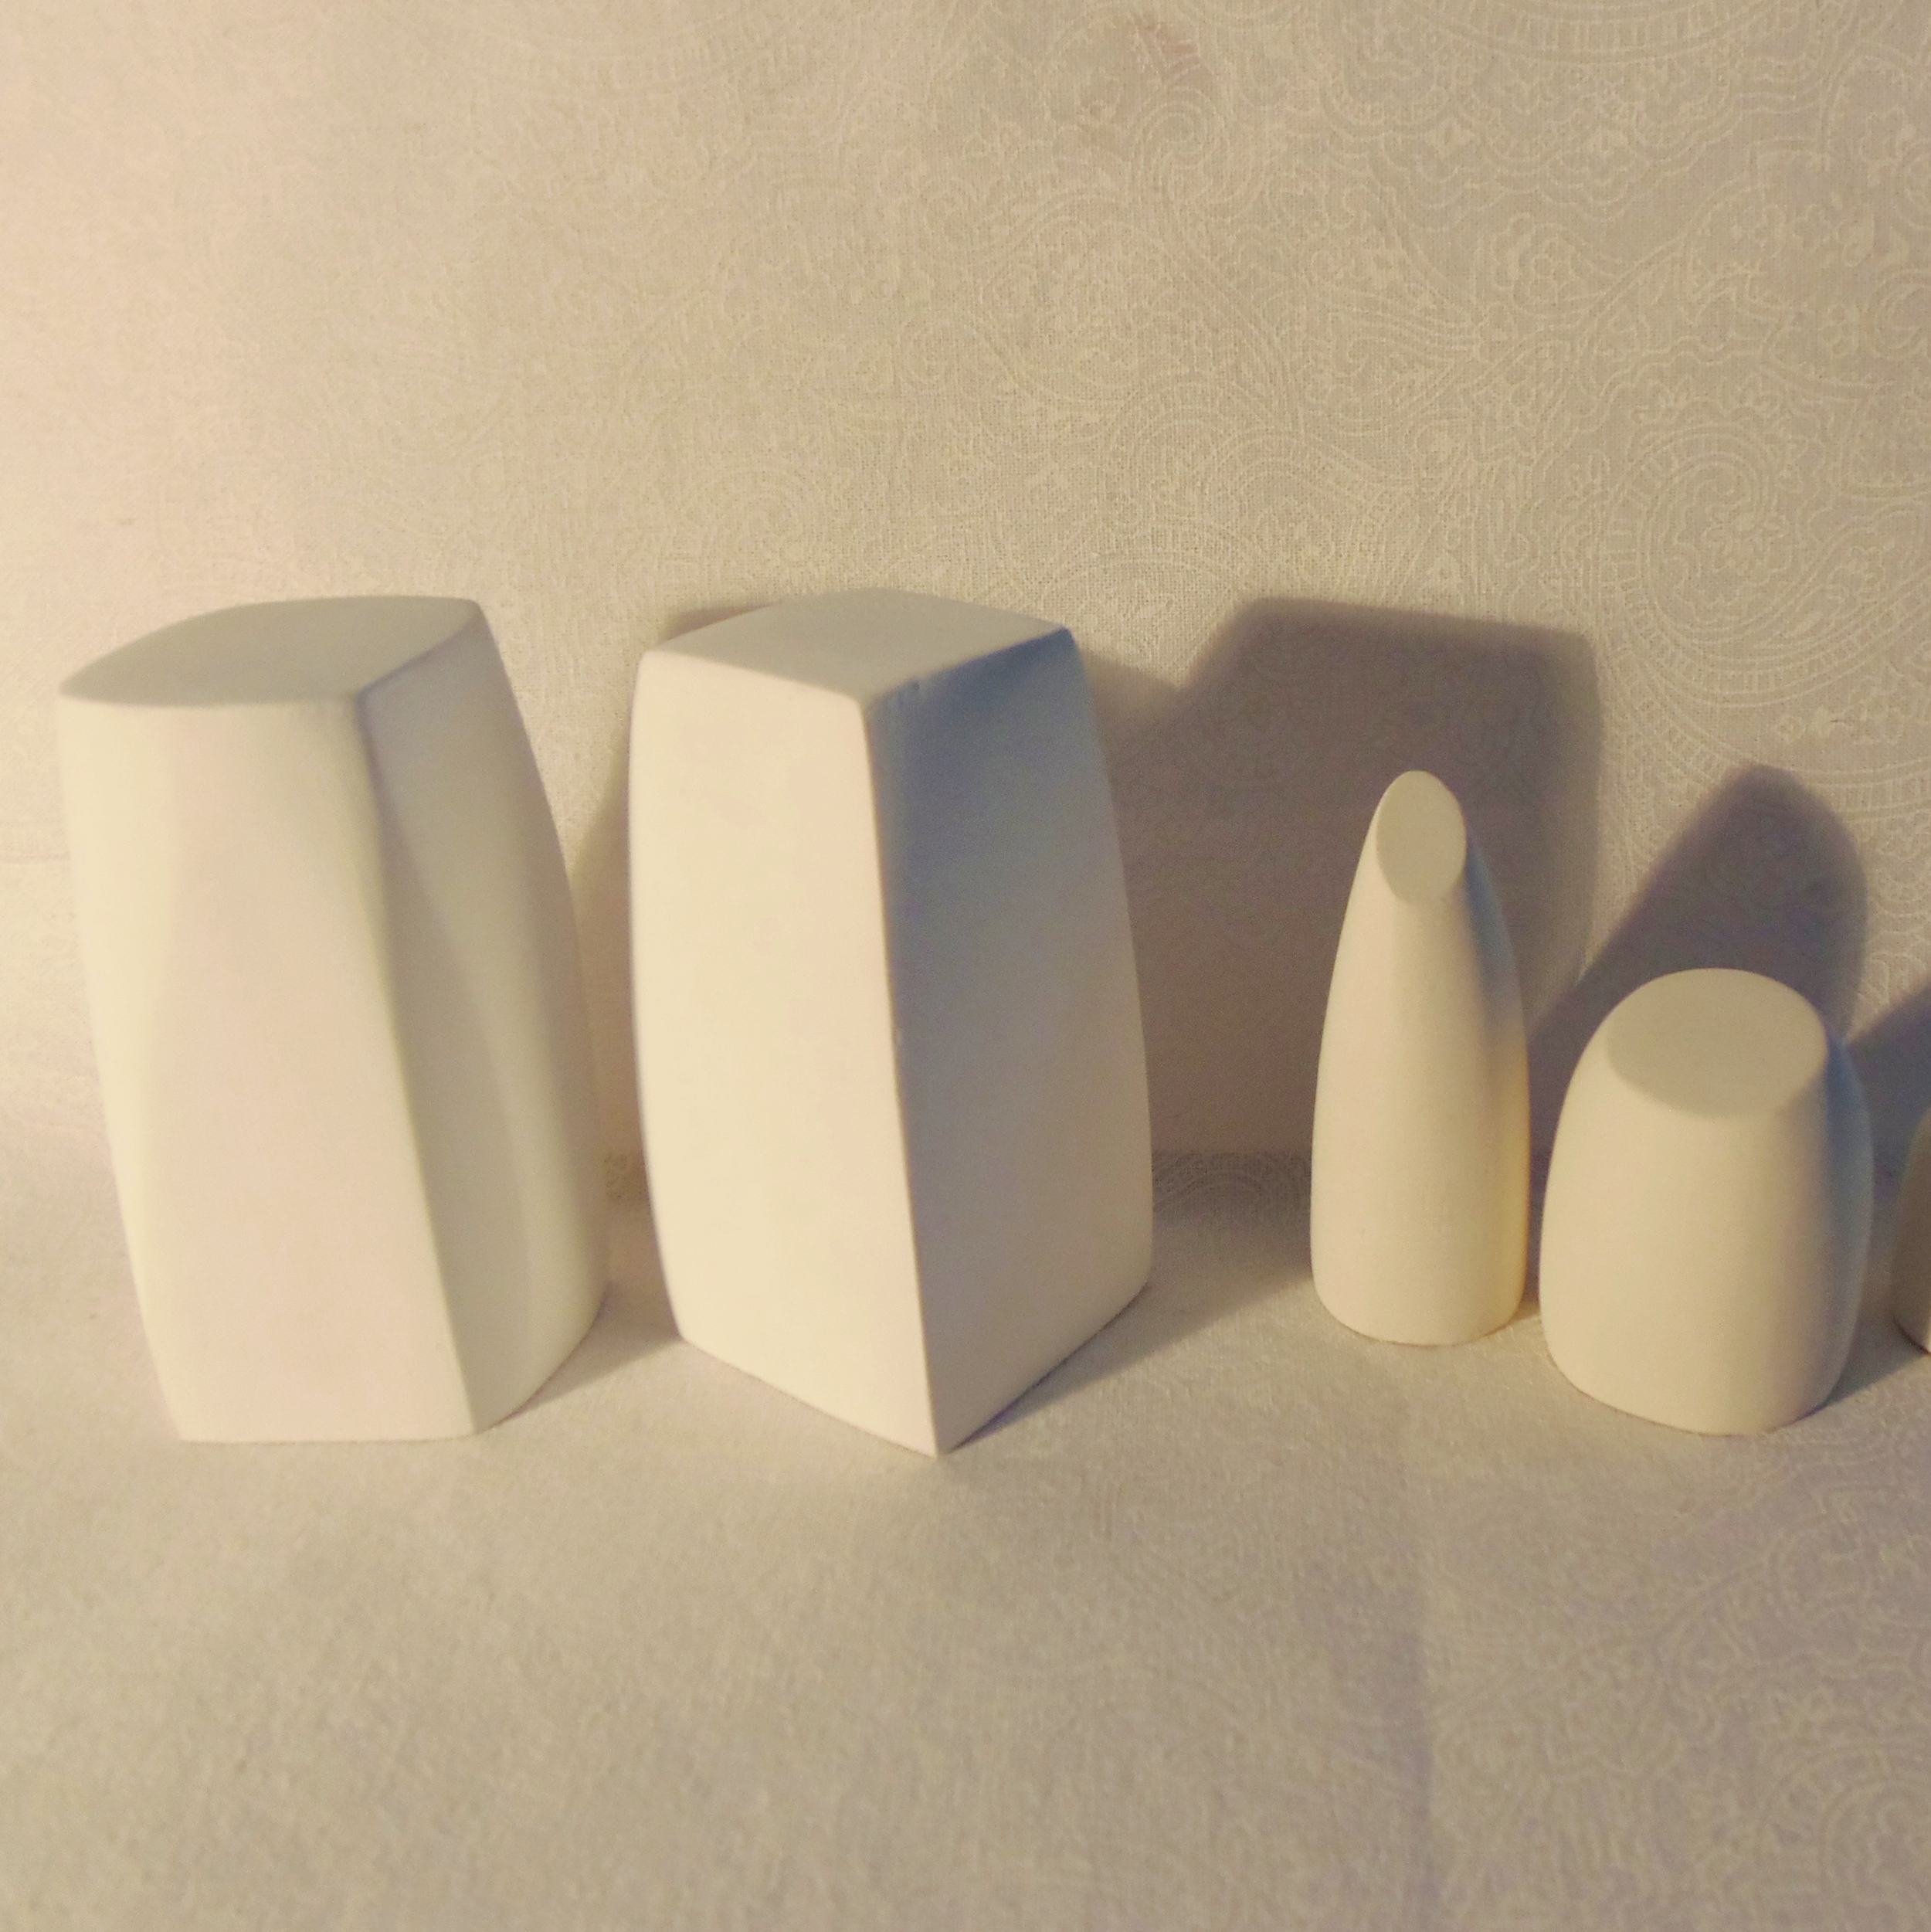
And then some John Nash-ish style pieces. Because I love him so.
Some early pics of these:
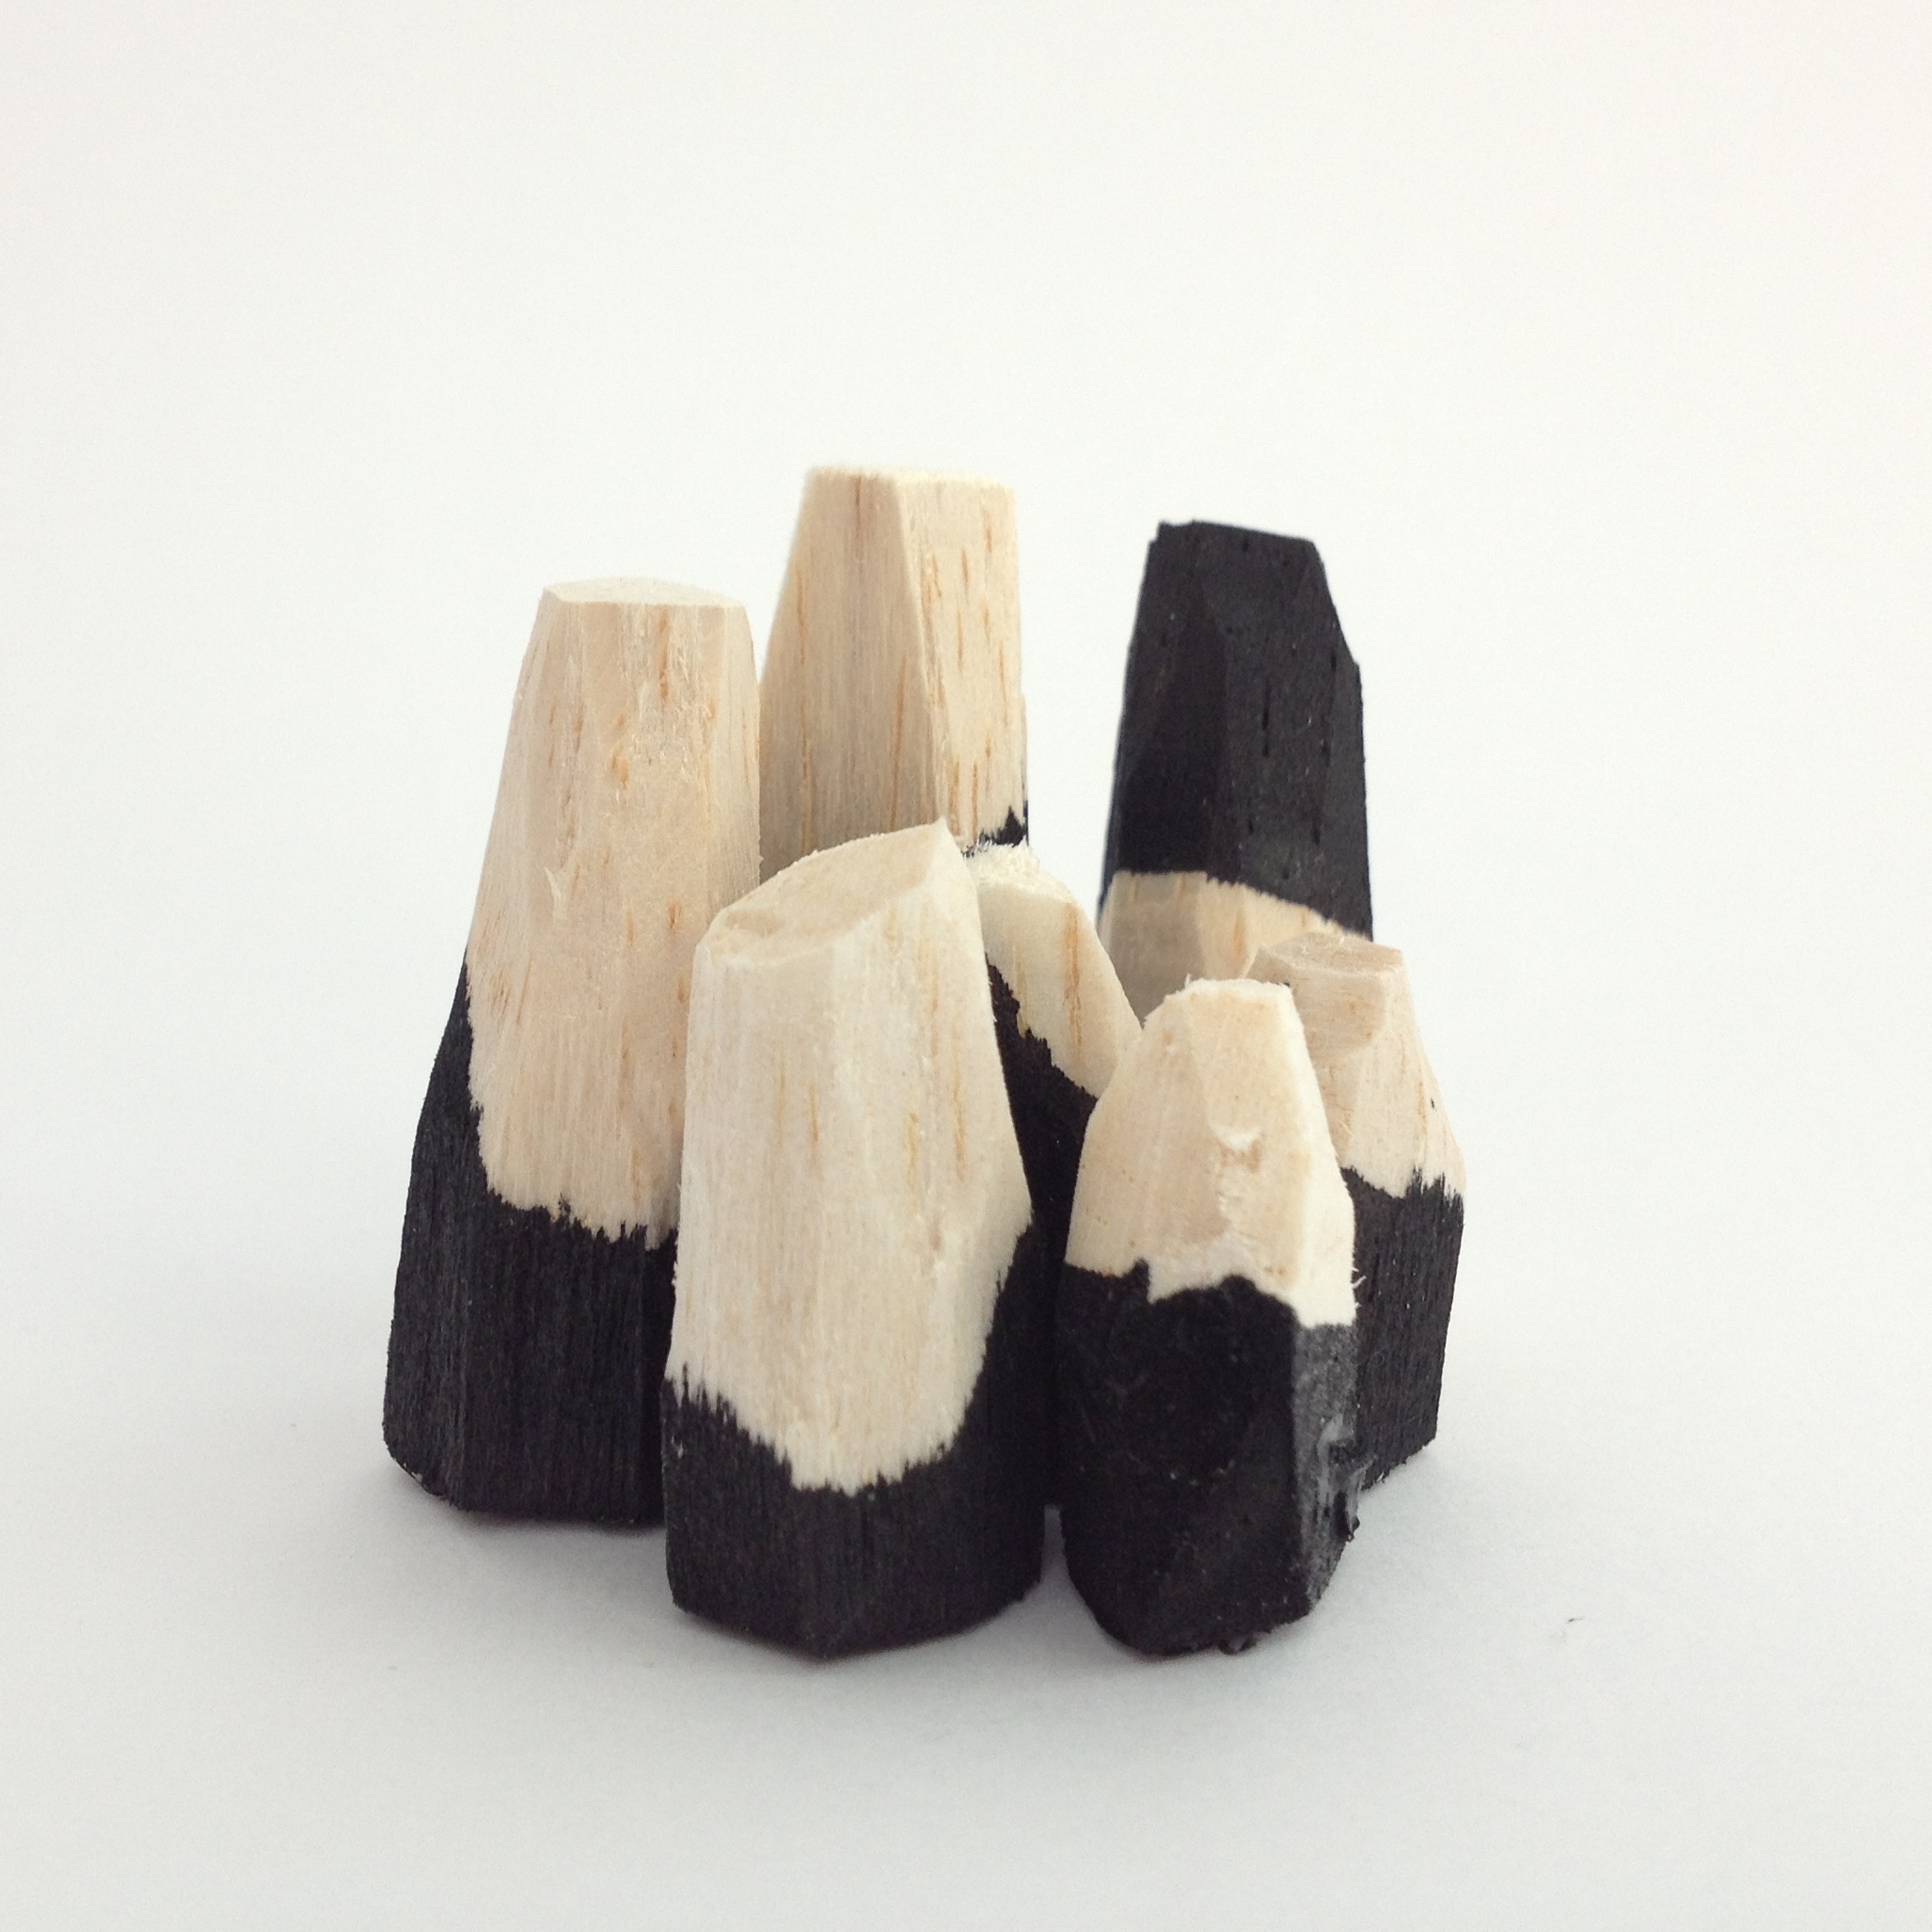
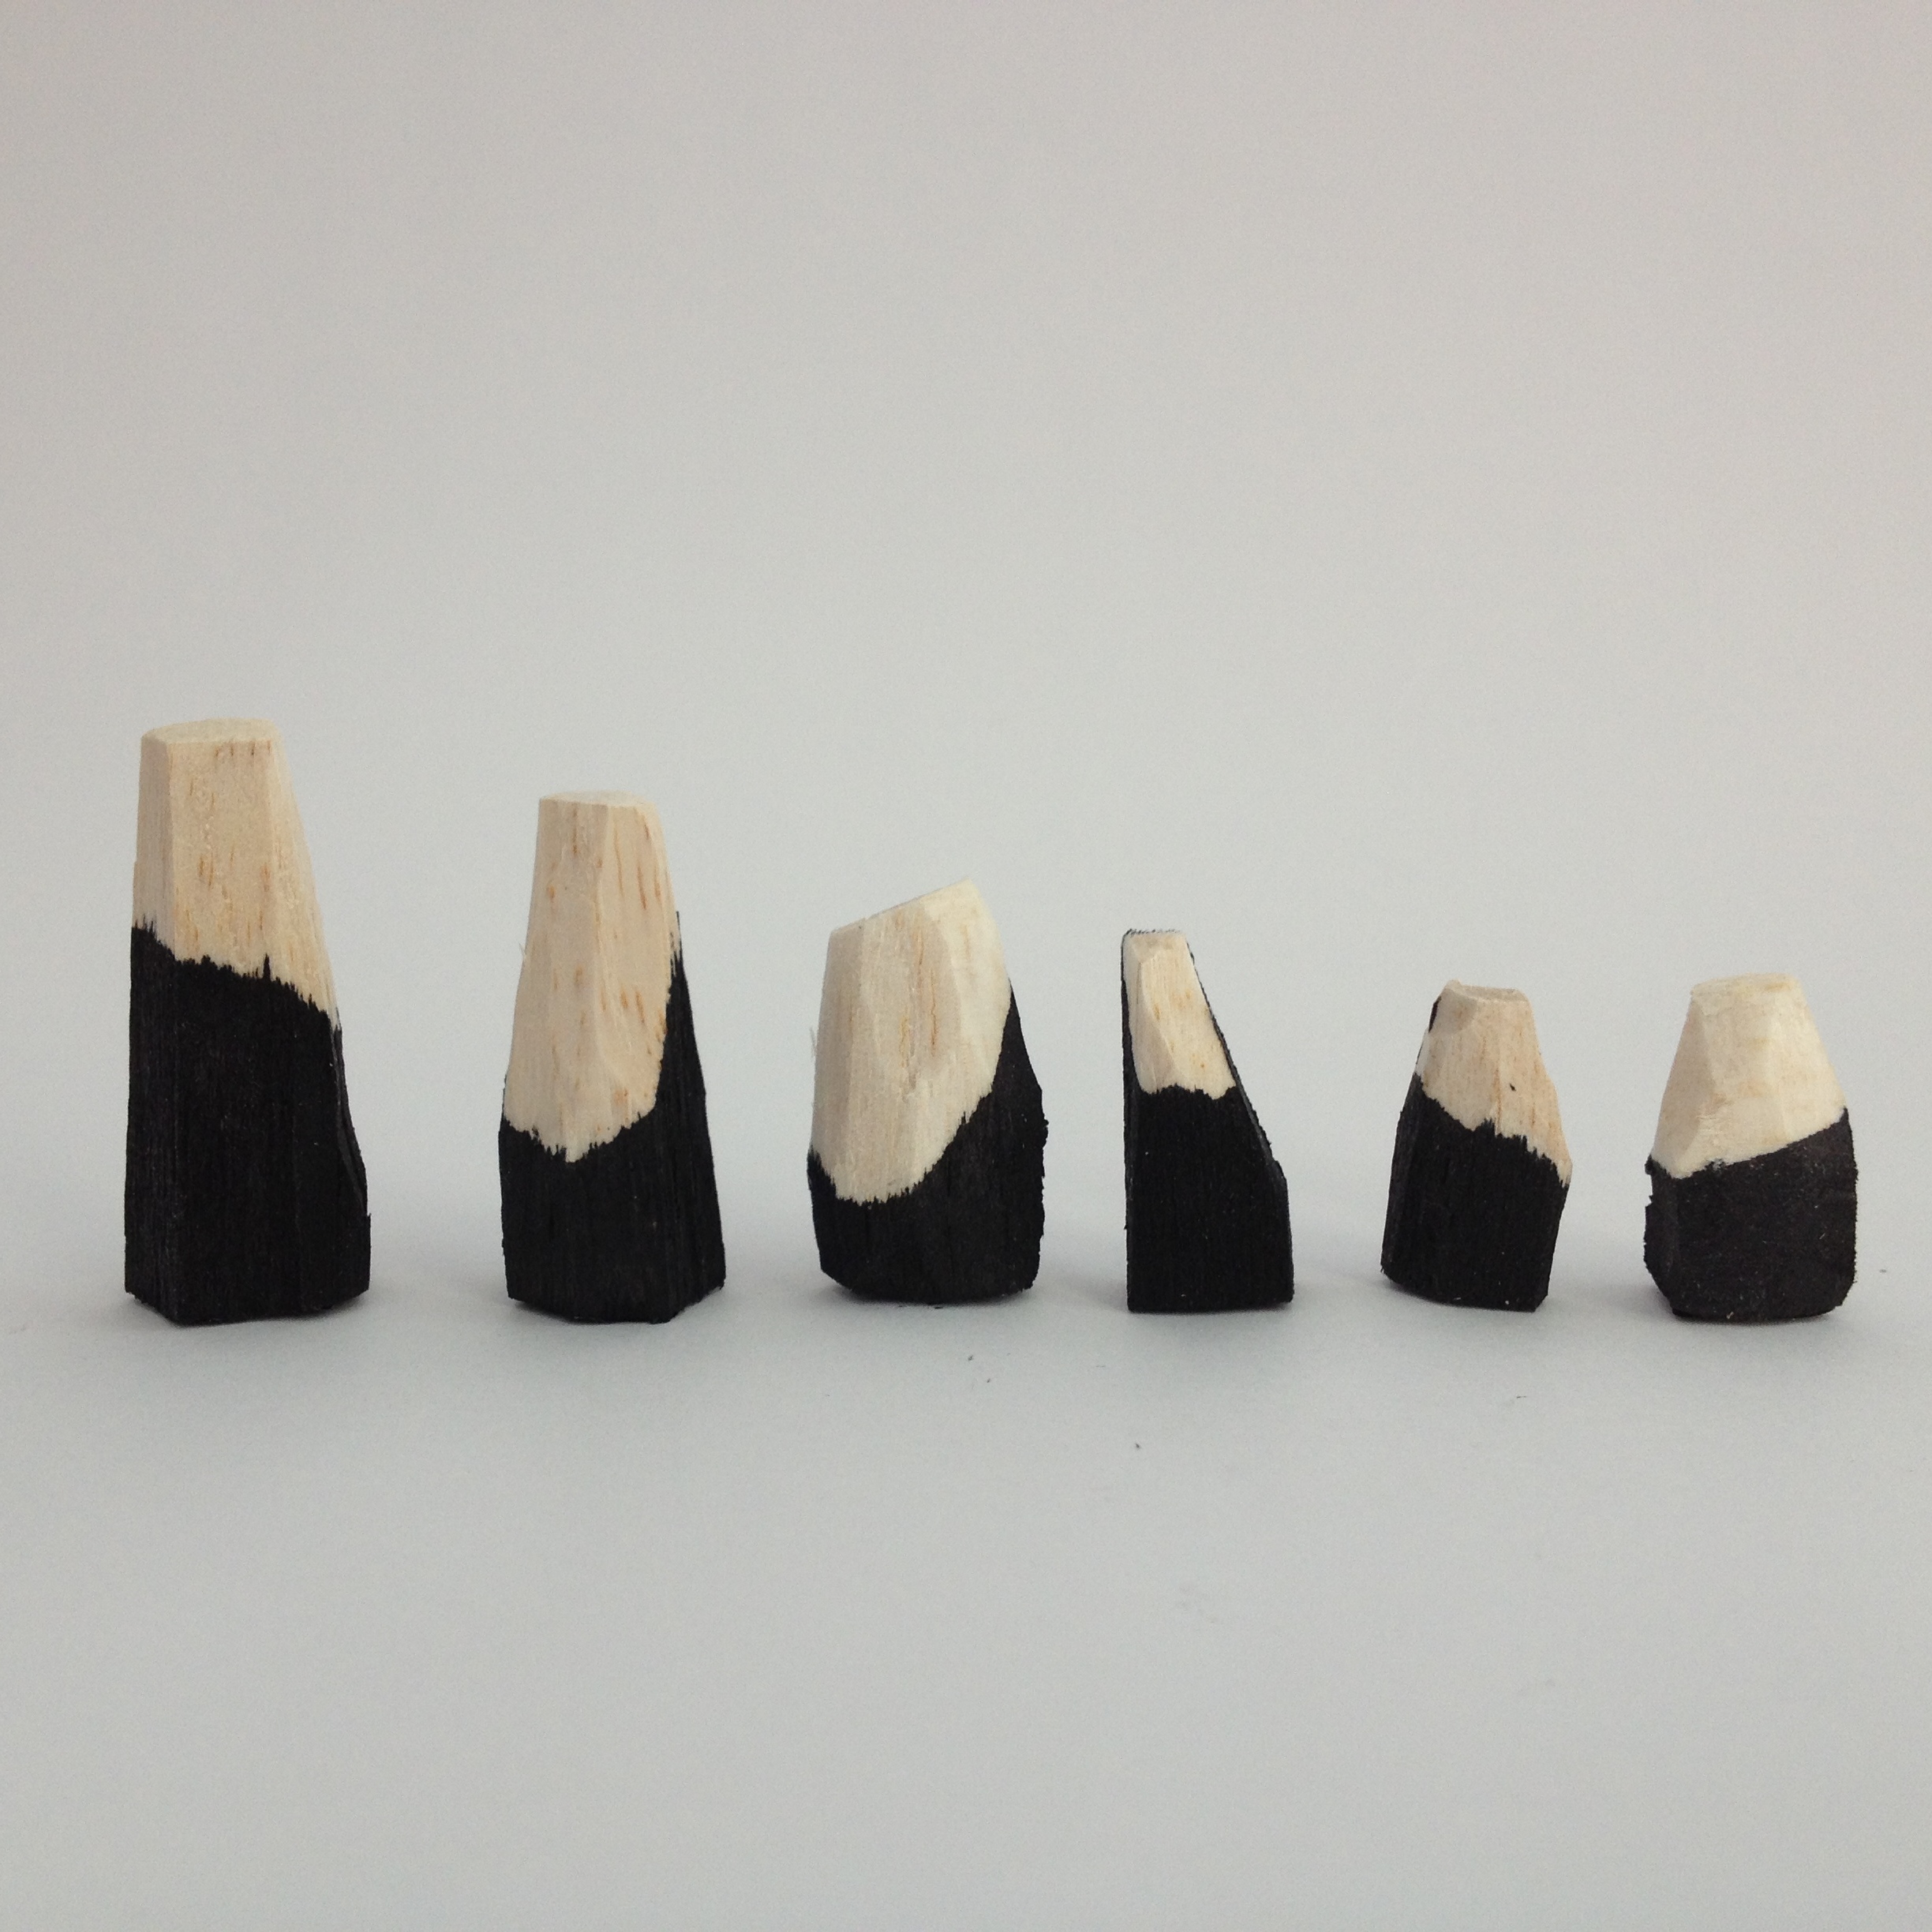

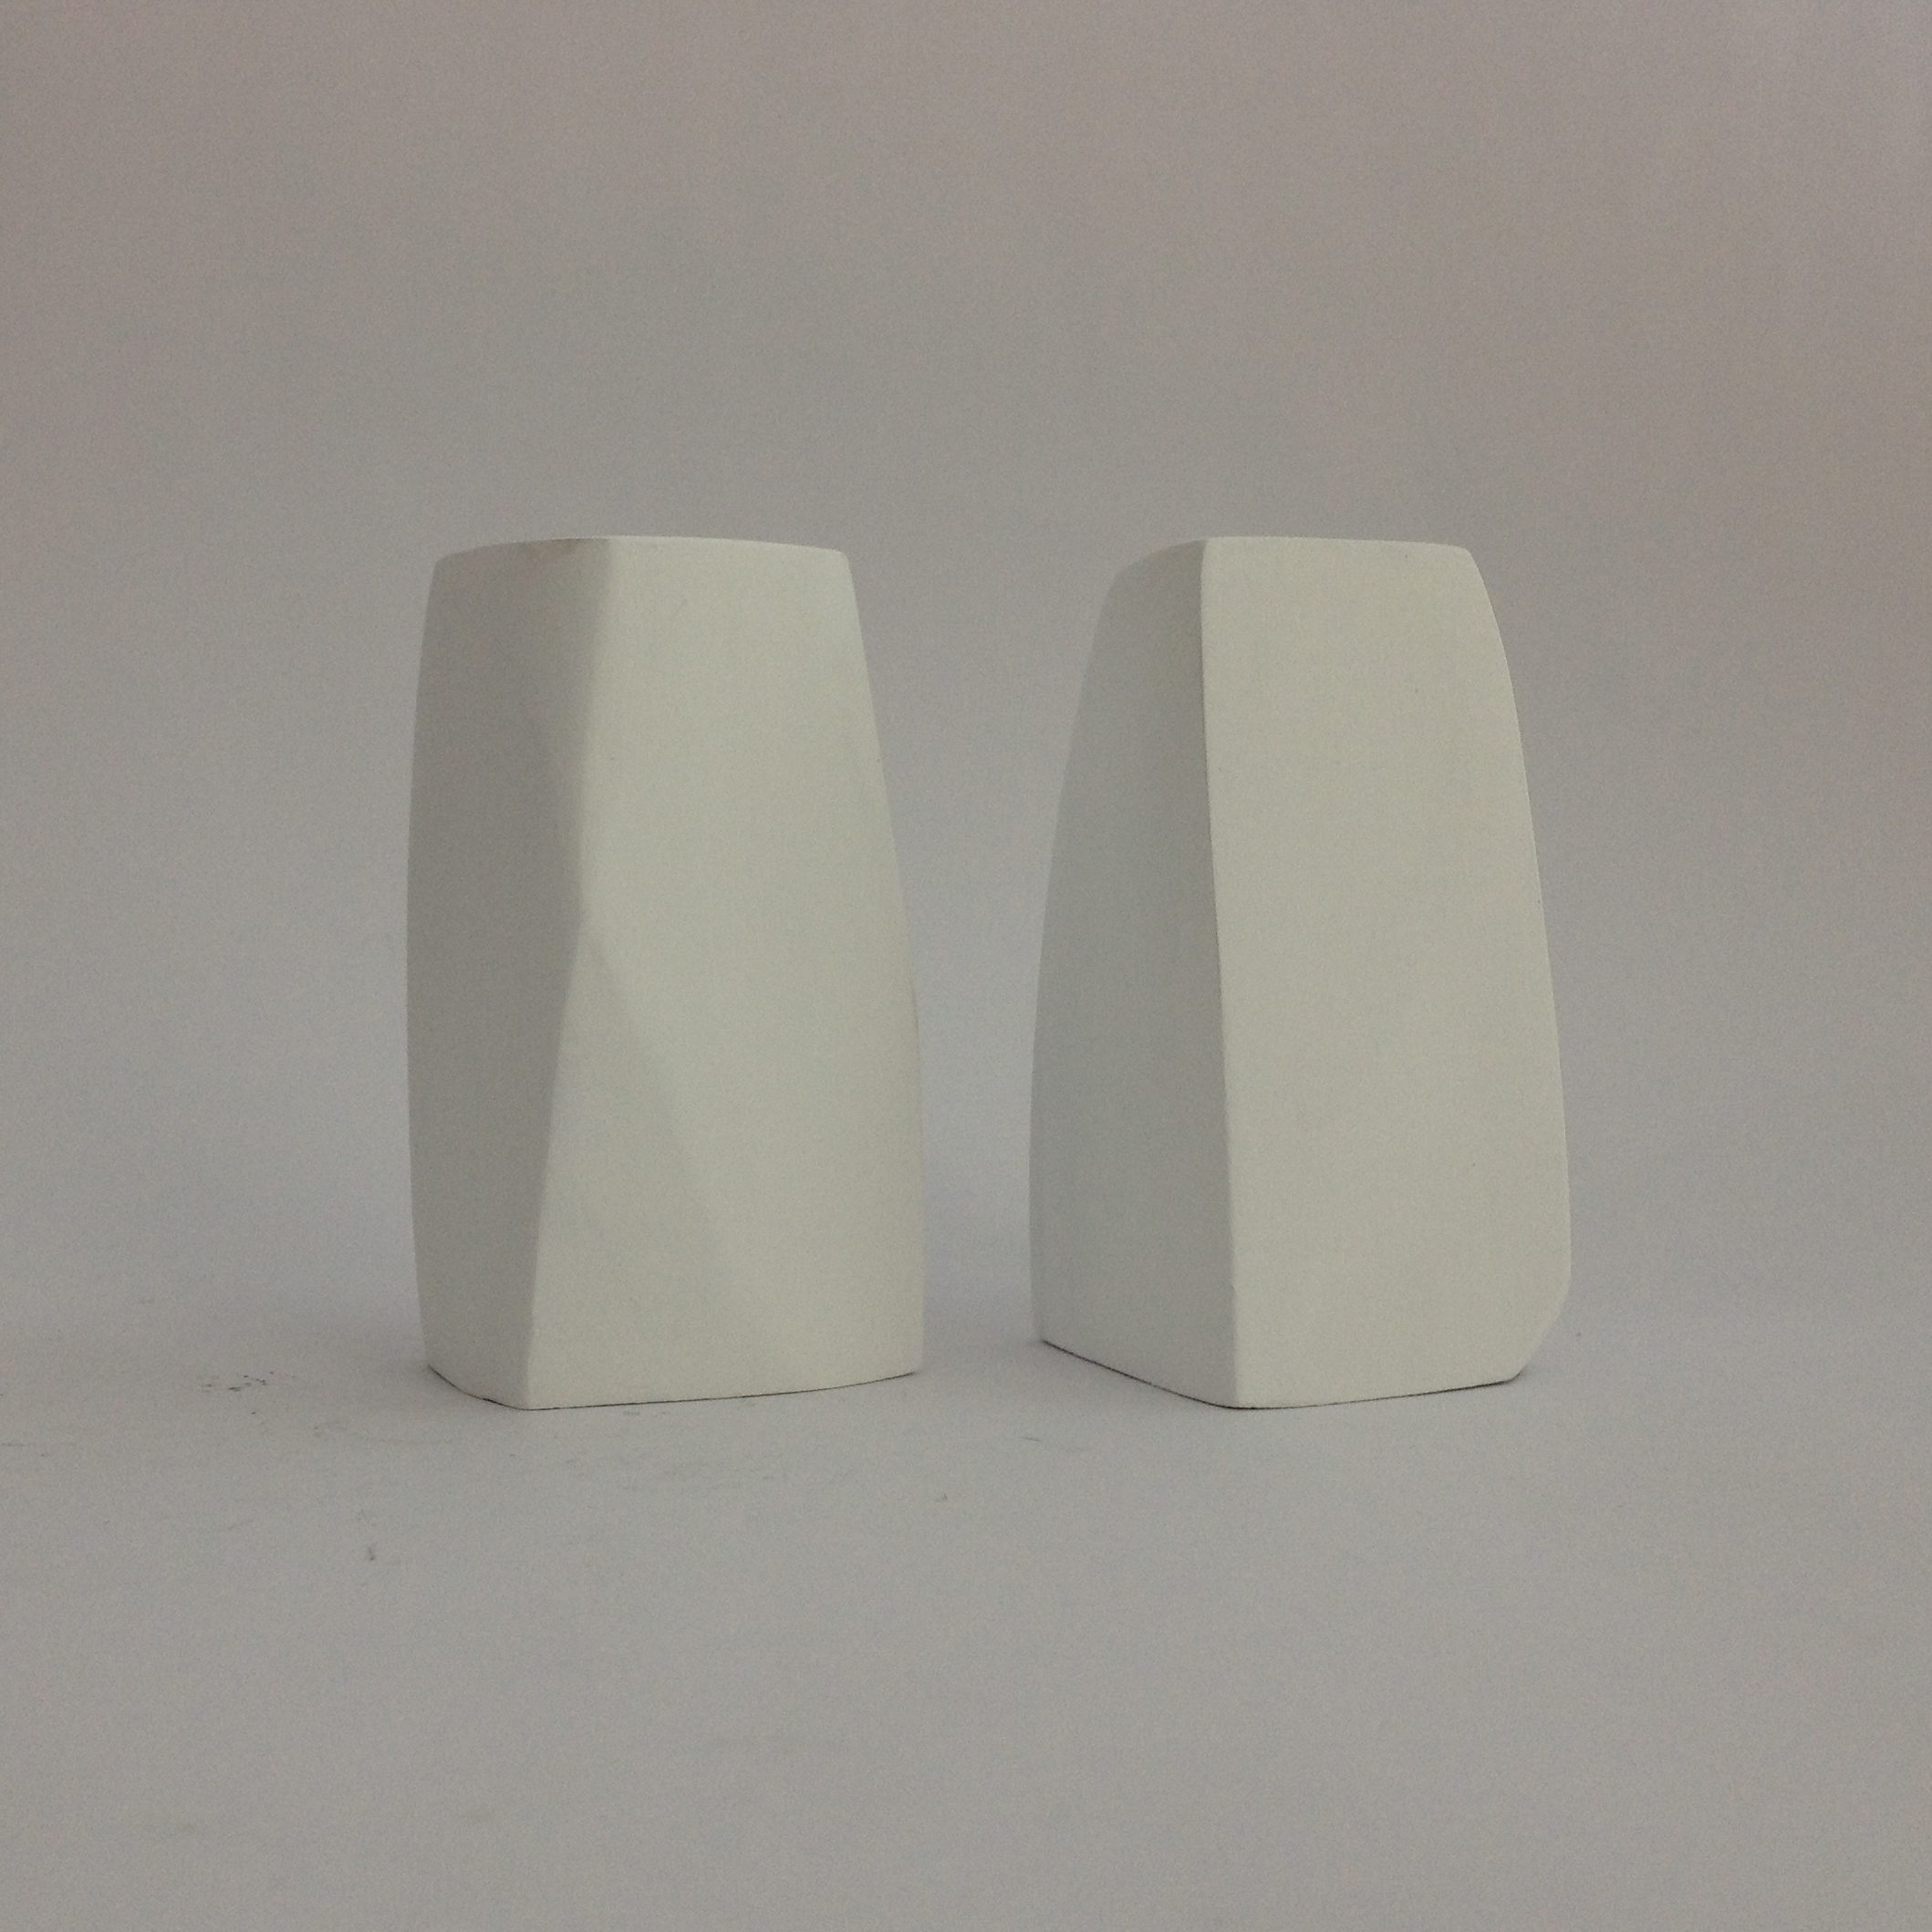
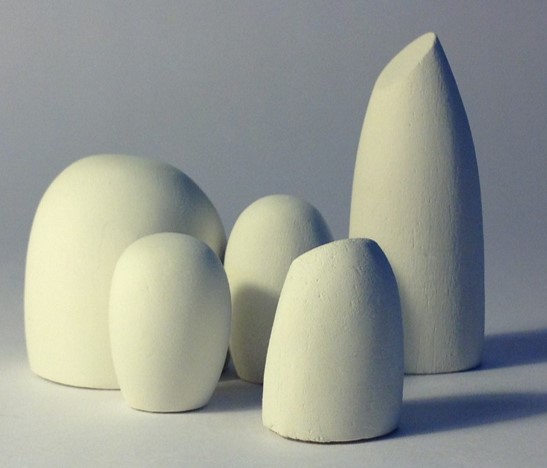
So there's a new little collection of "timber sculpture"/"maquettes" to begin playing with in my displays.
To be frank, as it were, these will do as props for my diorama; but they're not setting my world on fire, probably because I'm now enchanted with the display notion itself now and these are sort of beside the point almost. But still, one never knows what becomes of what, which is what artwokerprojects is all about, ayk. Lah di dah.
Matter of fact, making these has brought me to mind of some images I've had in my head for 100 years and explored before. This is something I will develop.......there is something going on here...leave it with me a bit and I'll find out. Maybe.
It remains to be seen what comes of anything really, but I am more & more convinced that this whole artworkerprojects business was a great idea. It gets me working more then I see what grows. This is great!
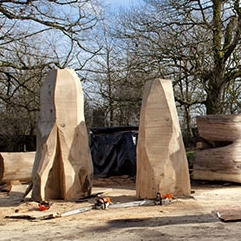
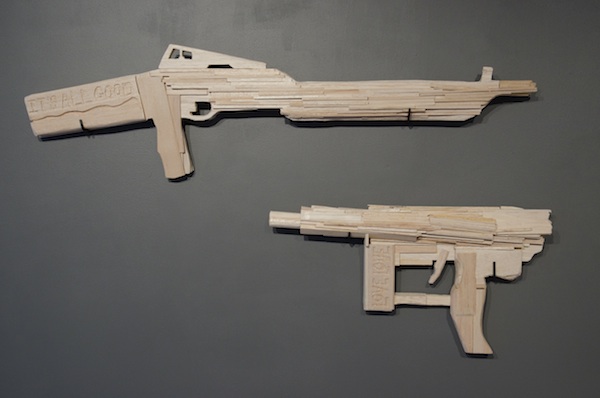
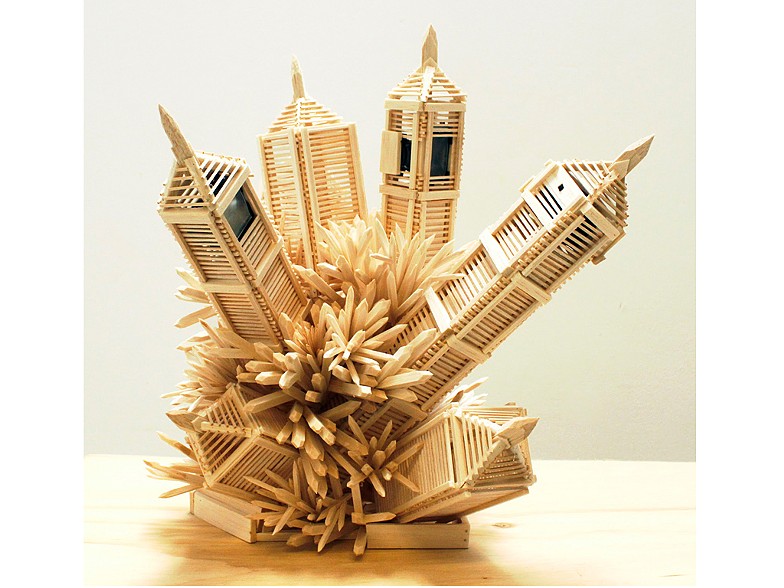
Now, wanna see some awesome kick arse balsa sculpturing?! Yeah:

Next chapter click here. Its a really really interesting chapter. (Ha! No click, haven't written it yet!)
For the End Game, see next chapter here!