

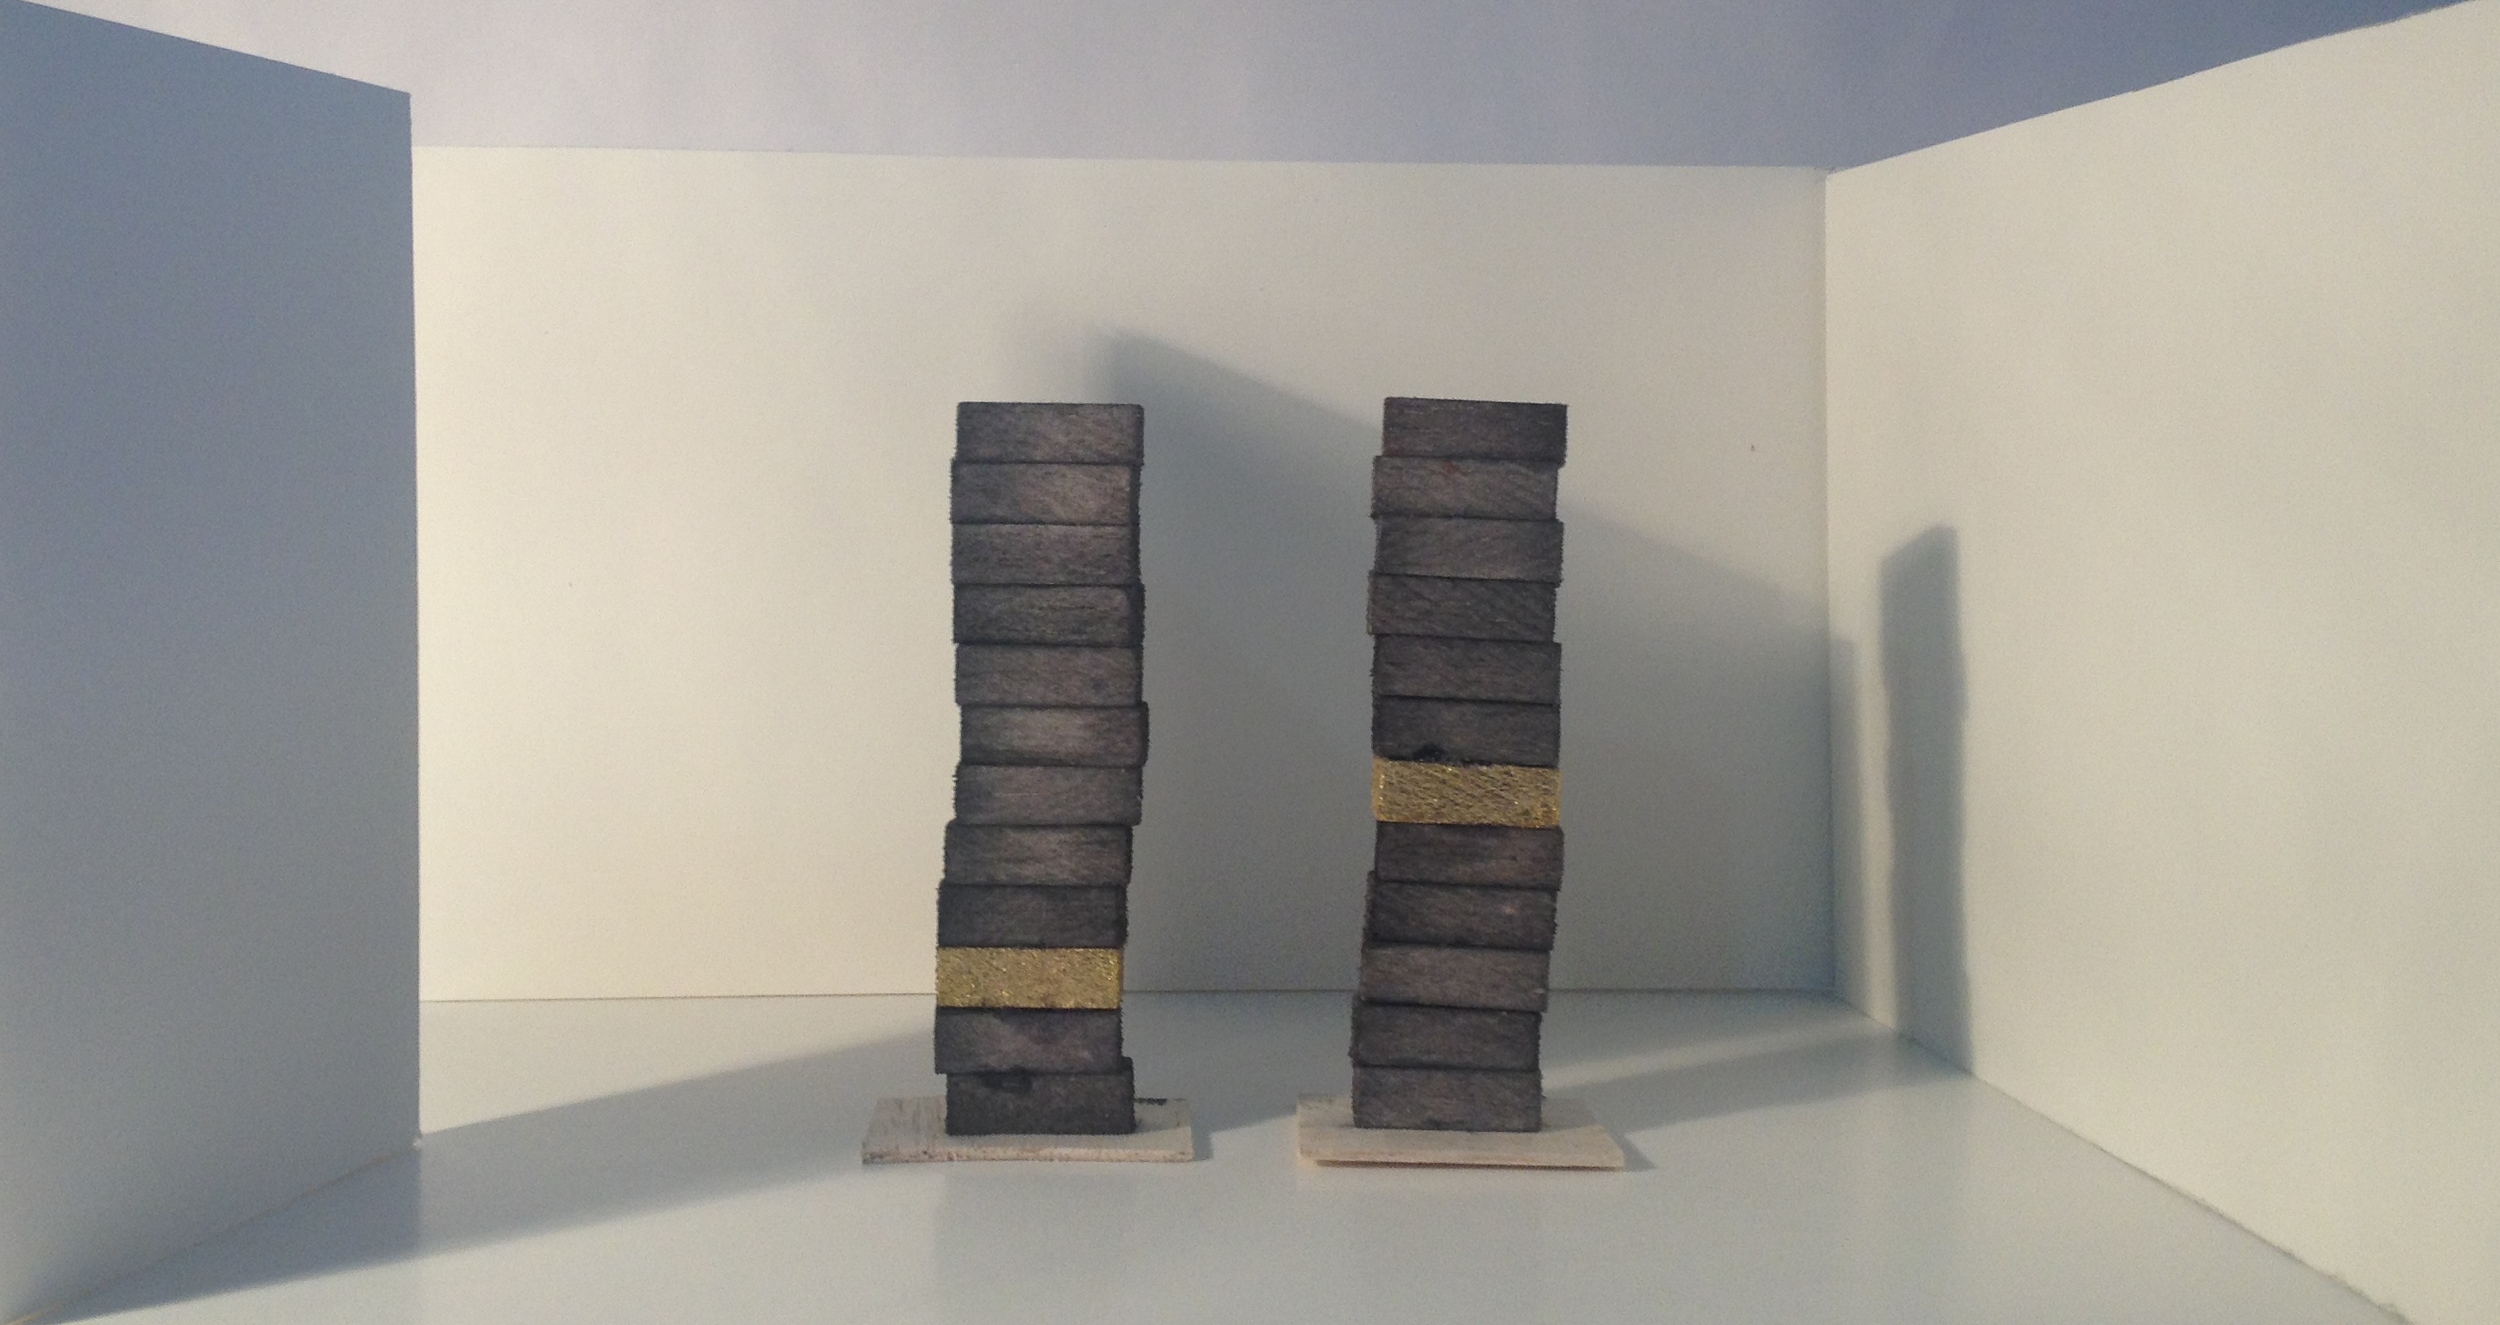
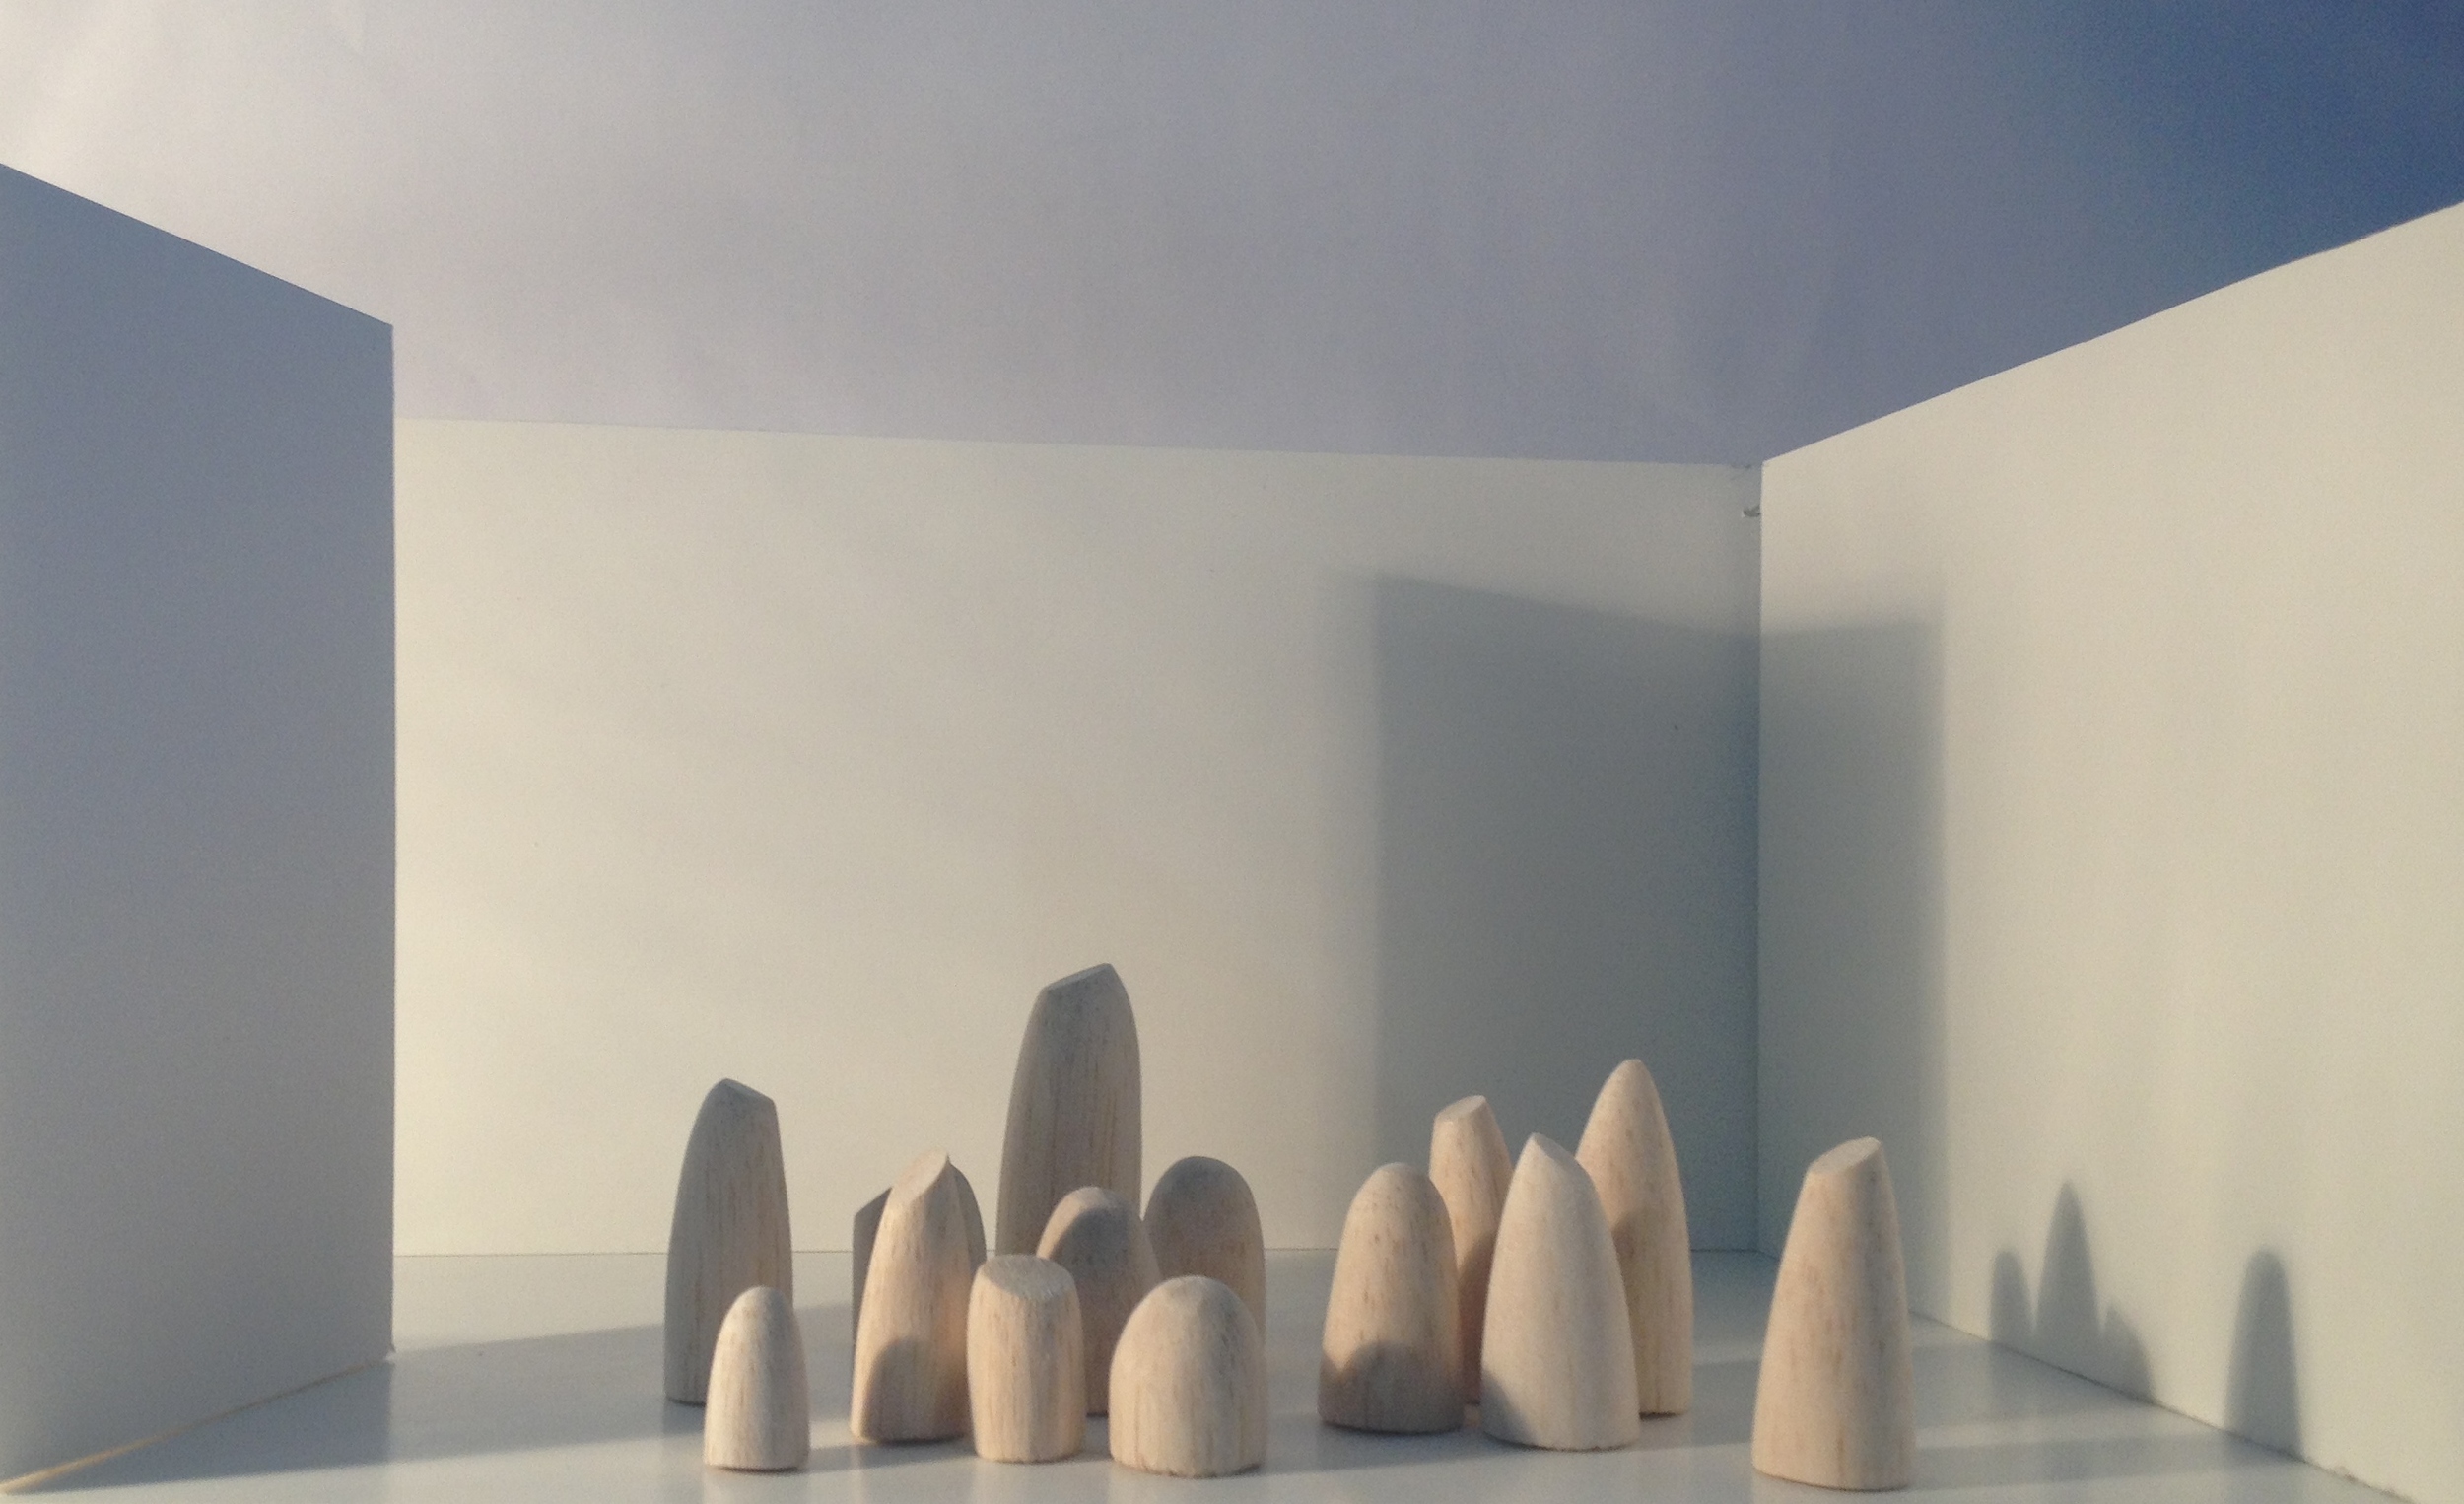
Time to bring all the bits I've made together: the diorama/display and the maquette/mini sculptures. Results!
(For the genesis of this project click on chapter one; Mini sculpture gallery making maquettes and diorama project. For chapter two click; Dioramas. For chapter three click; Mini timber sculptures.)
And so to bring things to this point: sorting my way through the many different avenues I struck down in realising my diorama display concept. There was a bit of hopping between different ideas as things cropped up & I circled around; I'll keep the words on this post to a minimum and hope that the flow of images makes some sense of this process with just a few explanatory notes throughout. It all kind of comes down to styling in the end...

Styling: keep it simple.
So, keeping in mind the words: diorama/gallery/display/set/backdrop, I've done the following:
First, I made a typical shoebox affair, then a simple idea which looked pretty good, just slotting in a ledge for the sculptures to sit on, which looked surprisingly effective in the simplicity of it's visual trickery. The shoebox was kind of mad. After these came, oh, I don't know, a few things? I had a bit of fun at many points along the road, post production collaging on the old laptop too. And the spot of presentation styling at the end was fun.
I think I'll just do as I said and let the images flow; first, the shelf insert on empty gallery style space then the box arrangement:


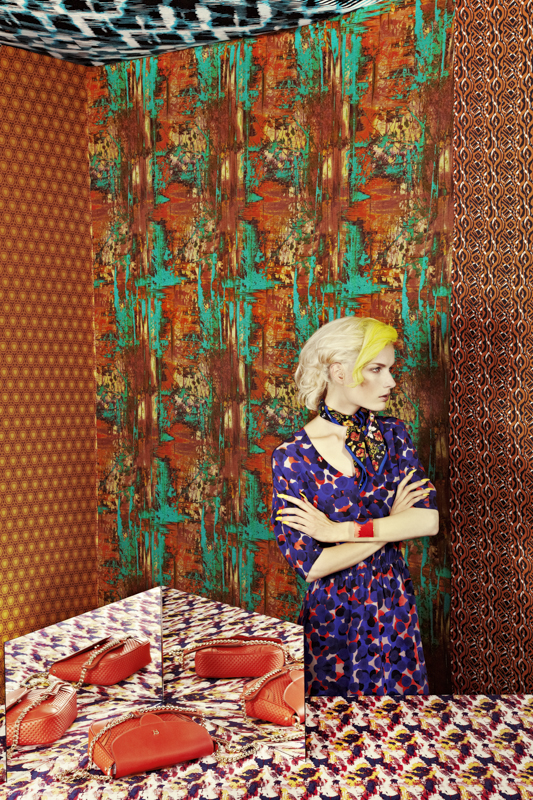
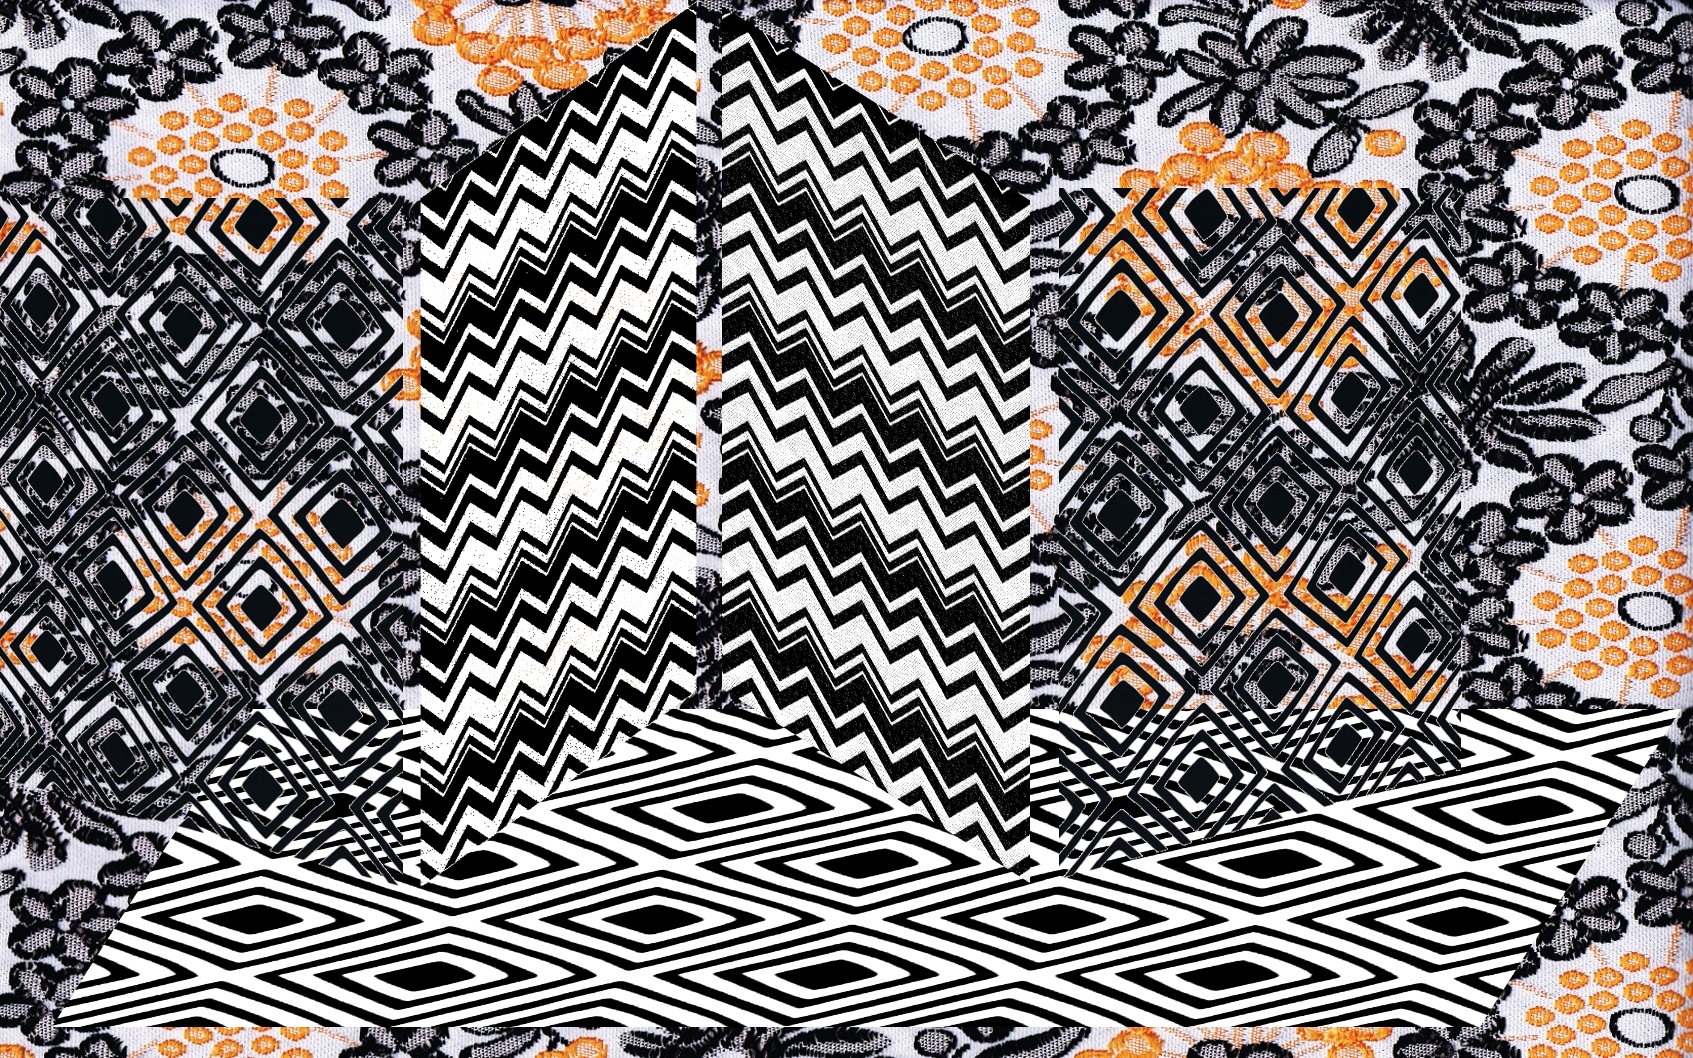
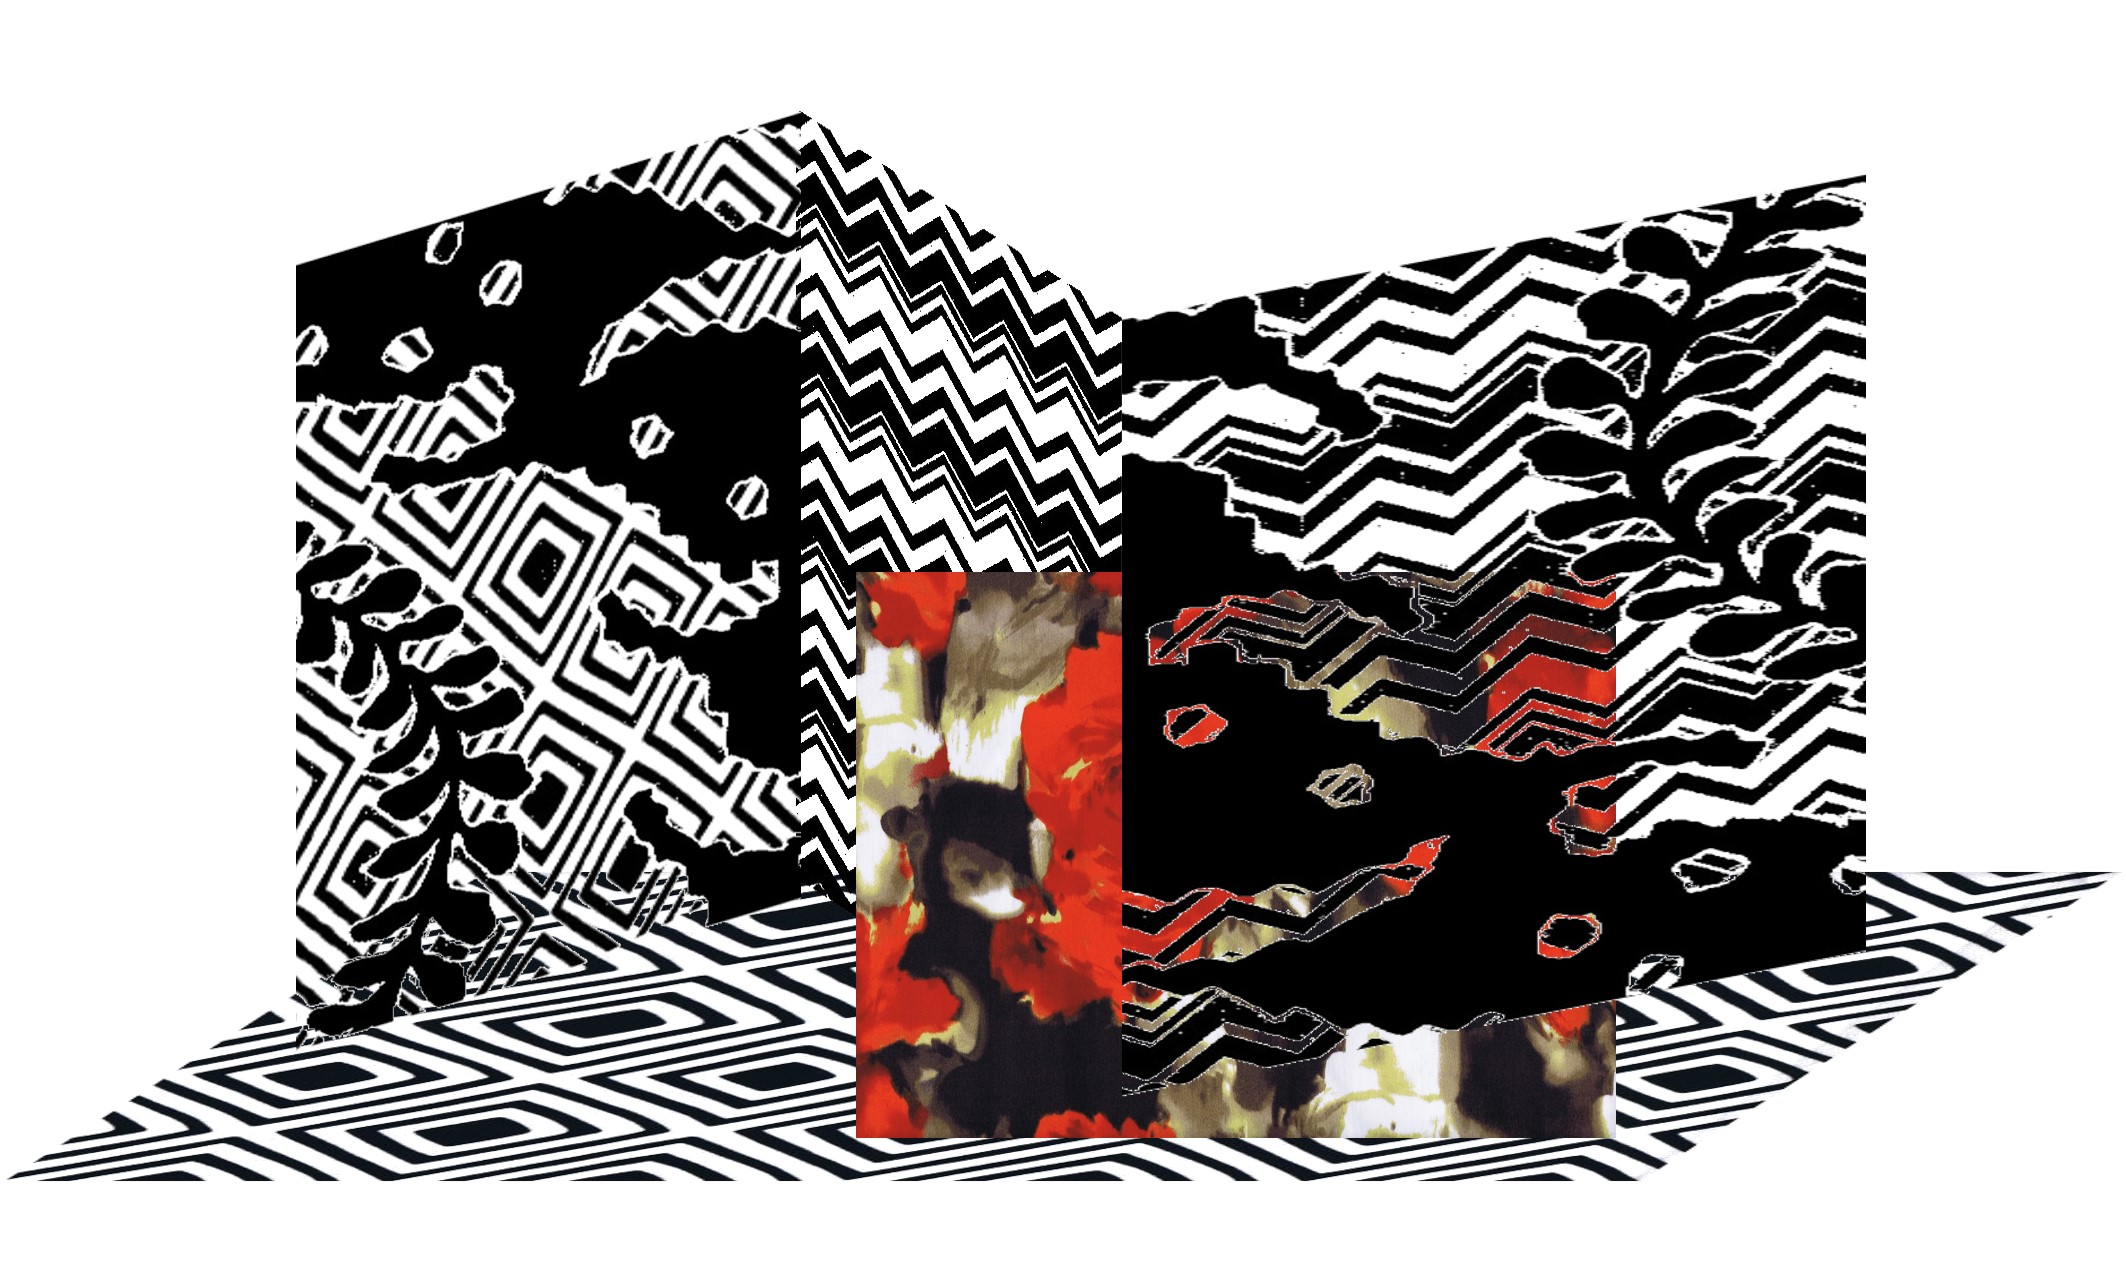
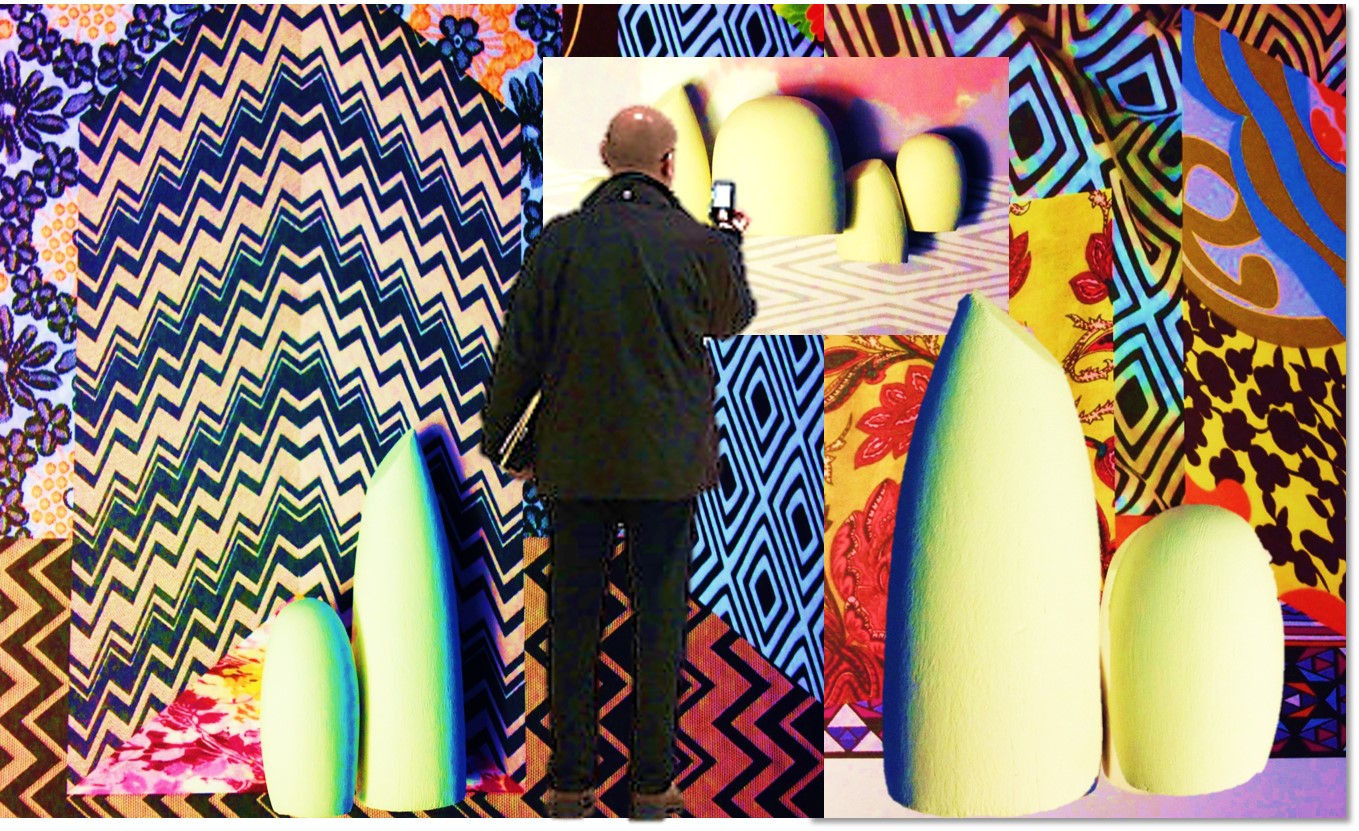
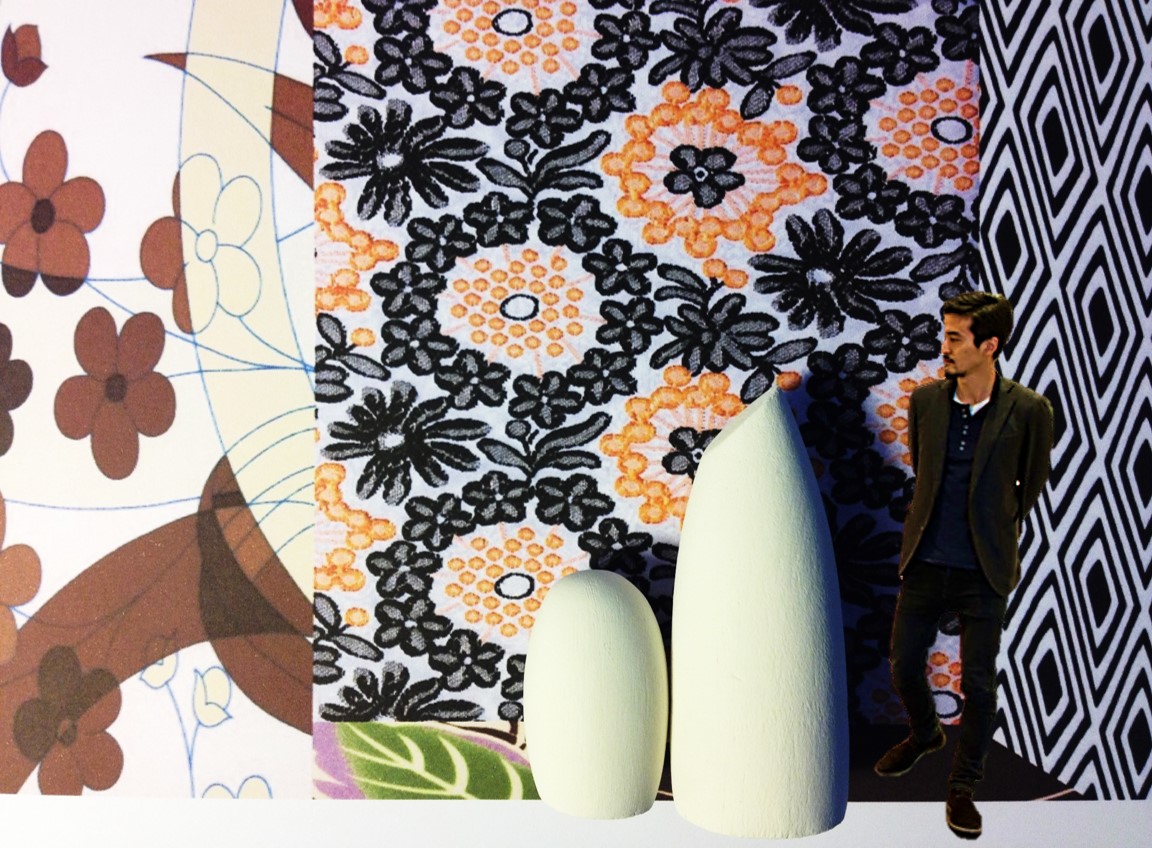
Around about this point, I came across the very good work of Madame Peripetie on Behance. Her "patchwork" images for Step Magazine, I LOVE. In fact all her photos are amazingly good and the styling is quite stunning. The patterns and the almost perspective in this example below is something I've played with a bit before in other work. Have a look at her stuff on Behance, its great.

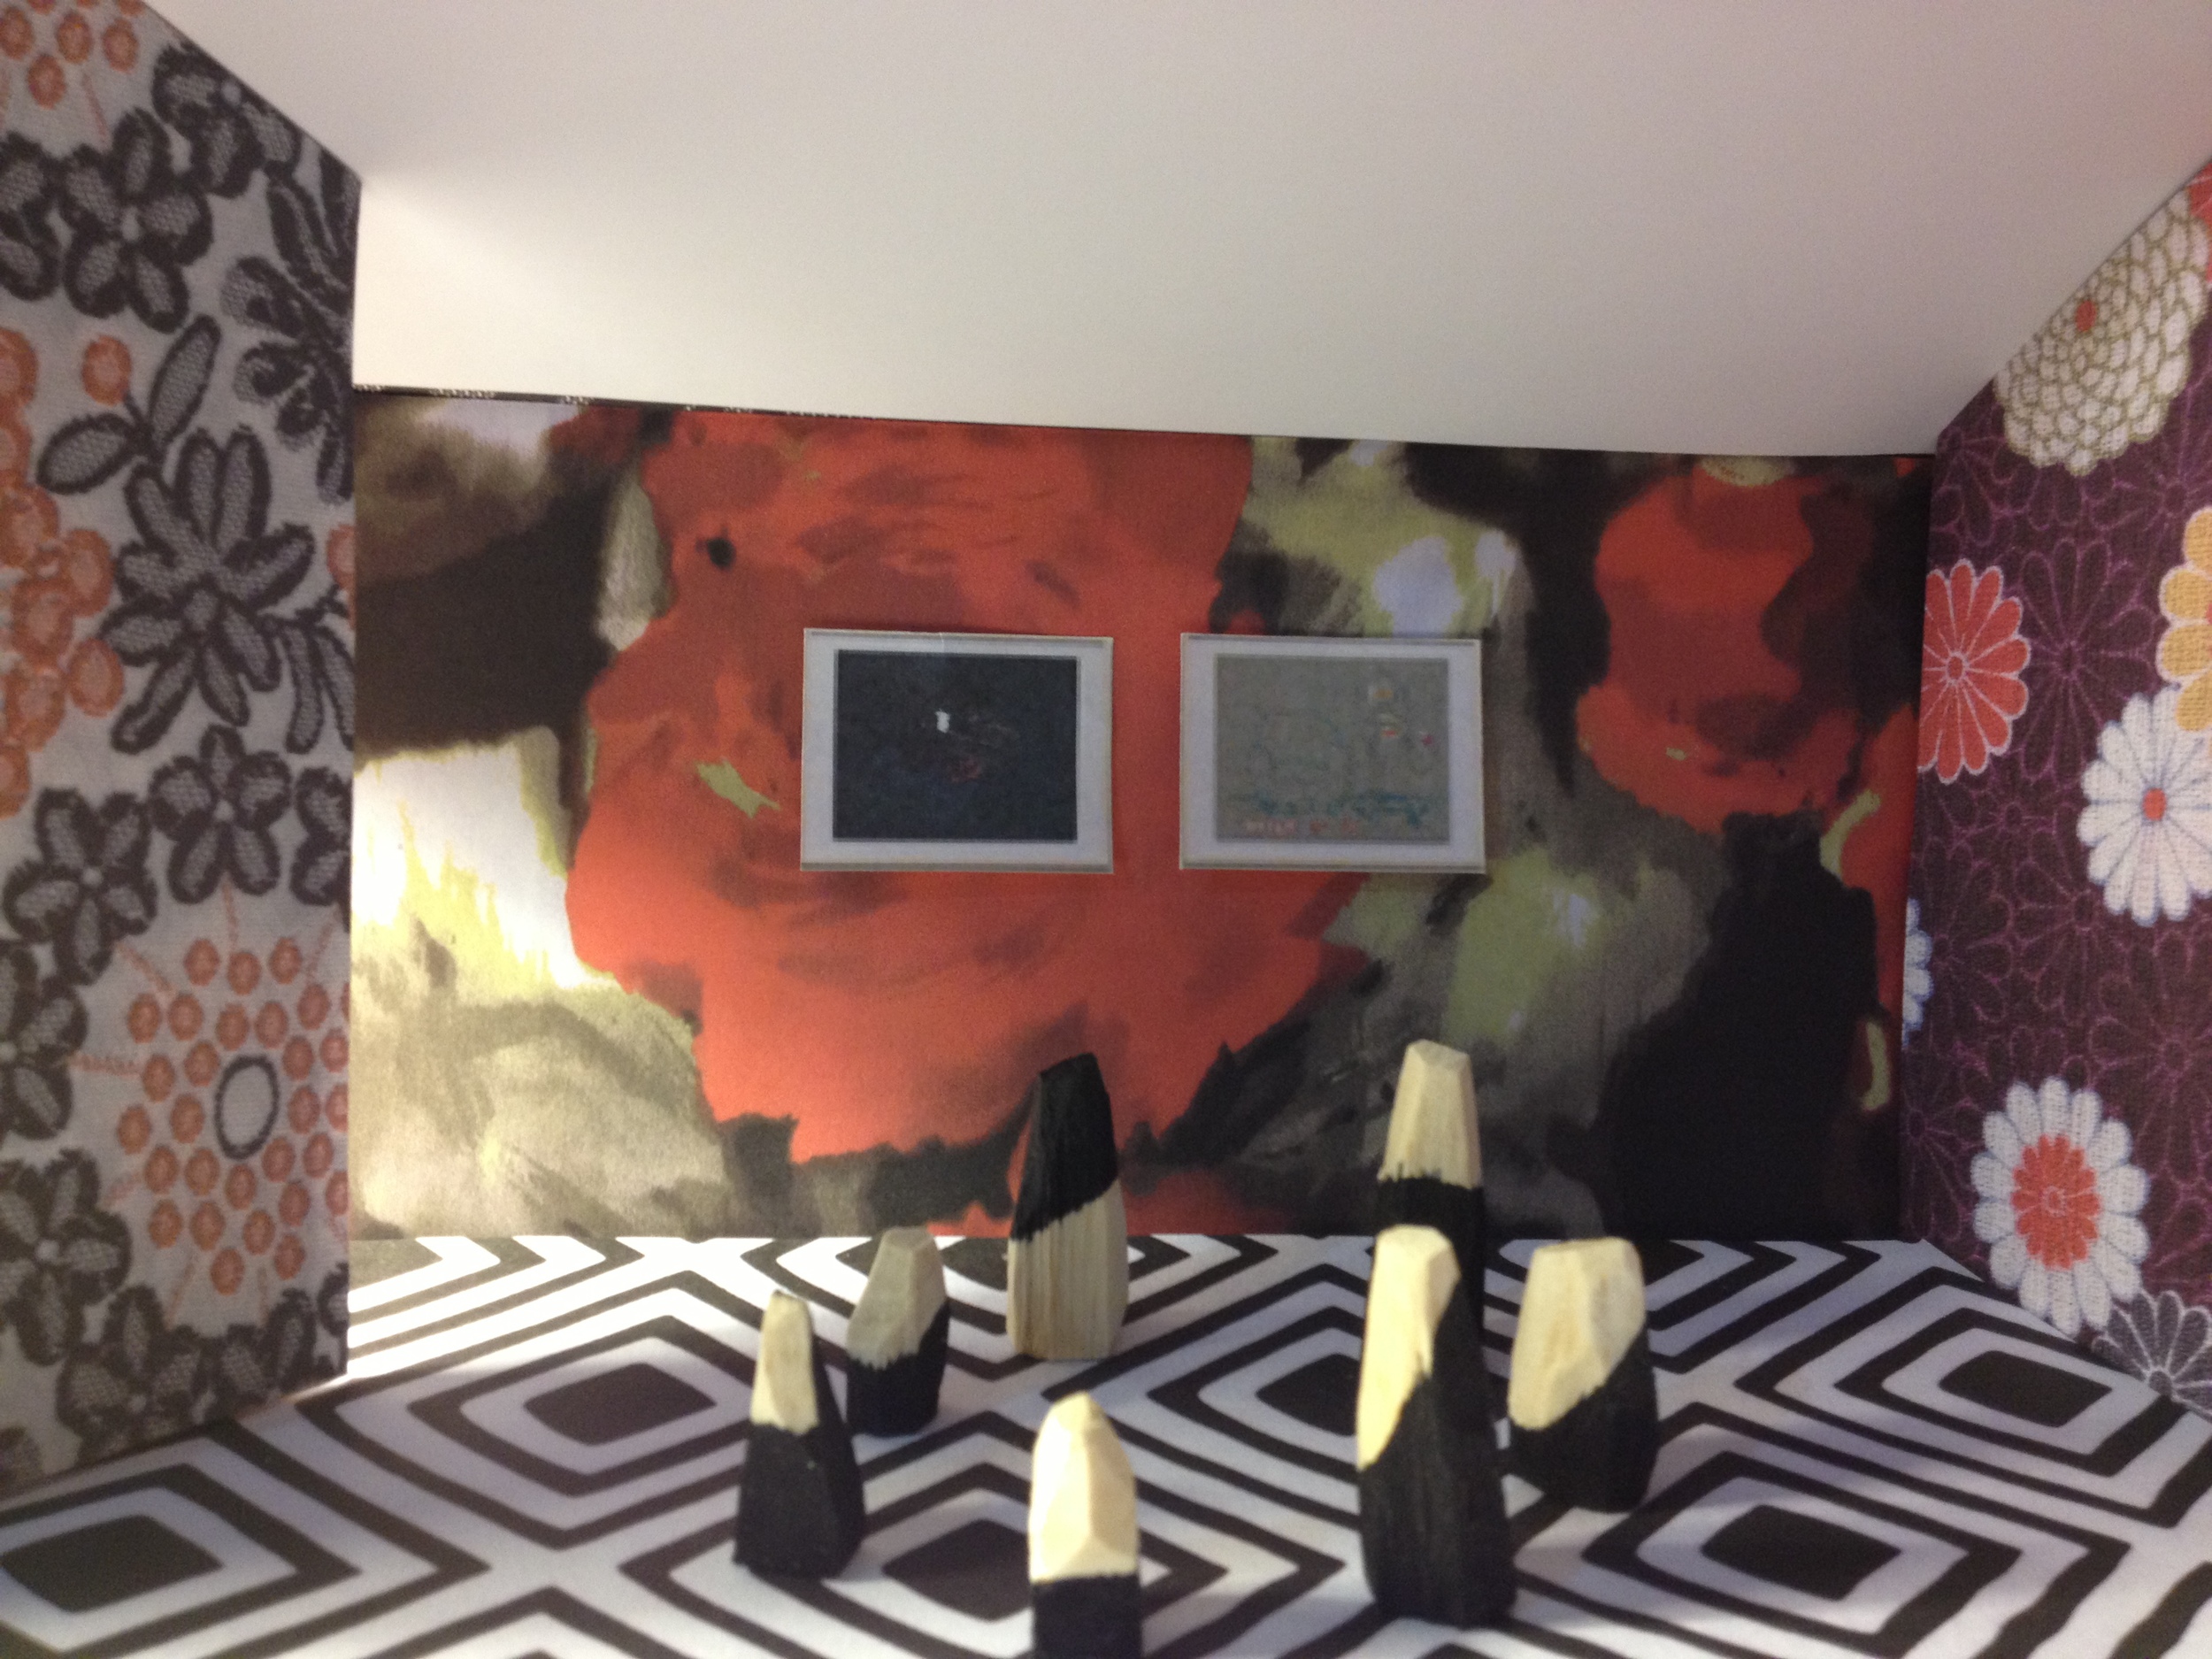
So I picked this up & ran with it for a bit. The following images were amusing to muck about with. True to my usual low tech style, I used scans of fabrics and PowerPt cut 'n paste on that old laptop as well as wallpapering my shoebox with prints. Cool fun.


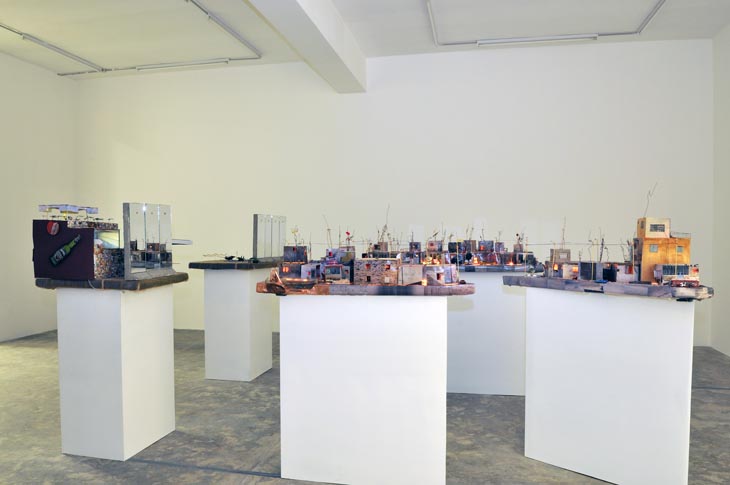
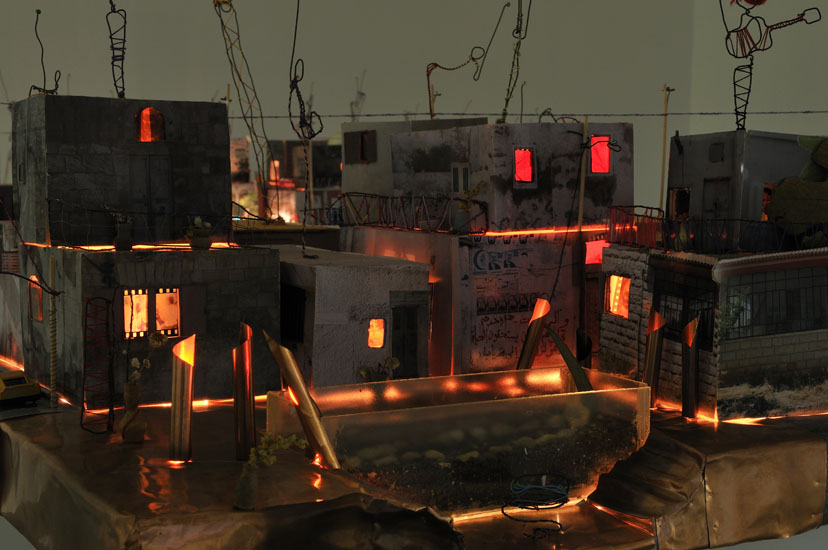
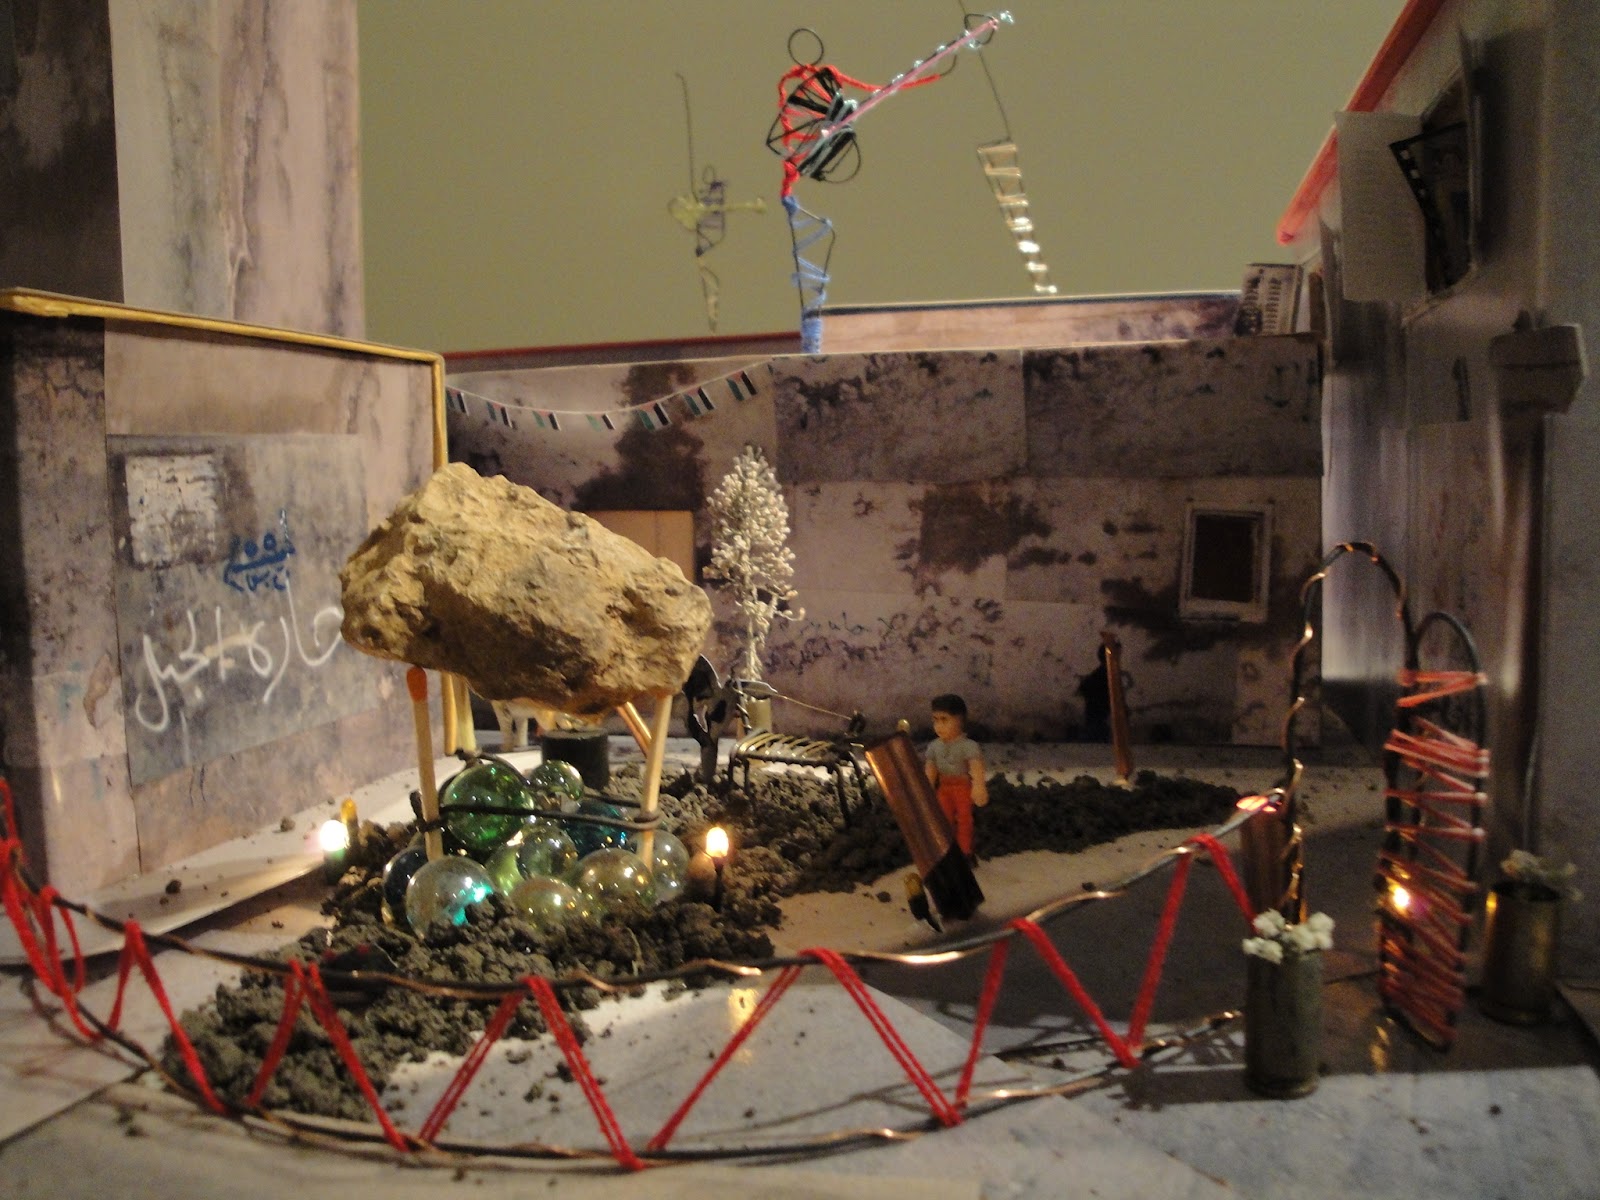
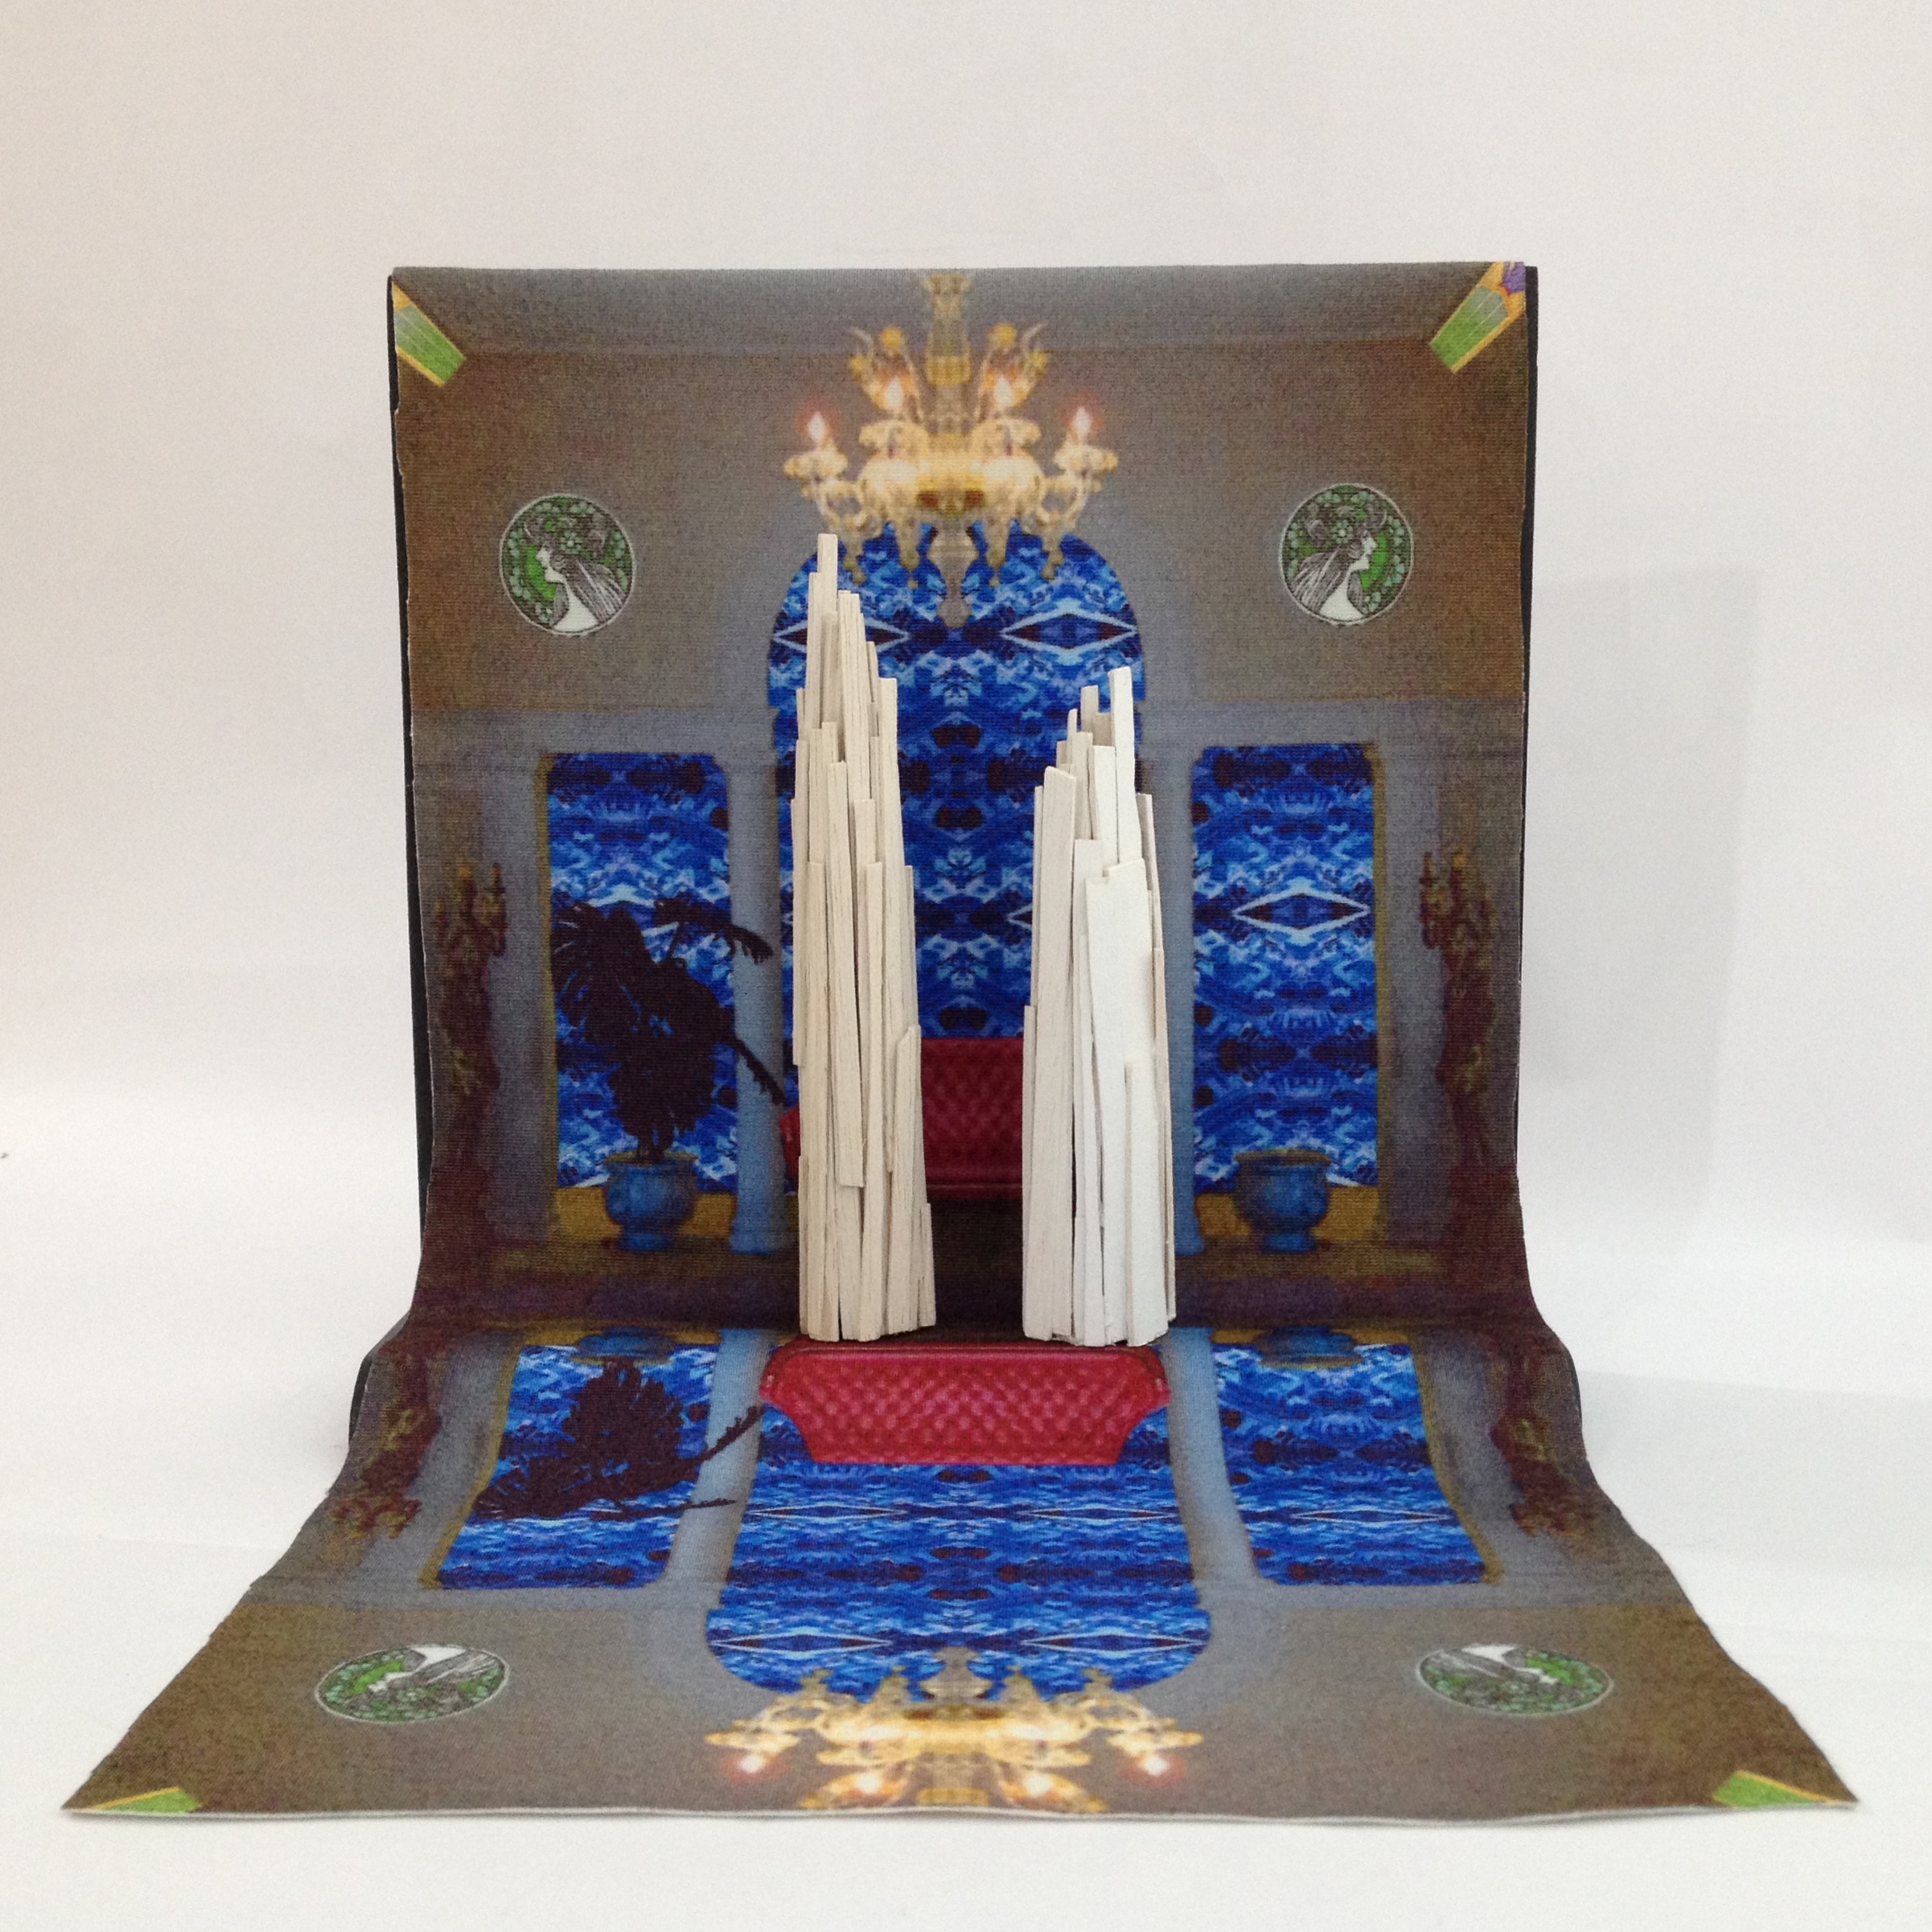
In fact, I saw a wonderful shoebox-style diorama by Wafa Hourani at the Saatchi Gallery a few years ago. (The show as a whole was critically panned, but I thought there were some great pieces, this amongst them.) Qalandia 2067, shown below. It has a lot to say about living somewhere like northern Jerusalem. The Guardian described this piece as " funky, wretched, funny and terrifying... the models are replete with bars, patios, TV antennae, squalid little ramshackle dwellings and military emplacements...with an air of everyday menace and surveillance." I was captivated by this, looked at it for a loooong time. Its still with me.

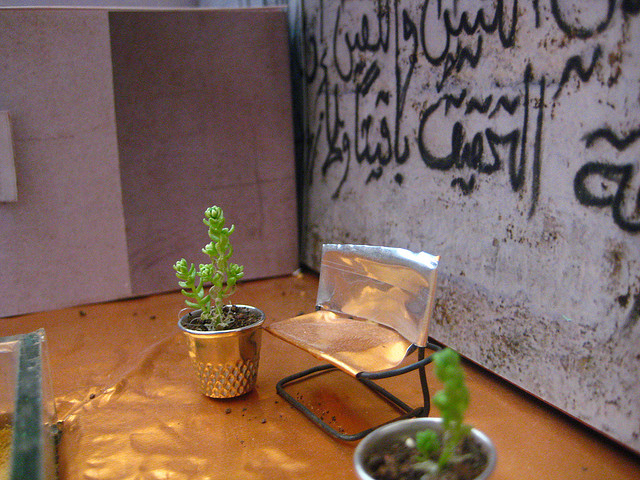
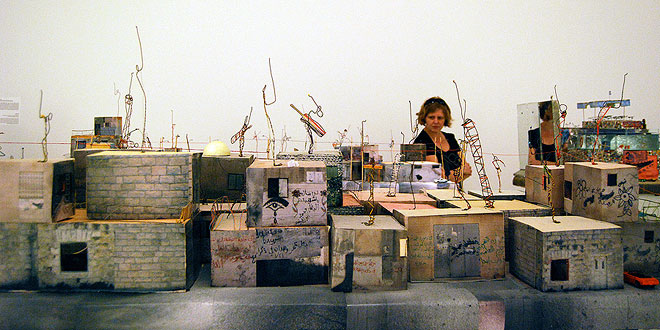
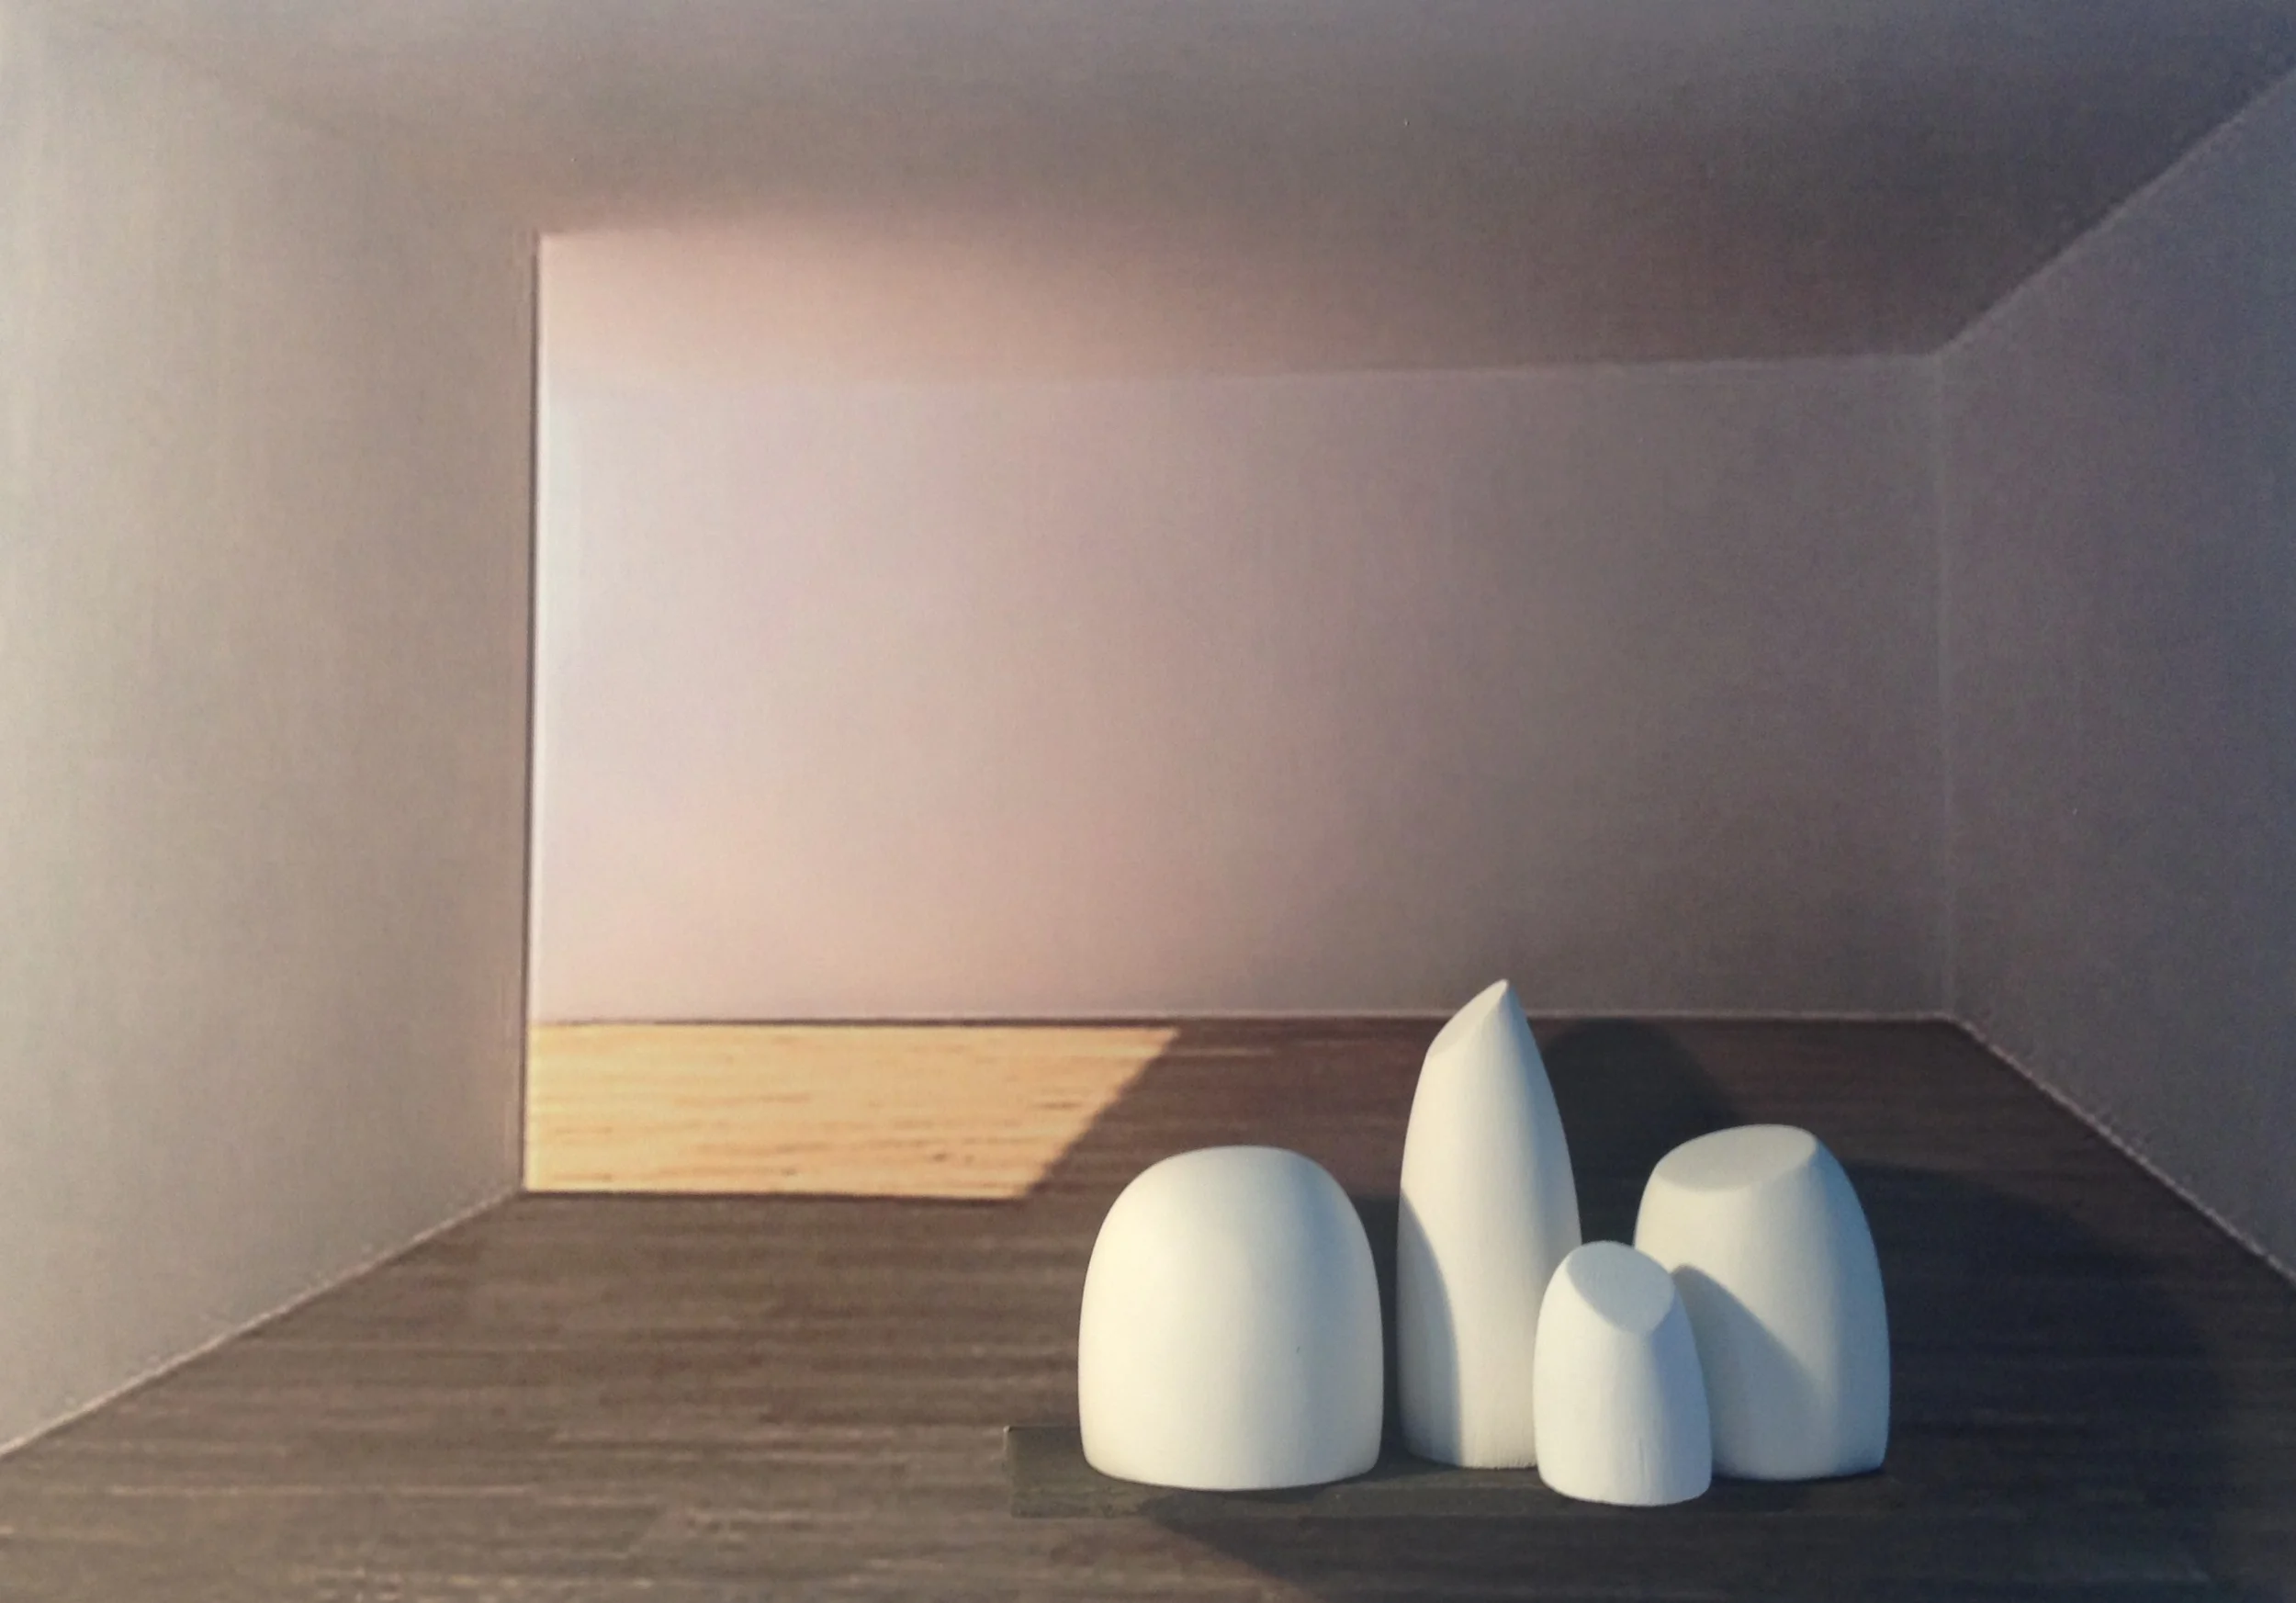
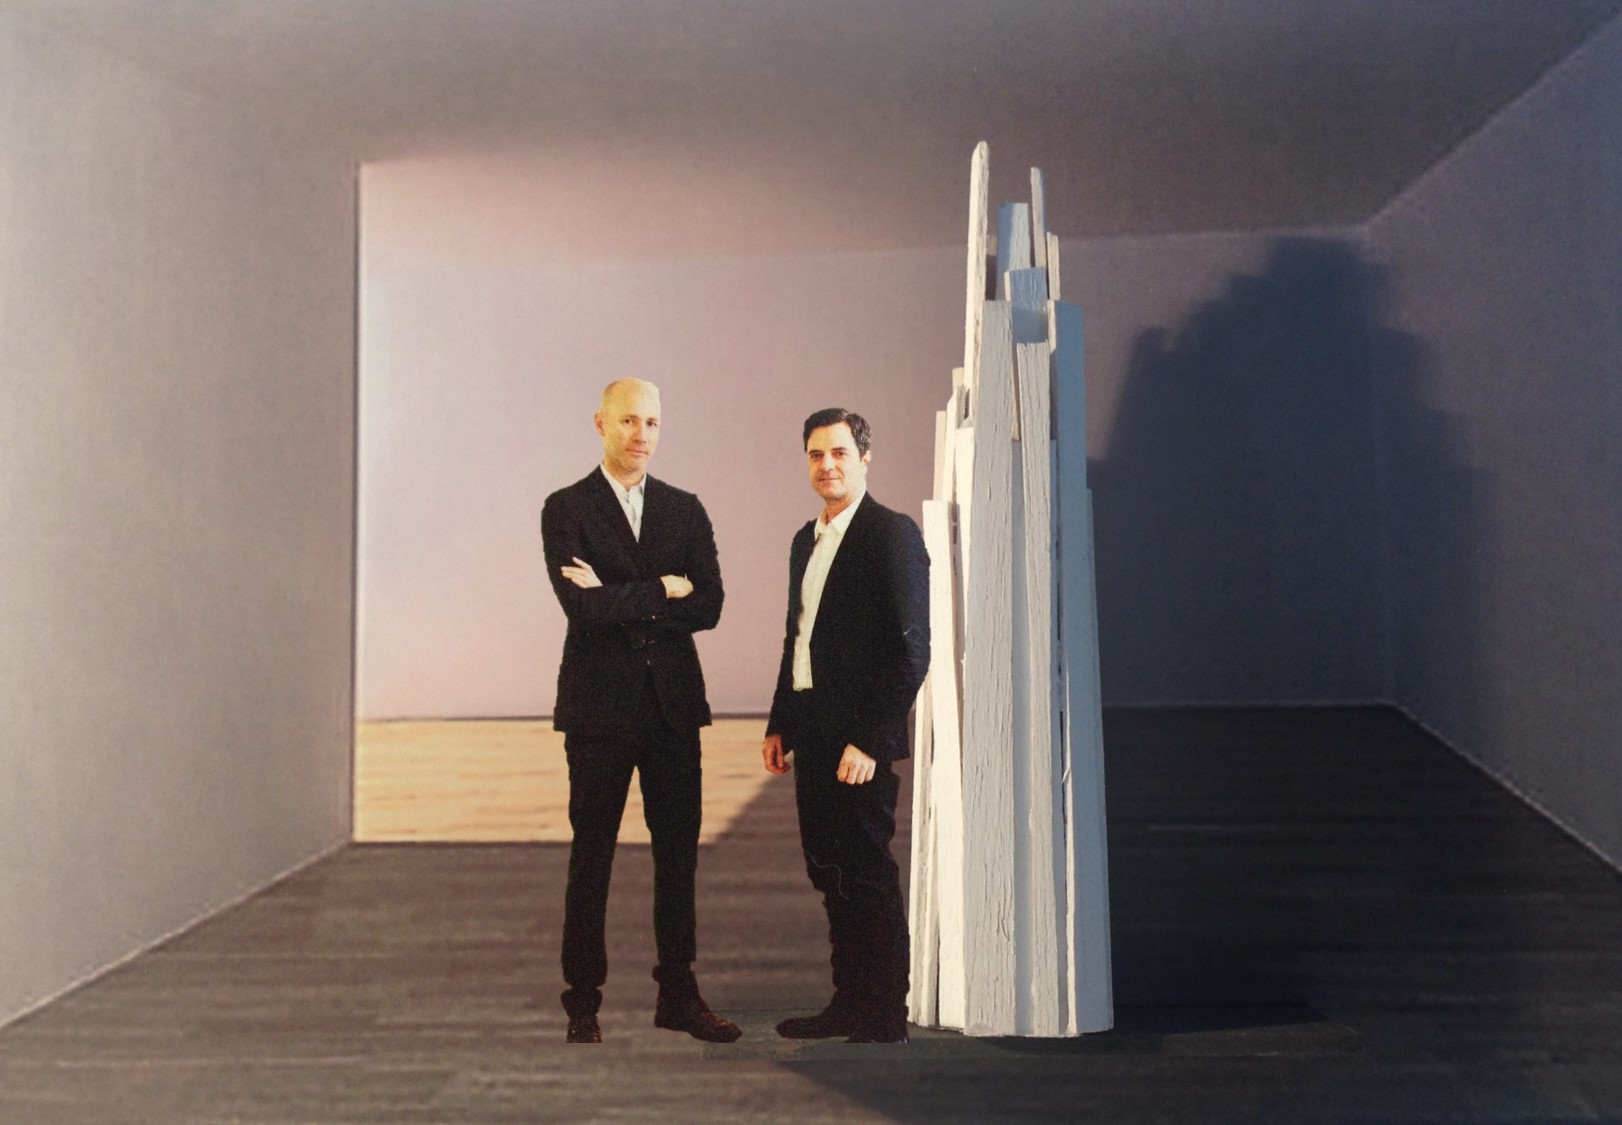
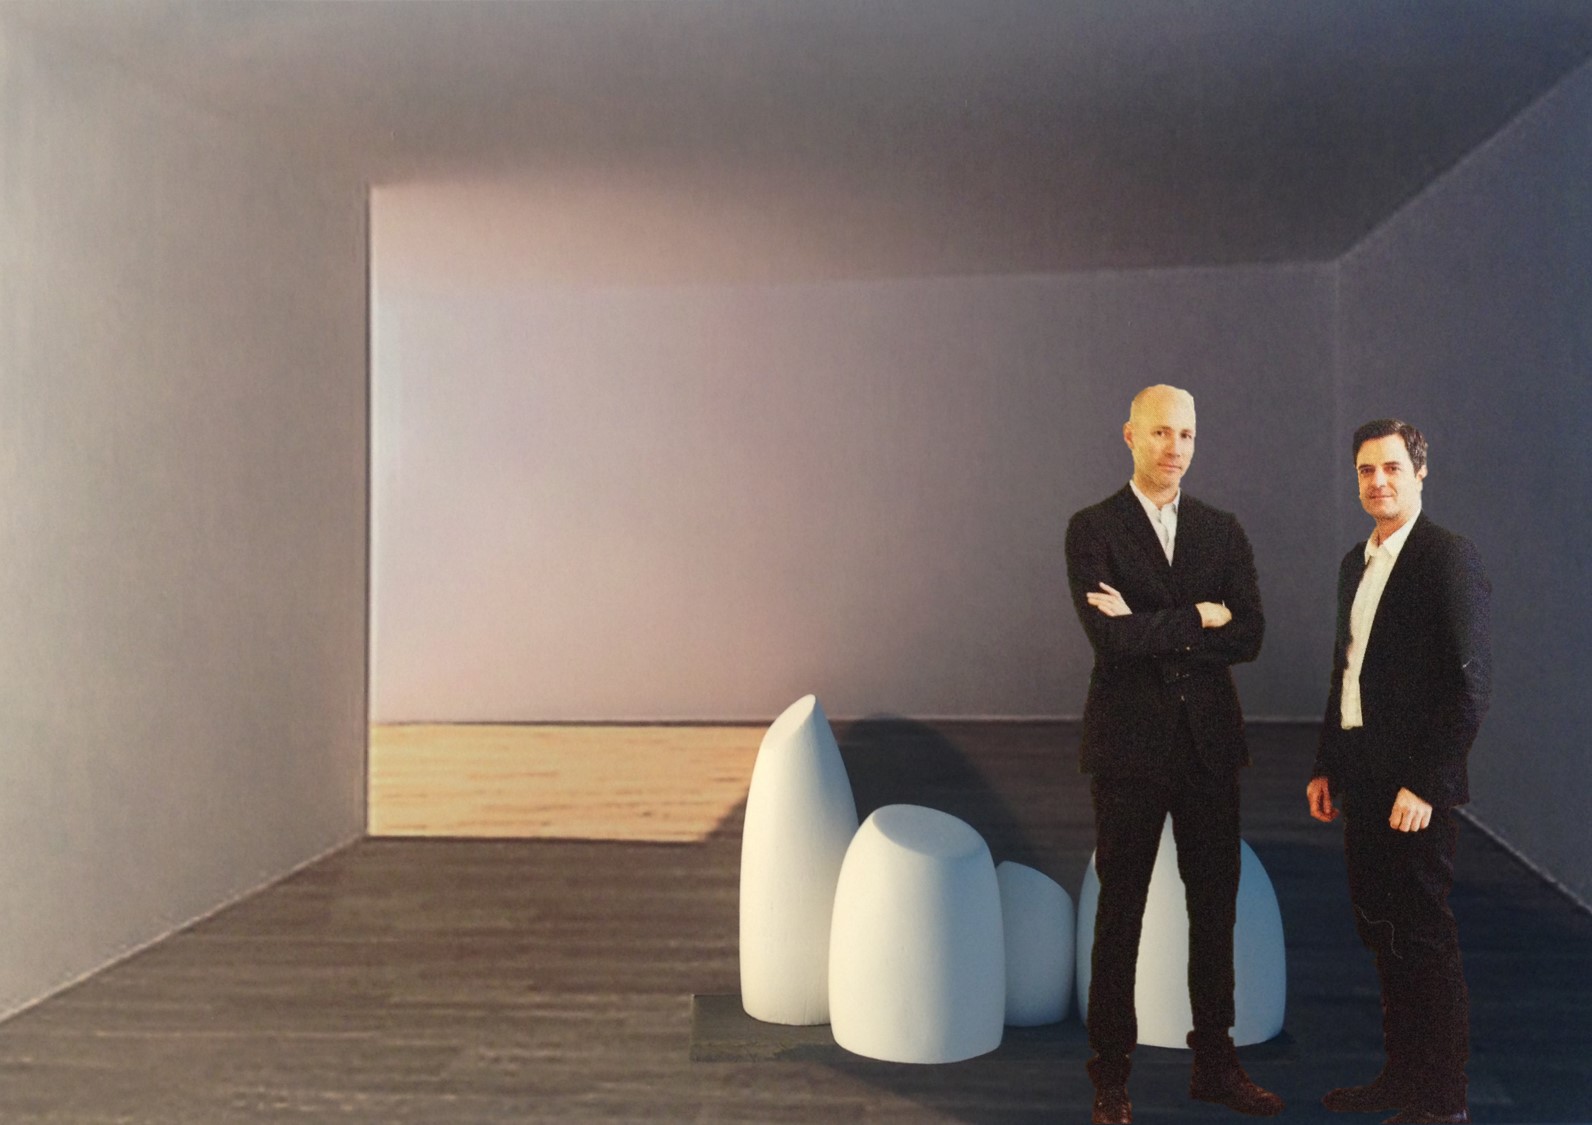
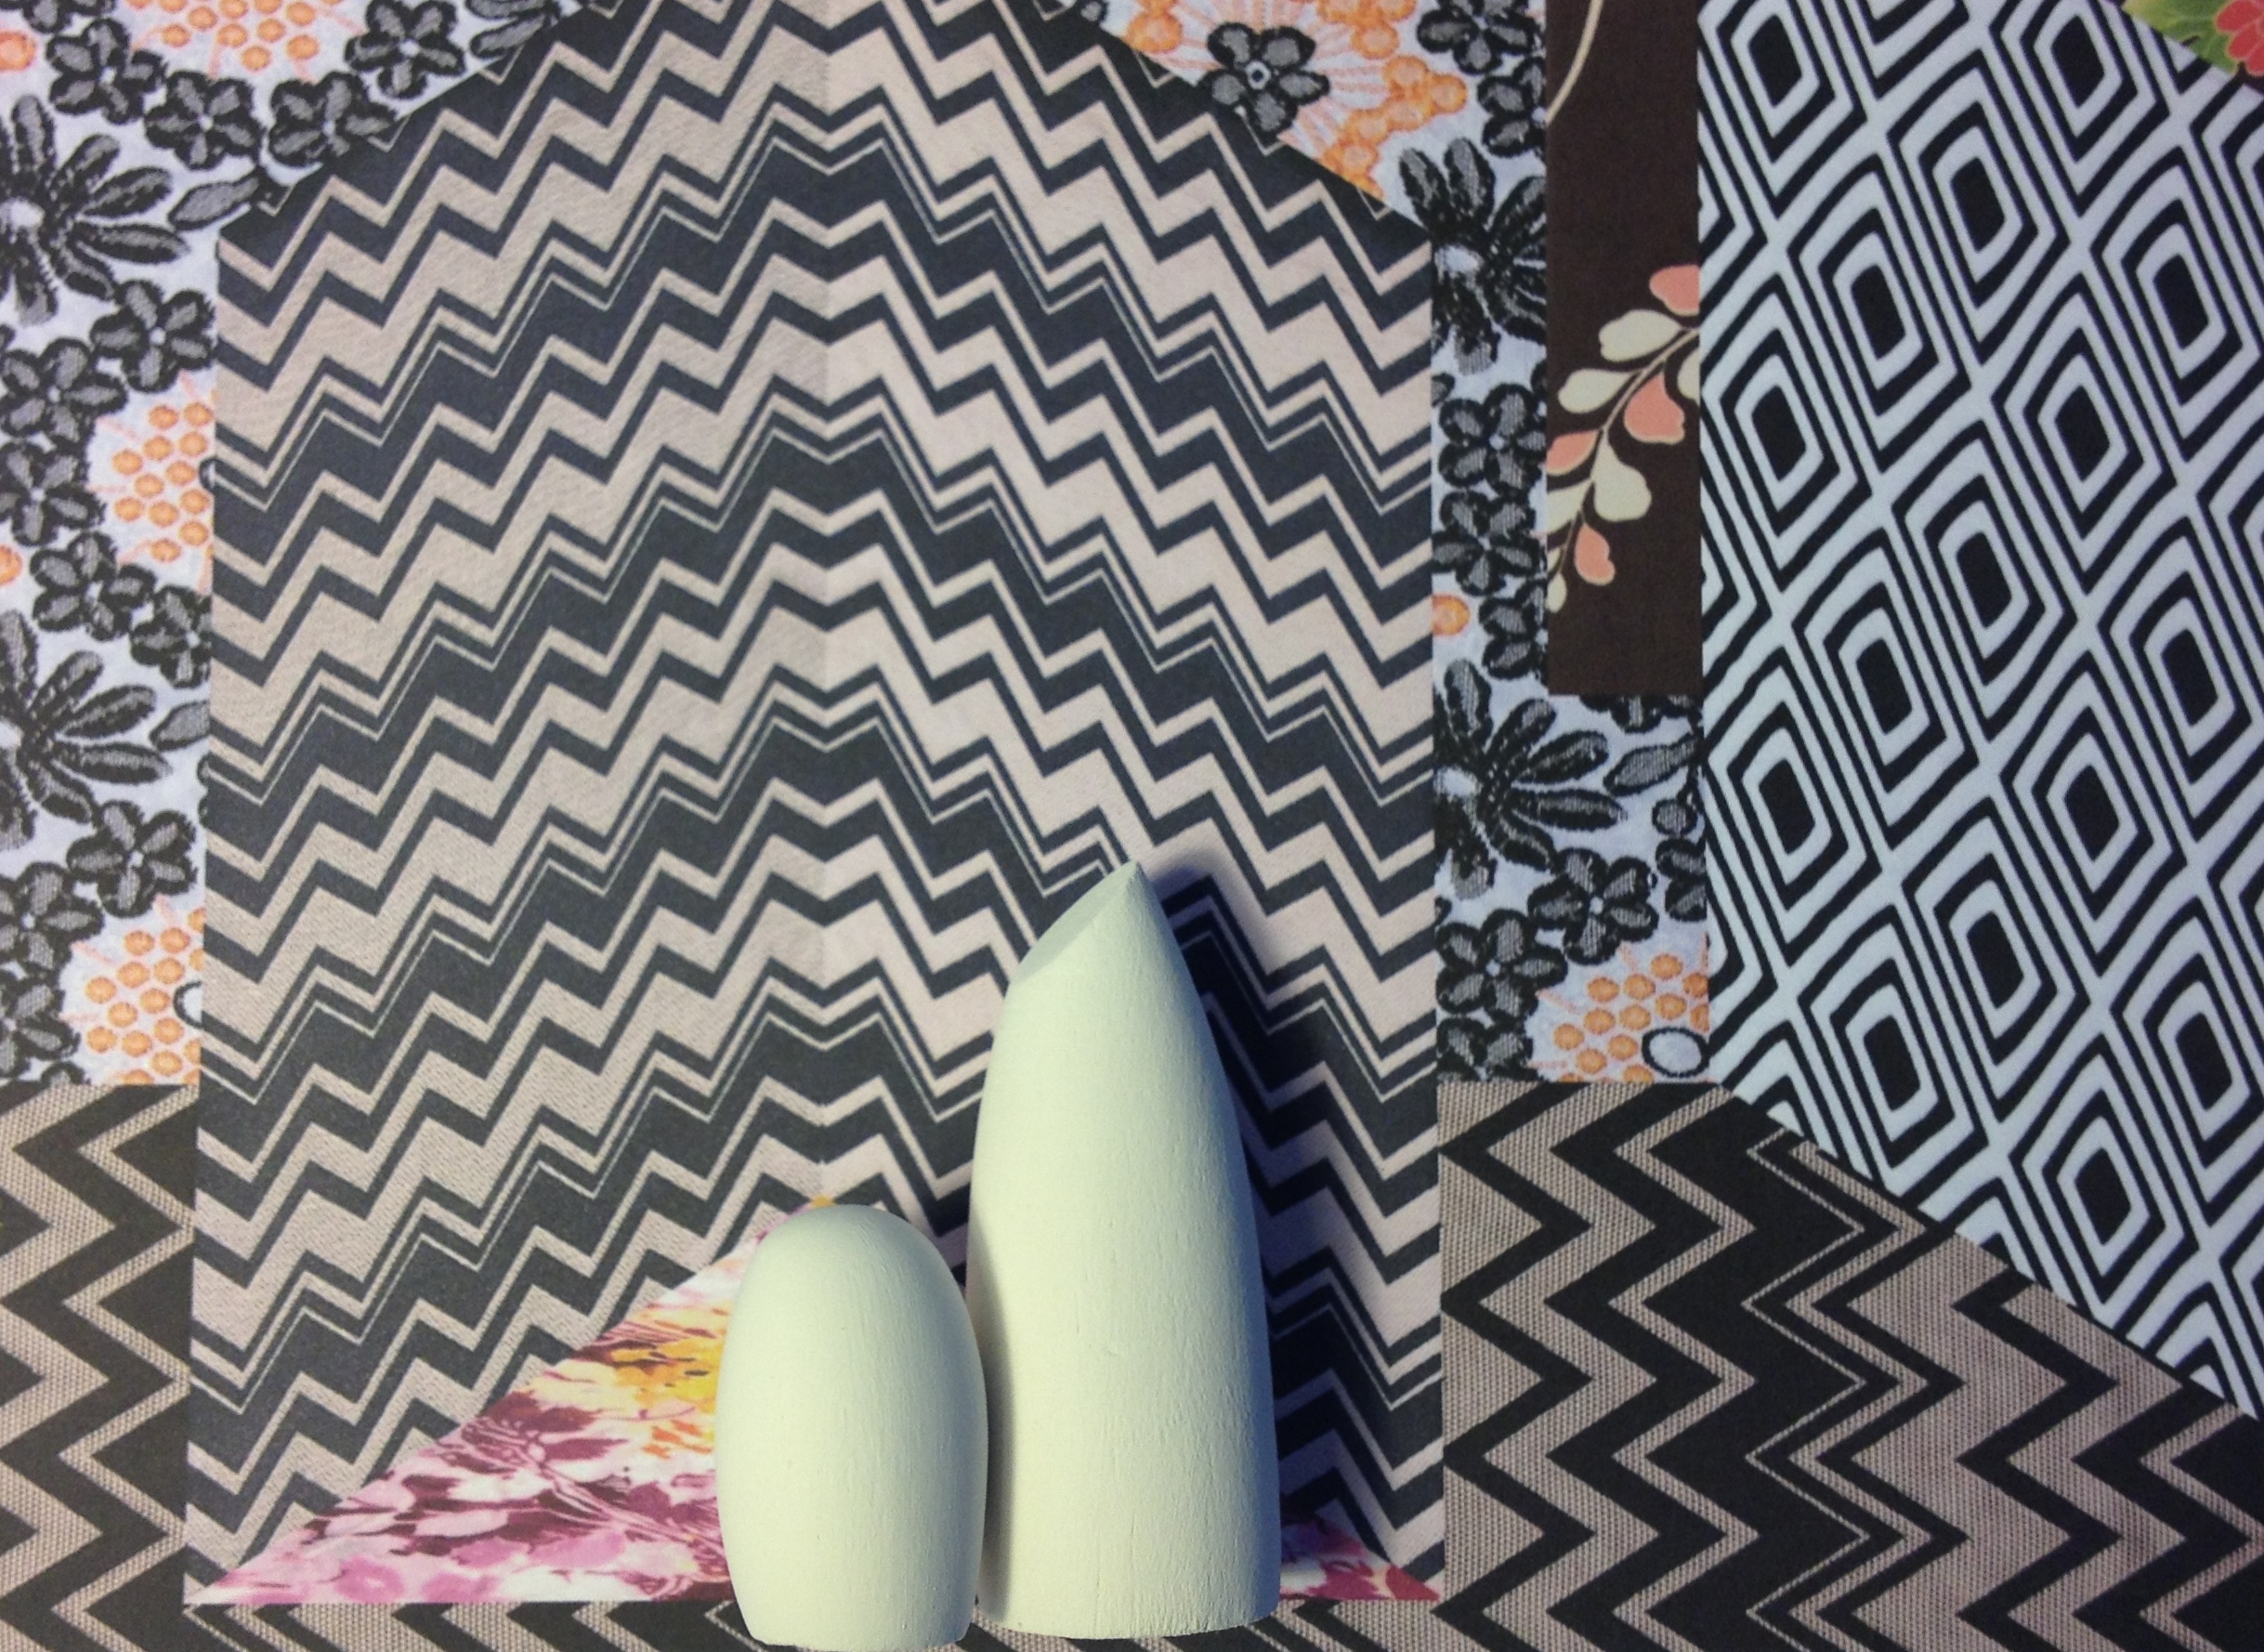
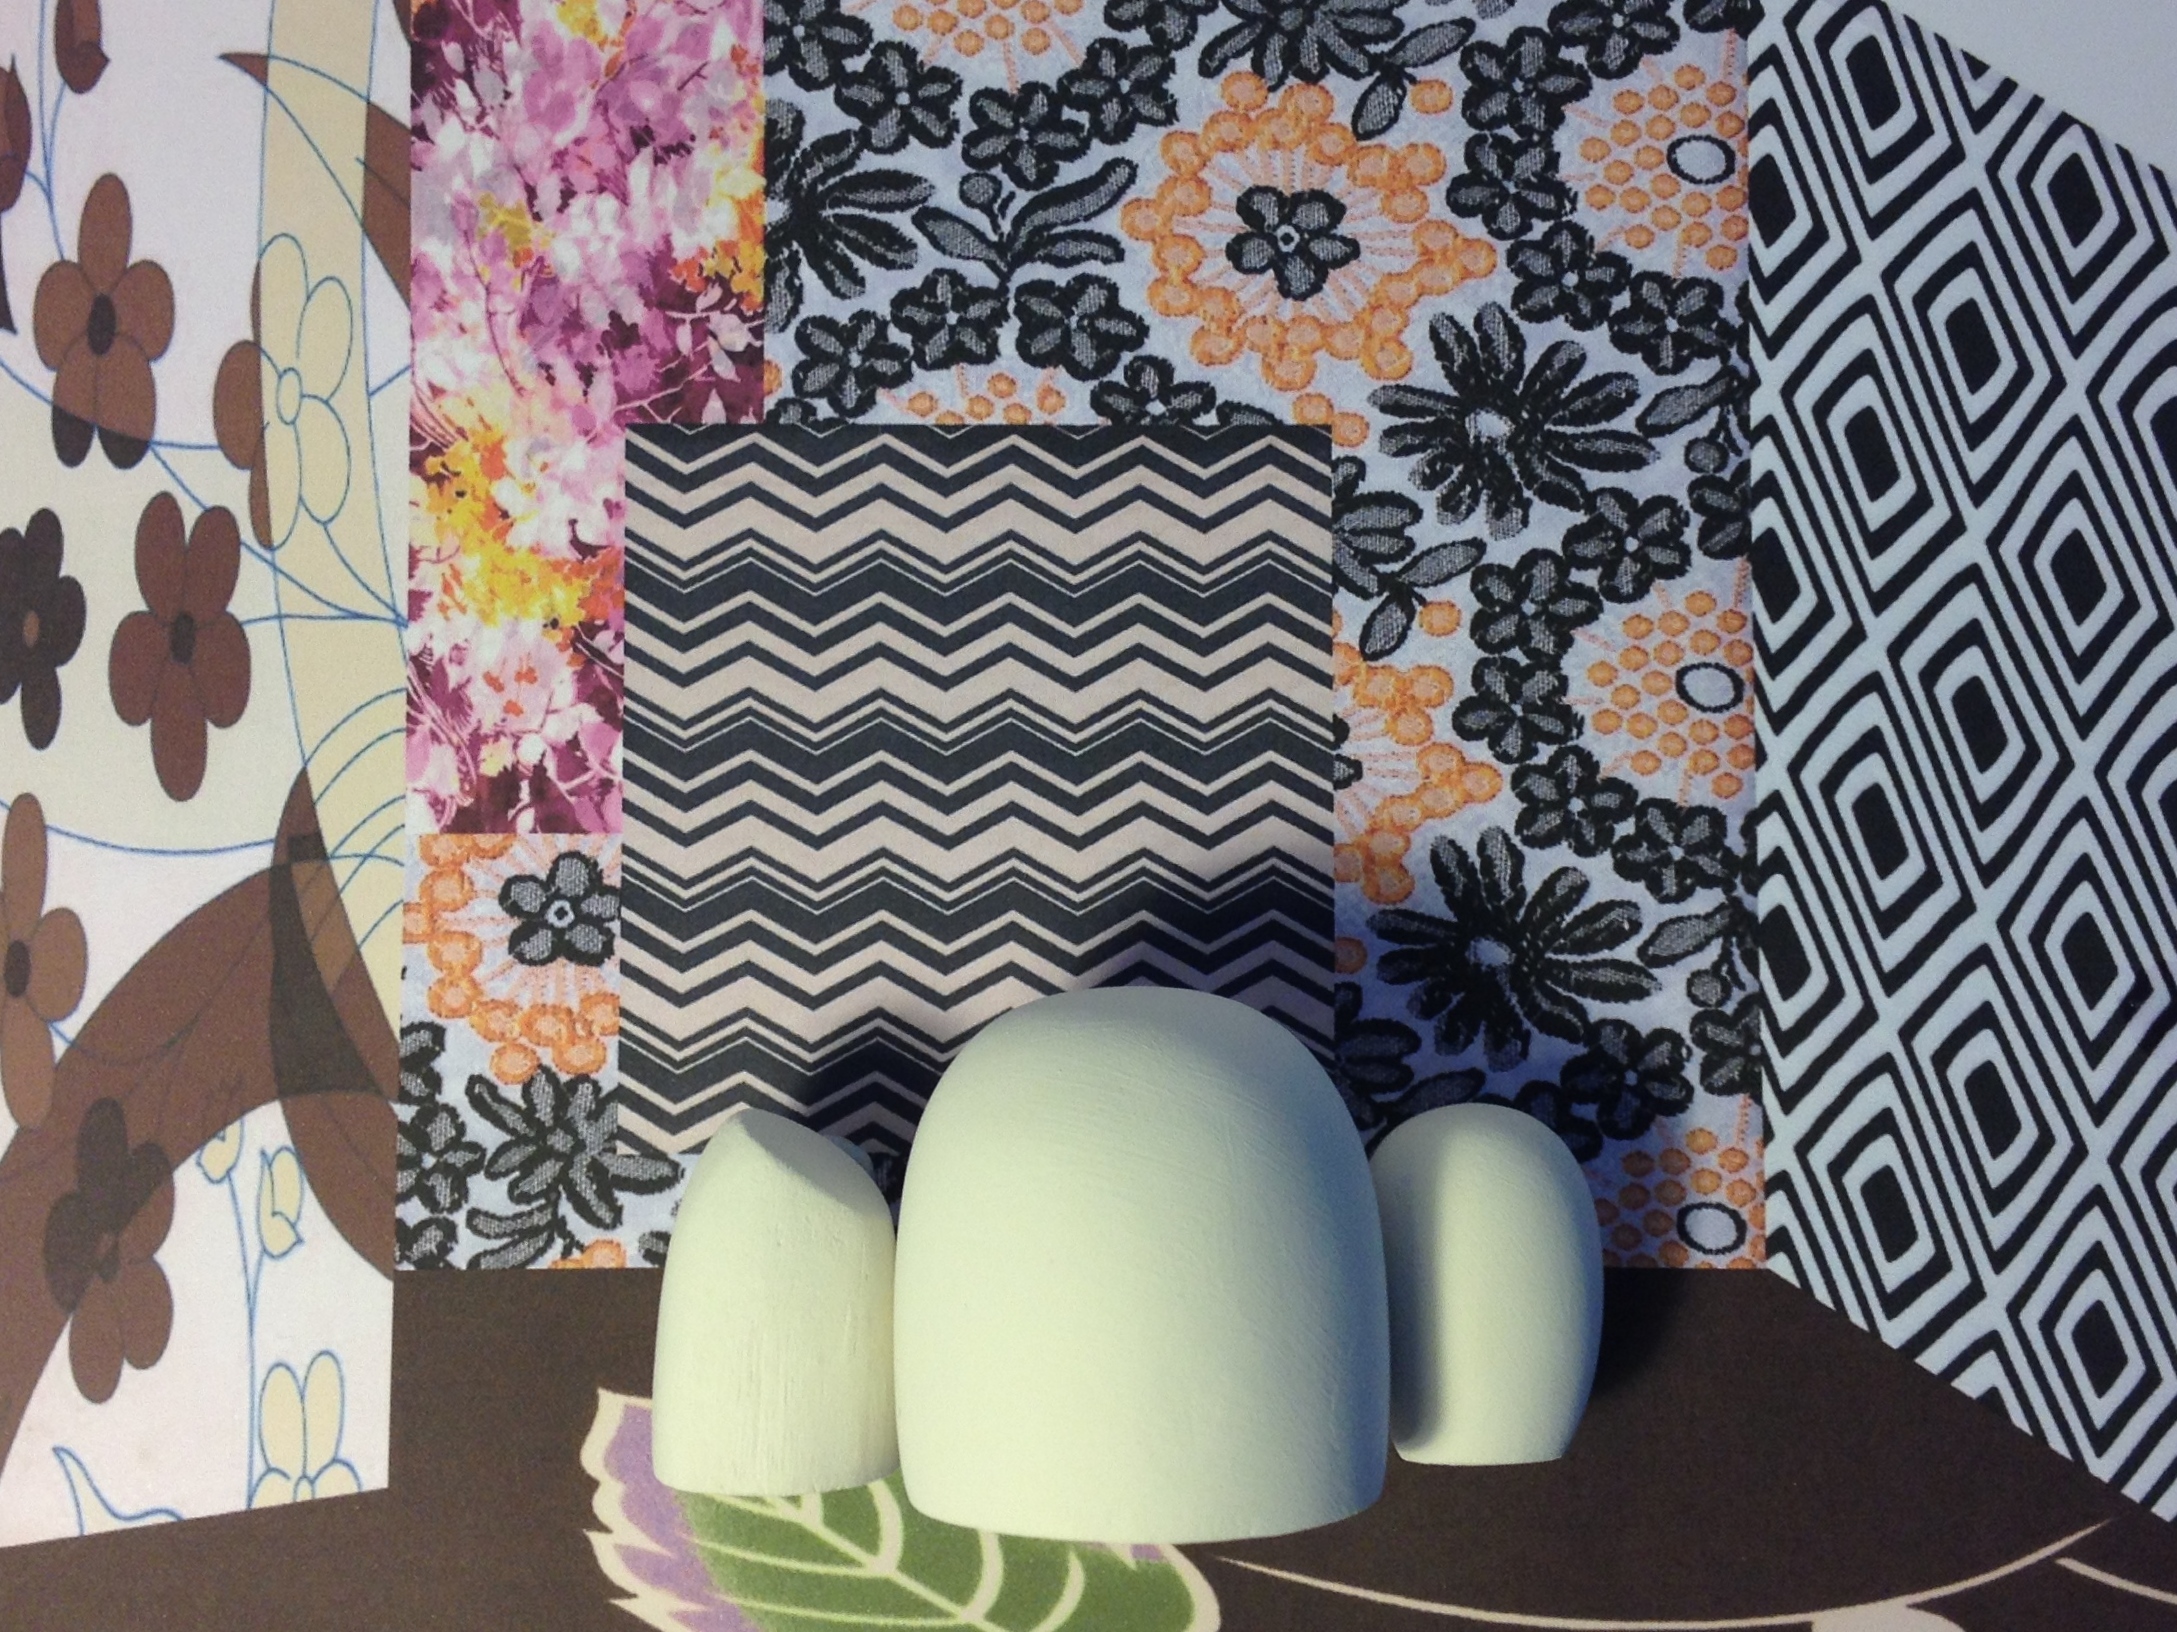
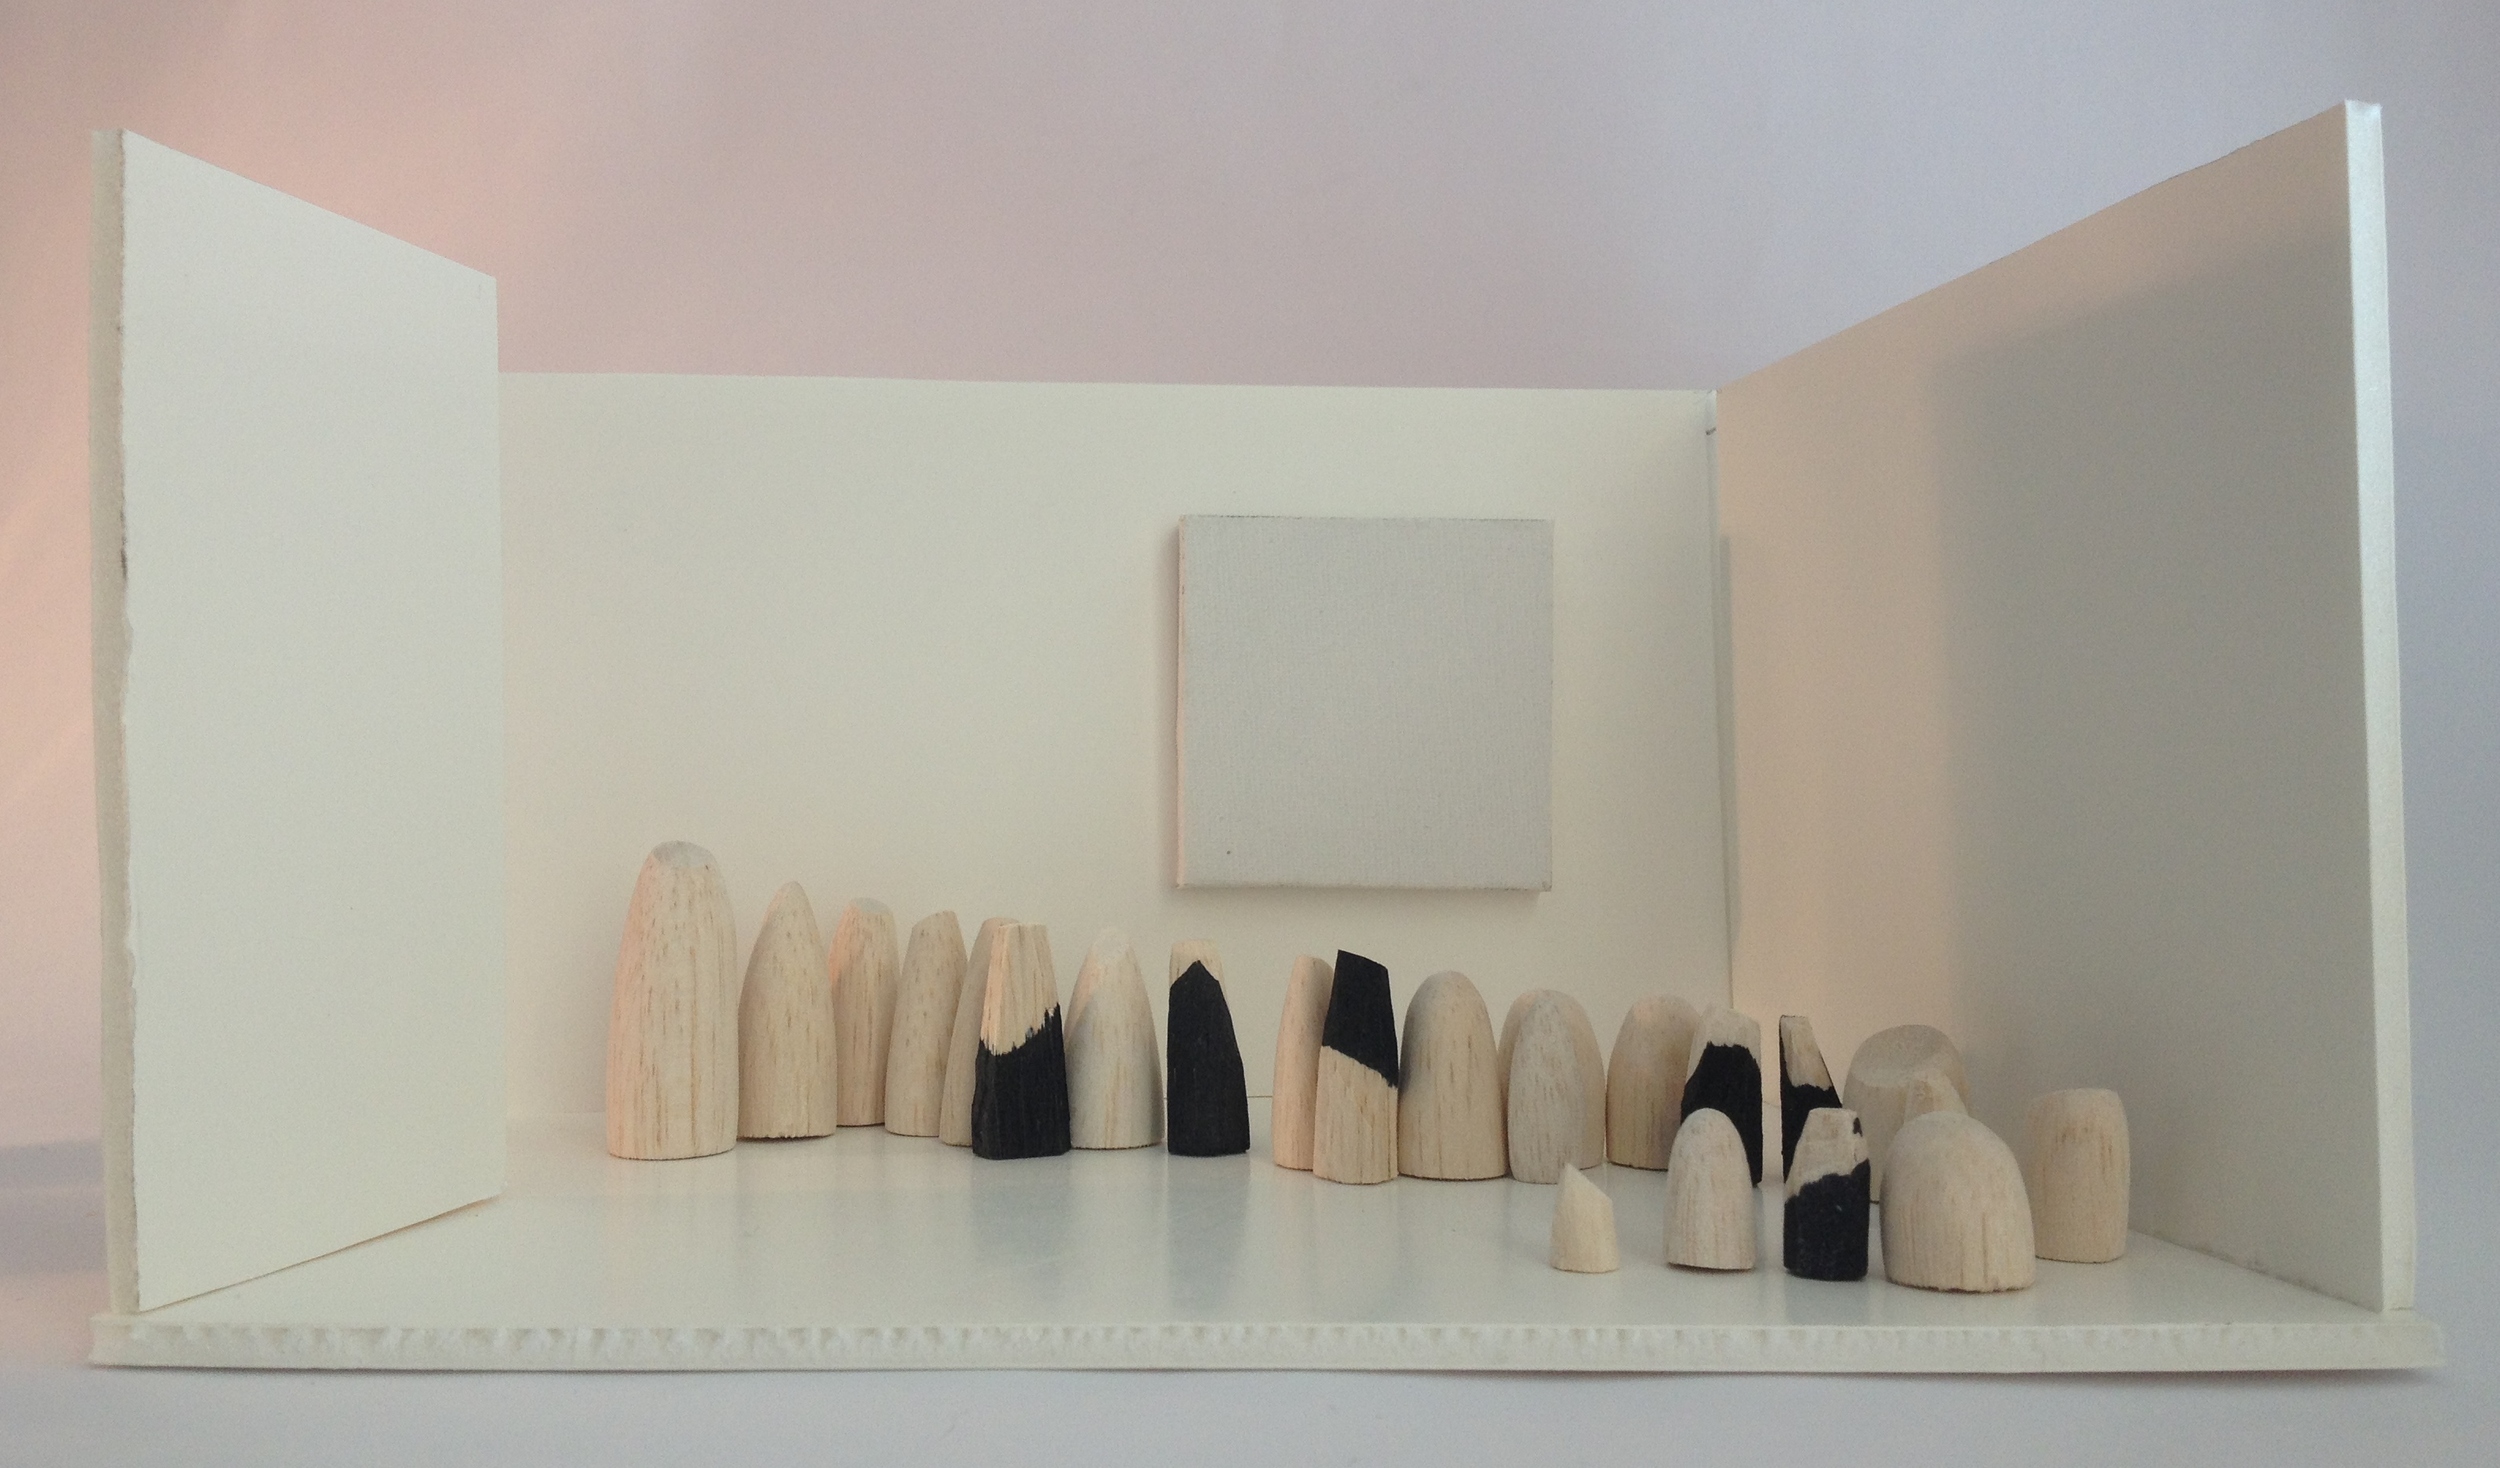
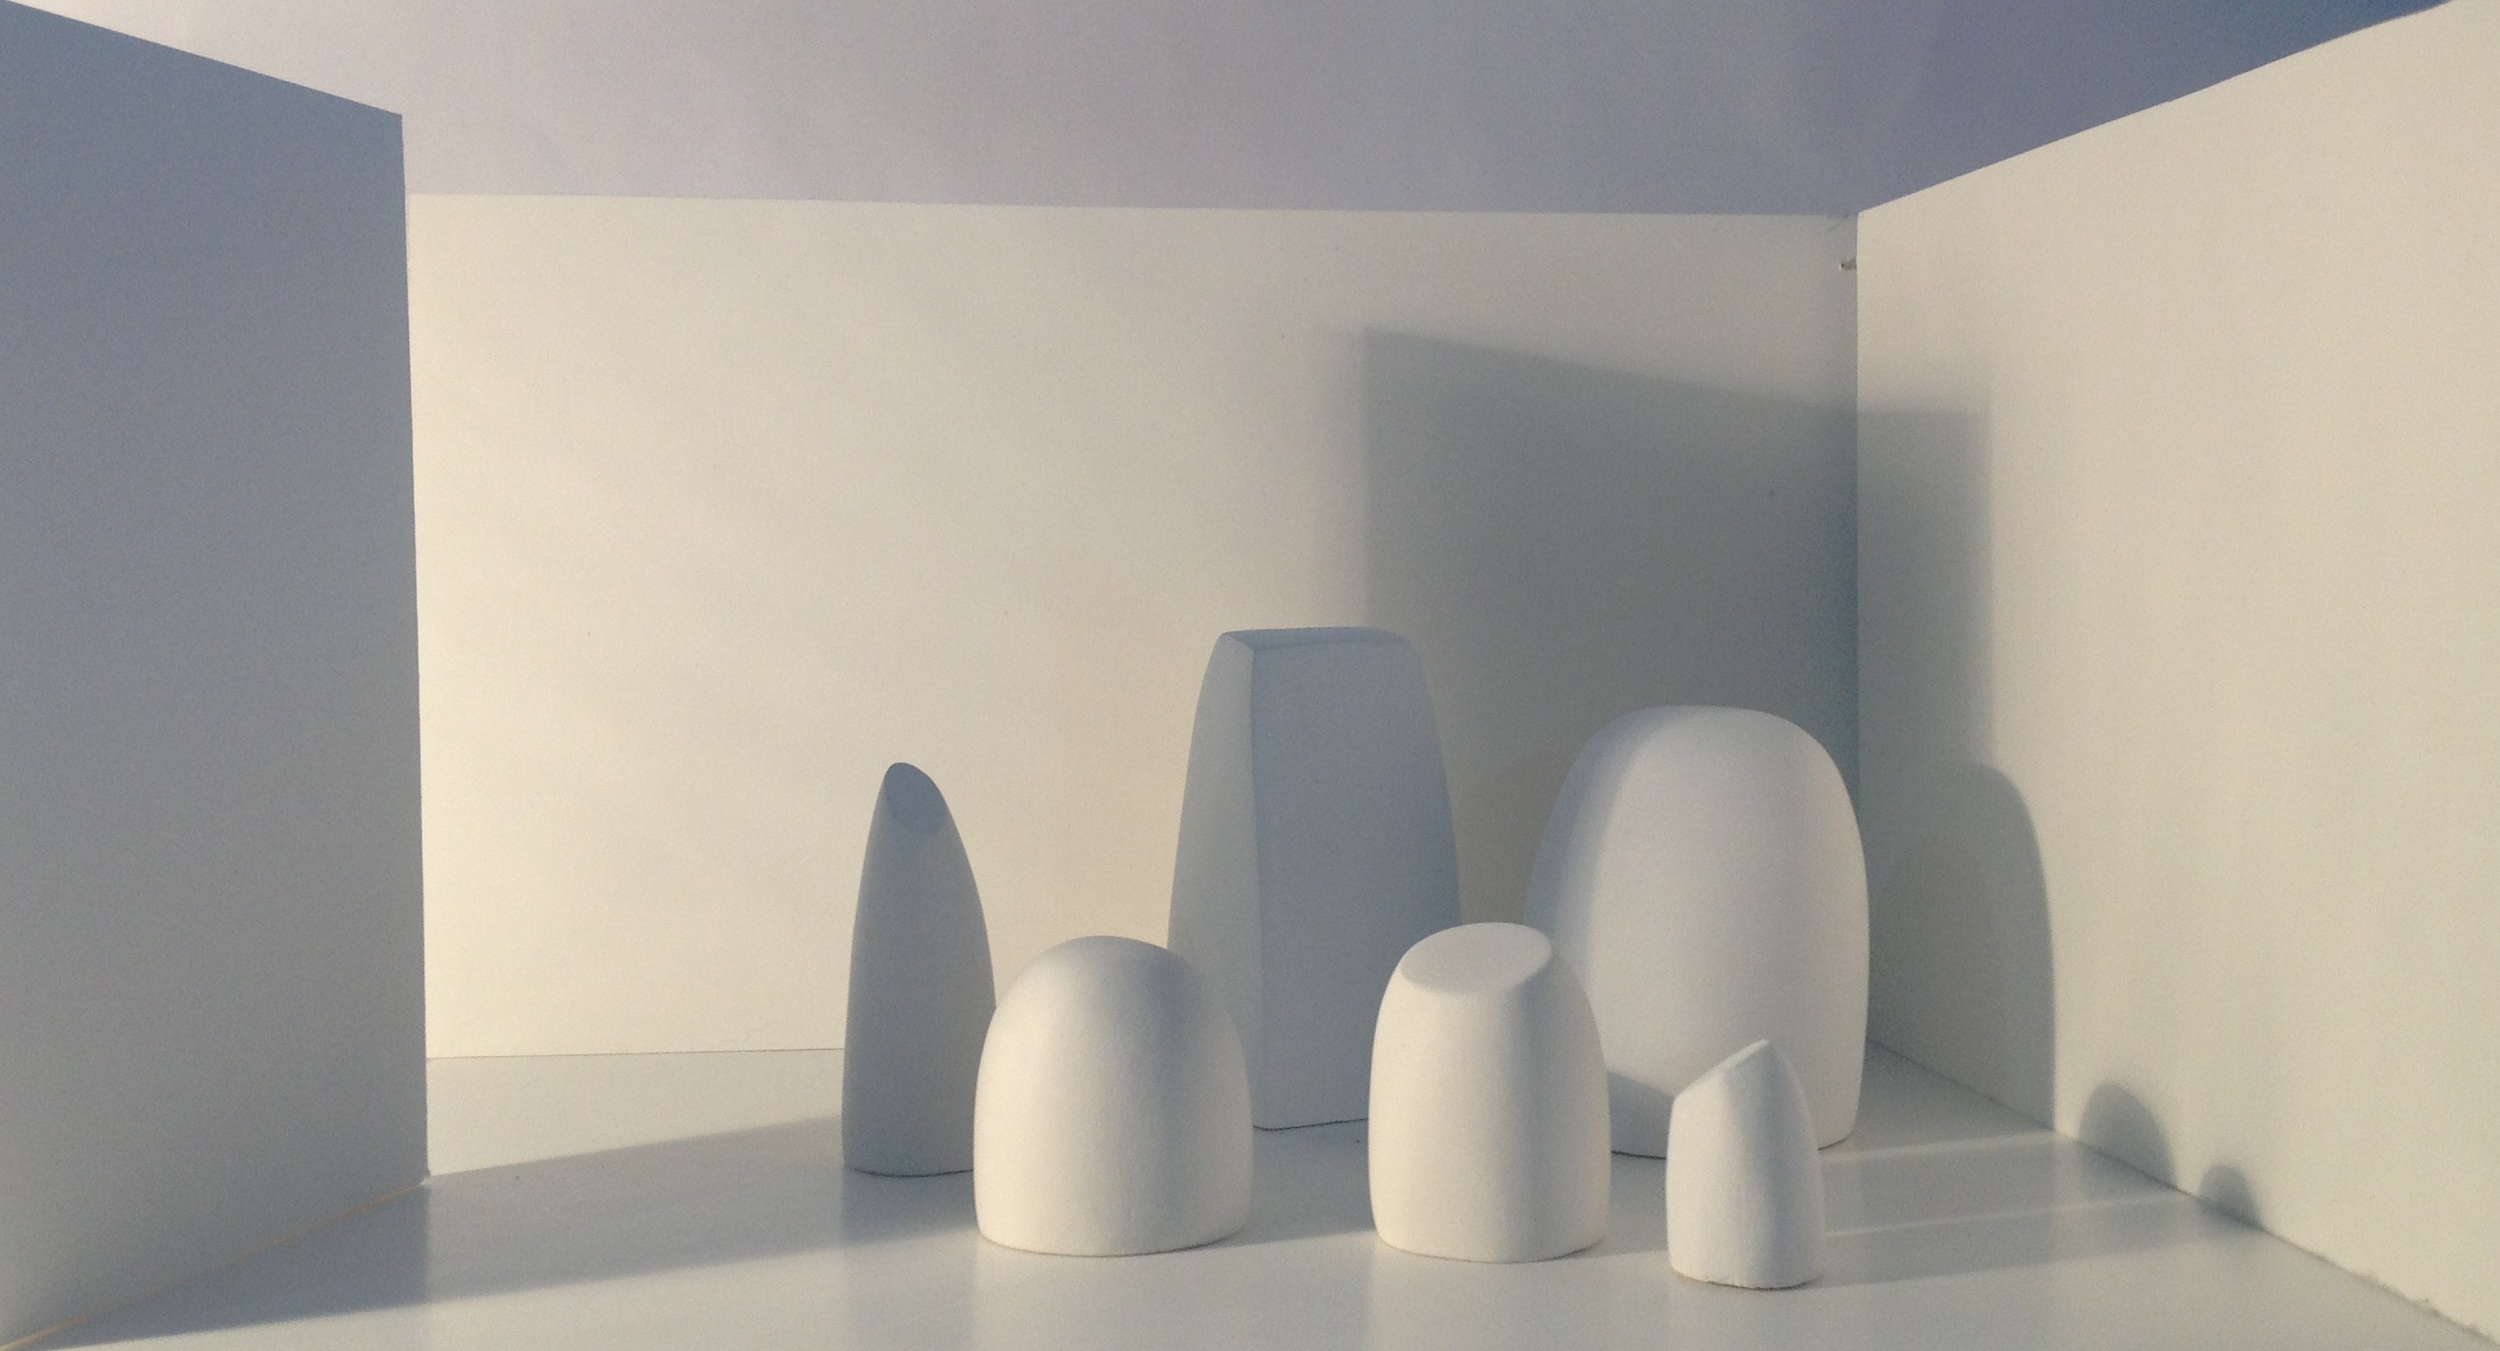
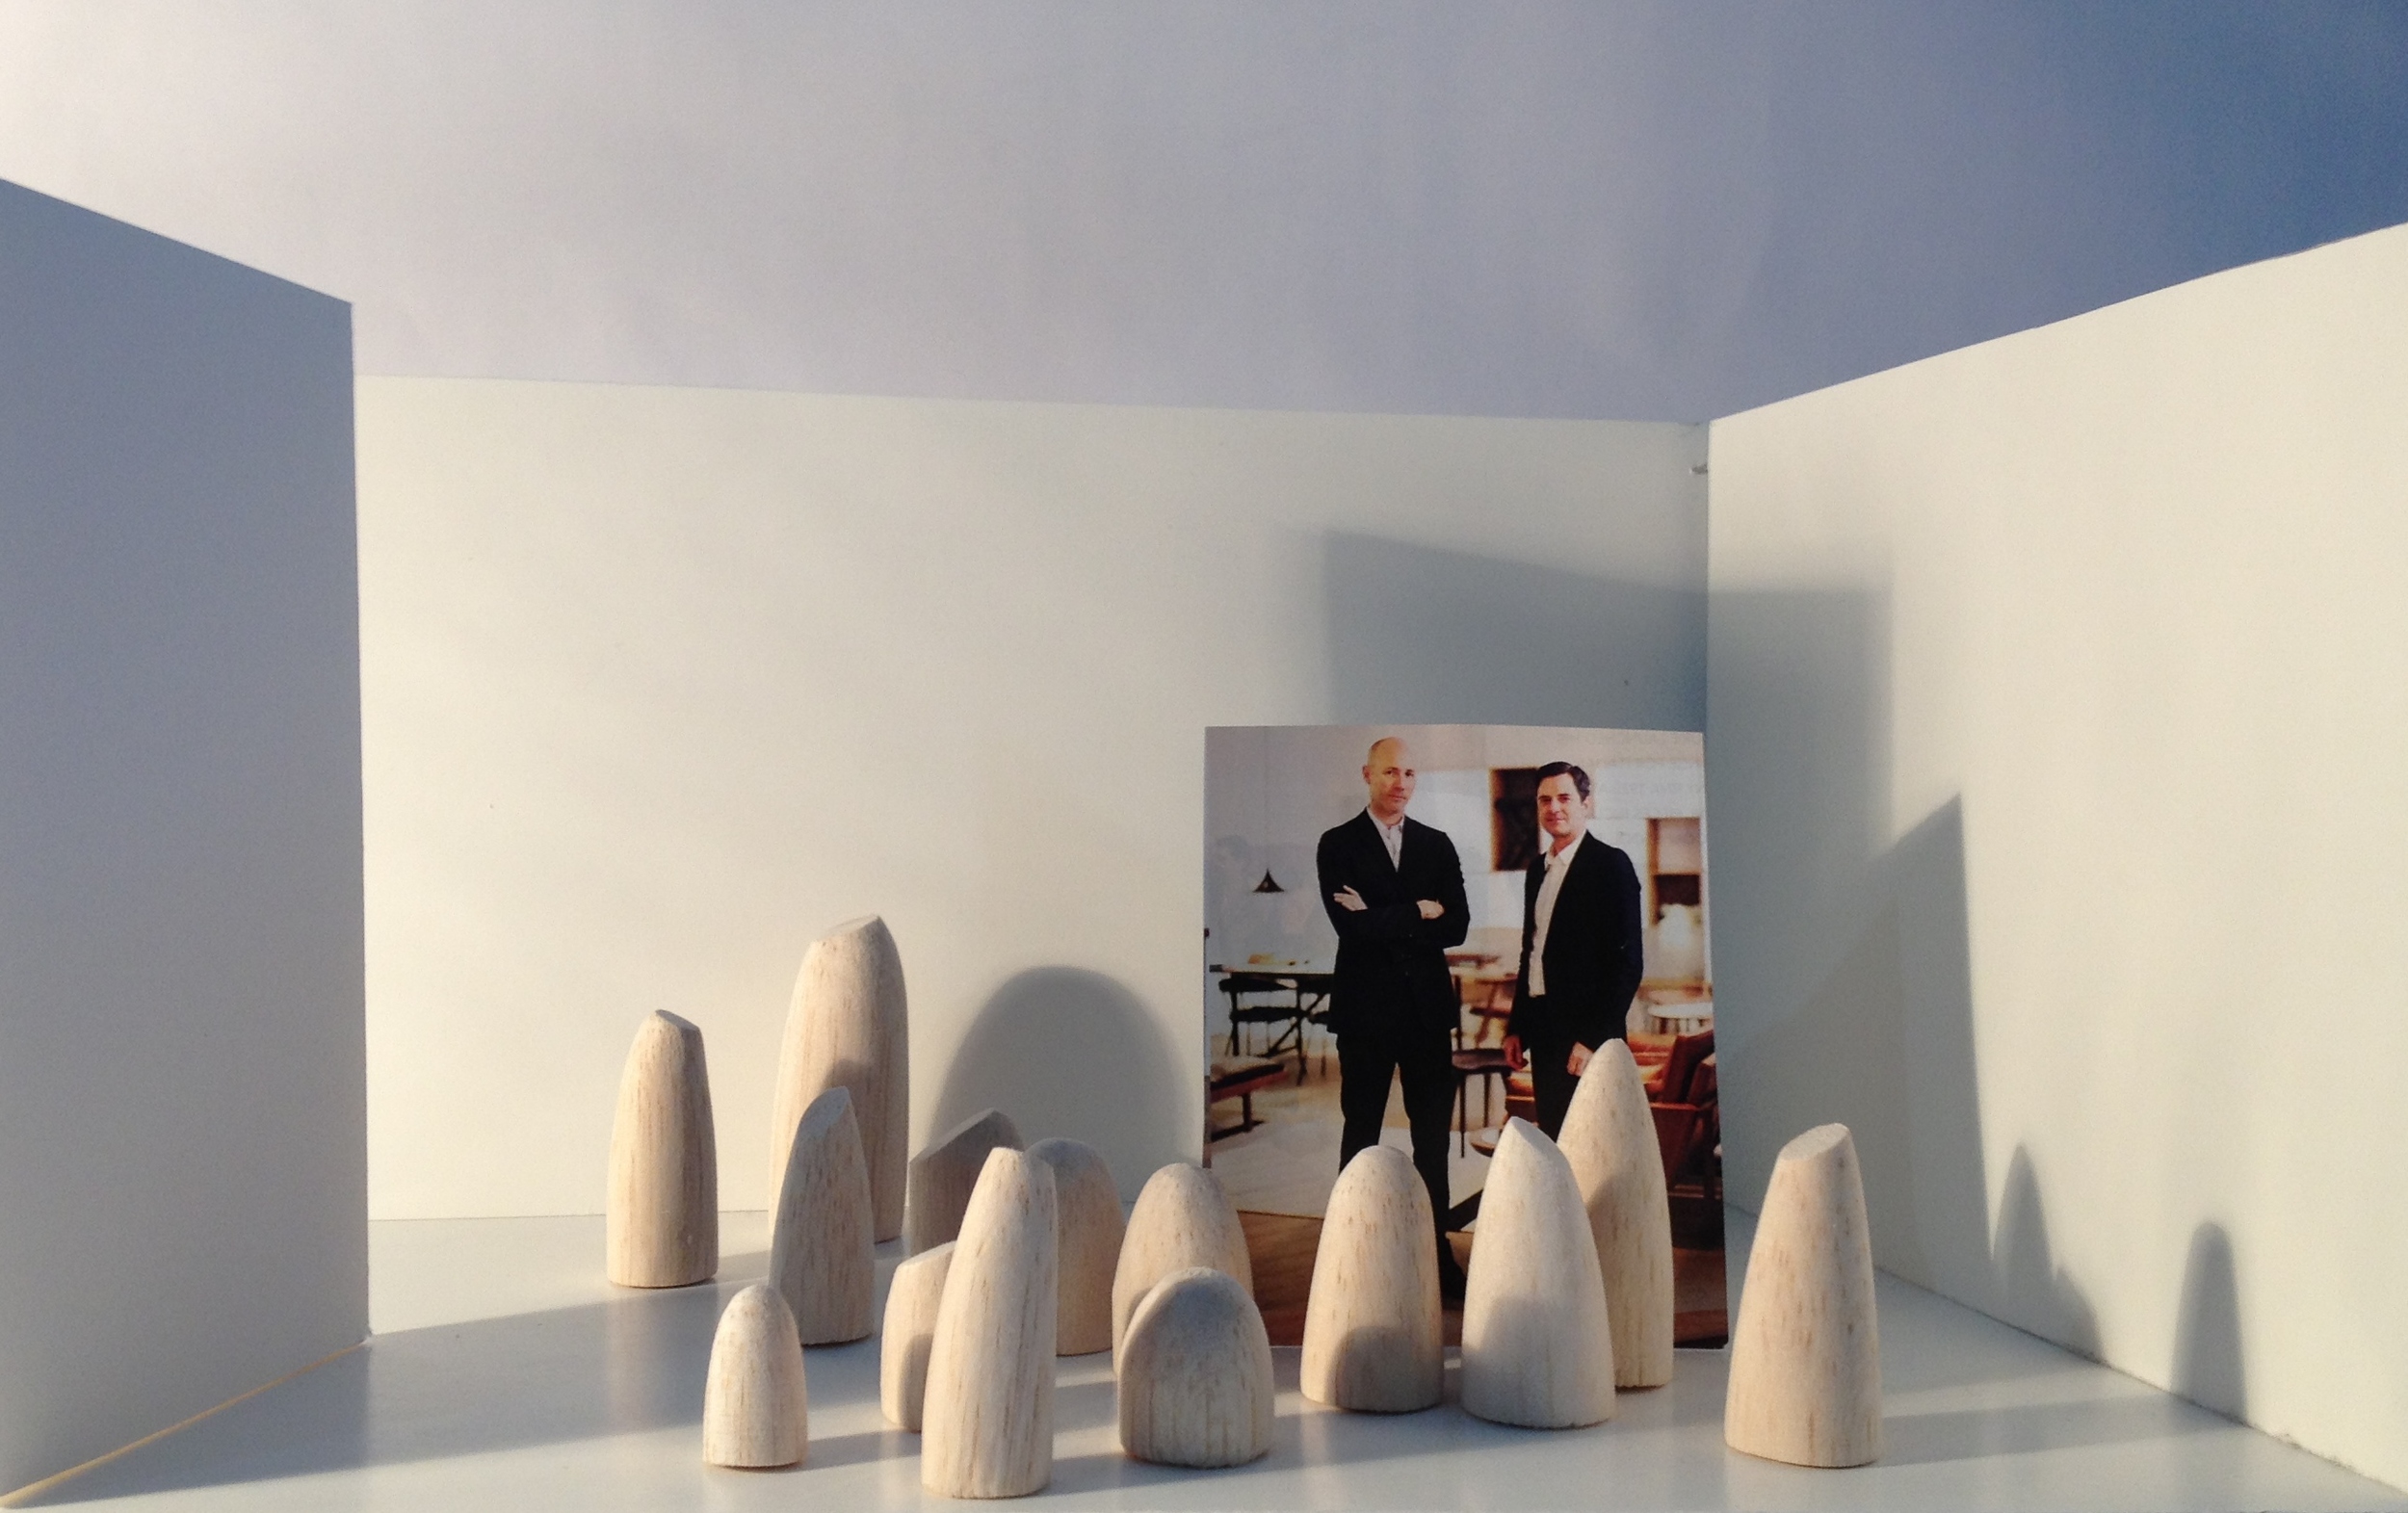
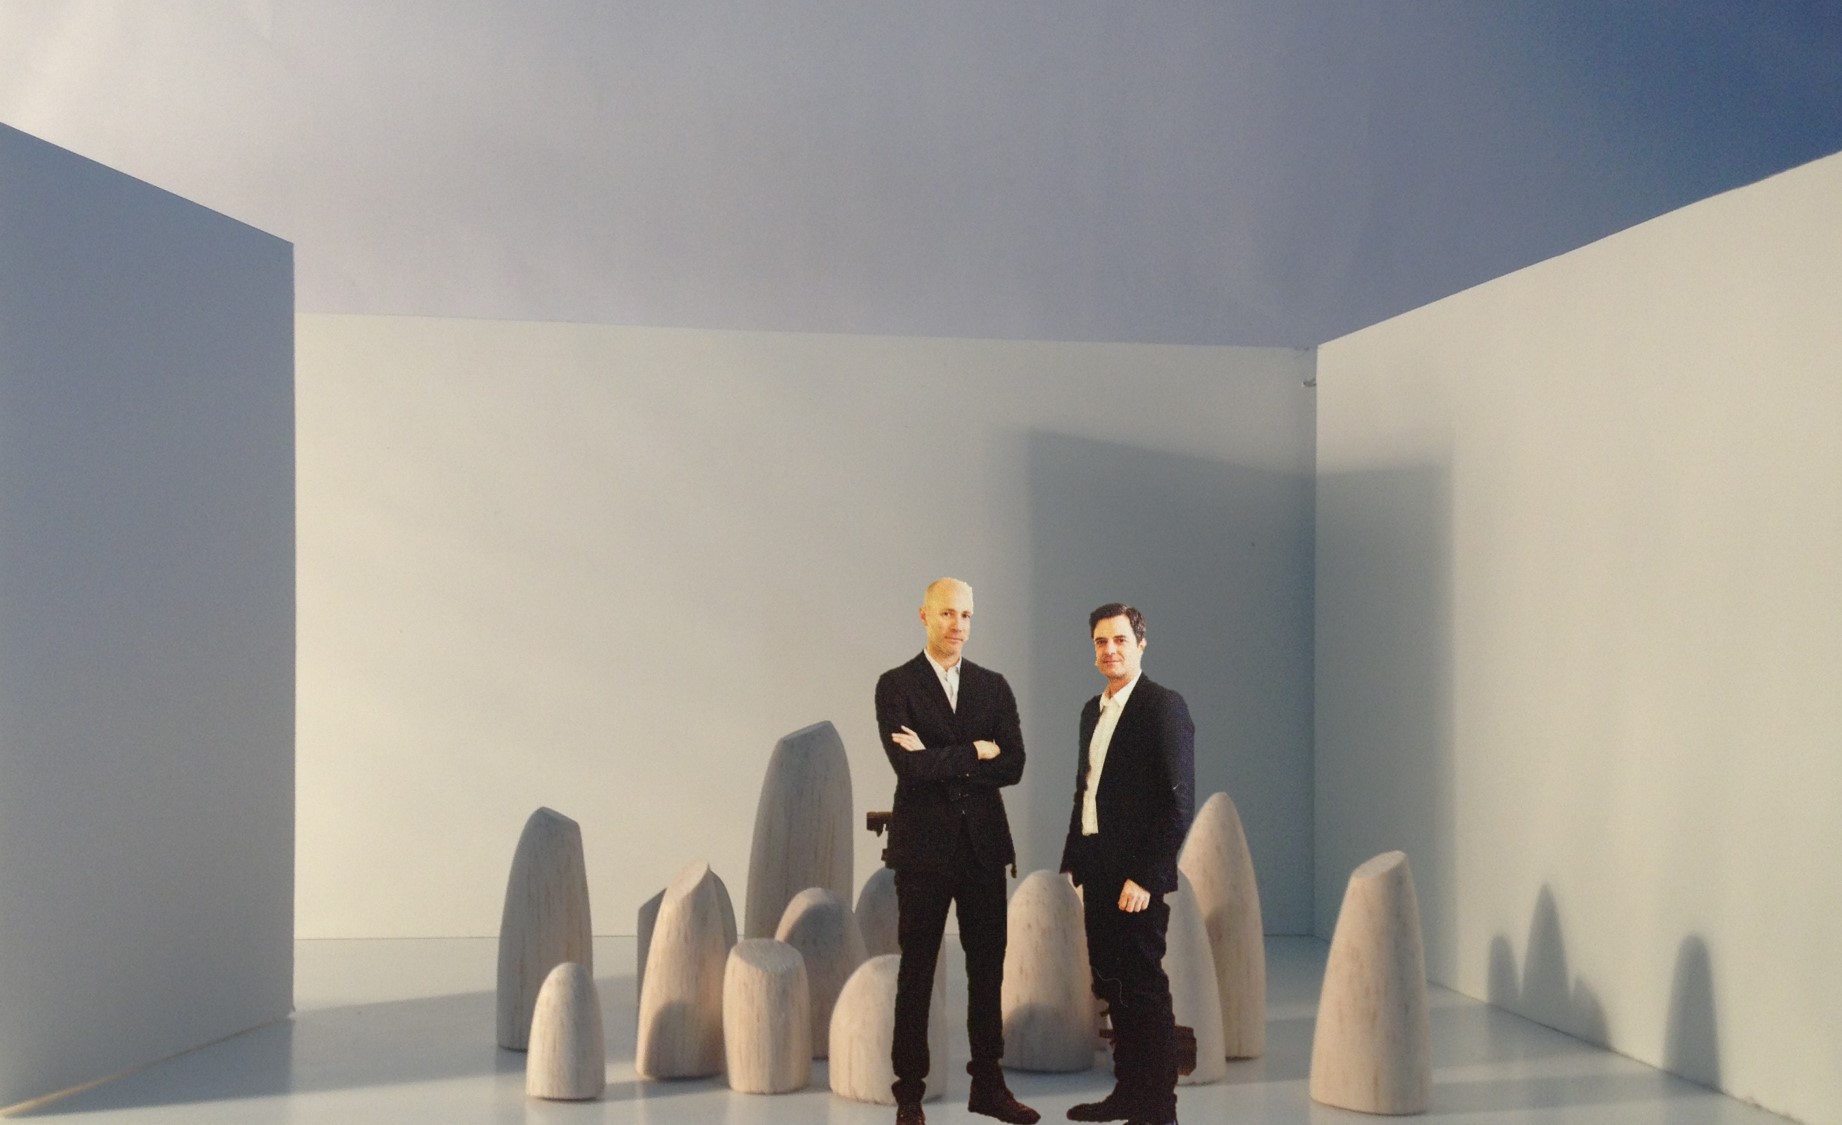
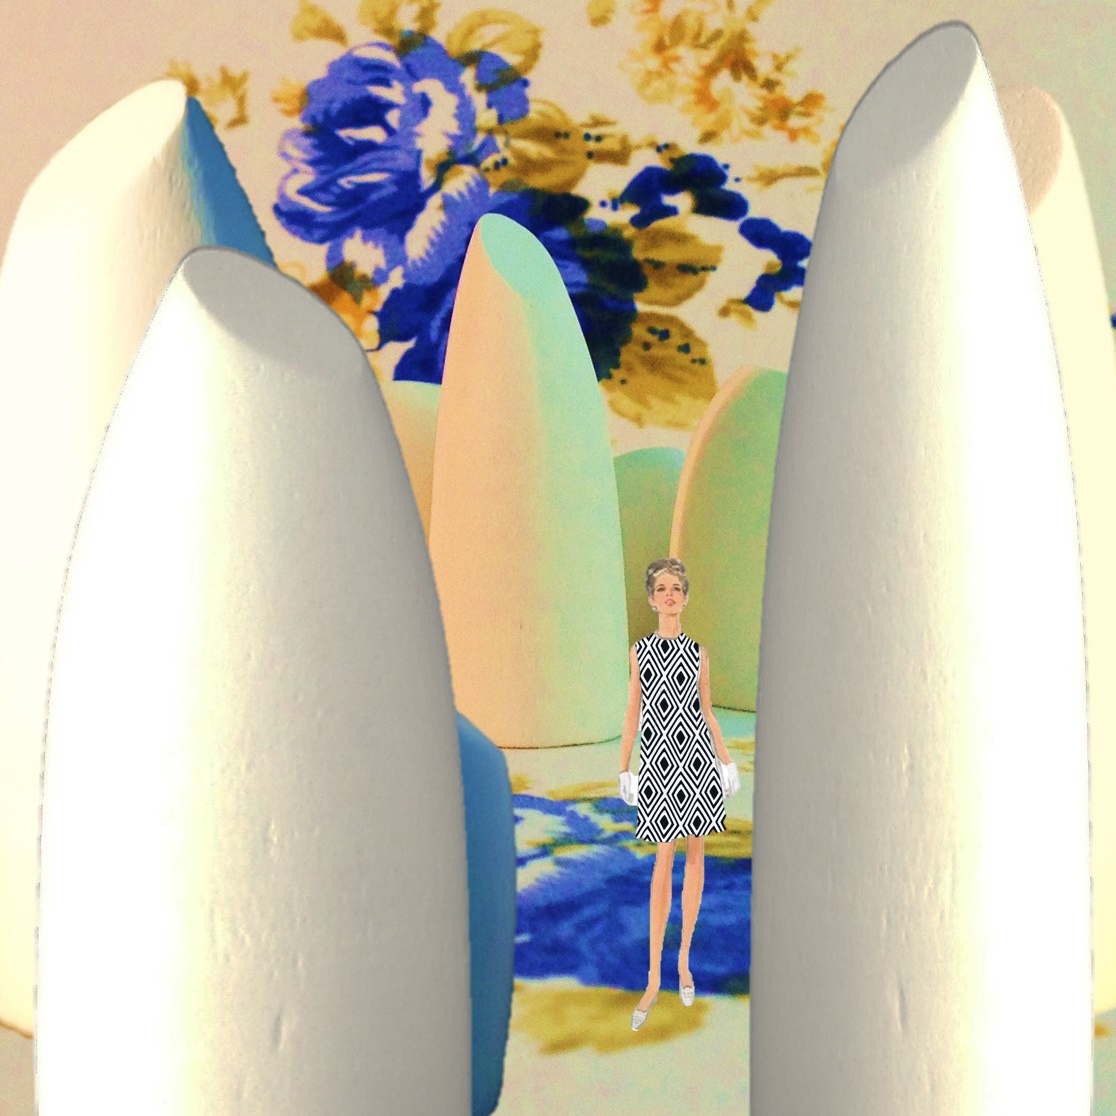
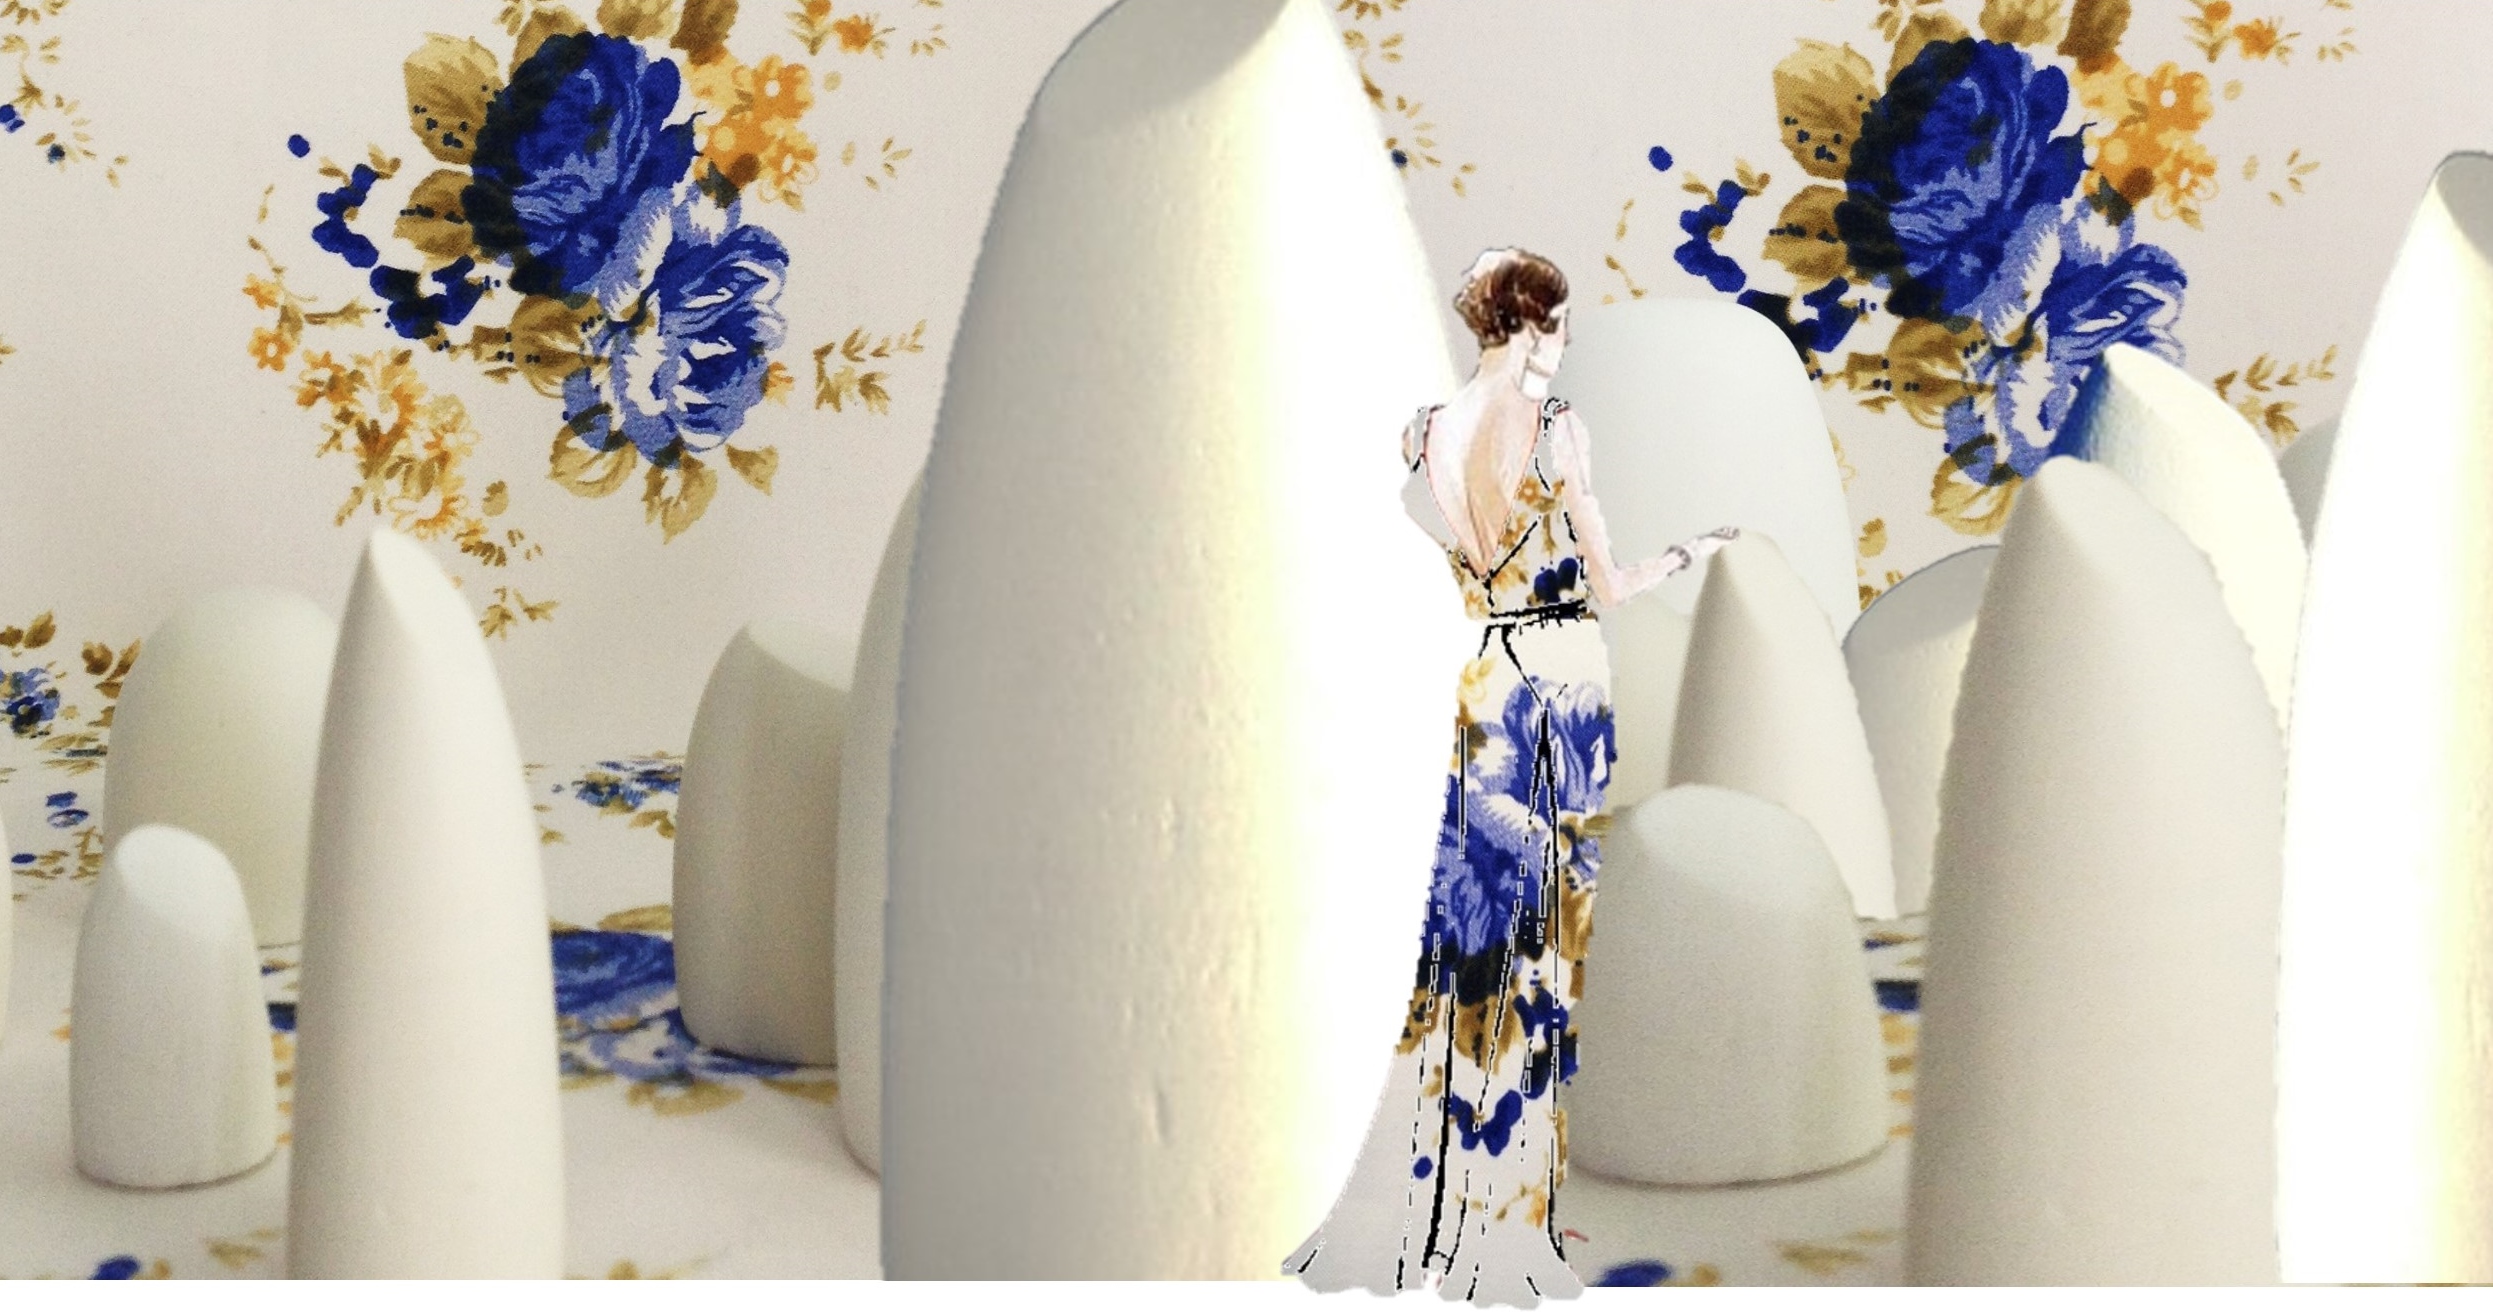
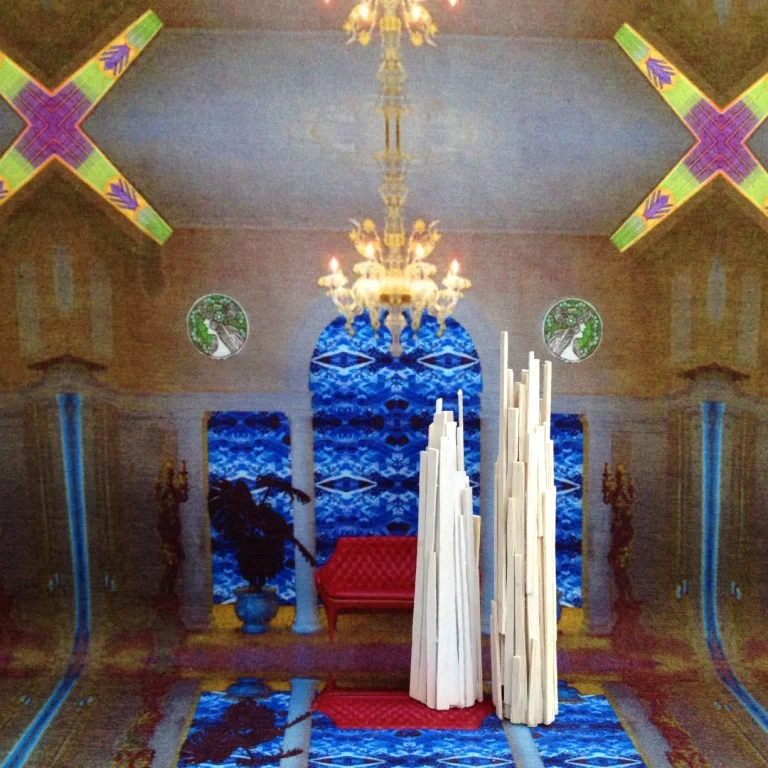
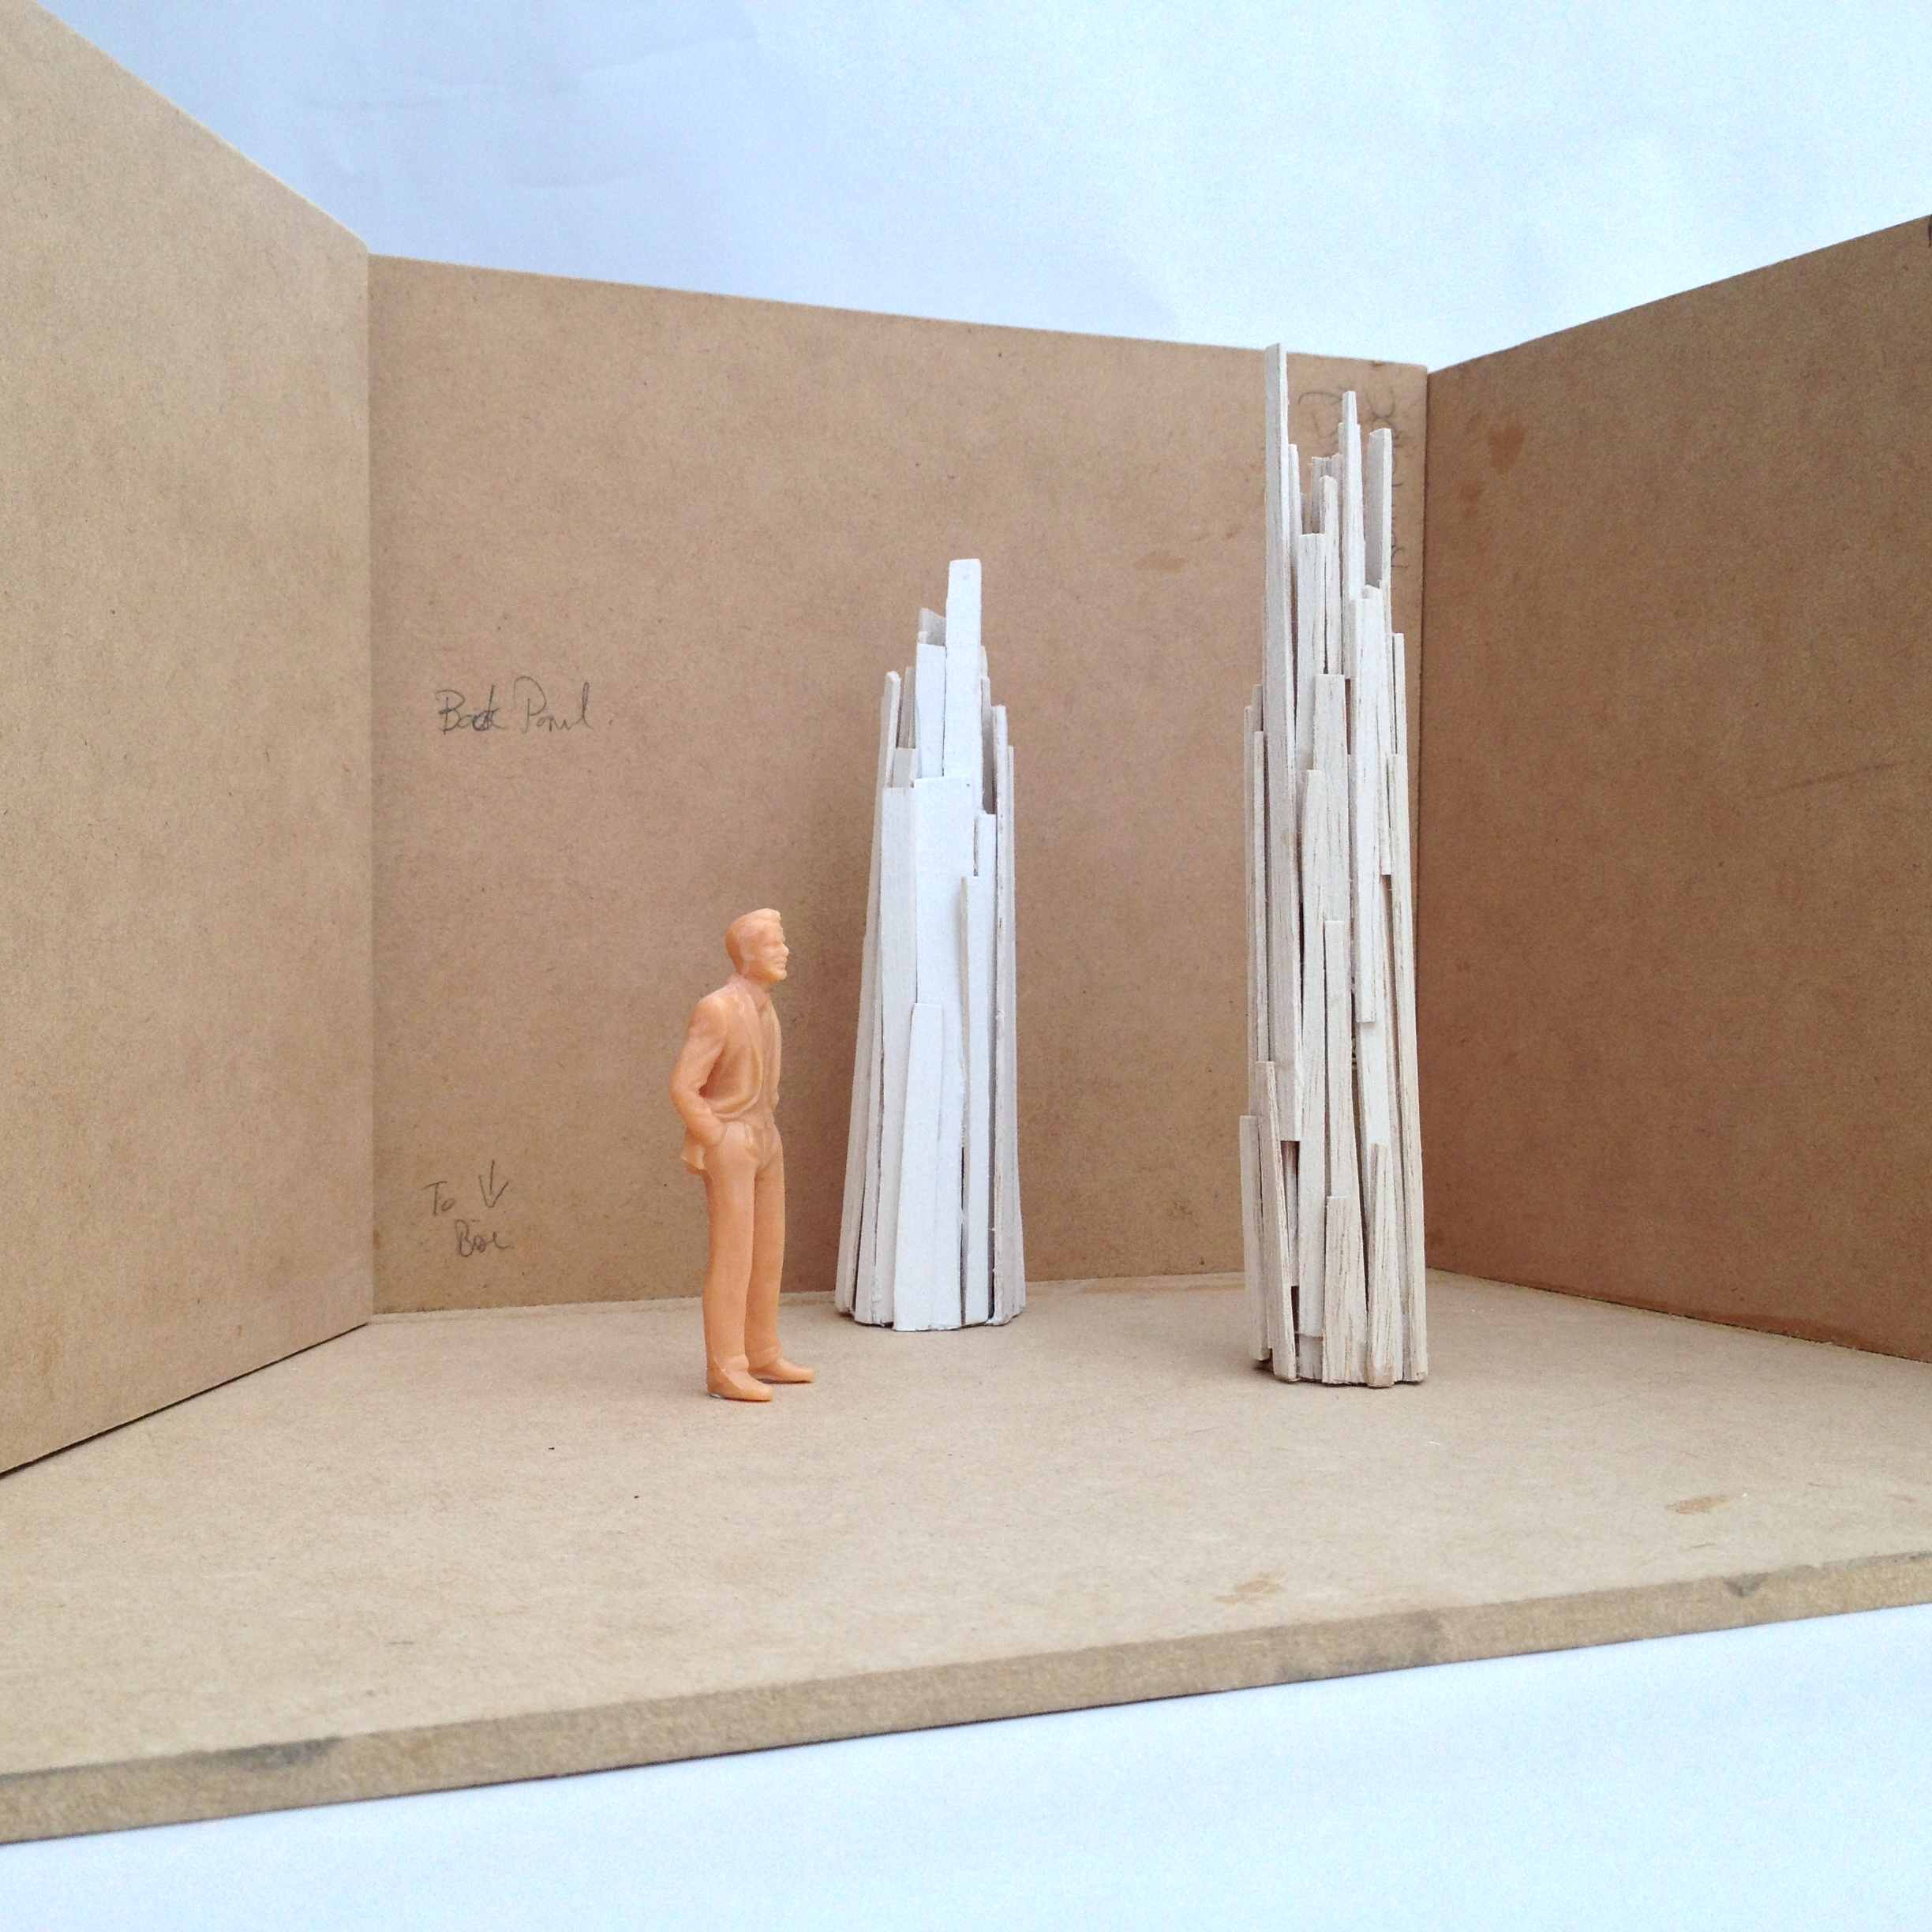
Moving on, I created a small 'space', from flats of foamcore. After all that pattern and colour, the white & neutrals were so clean looking. (If you're wondering who the chaps in the diorama are, why its BassamFellows, nice men.)
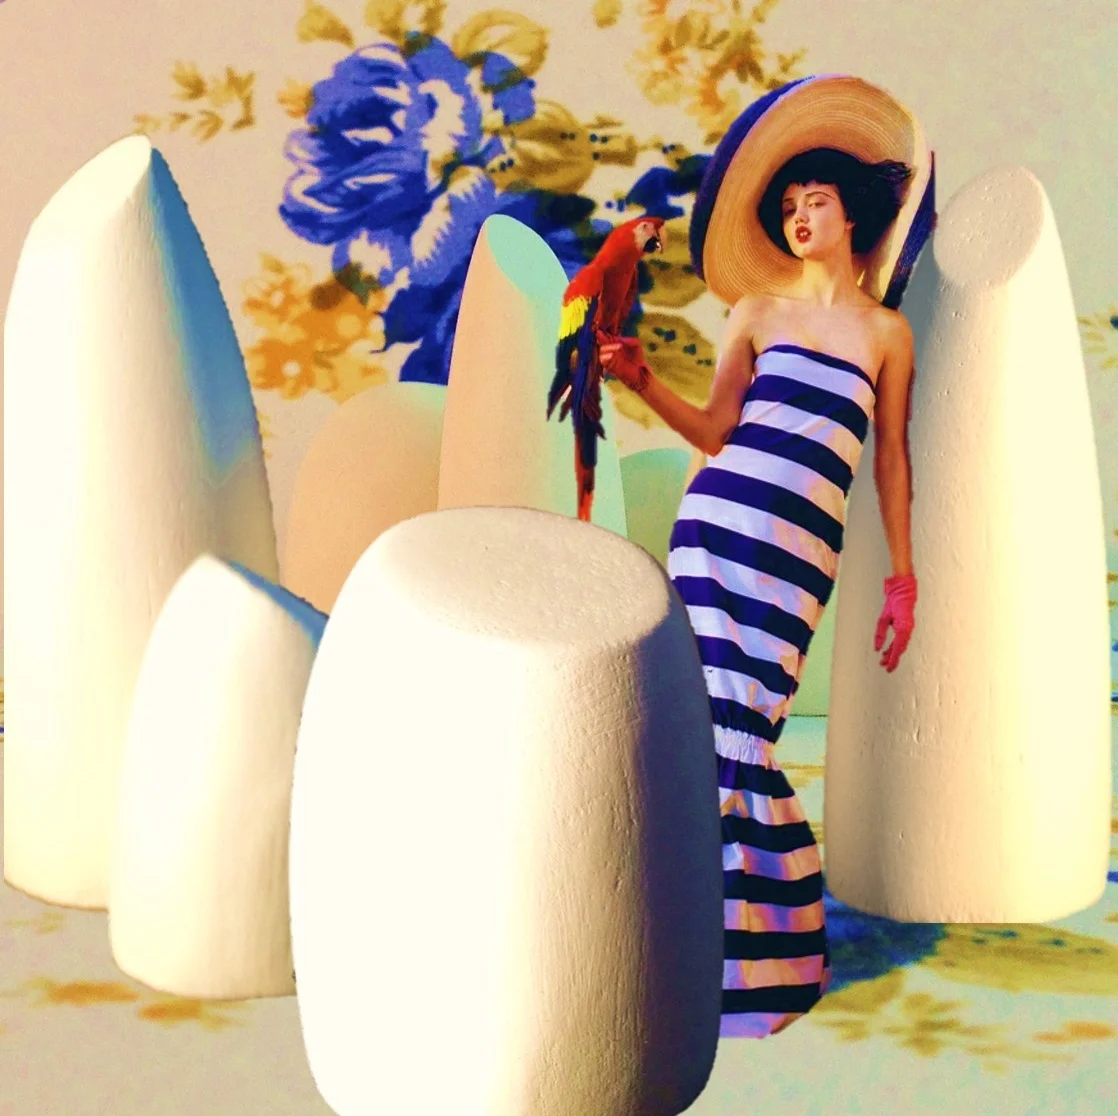
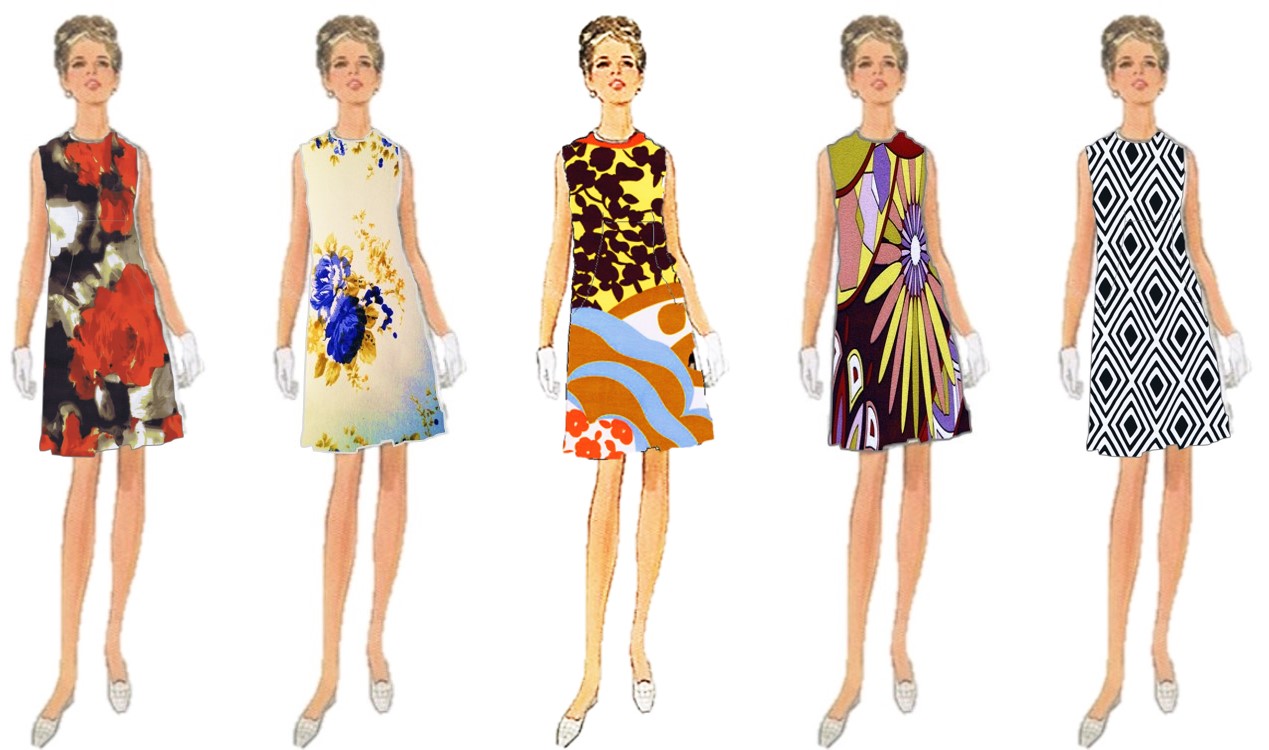
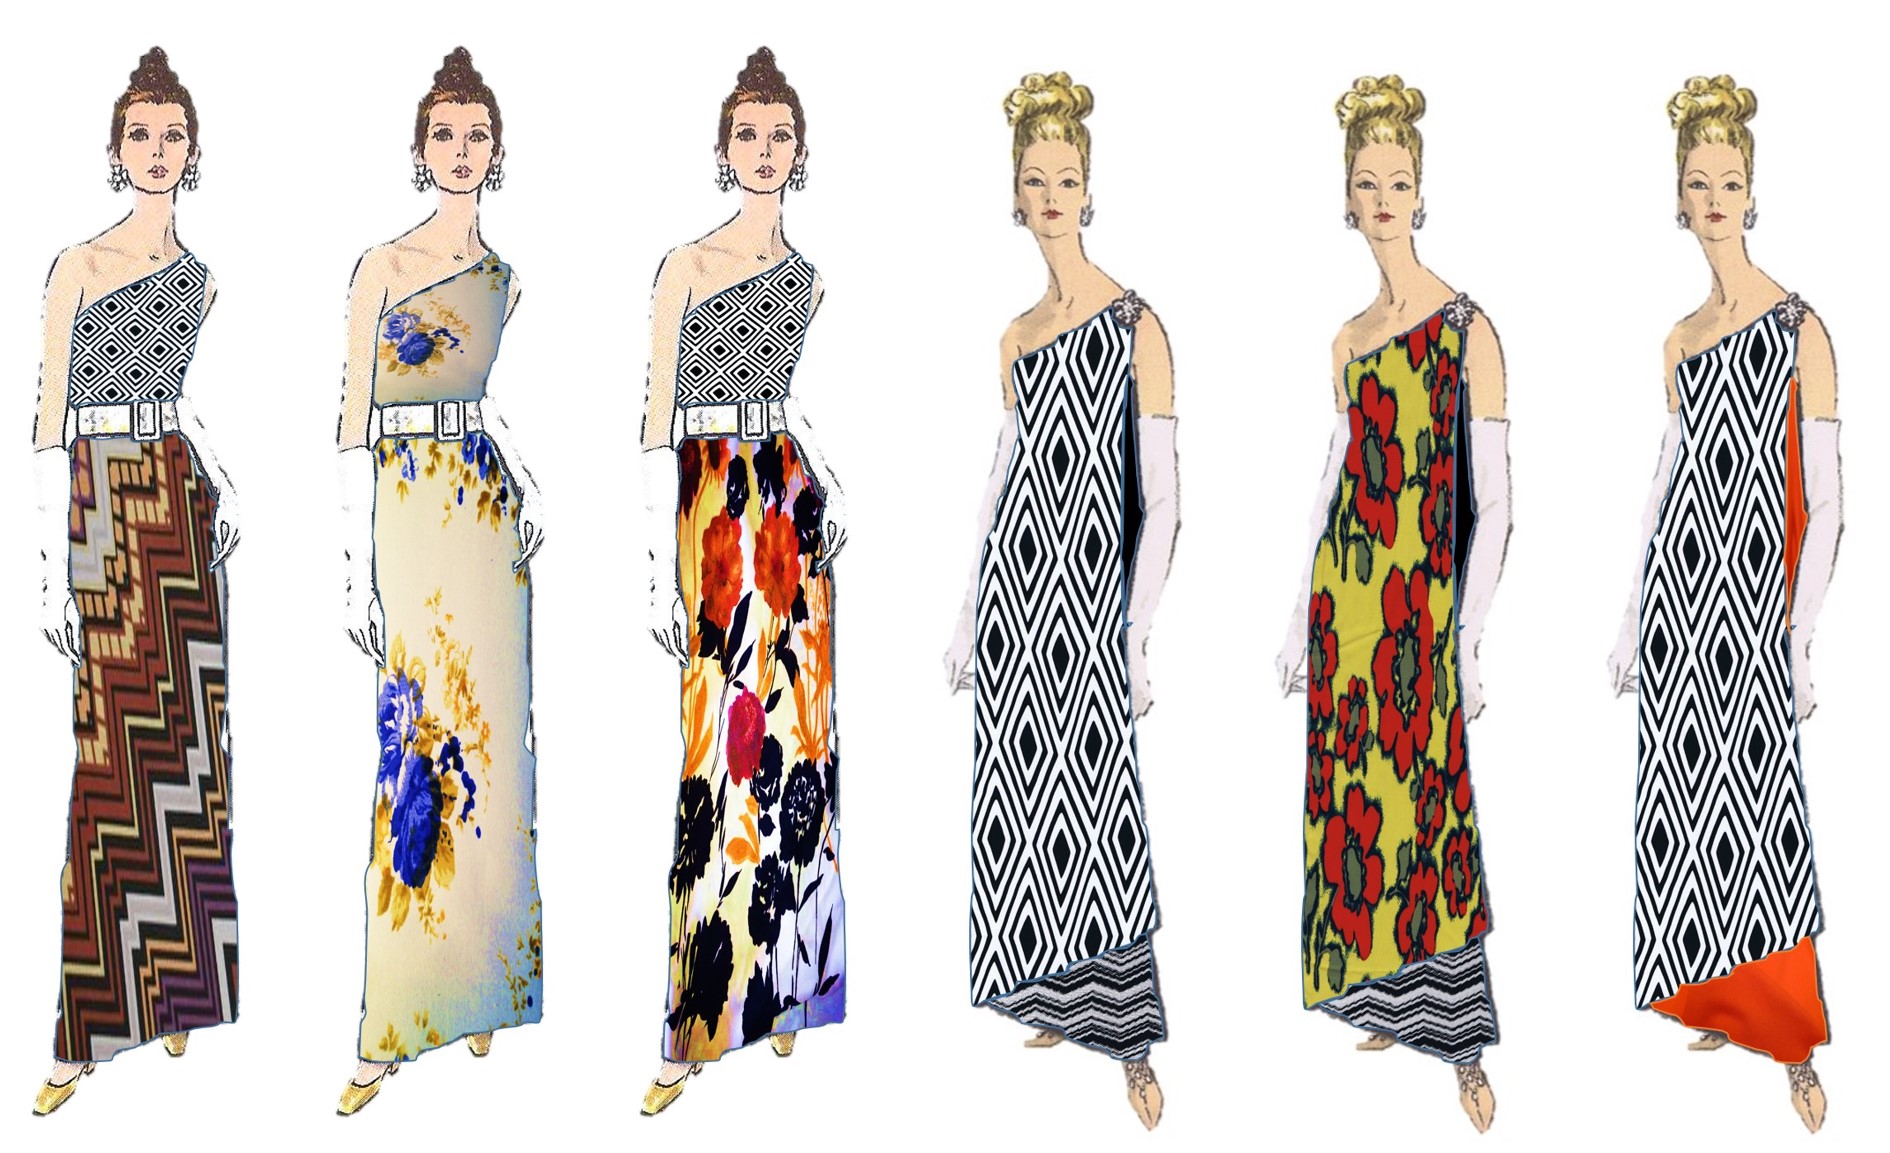
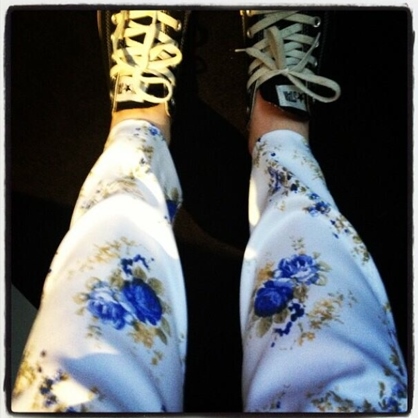
Then, I went crazy for this new fabric I'd bought, which may have had a great deal to do with the fact that it was a serious bargain remnant and I made this great pair of pants with which I was most pleased. So, using a scrap of offcut from this brief diversion into sewing I looked at the simple yet effective single backdrop idea for a mini sculpture/decorative object display. Nothing spectacularly special about this, just looks kinda cool; assuming you also really dig this silly floral satin. My sewing is also responsible for the introduction of the retro looking figures in the following images; I scanned in the covers of some of my really old sewing patterns, they have great illustrations & I'm liking this, which is surprising as usually I'm not one for the hackneyed retro. (And umm, yes, I also spent some hours dressing them up with different fabrics style dresses; remember the paper dolls? I do like this kind of girly fun.)


Playing with this fabric got me looking more at backdrops; maybe it's this simple, I thinks to myself, maybe all I need is a mini backdrop for mini sculptures? Look at these:

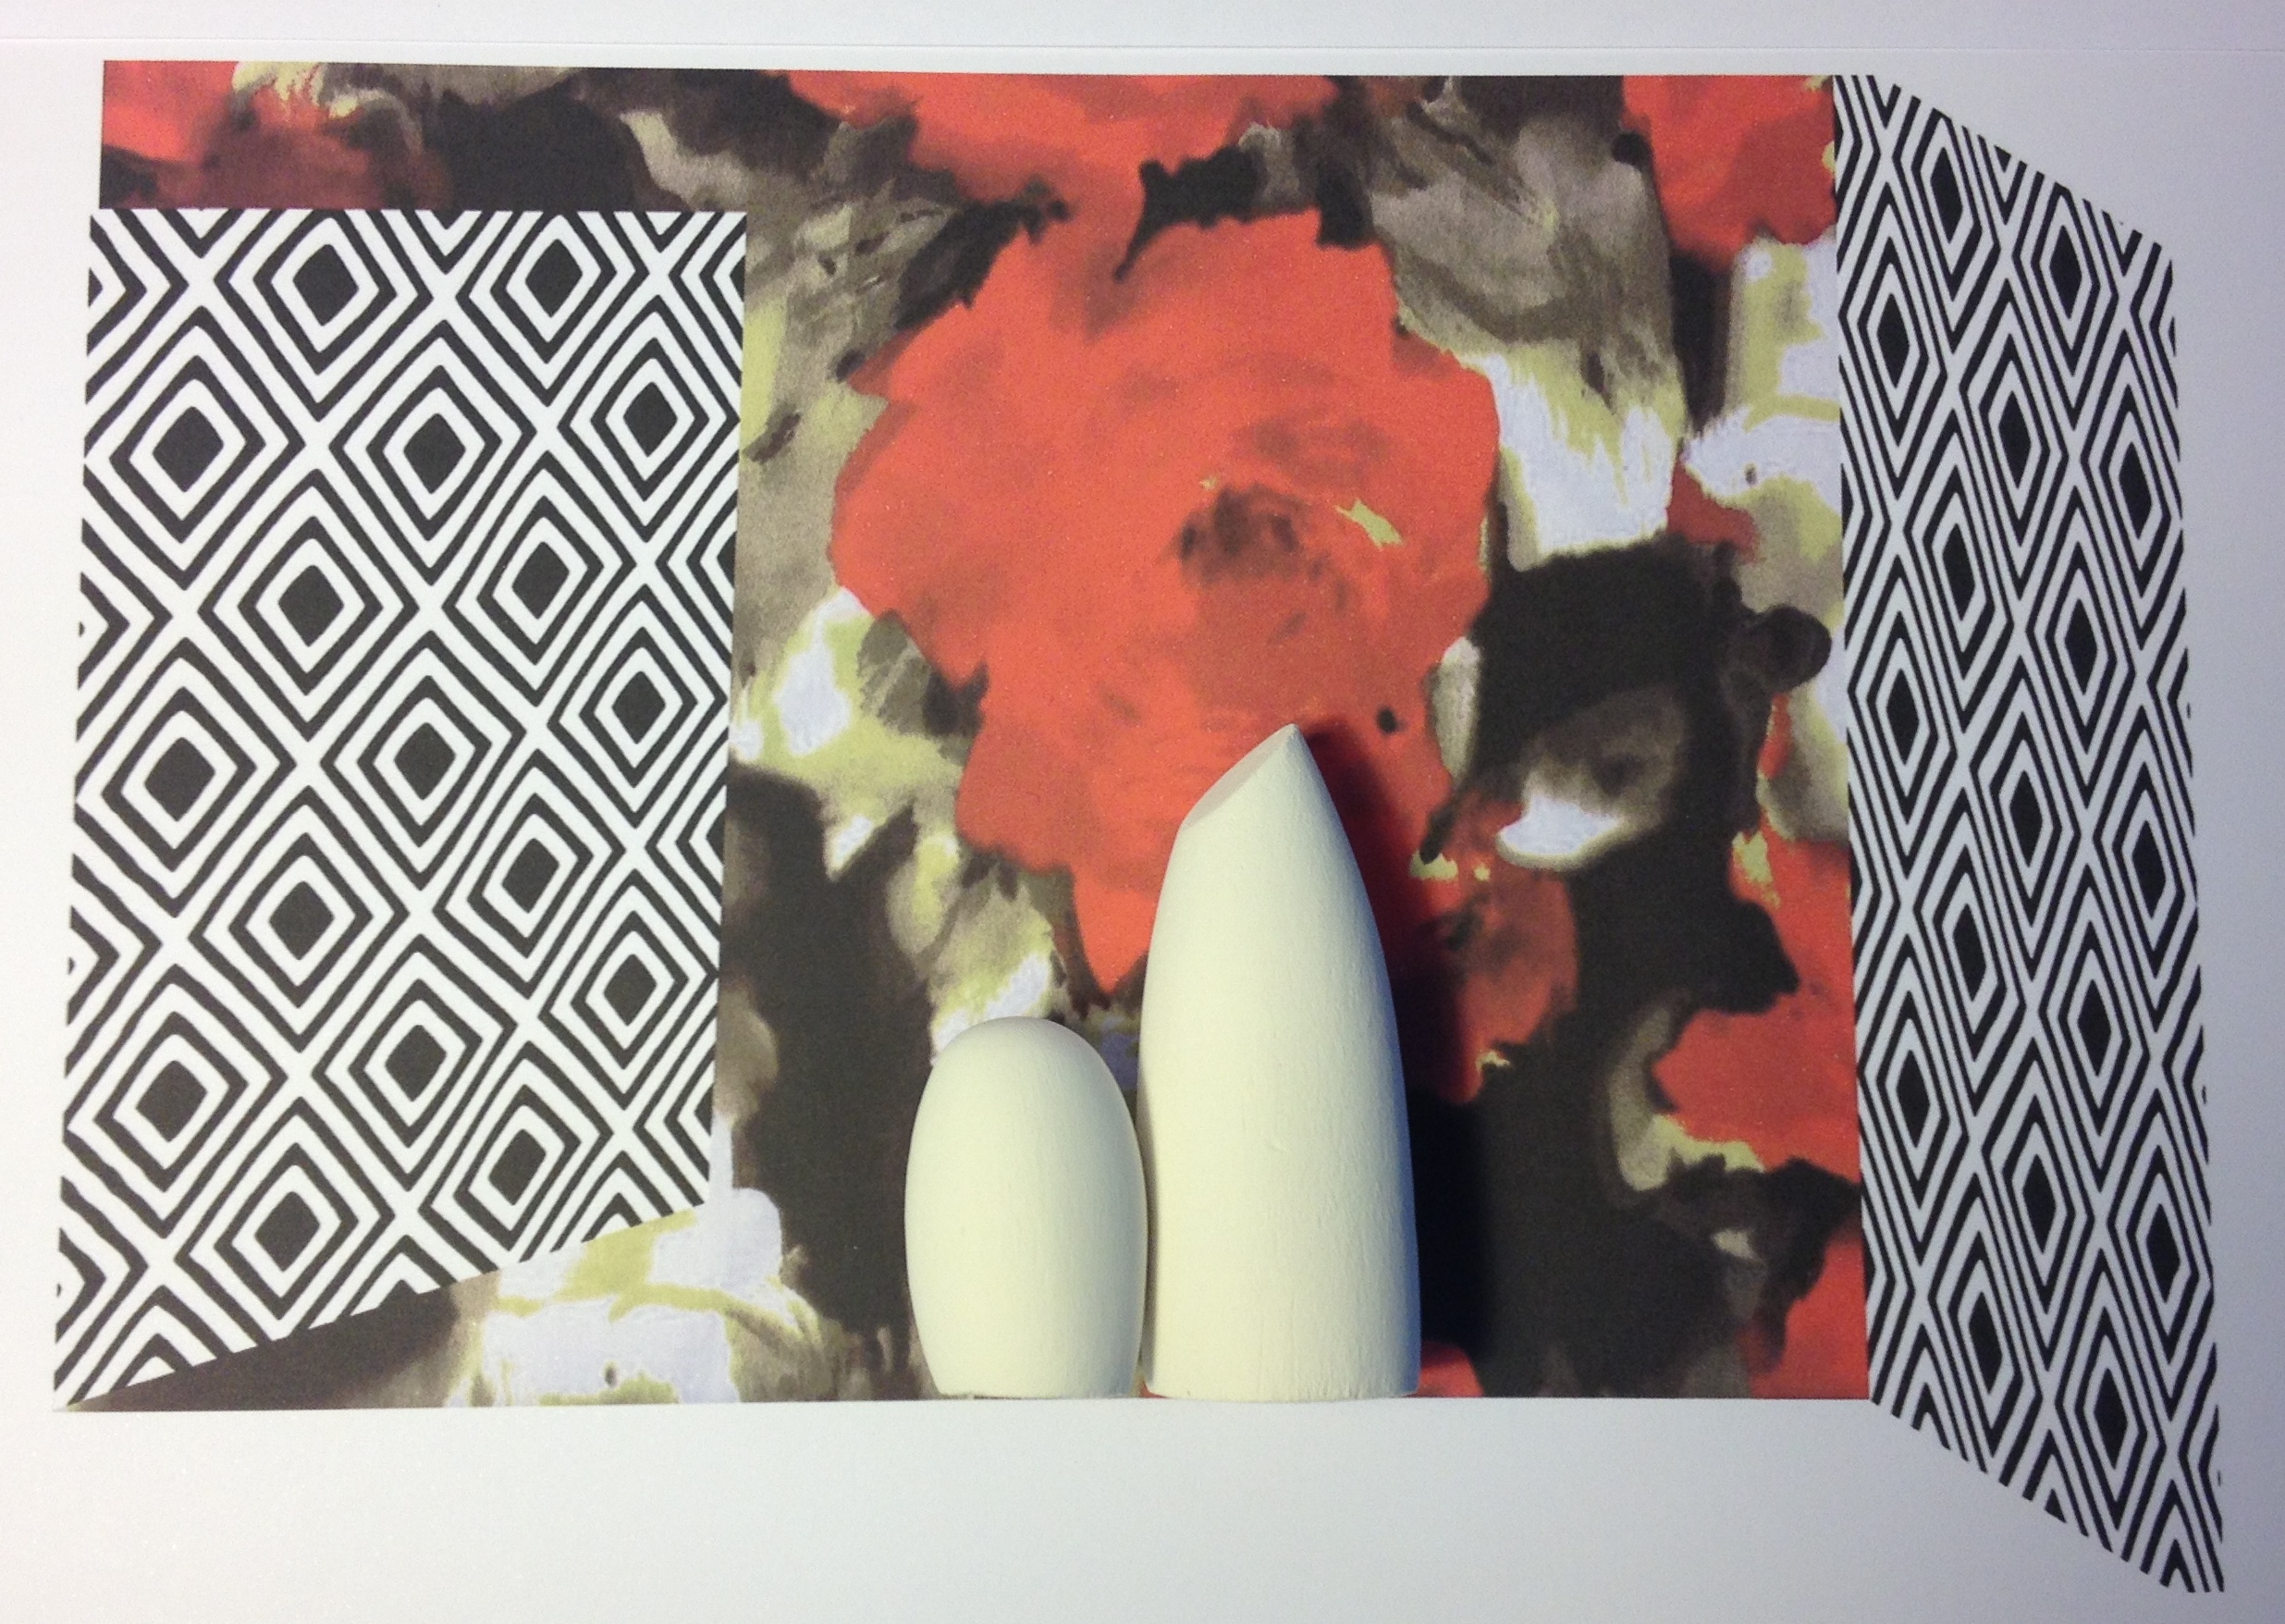
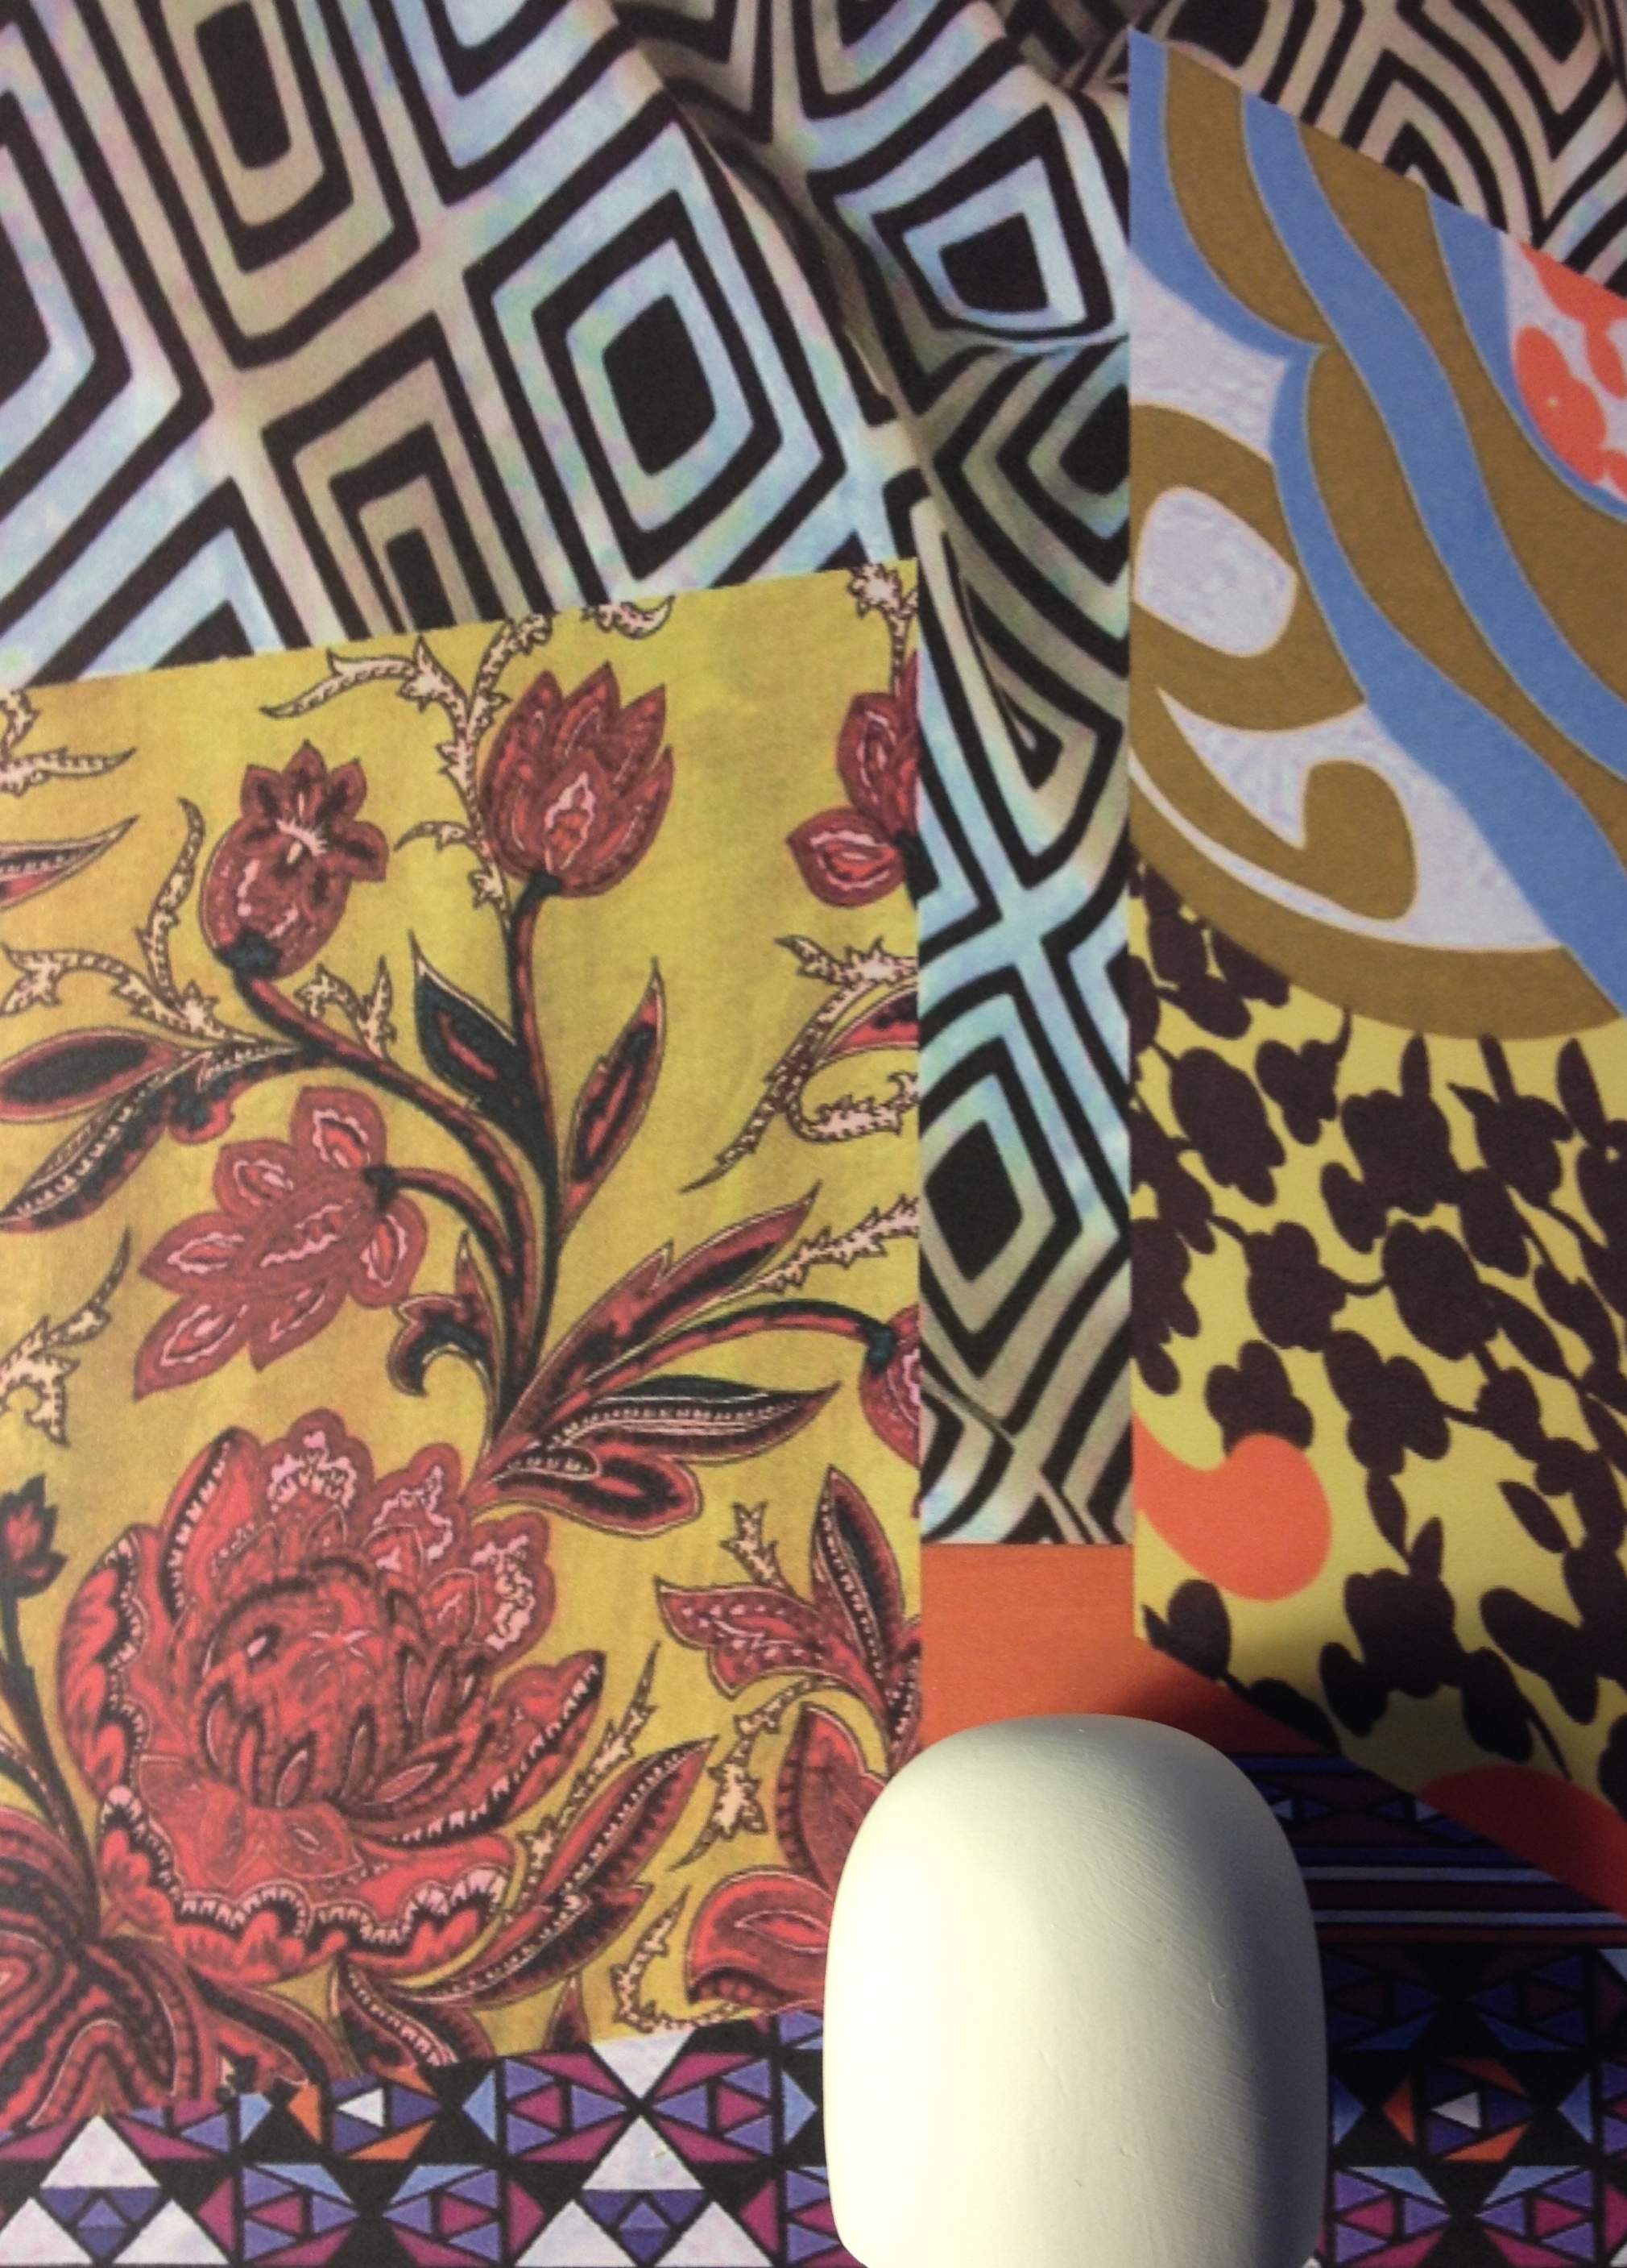
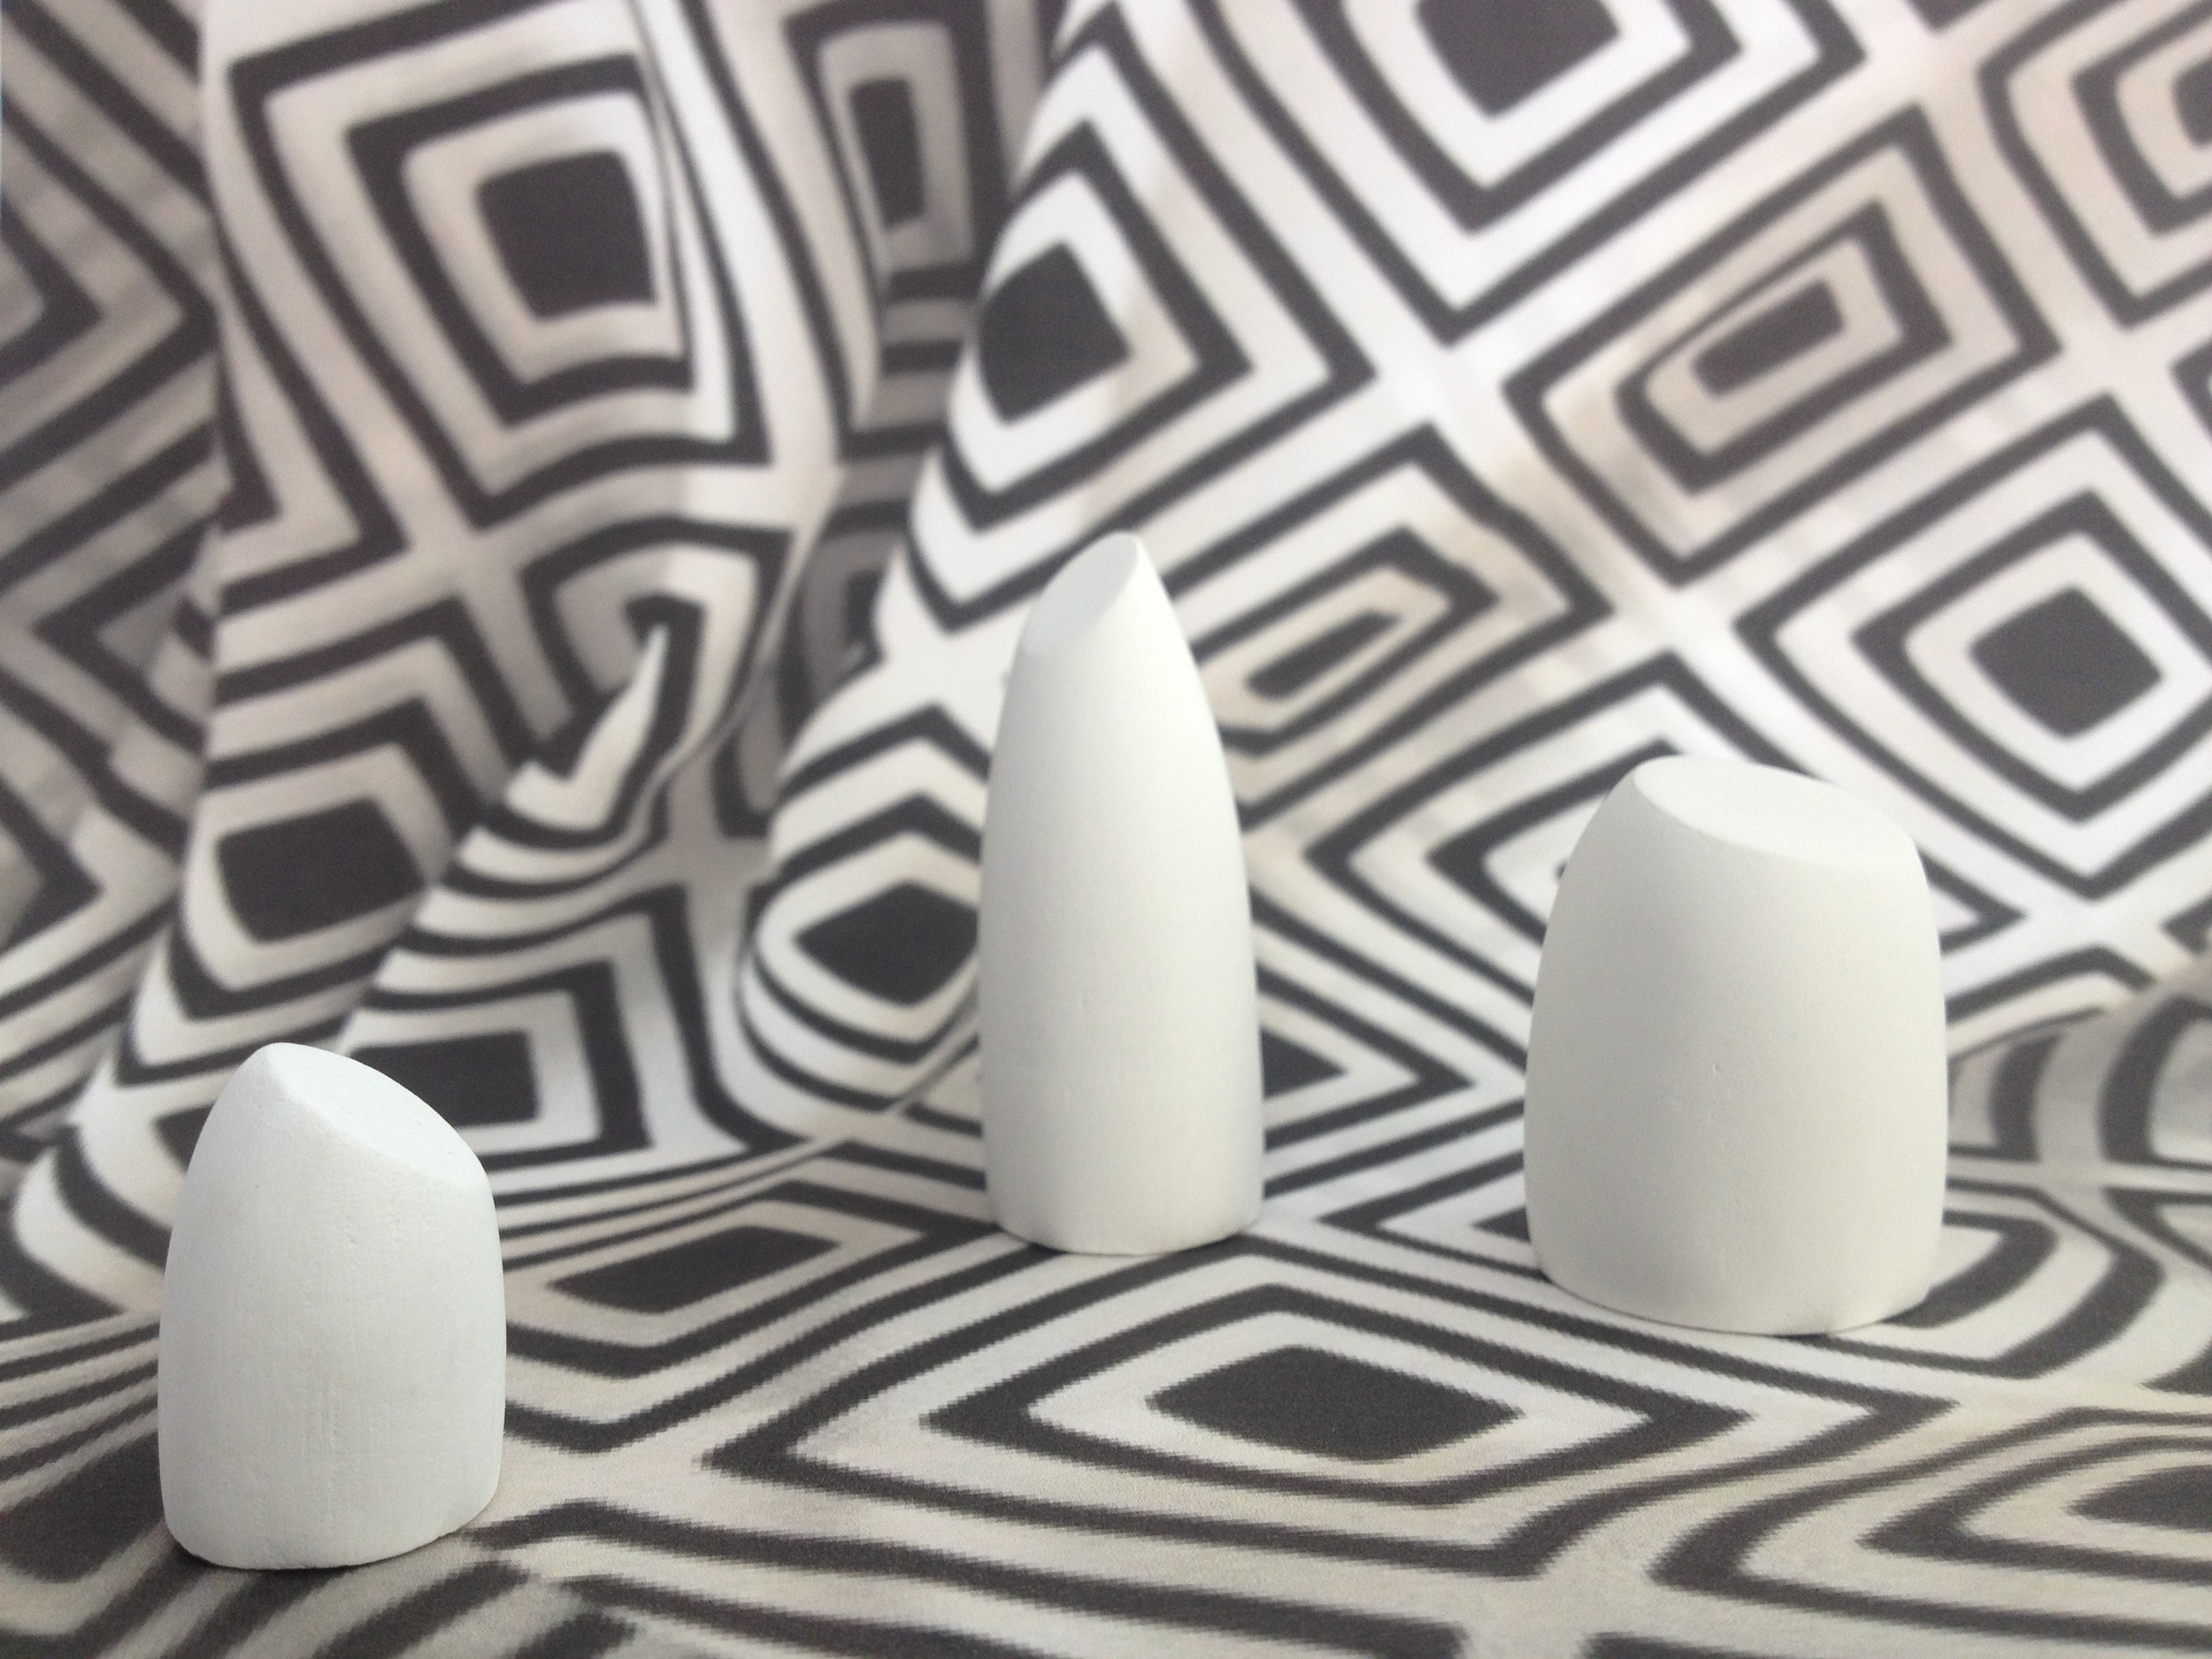
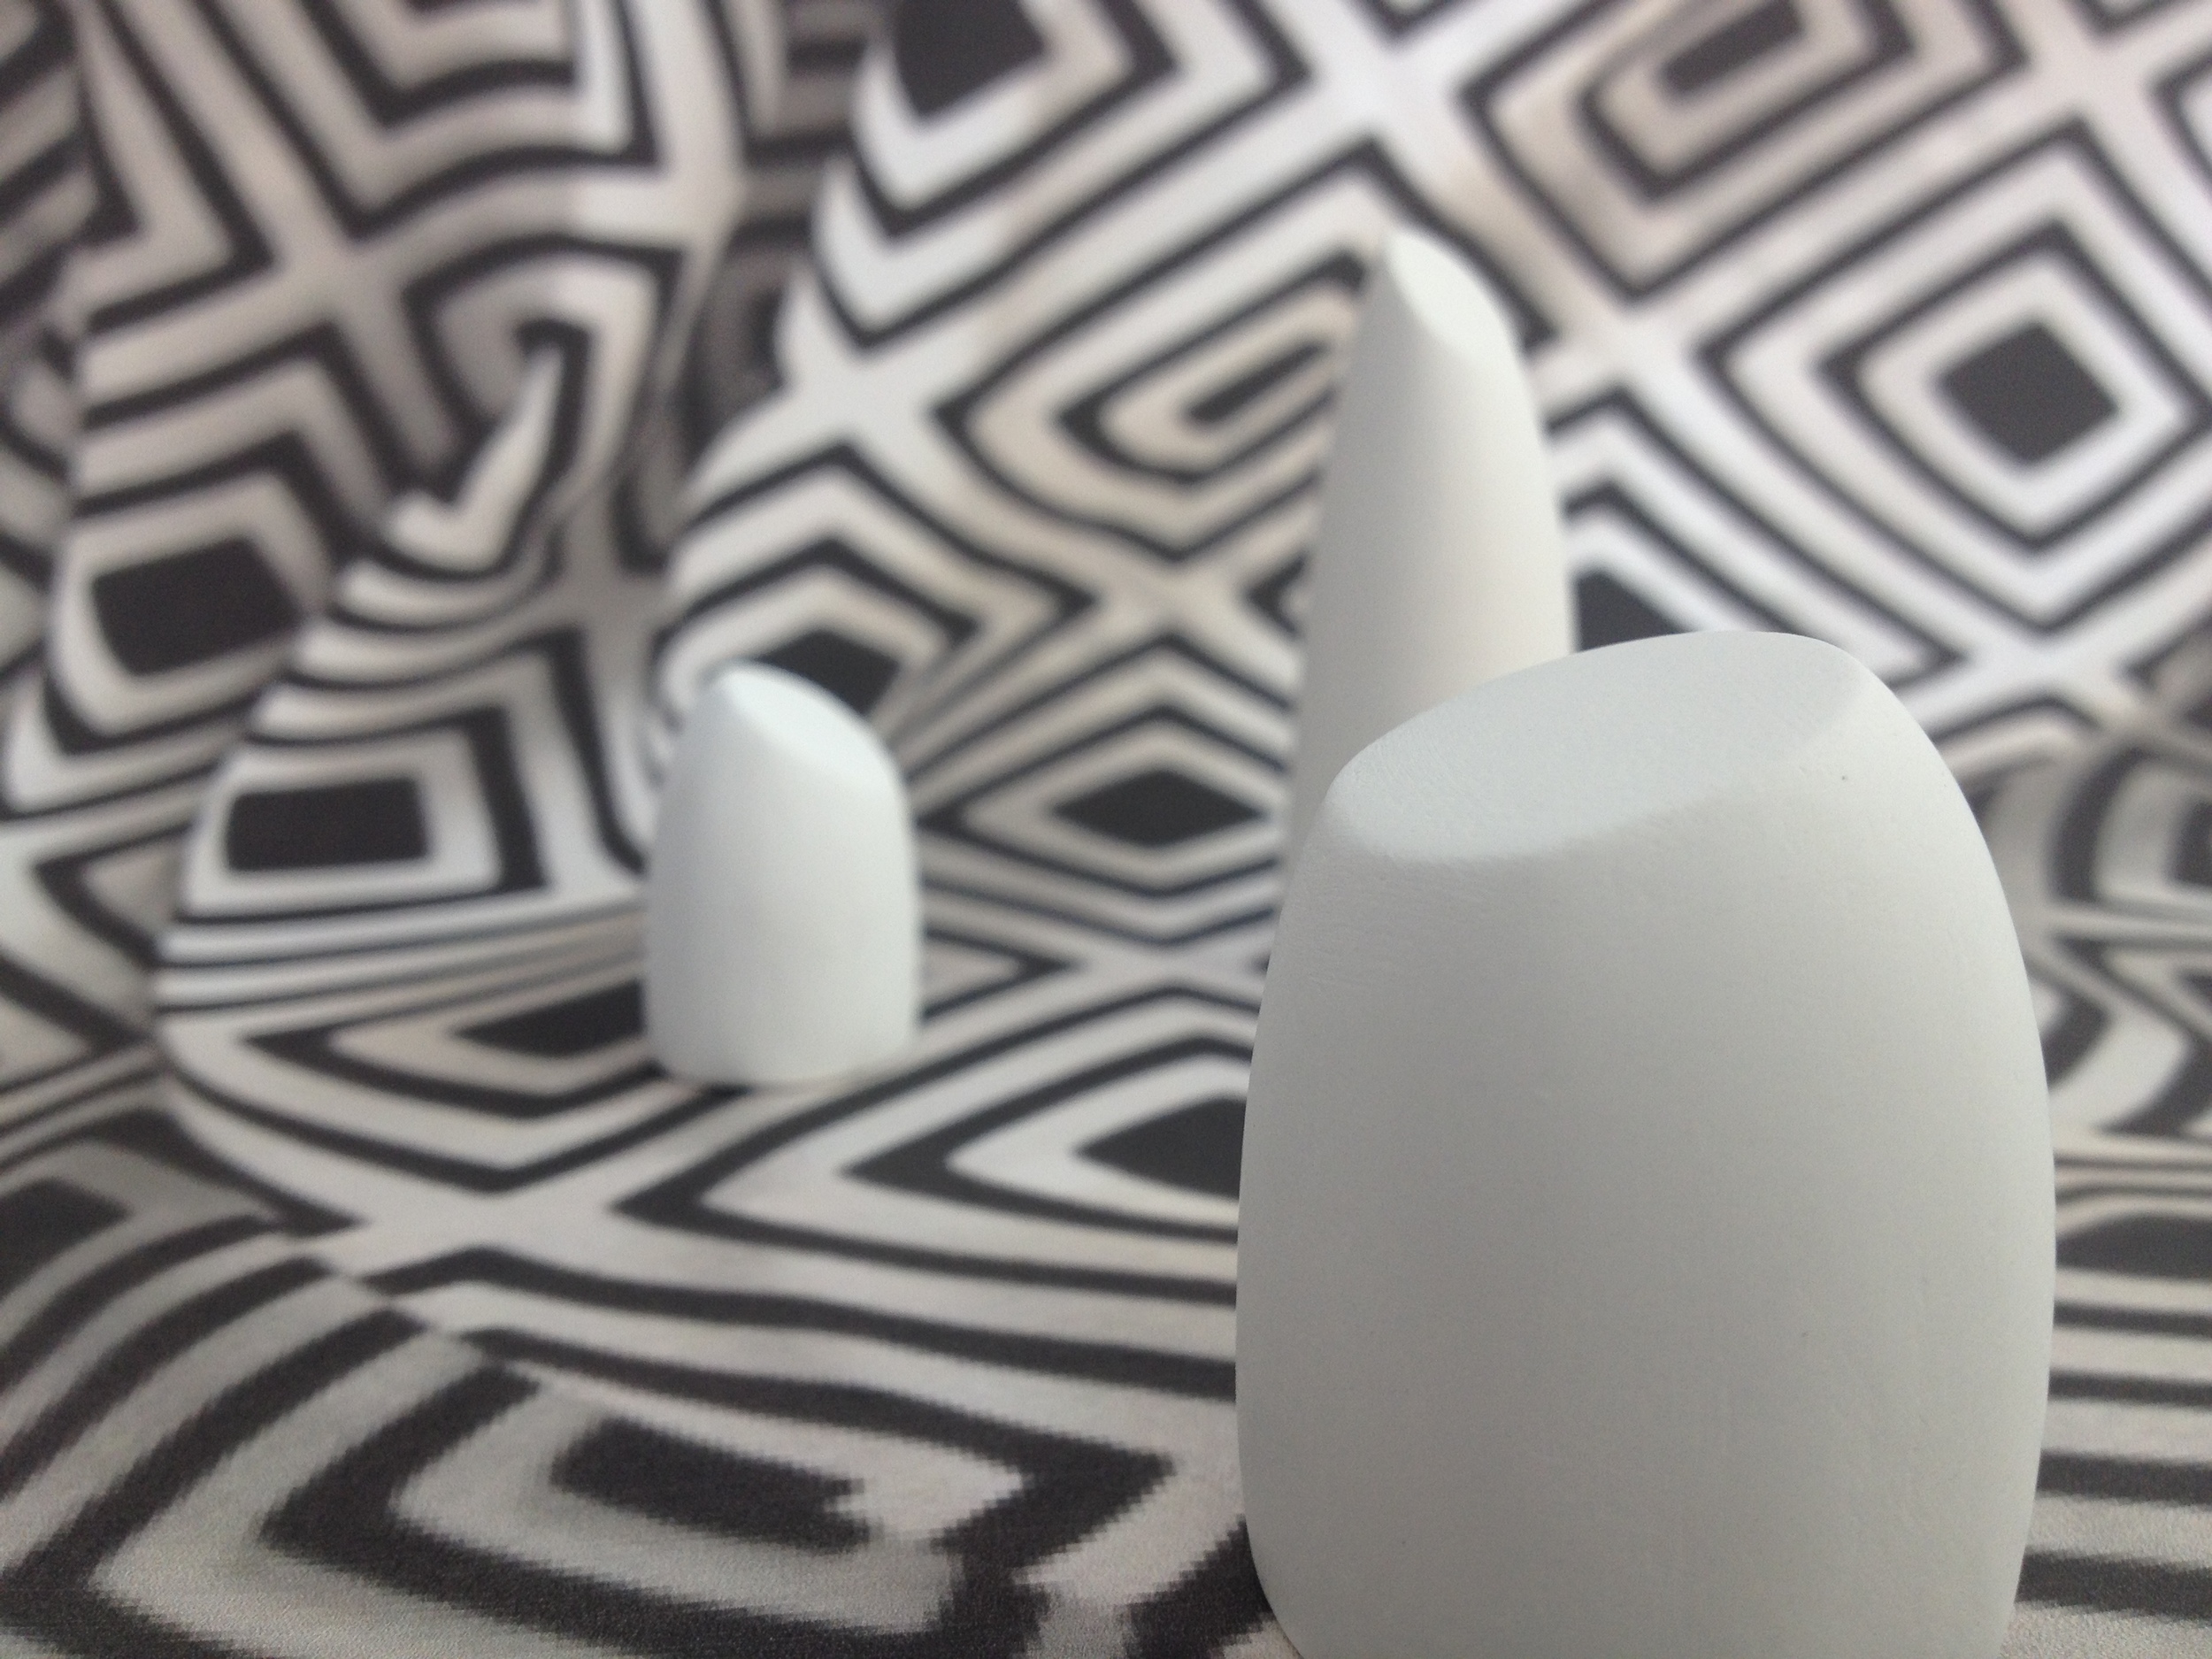
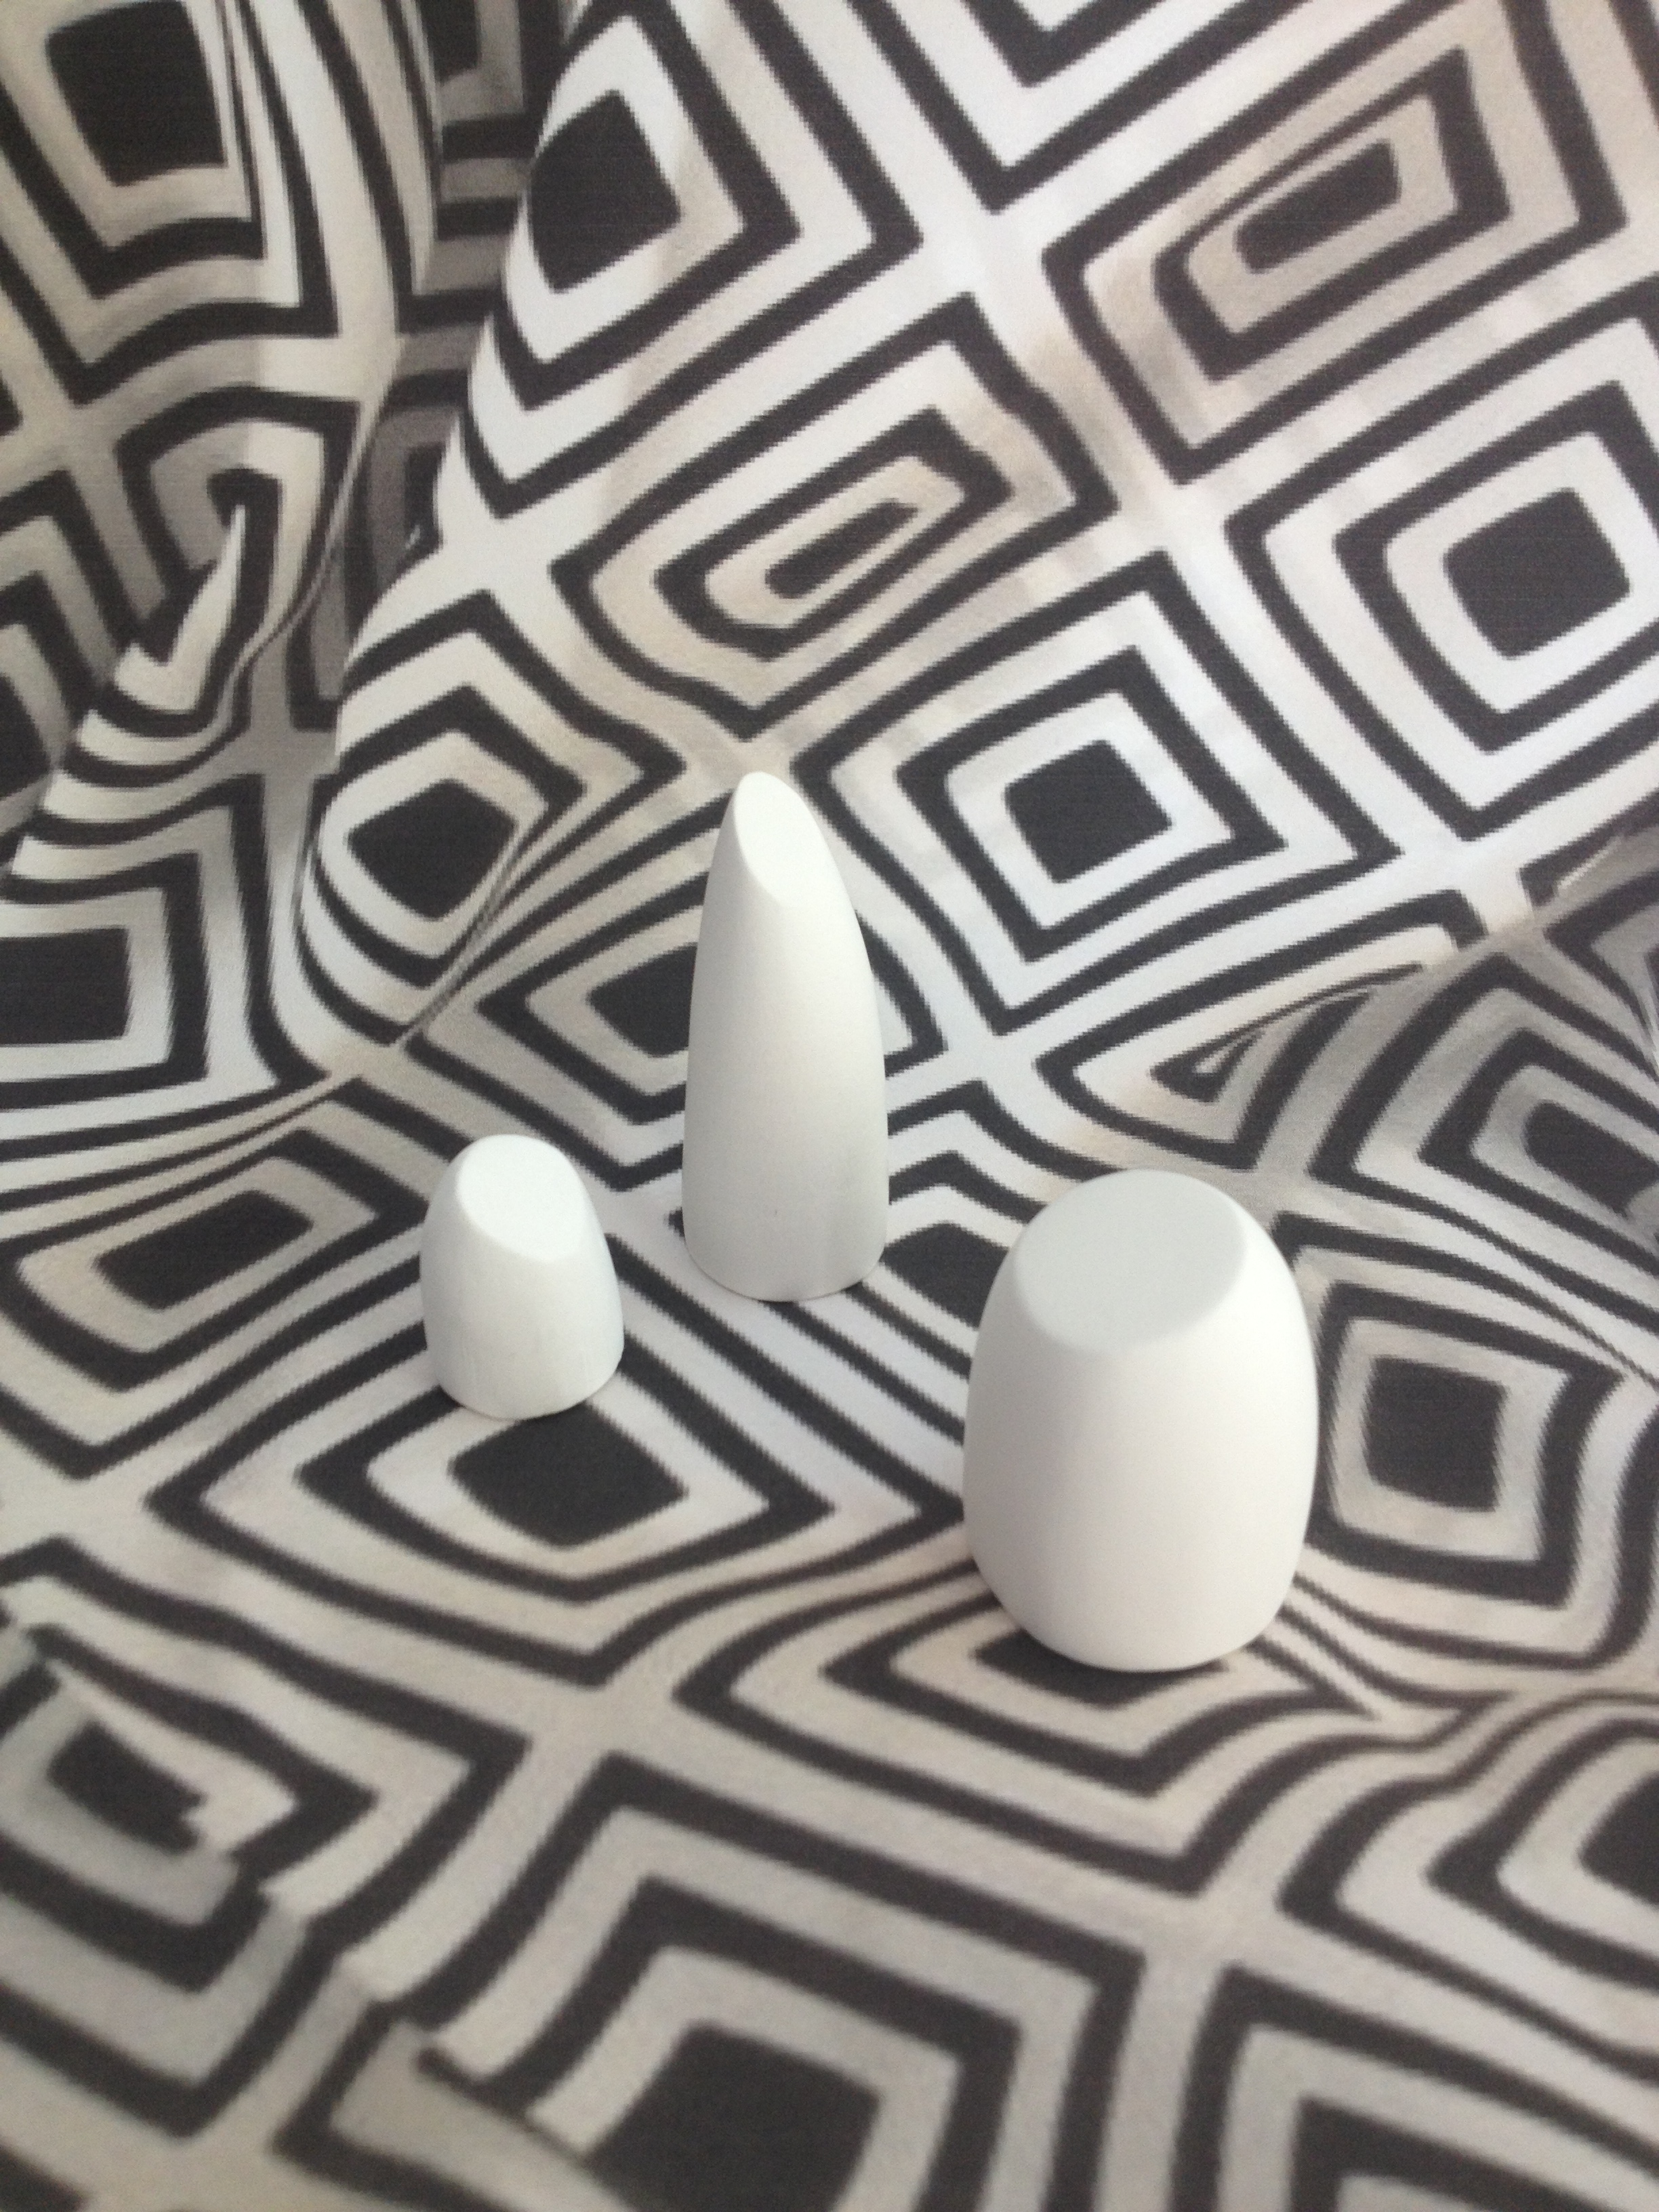
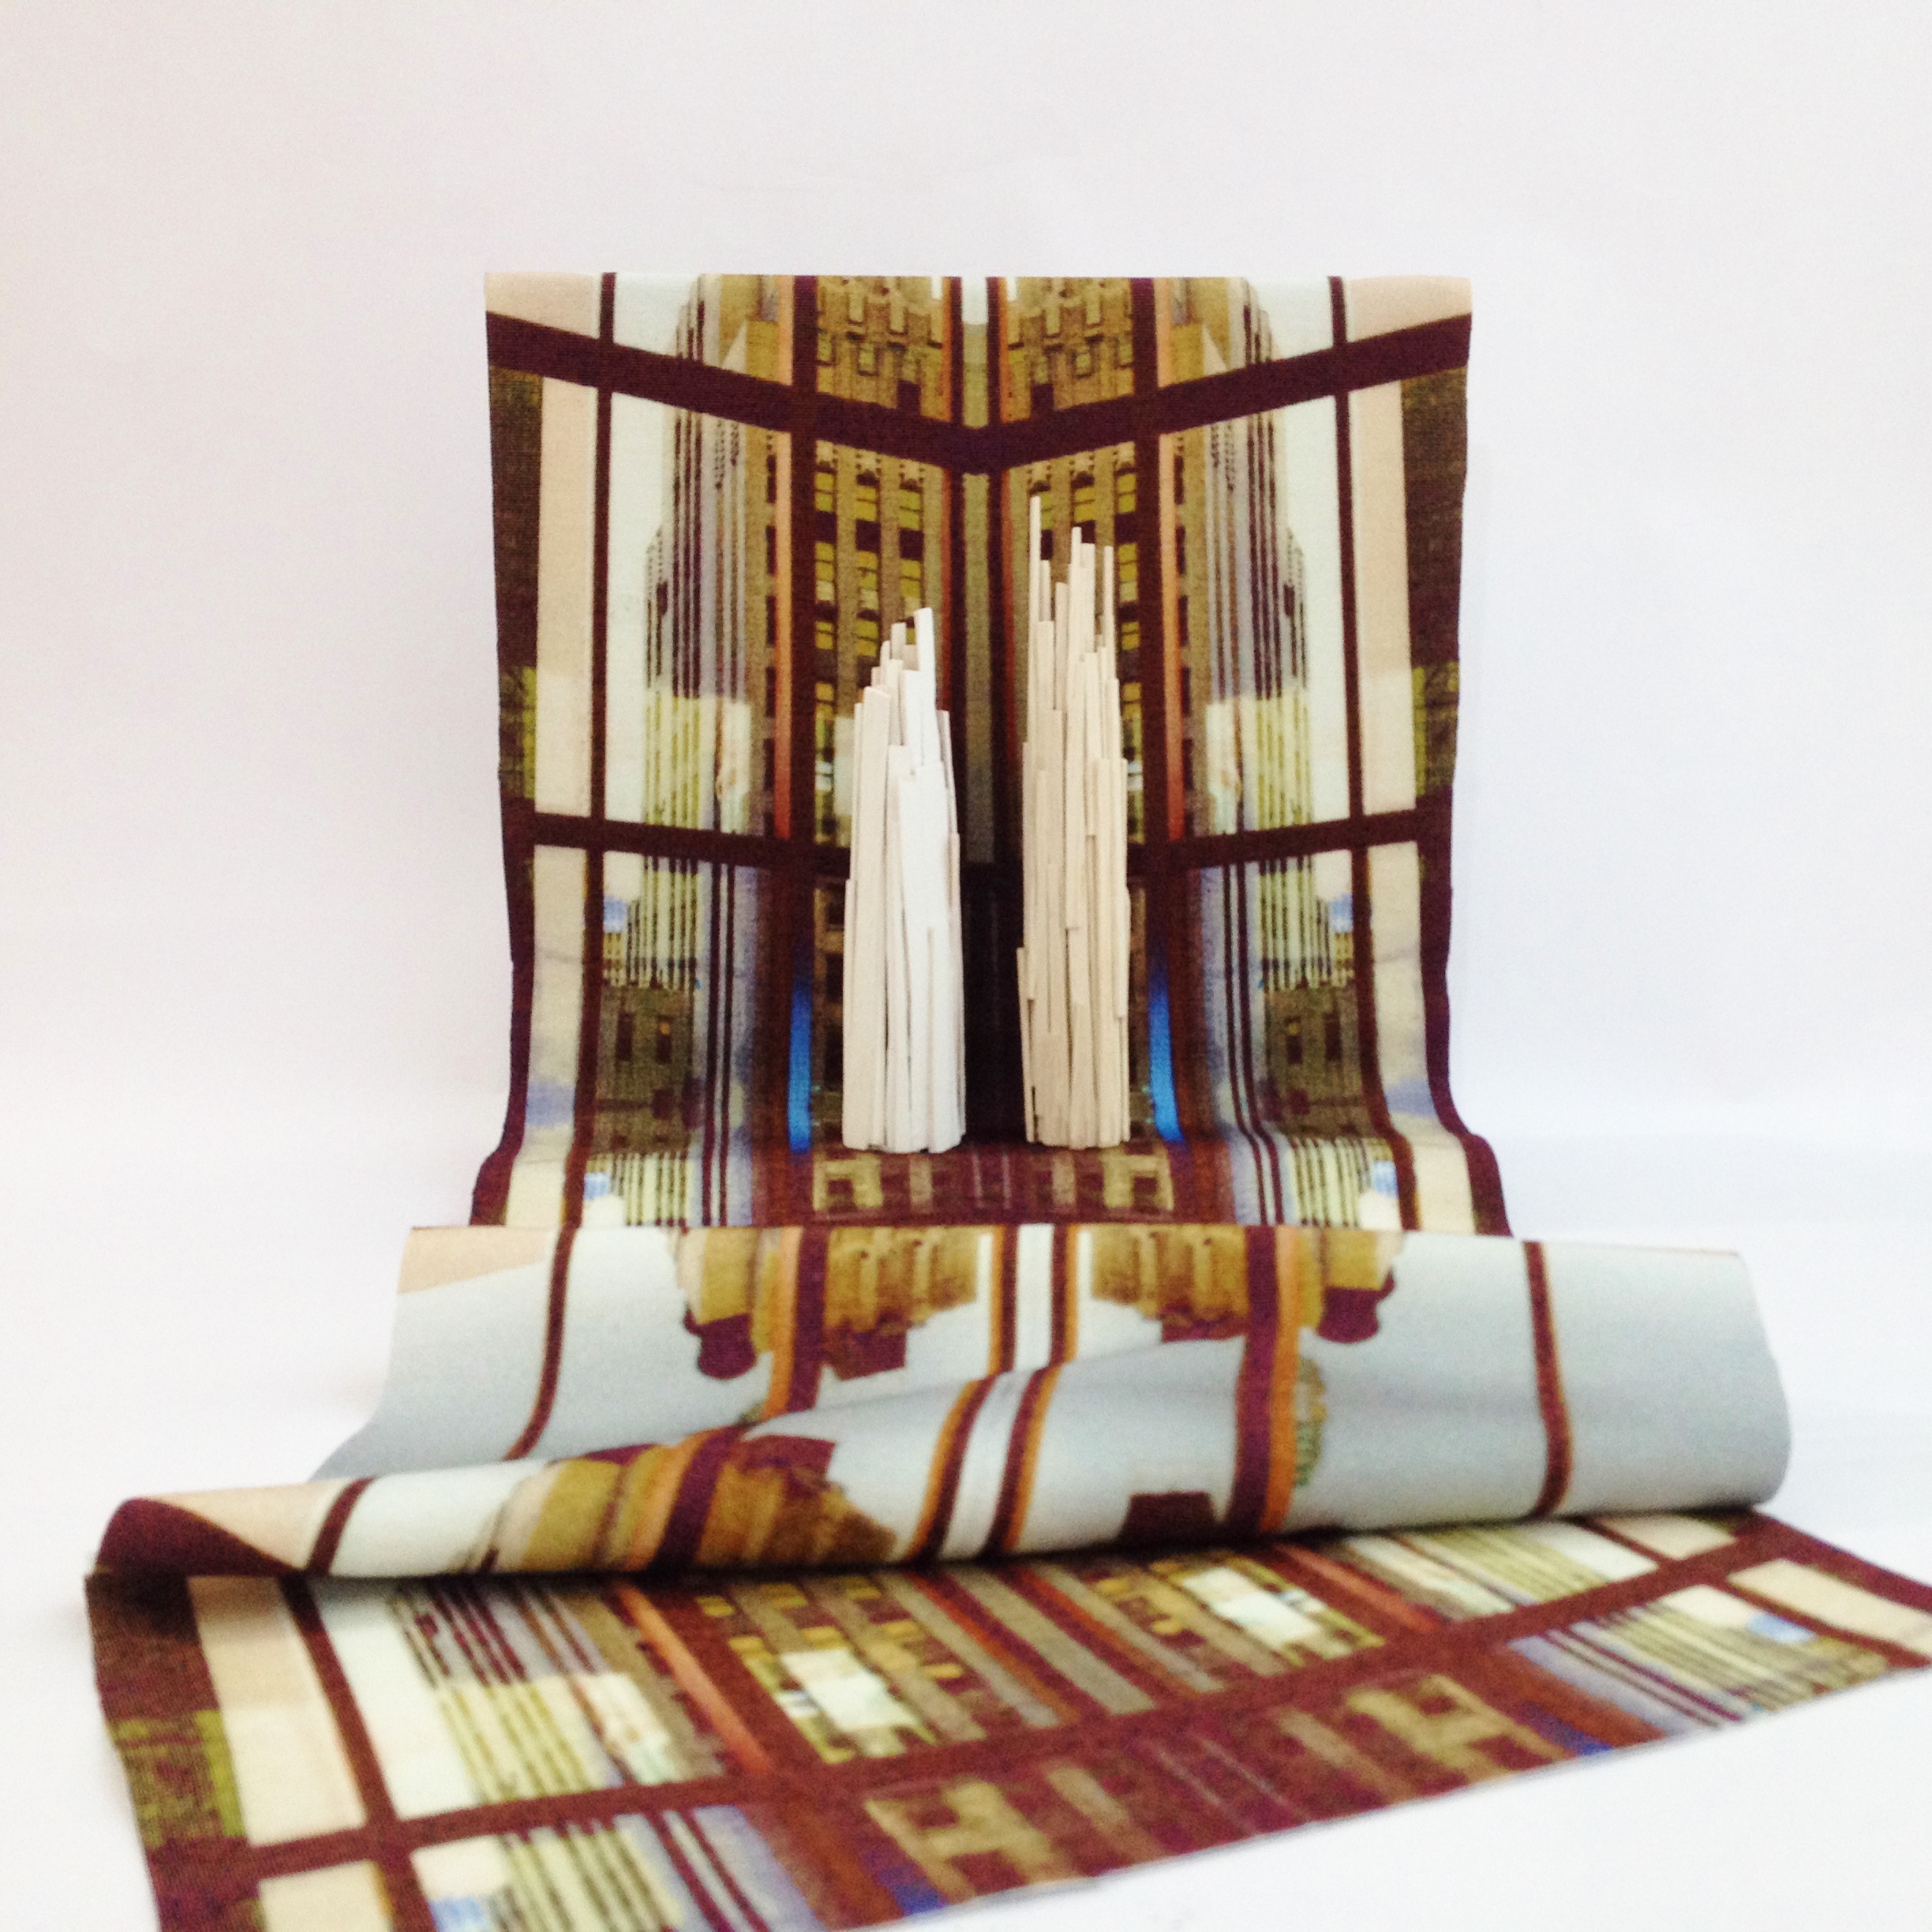
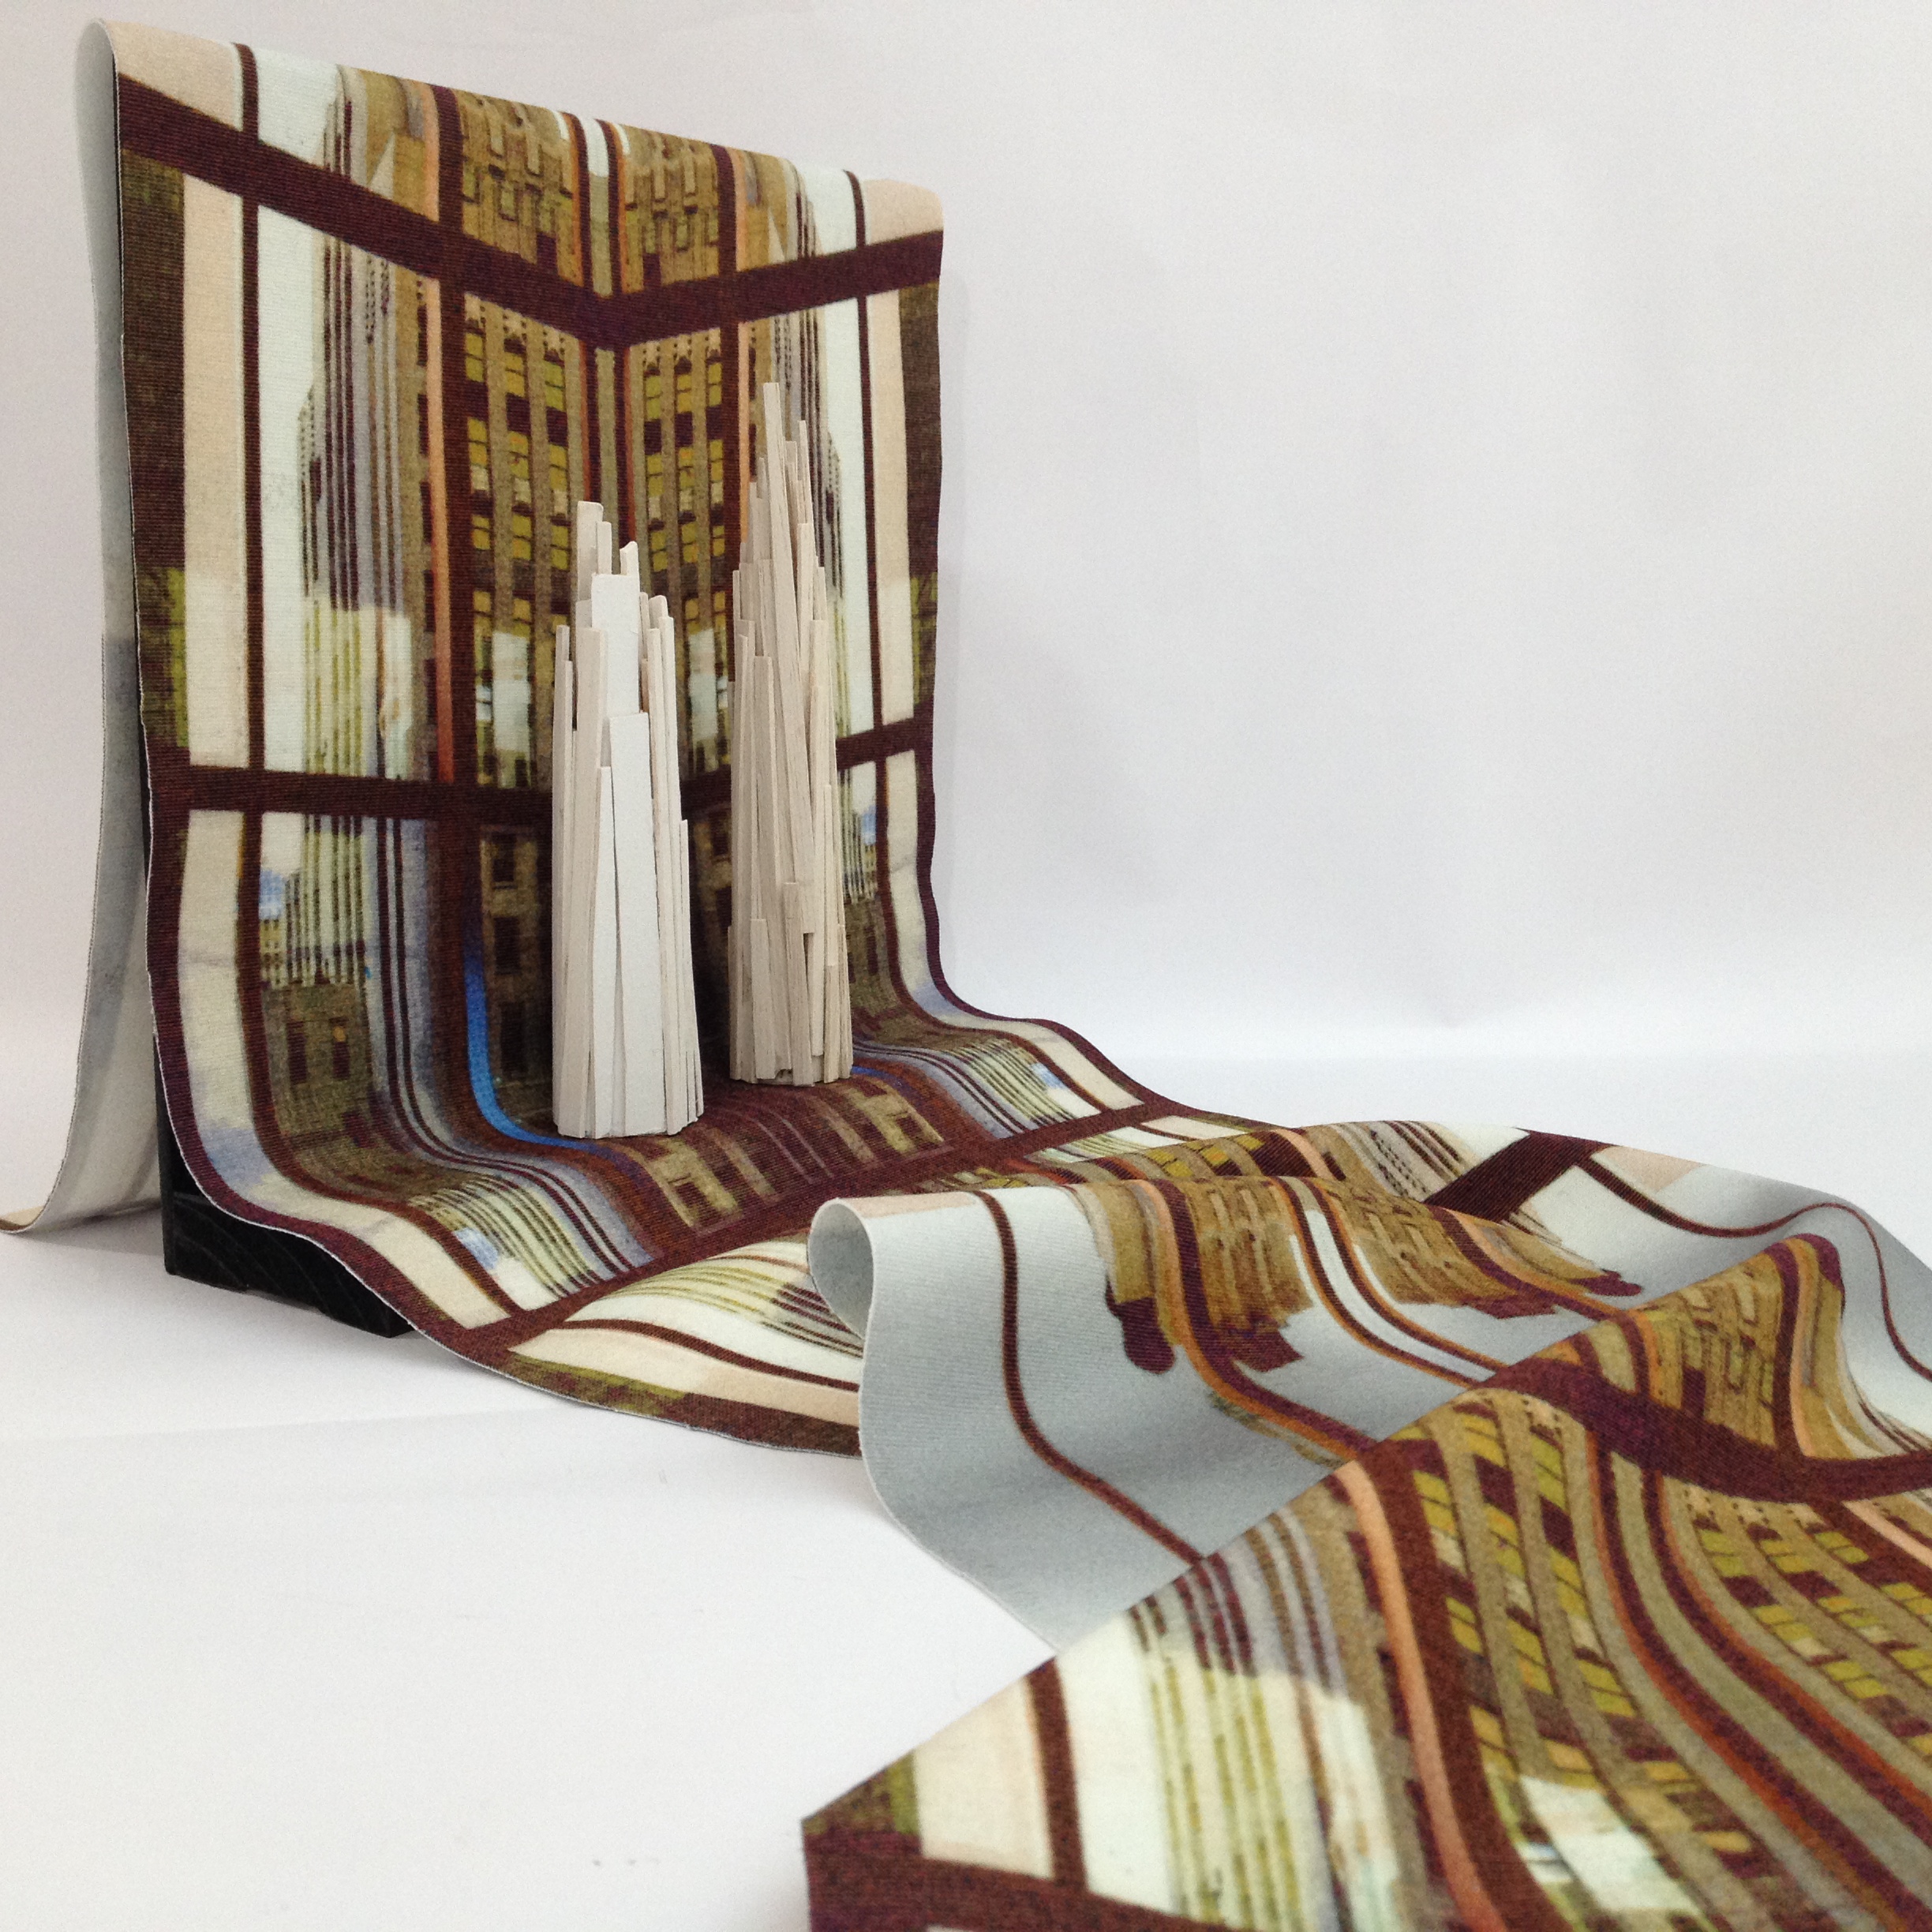
So then I played with my fabrics again. First with a gorgeous black & white diamond pattern silk which I photographed all lovely & drapey, then with 2 digital print ponti fabrics that seemed tailor made for backdrops.
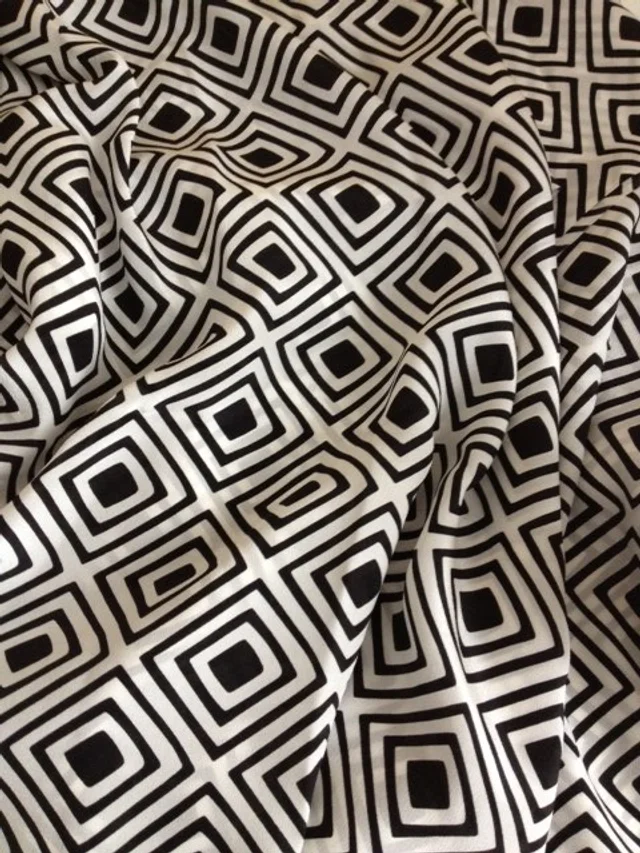
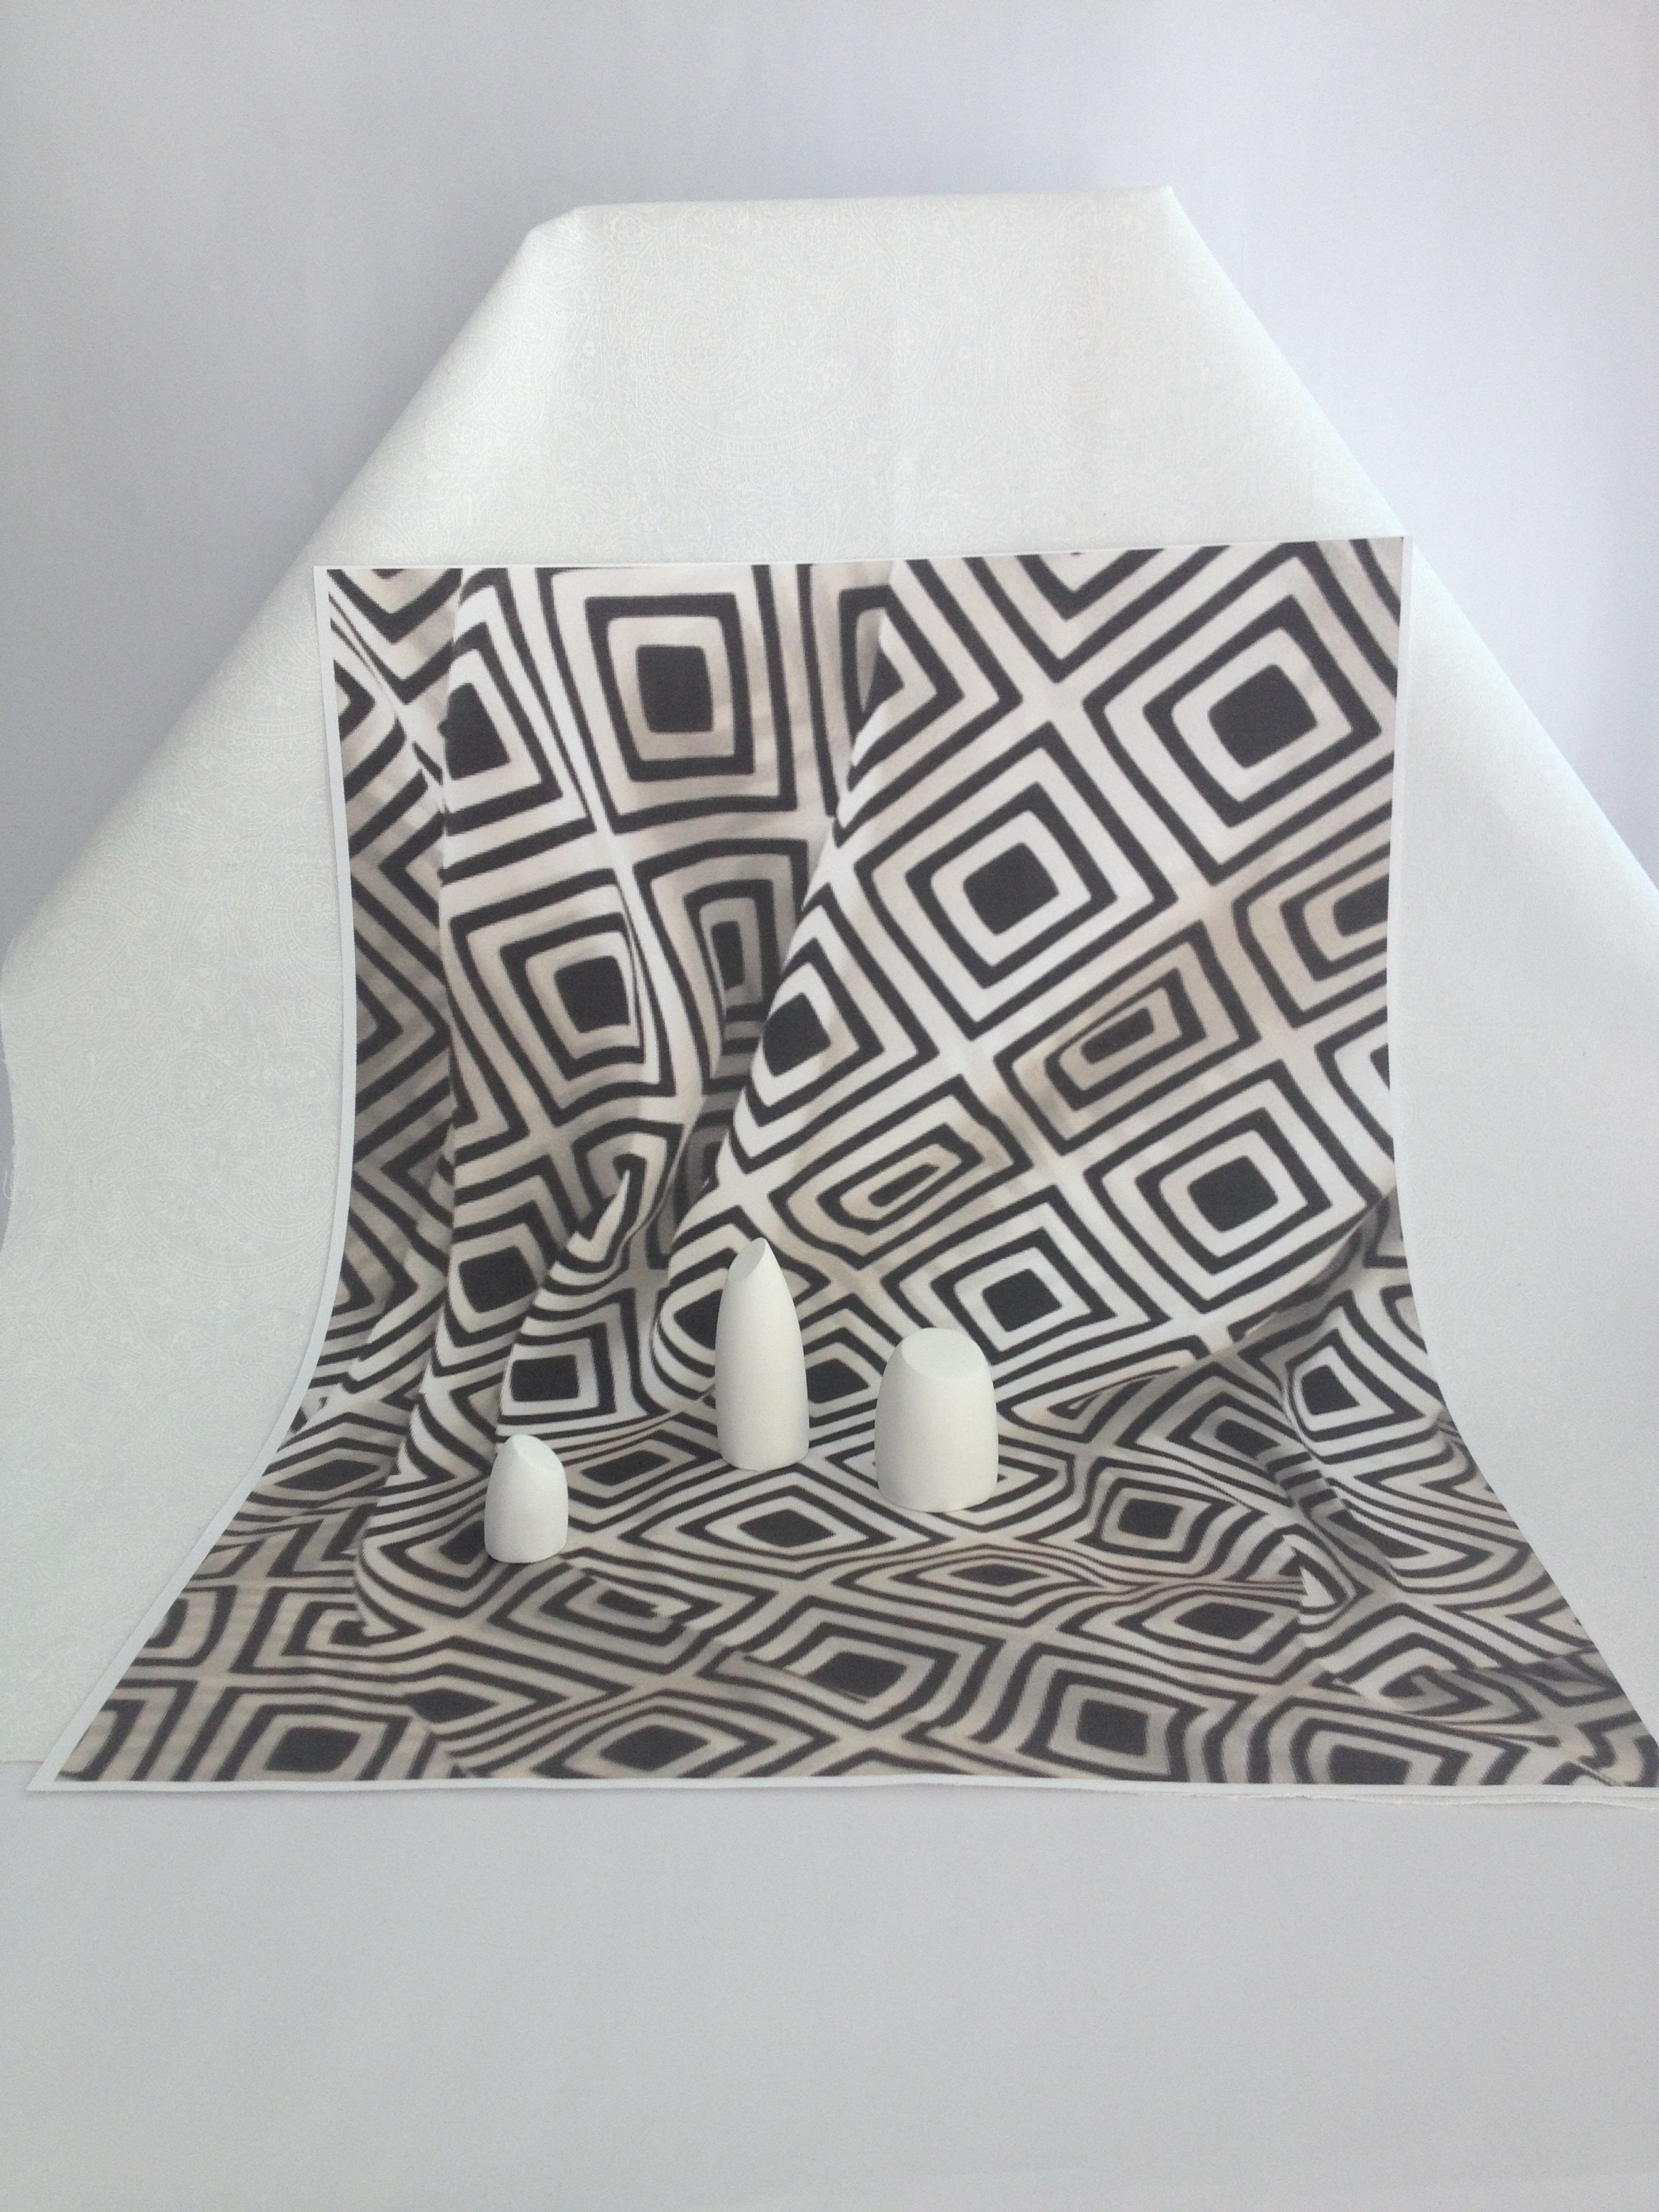

Digital print Ponti & all fabrics from Tessuti


Mmmmmmmm! I'm liking these!
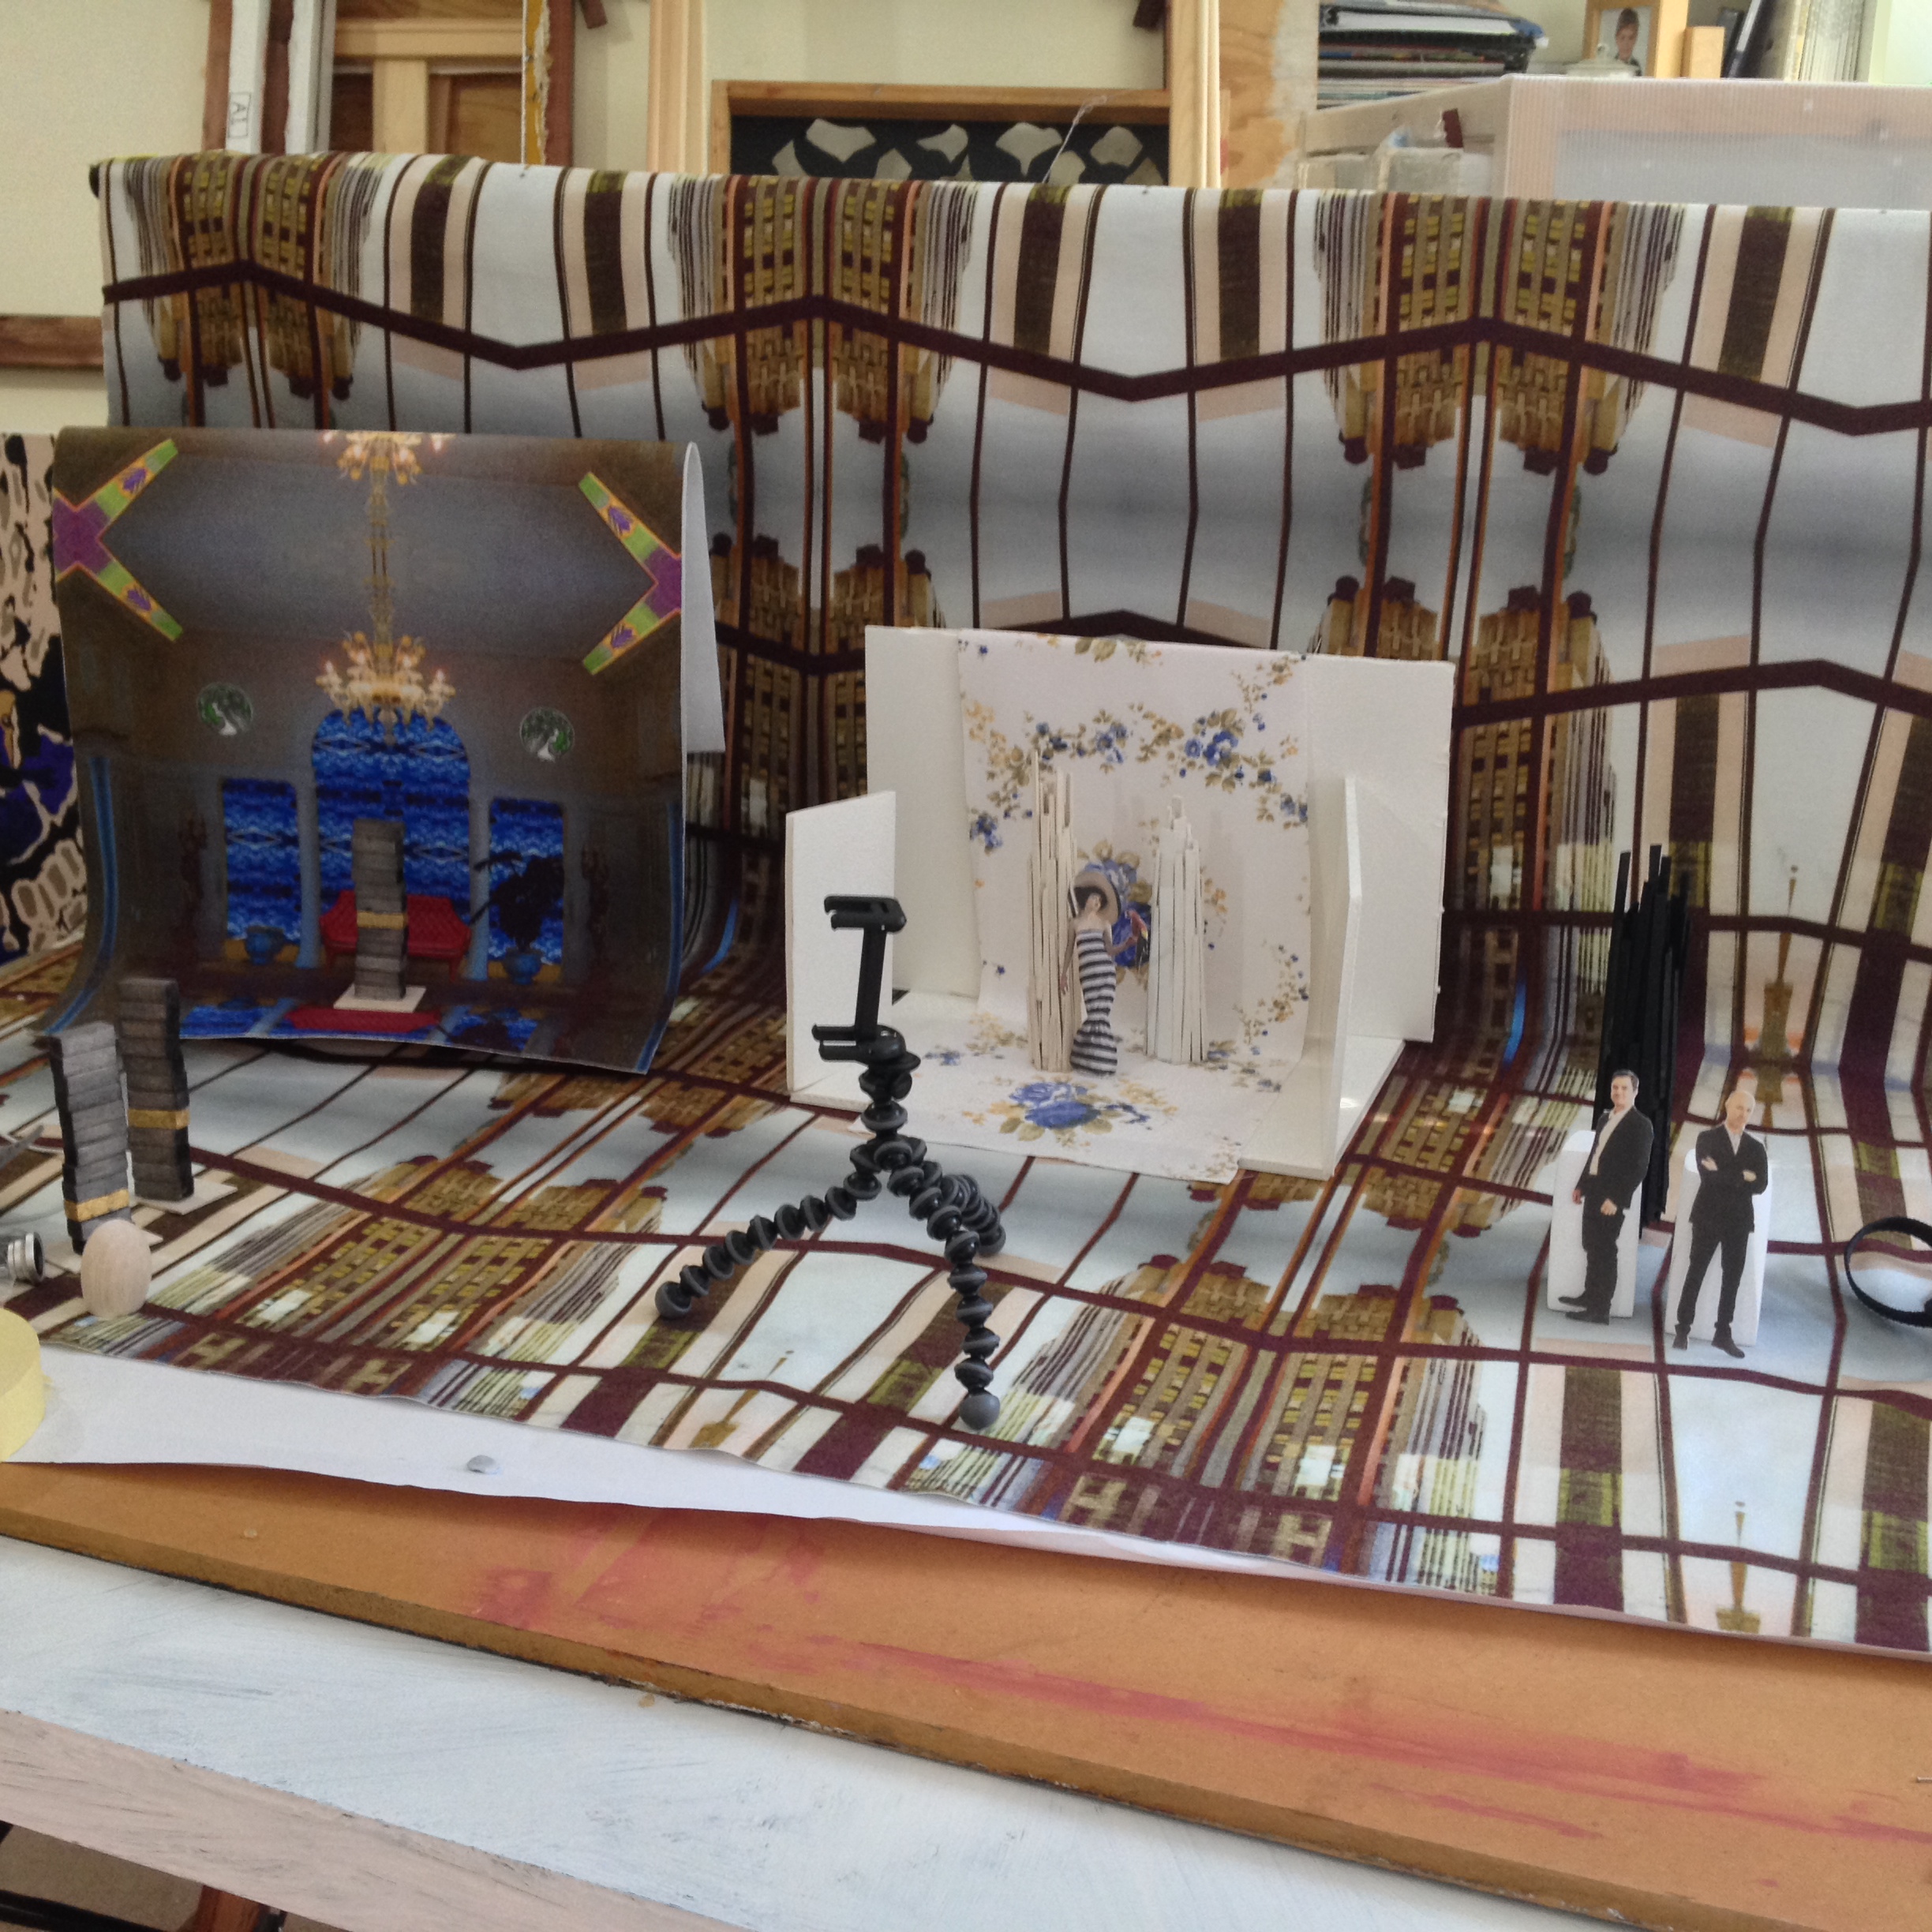
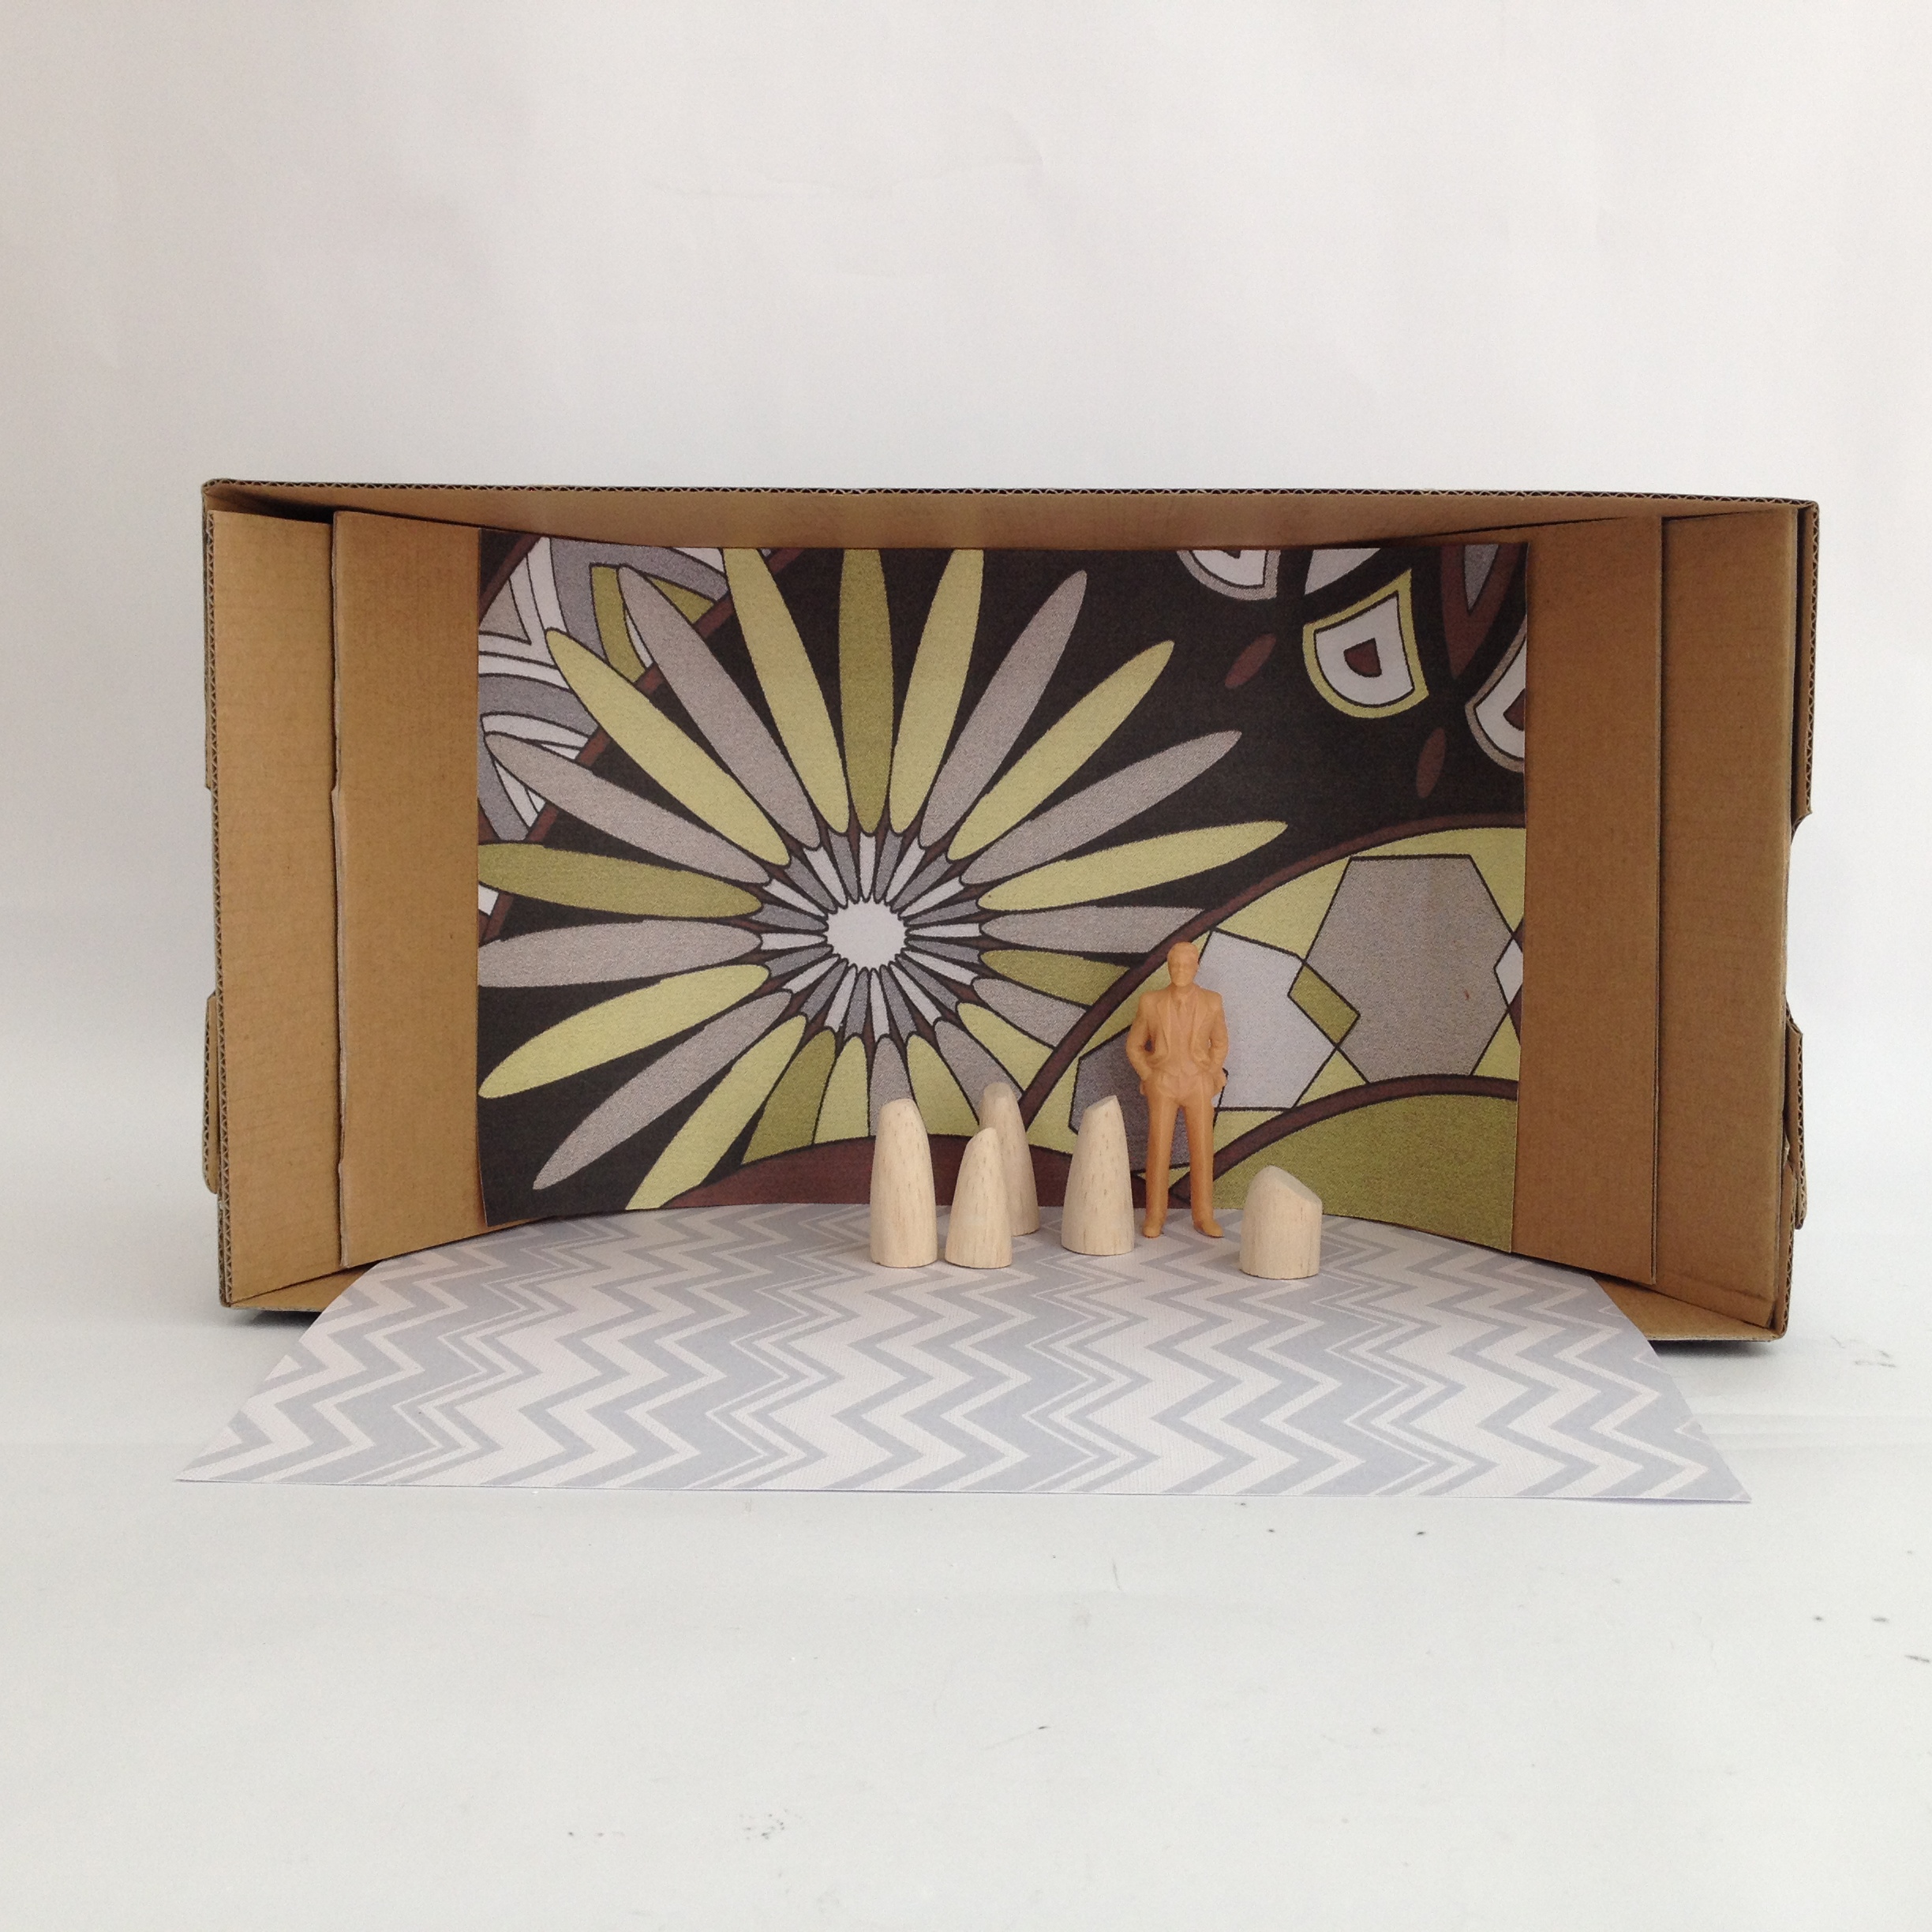
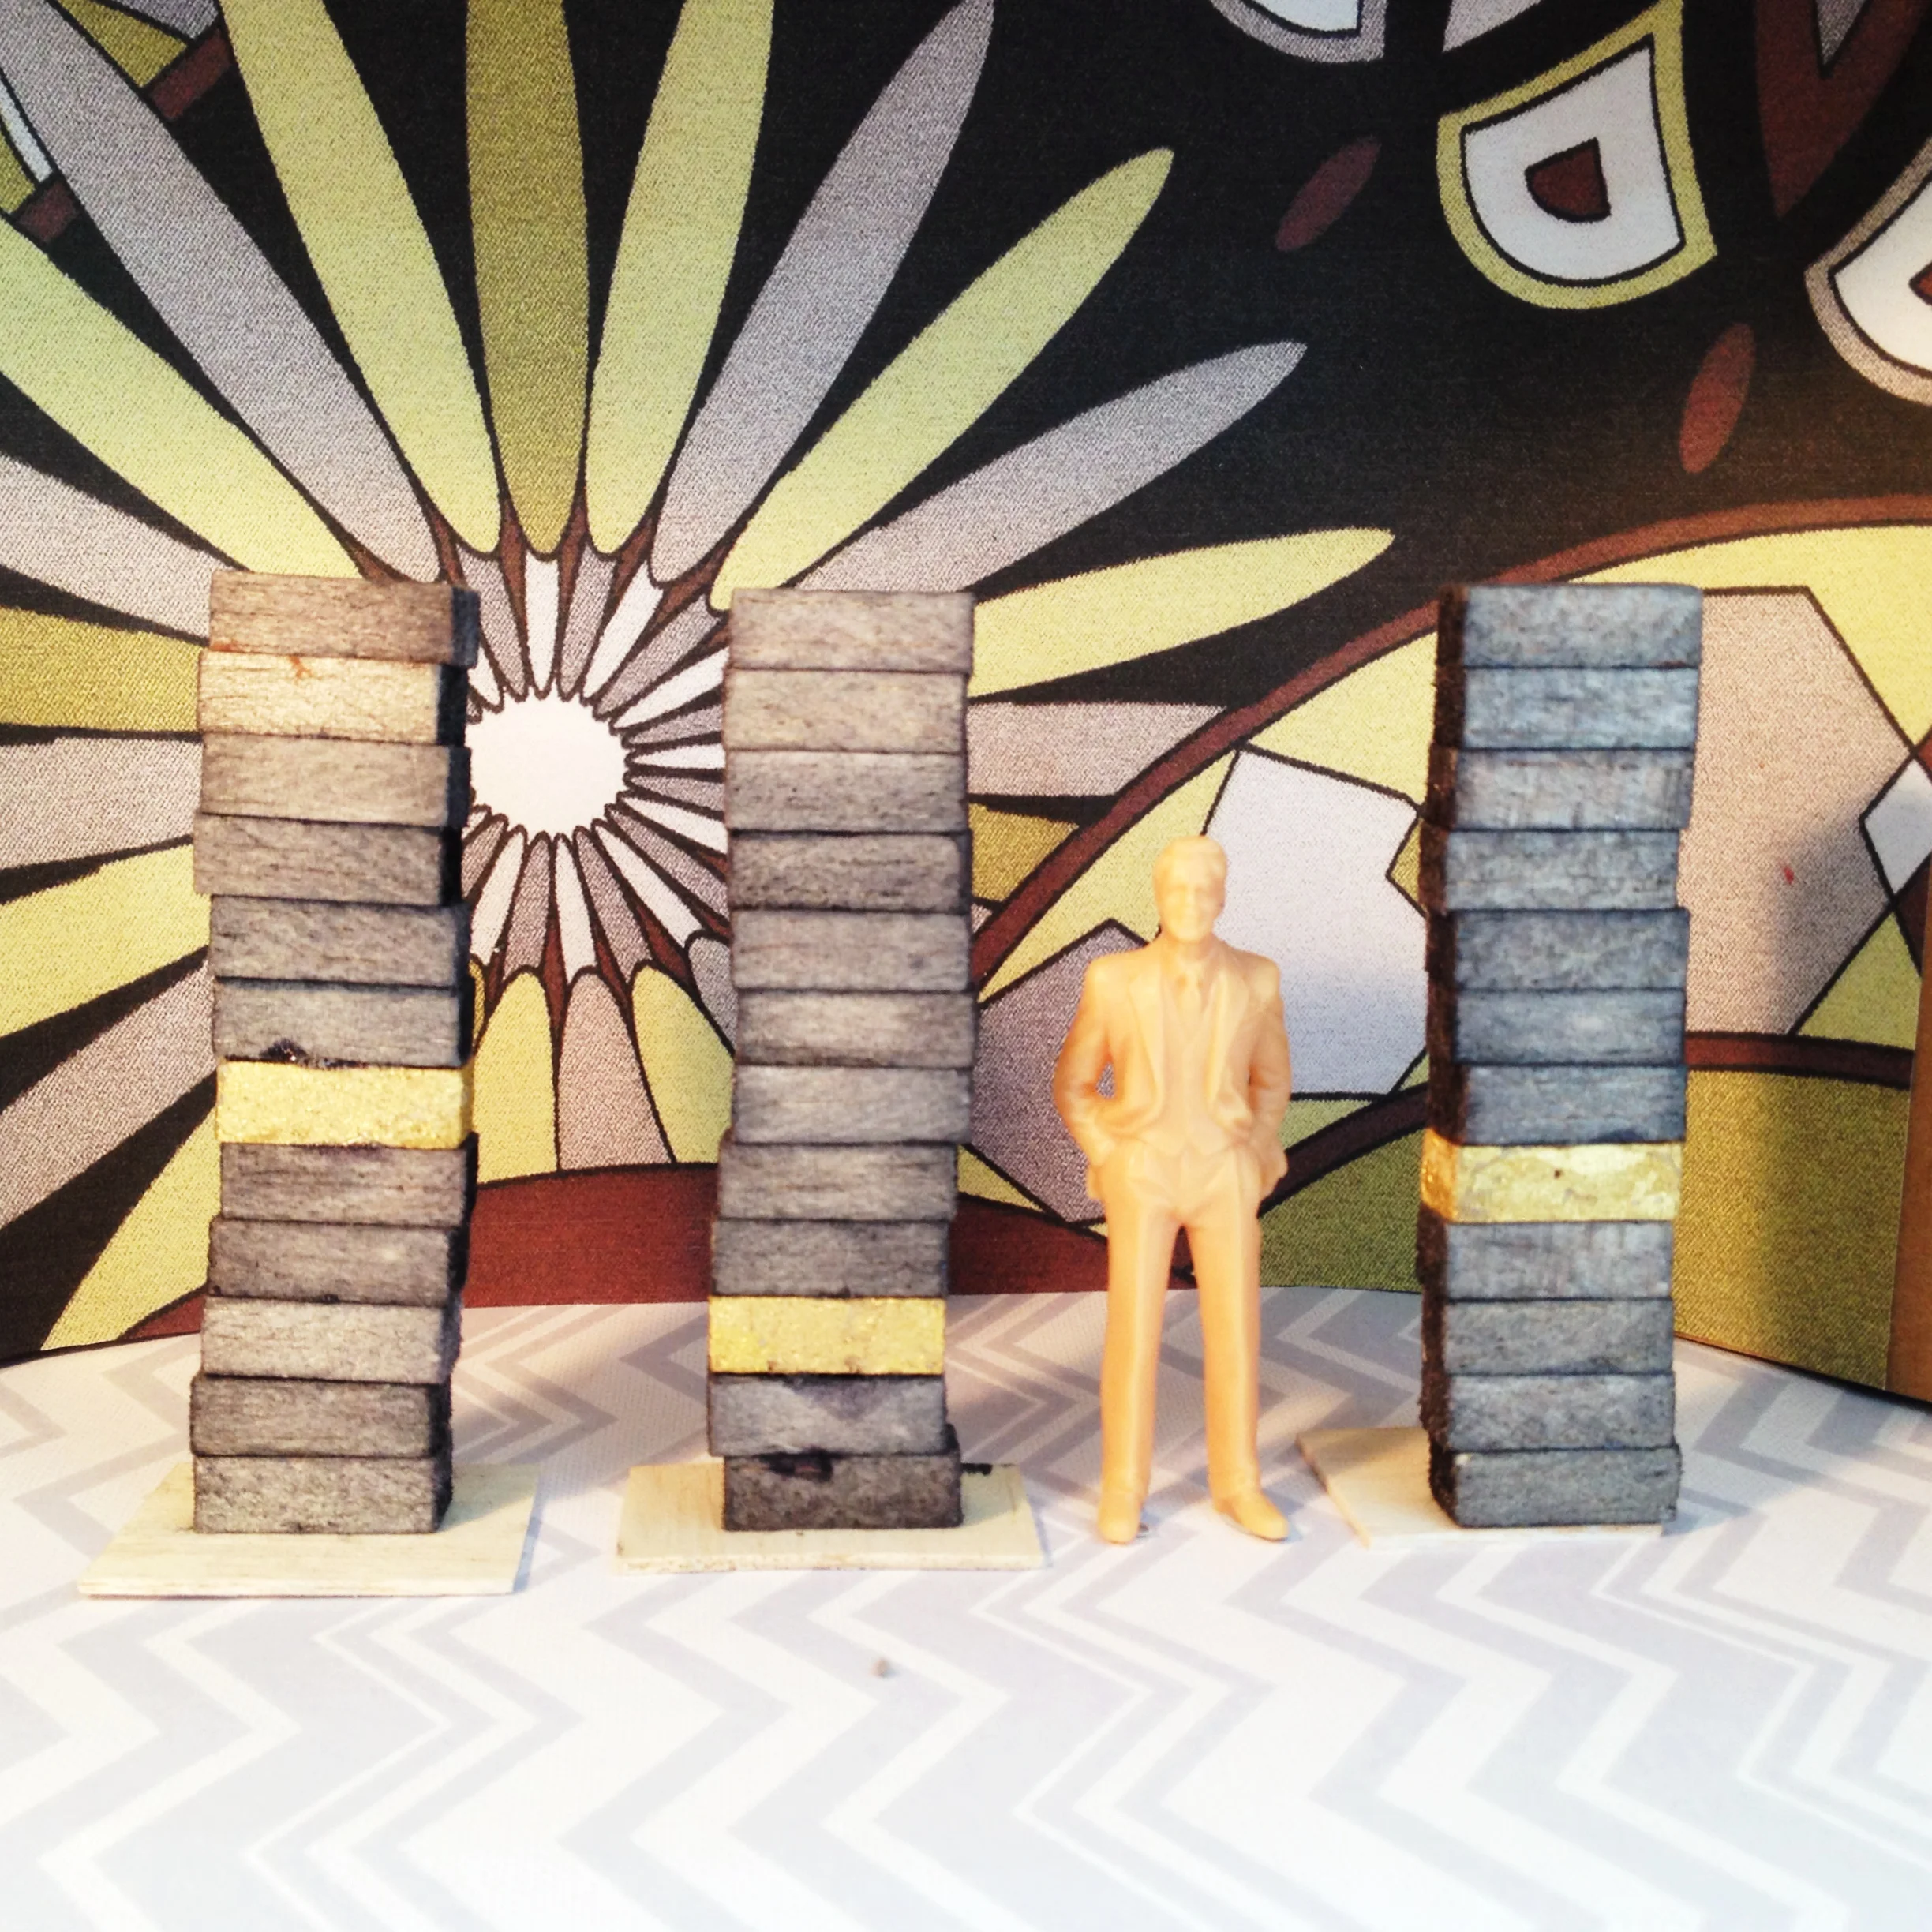
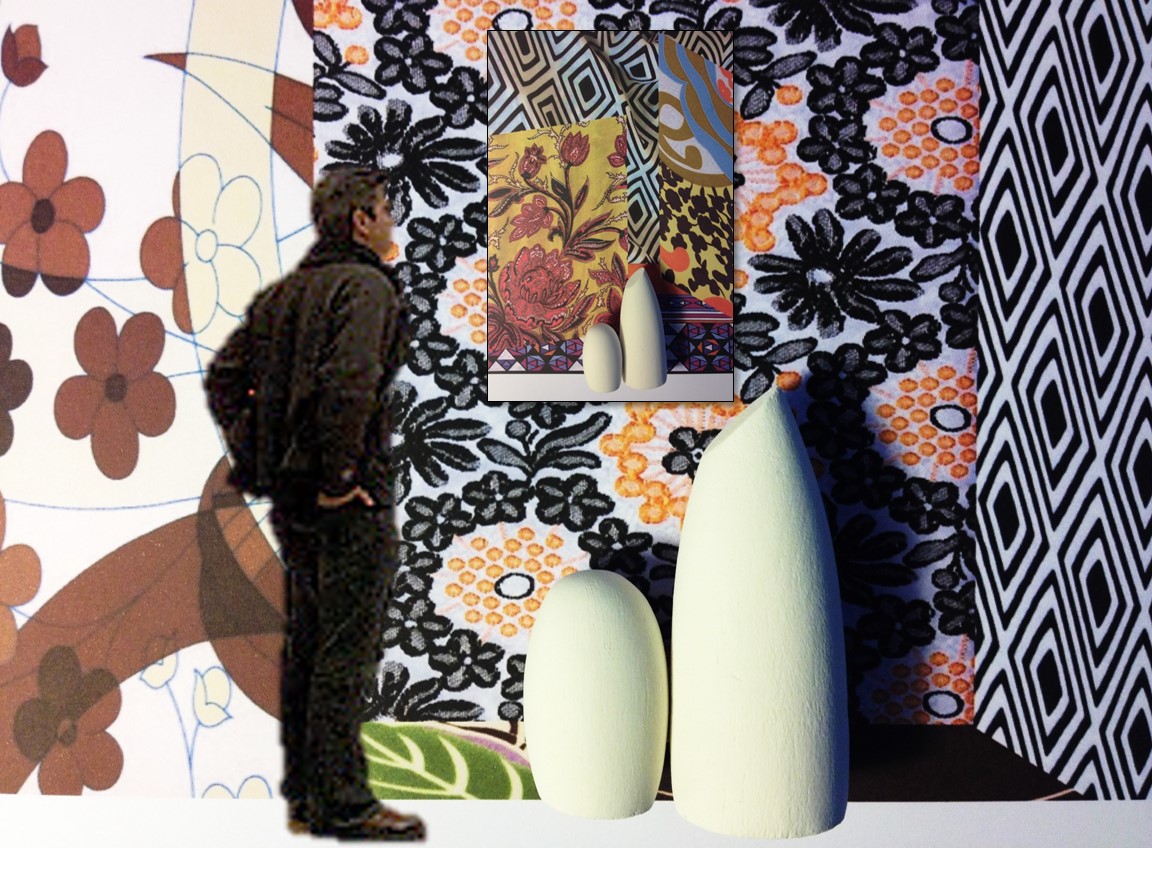
As you can see, one has developed a nifty little documenting setup
Ok, so I reckon I've got 3 ways to go here:
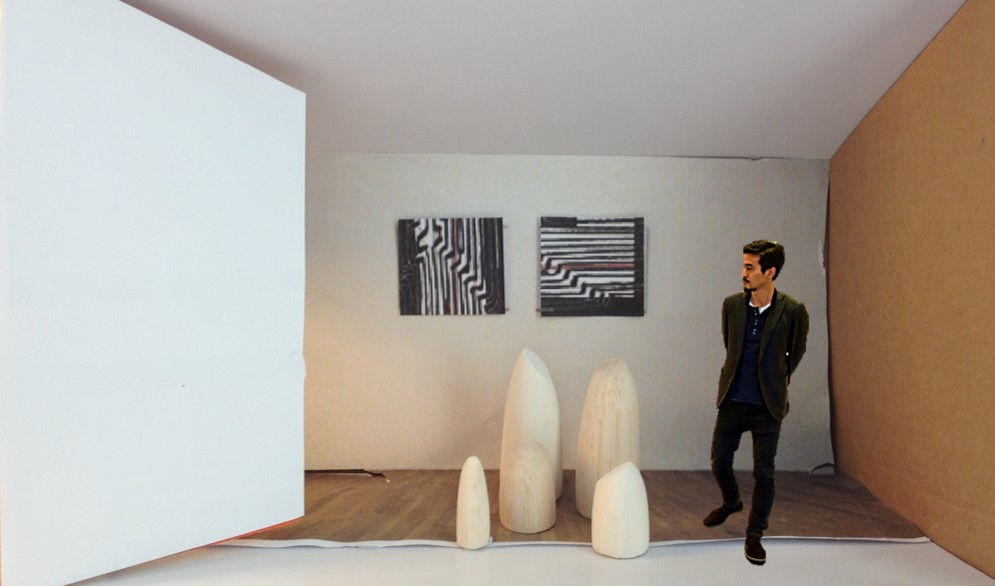
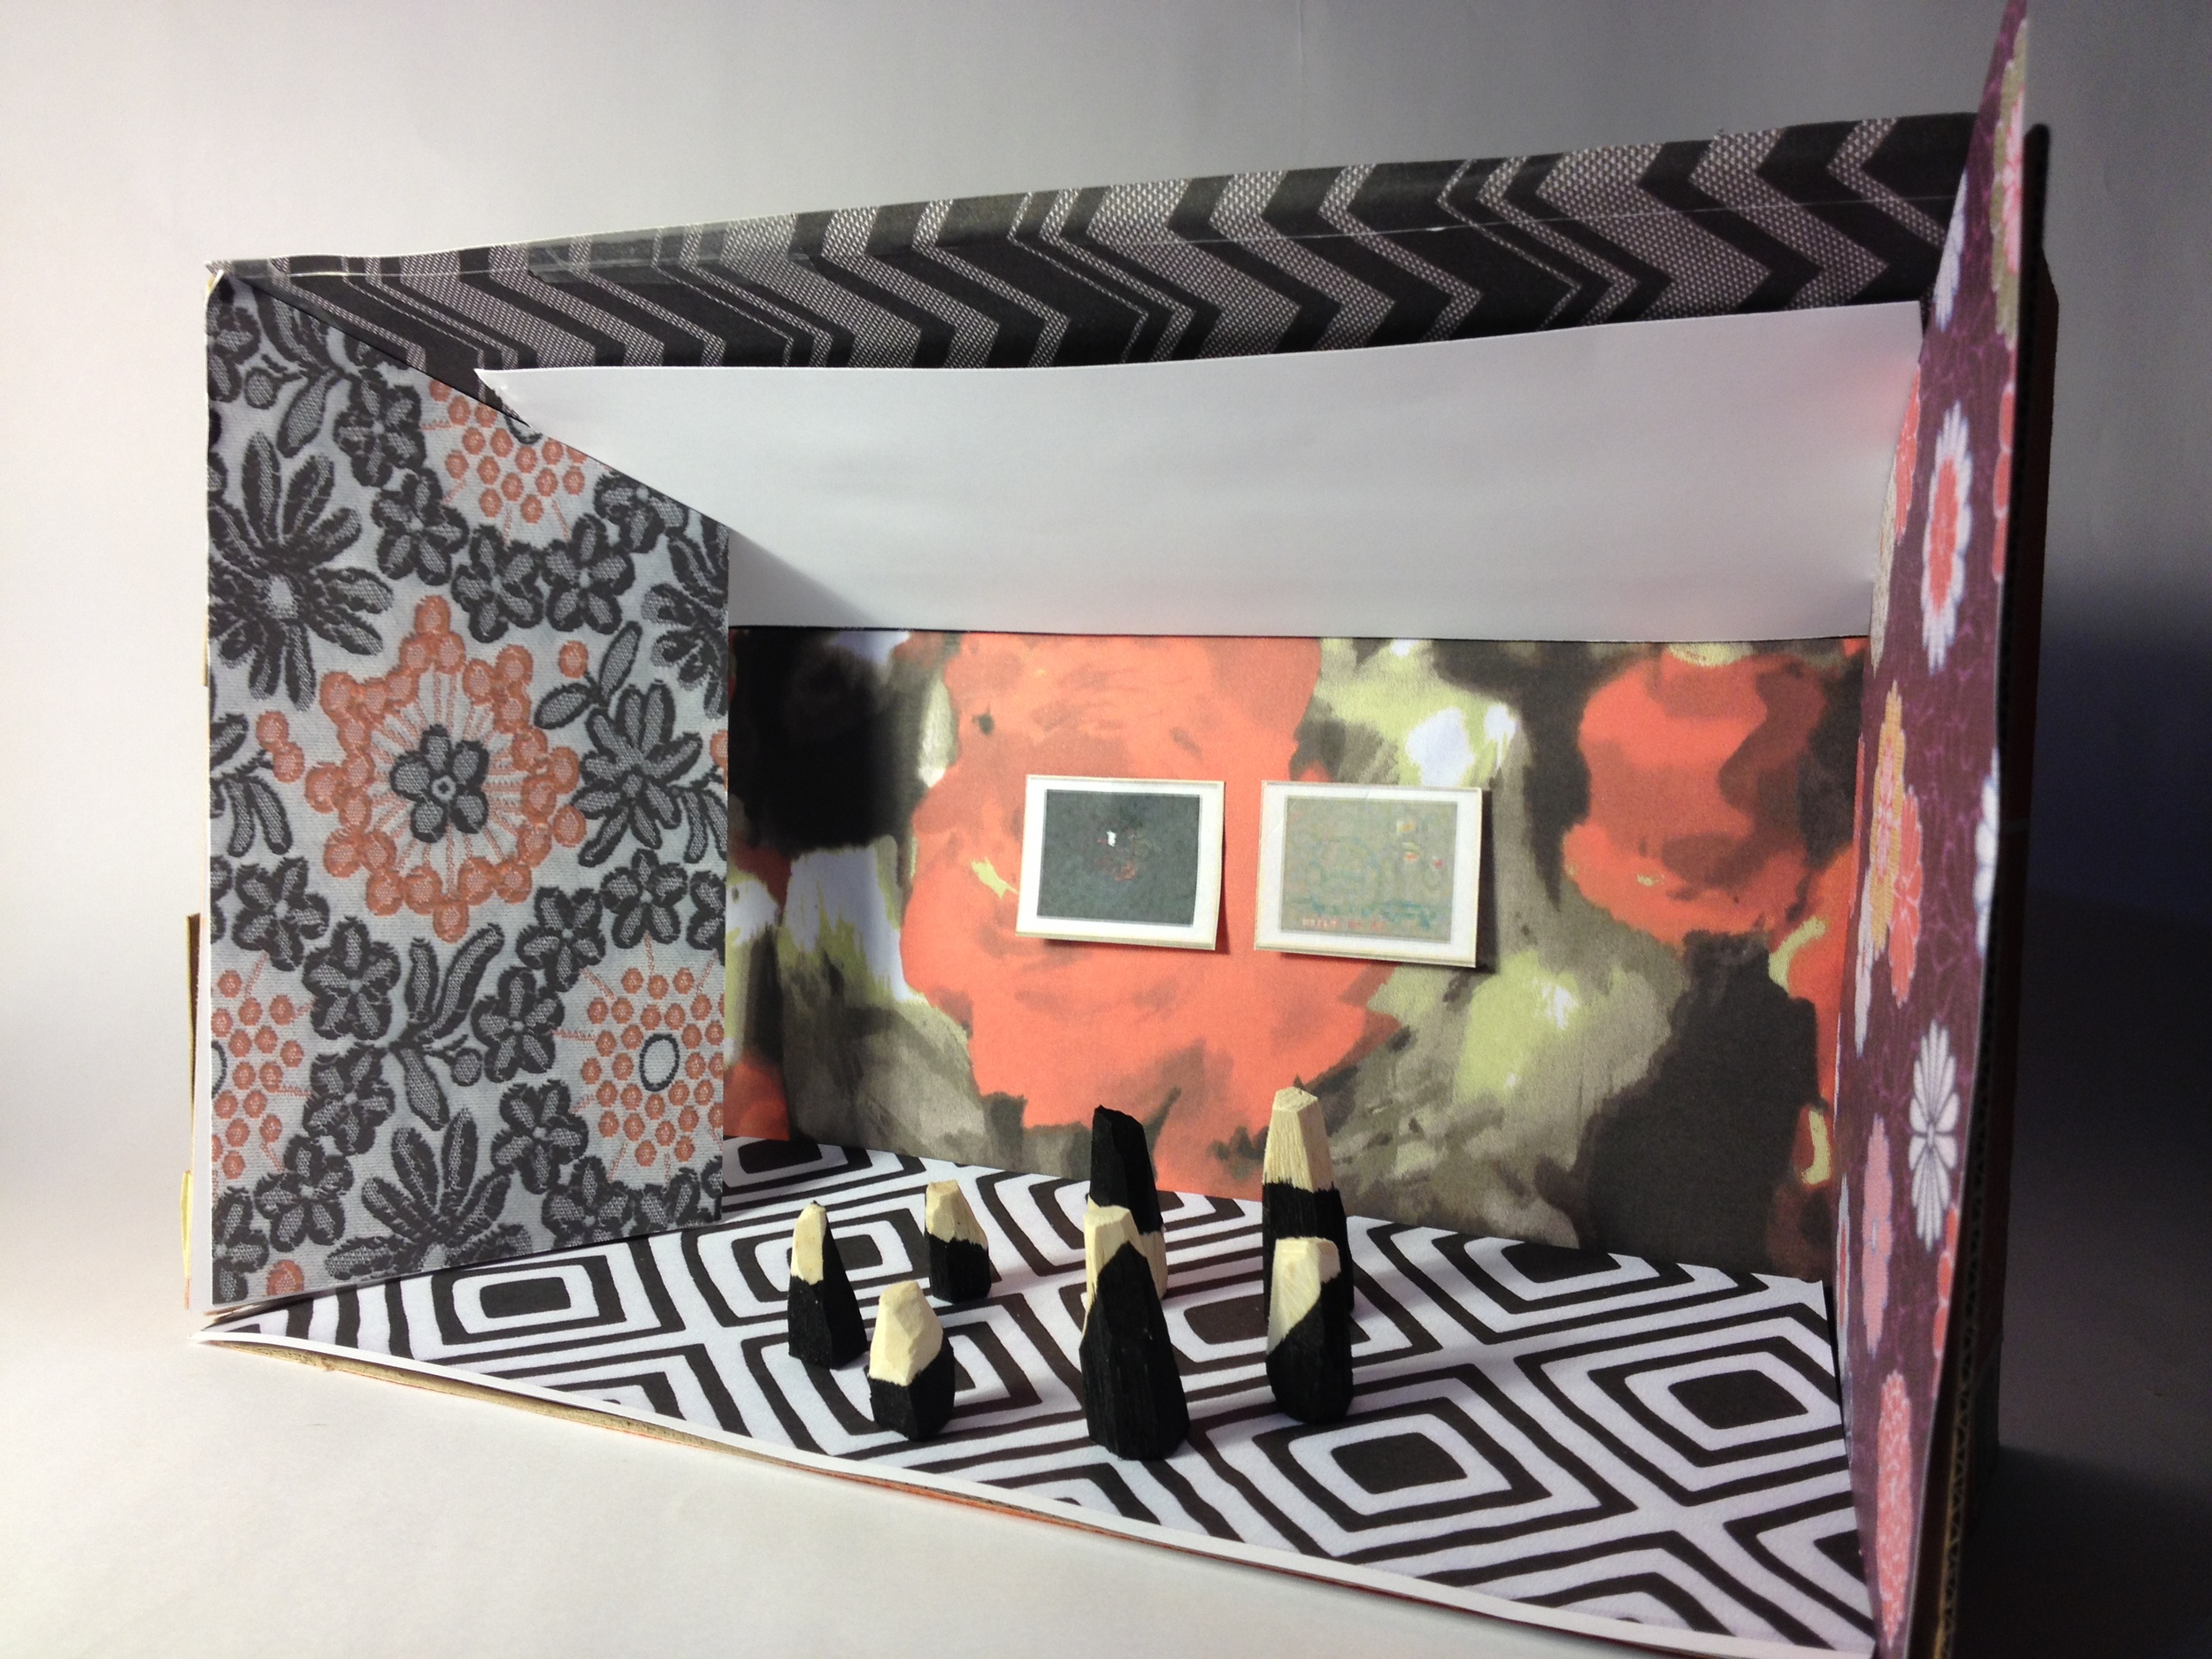
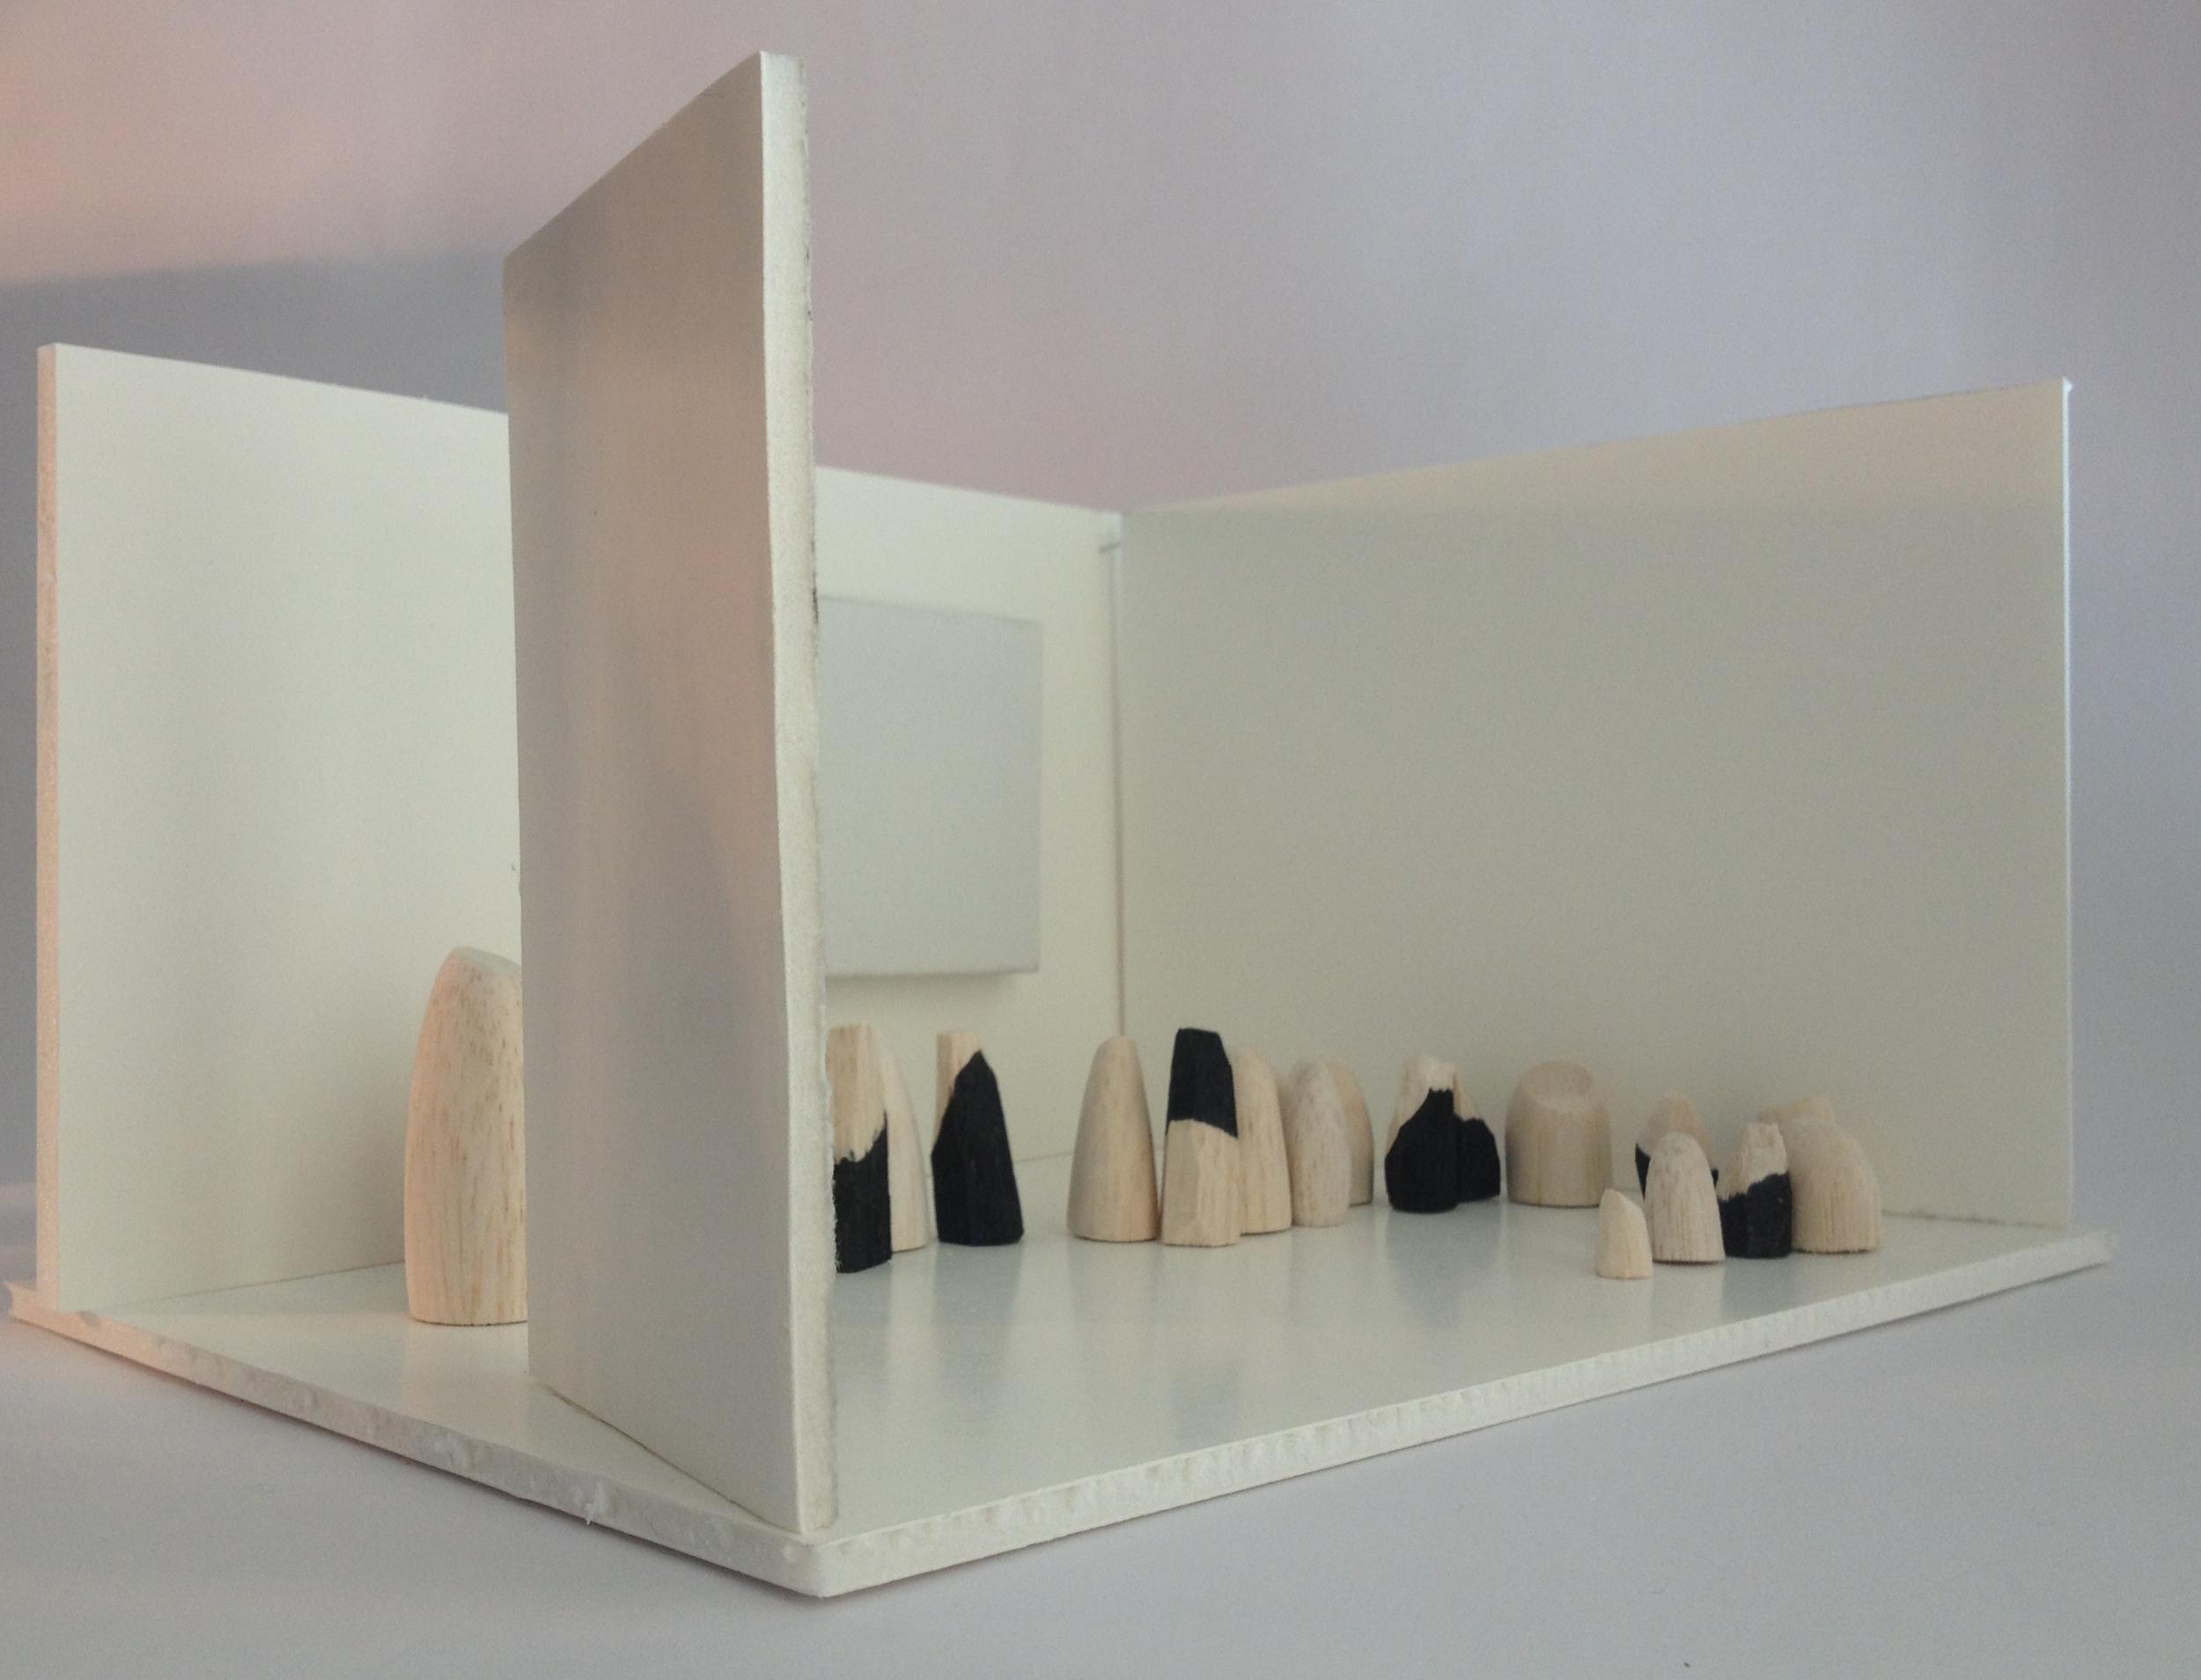
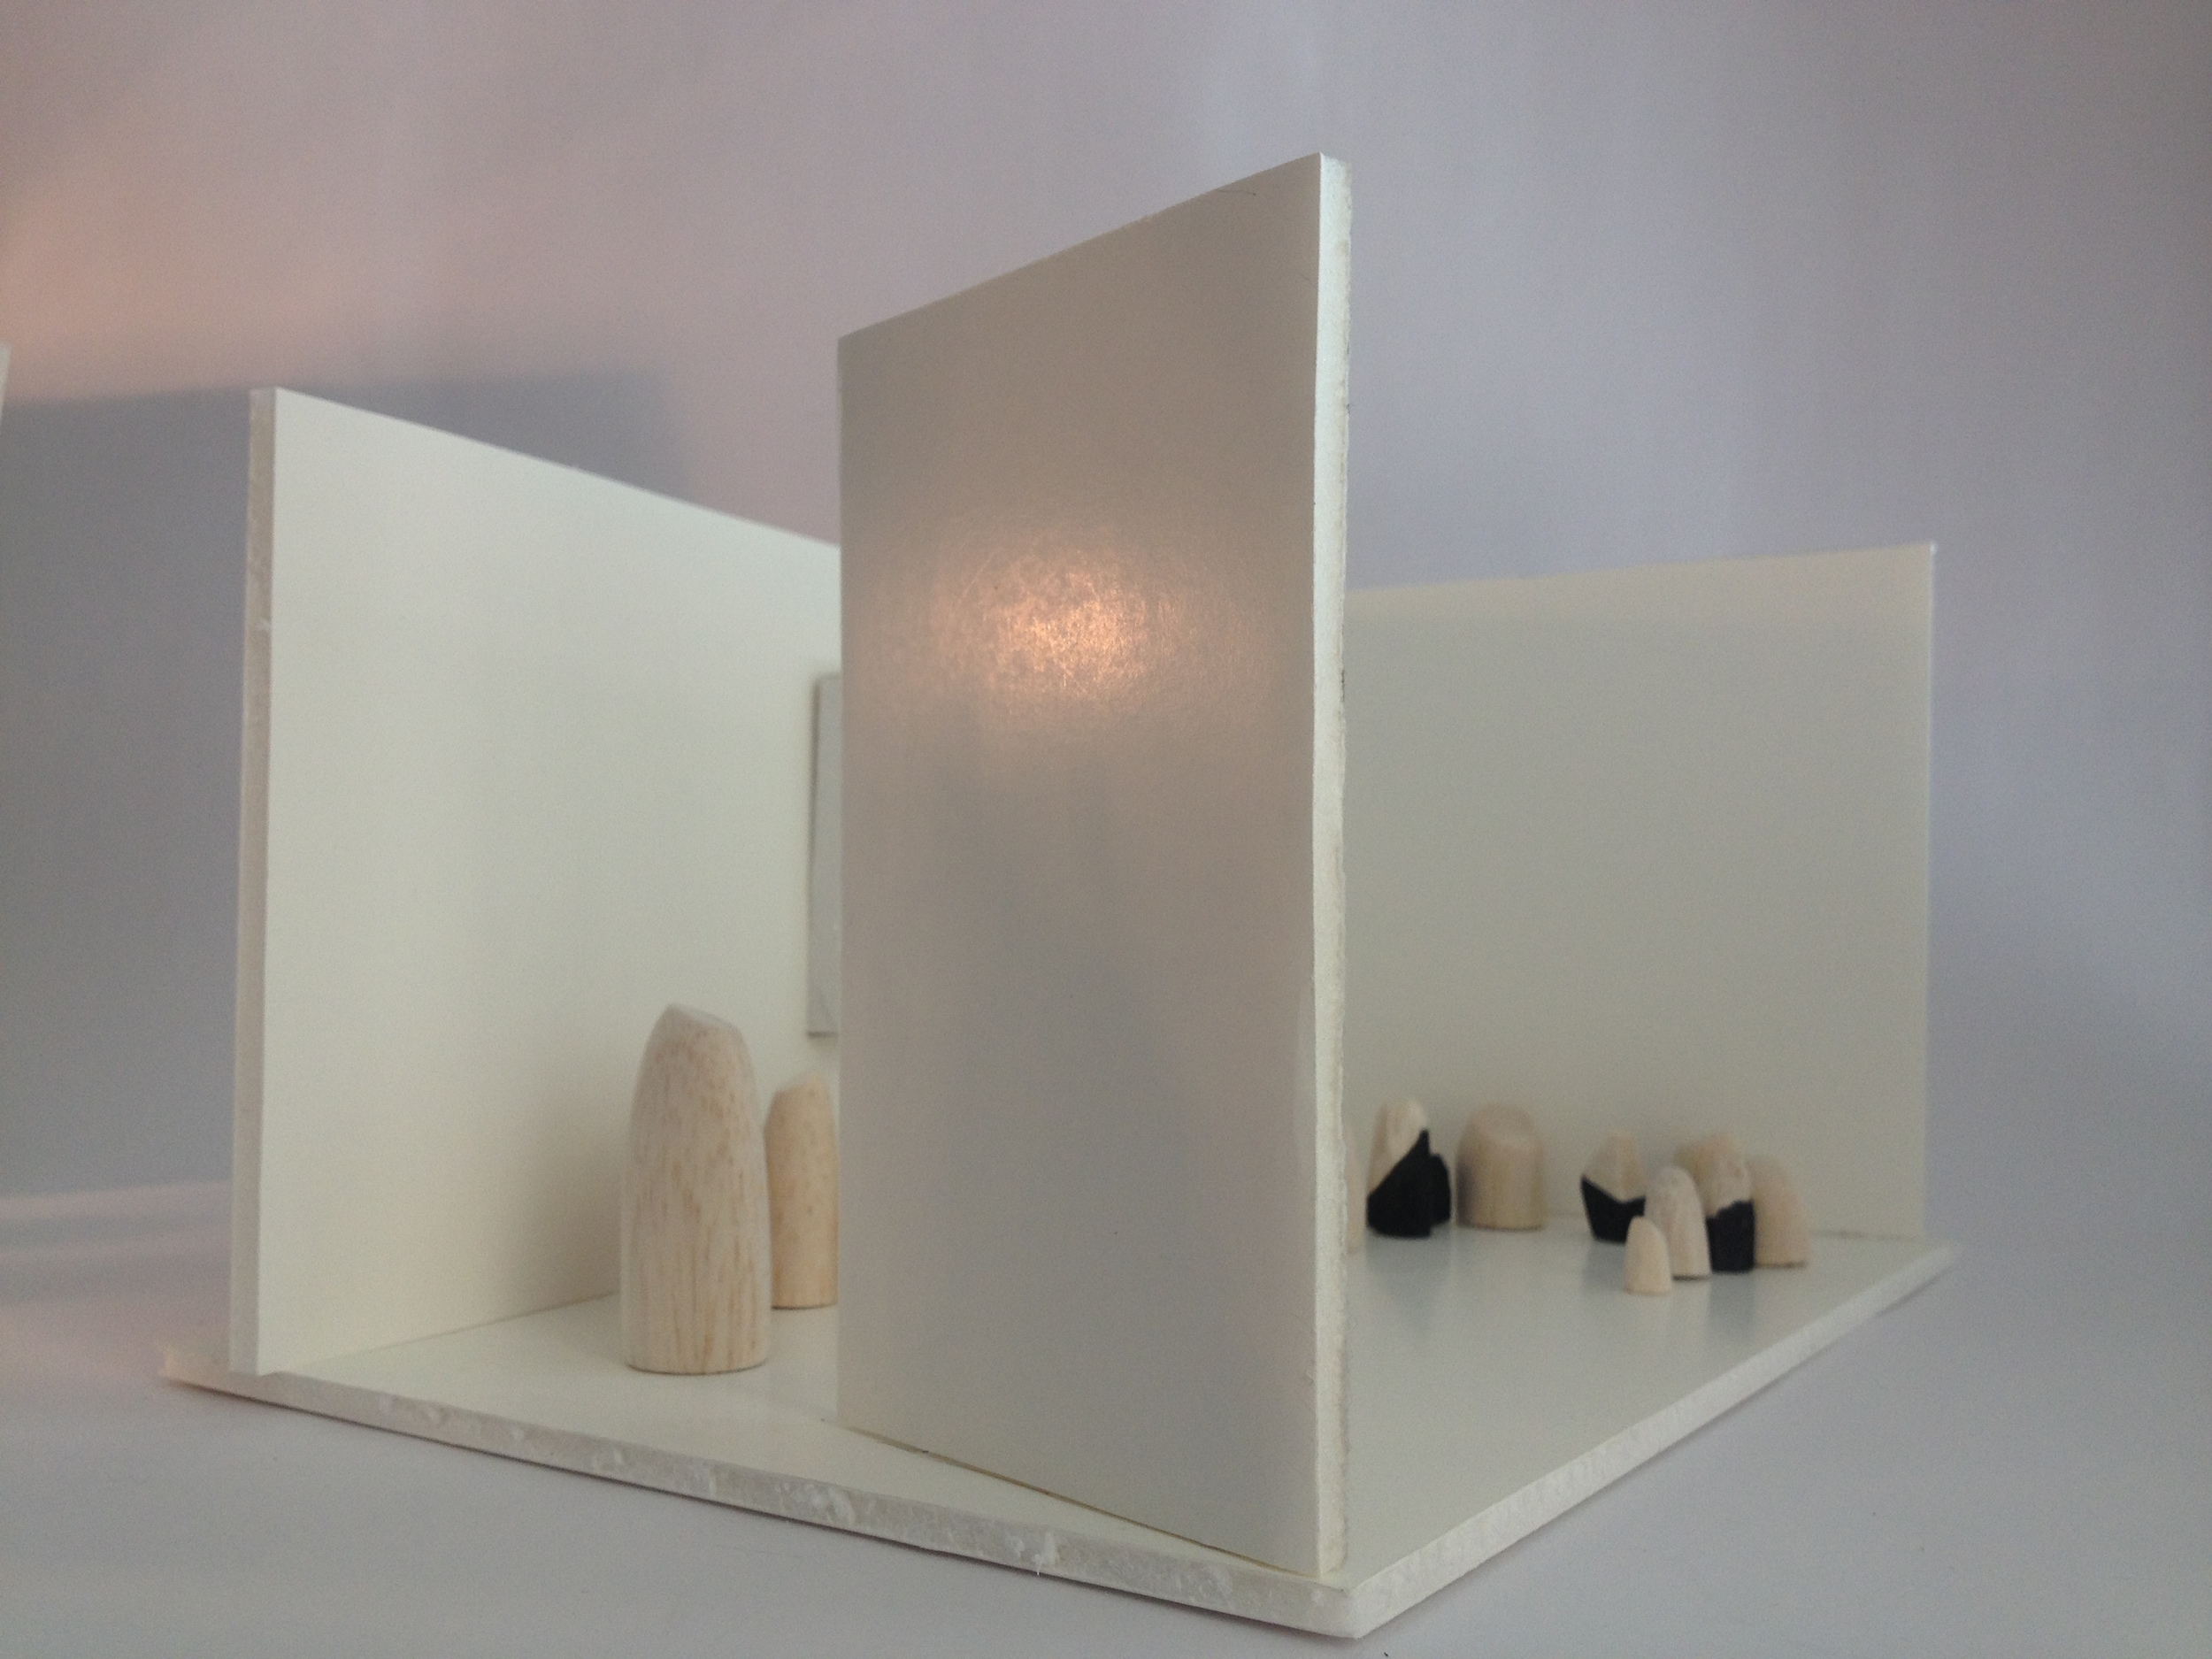
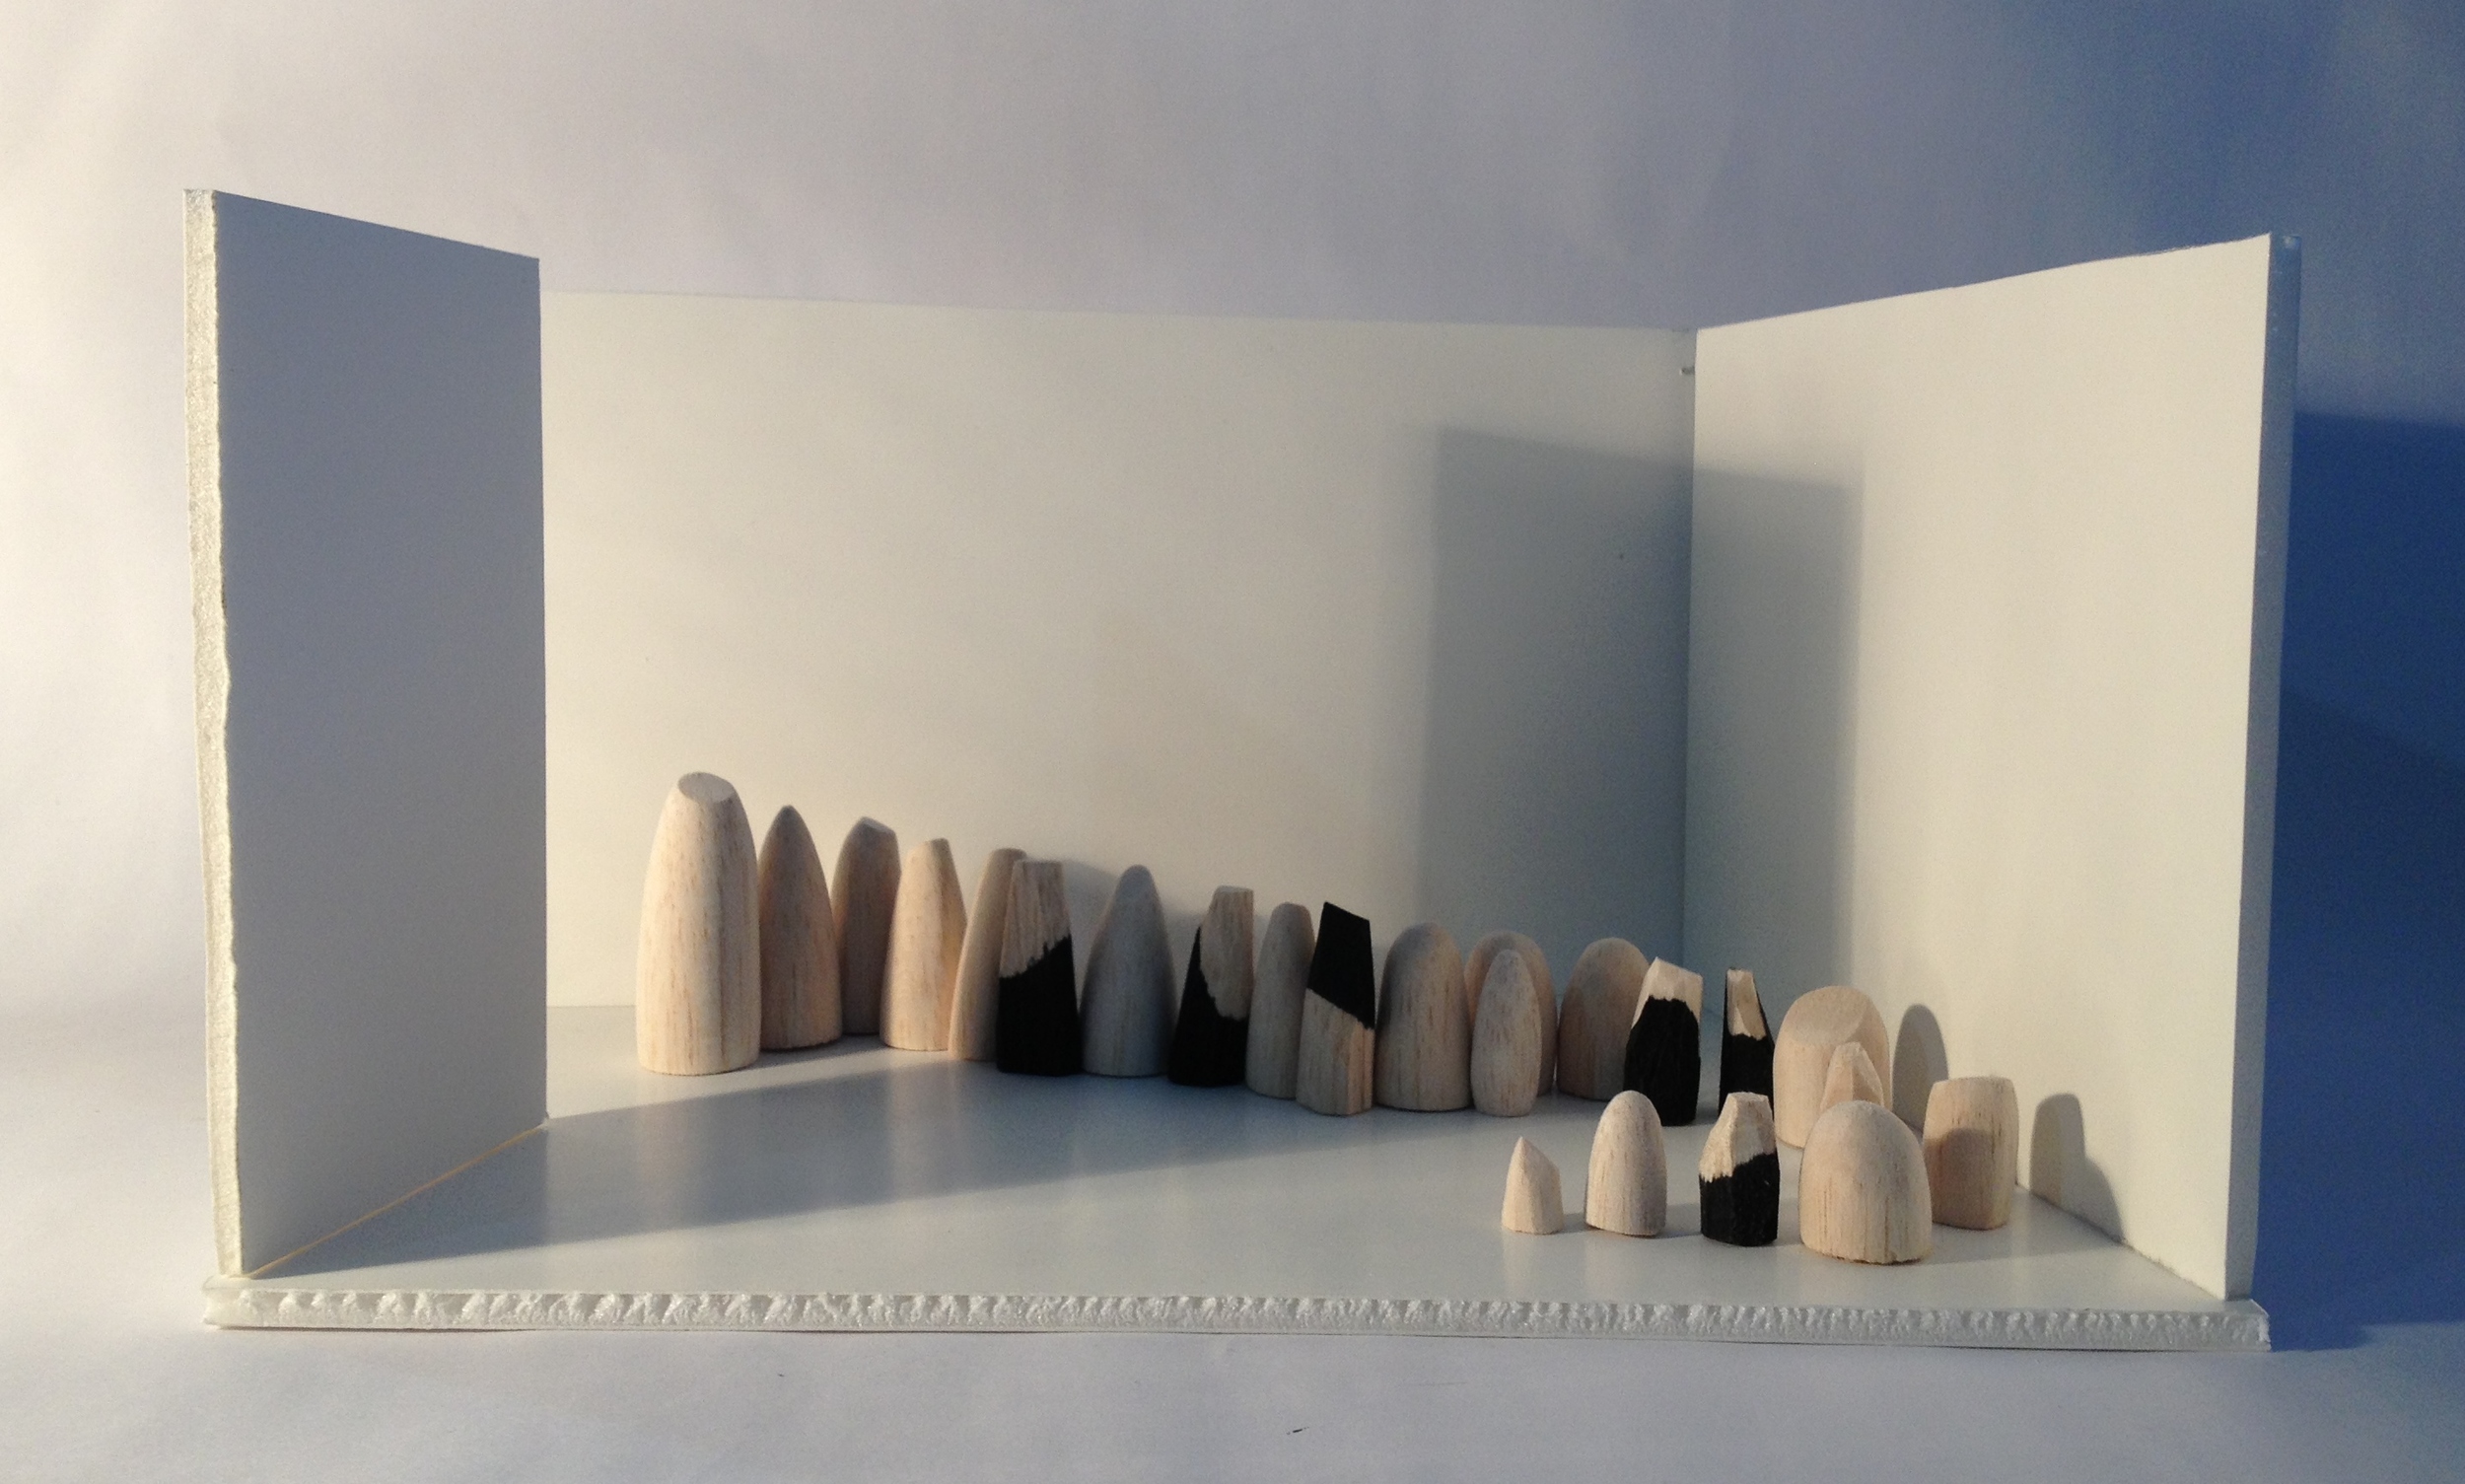
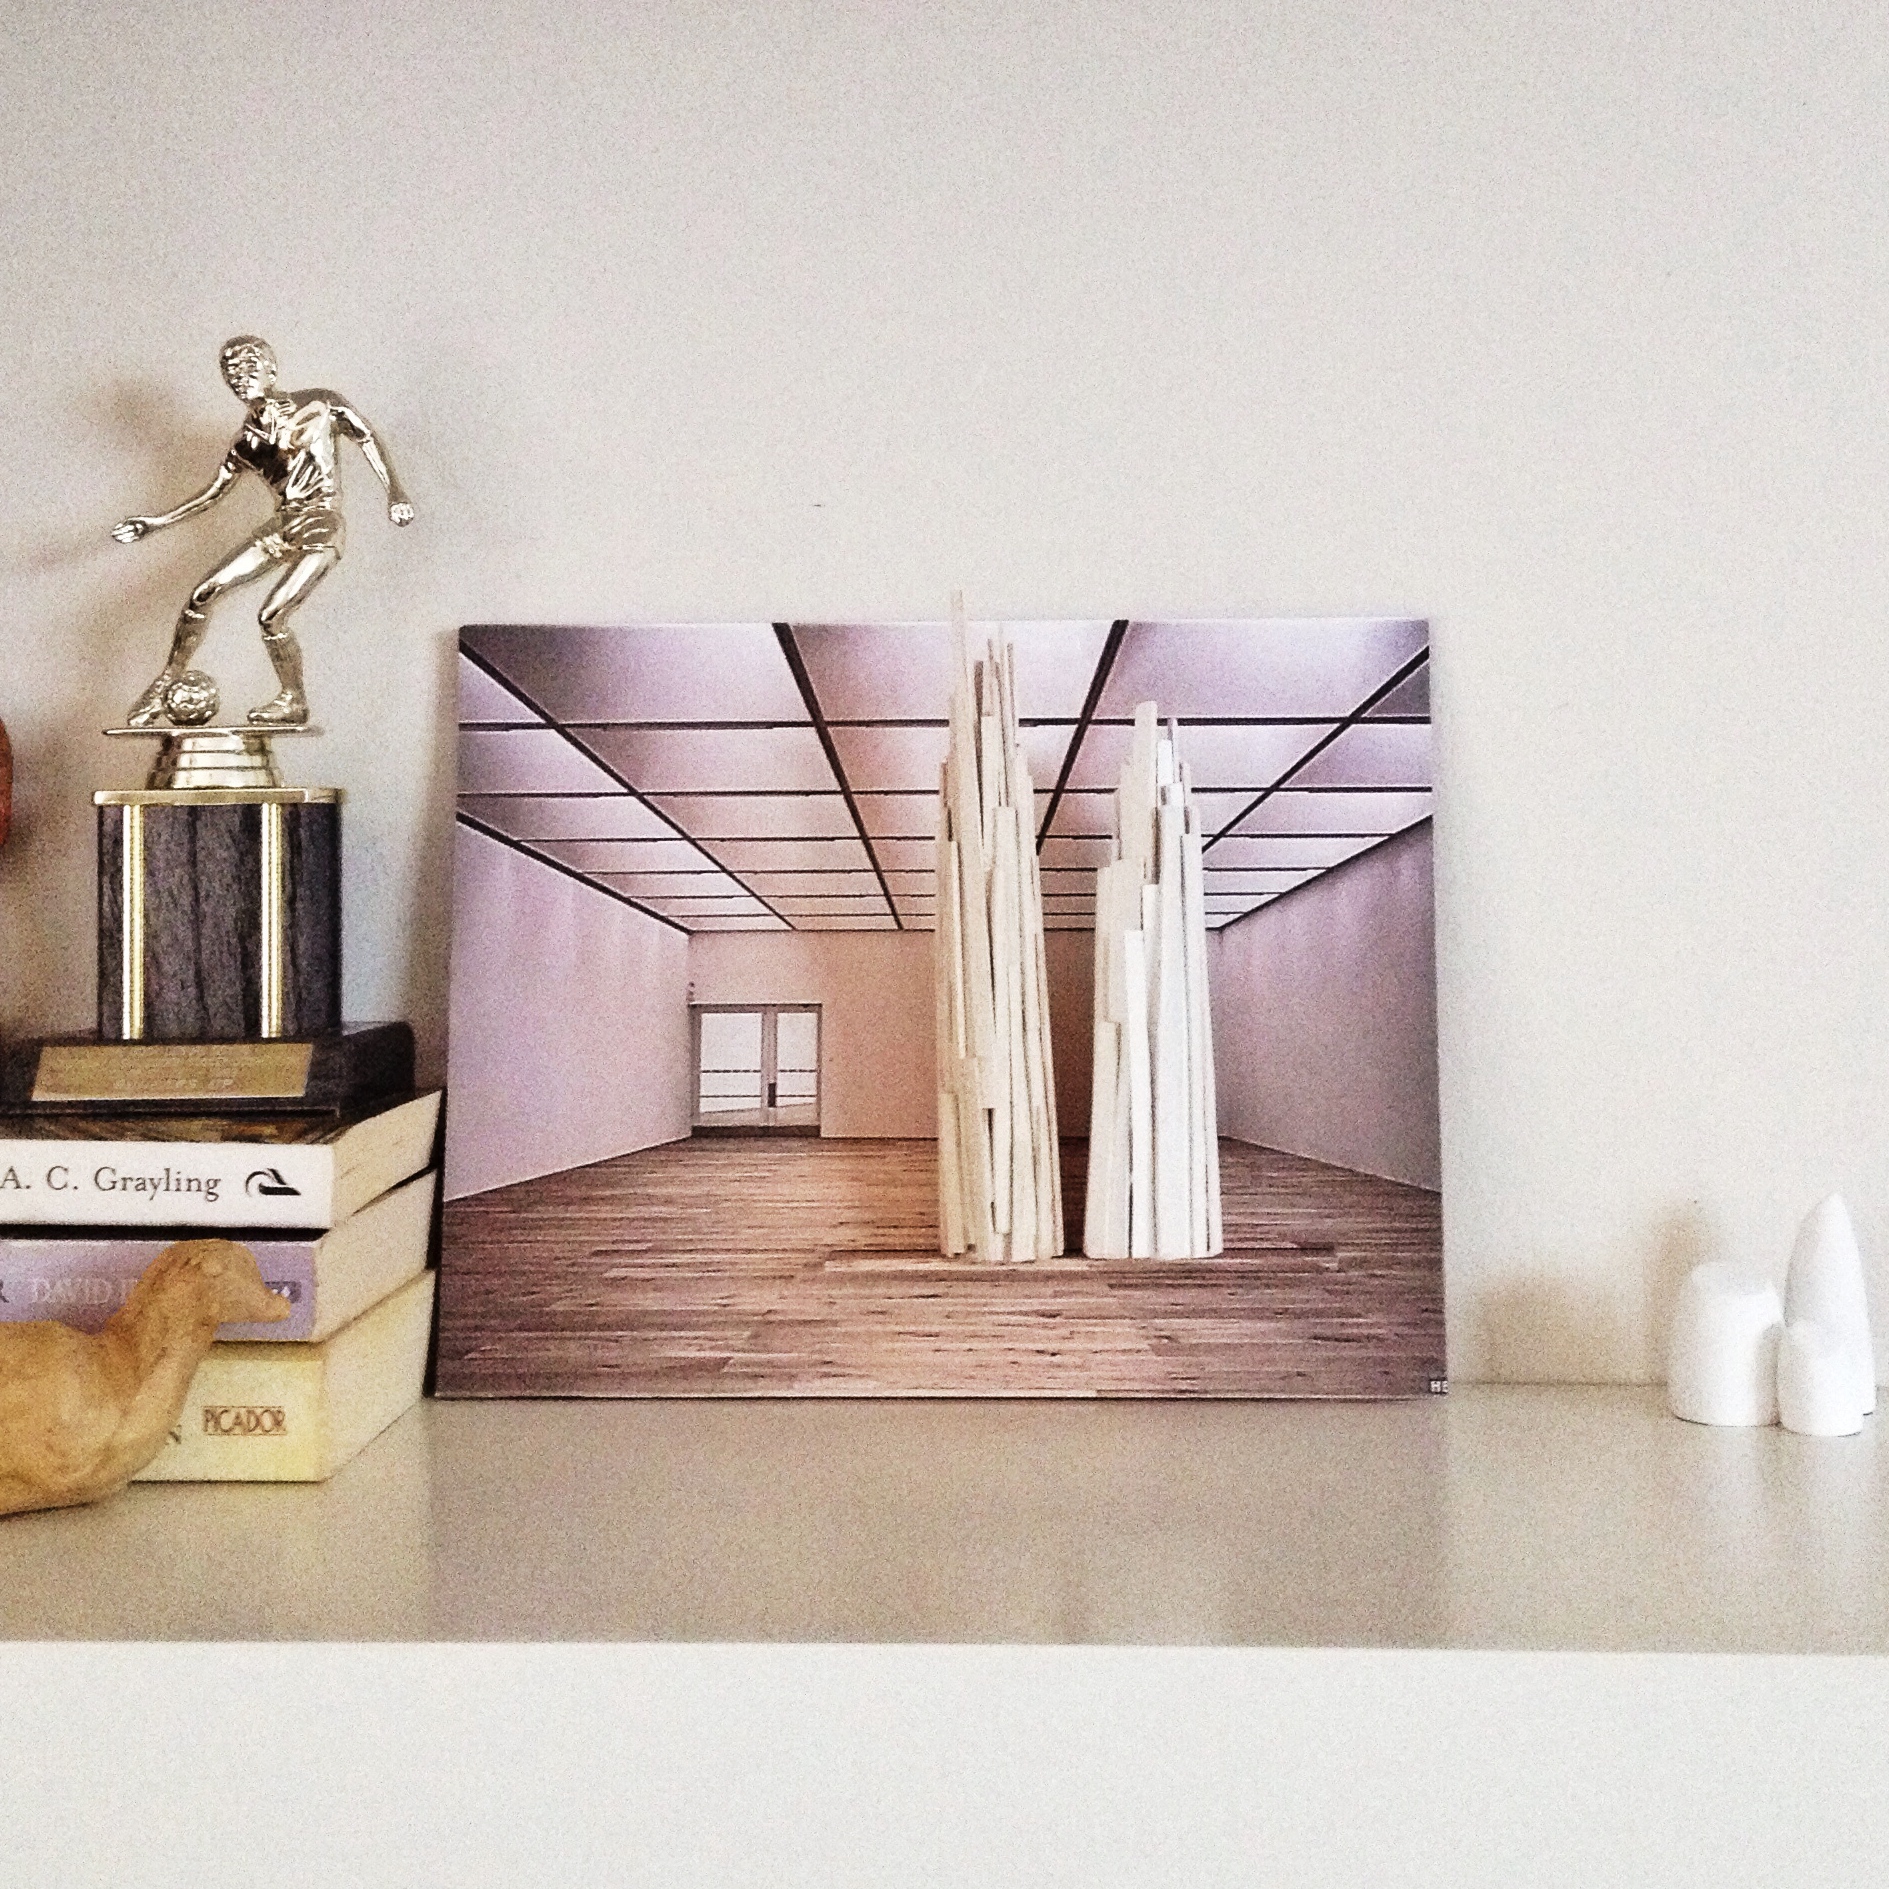
1: A simple diorama consisting of three vertical planes. I think as 'a room', this will be useful for seeing a sculptural piece in a room, or a neutral gallery like setting.
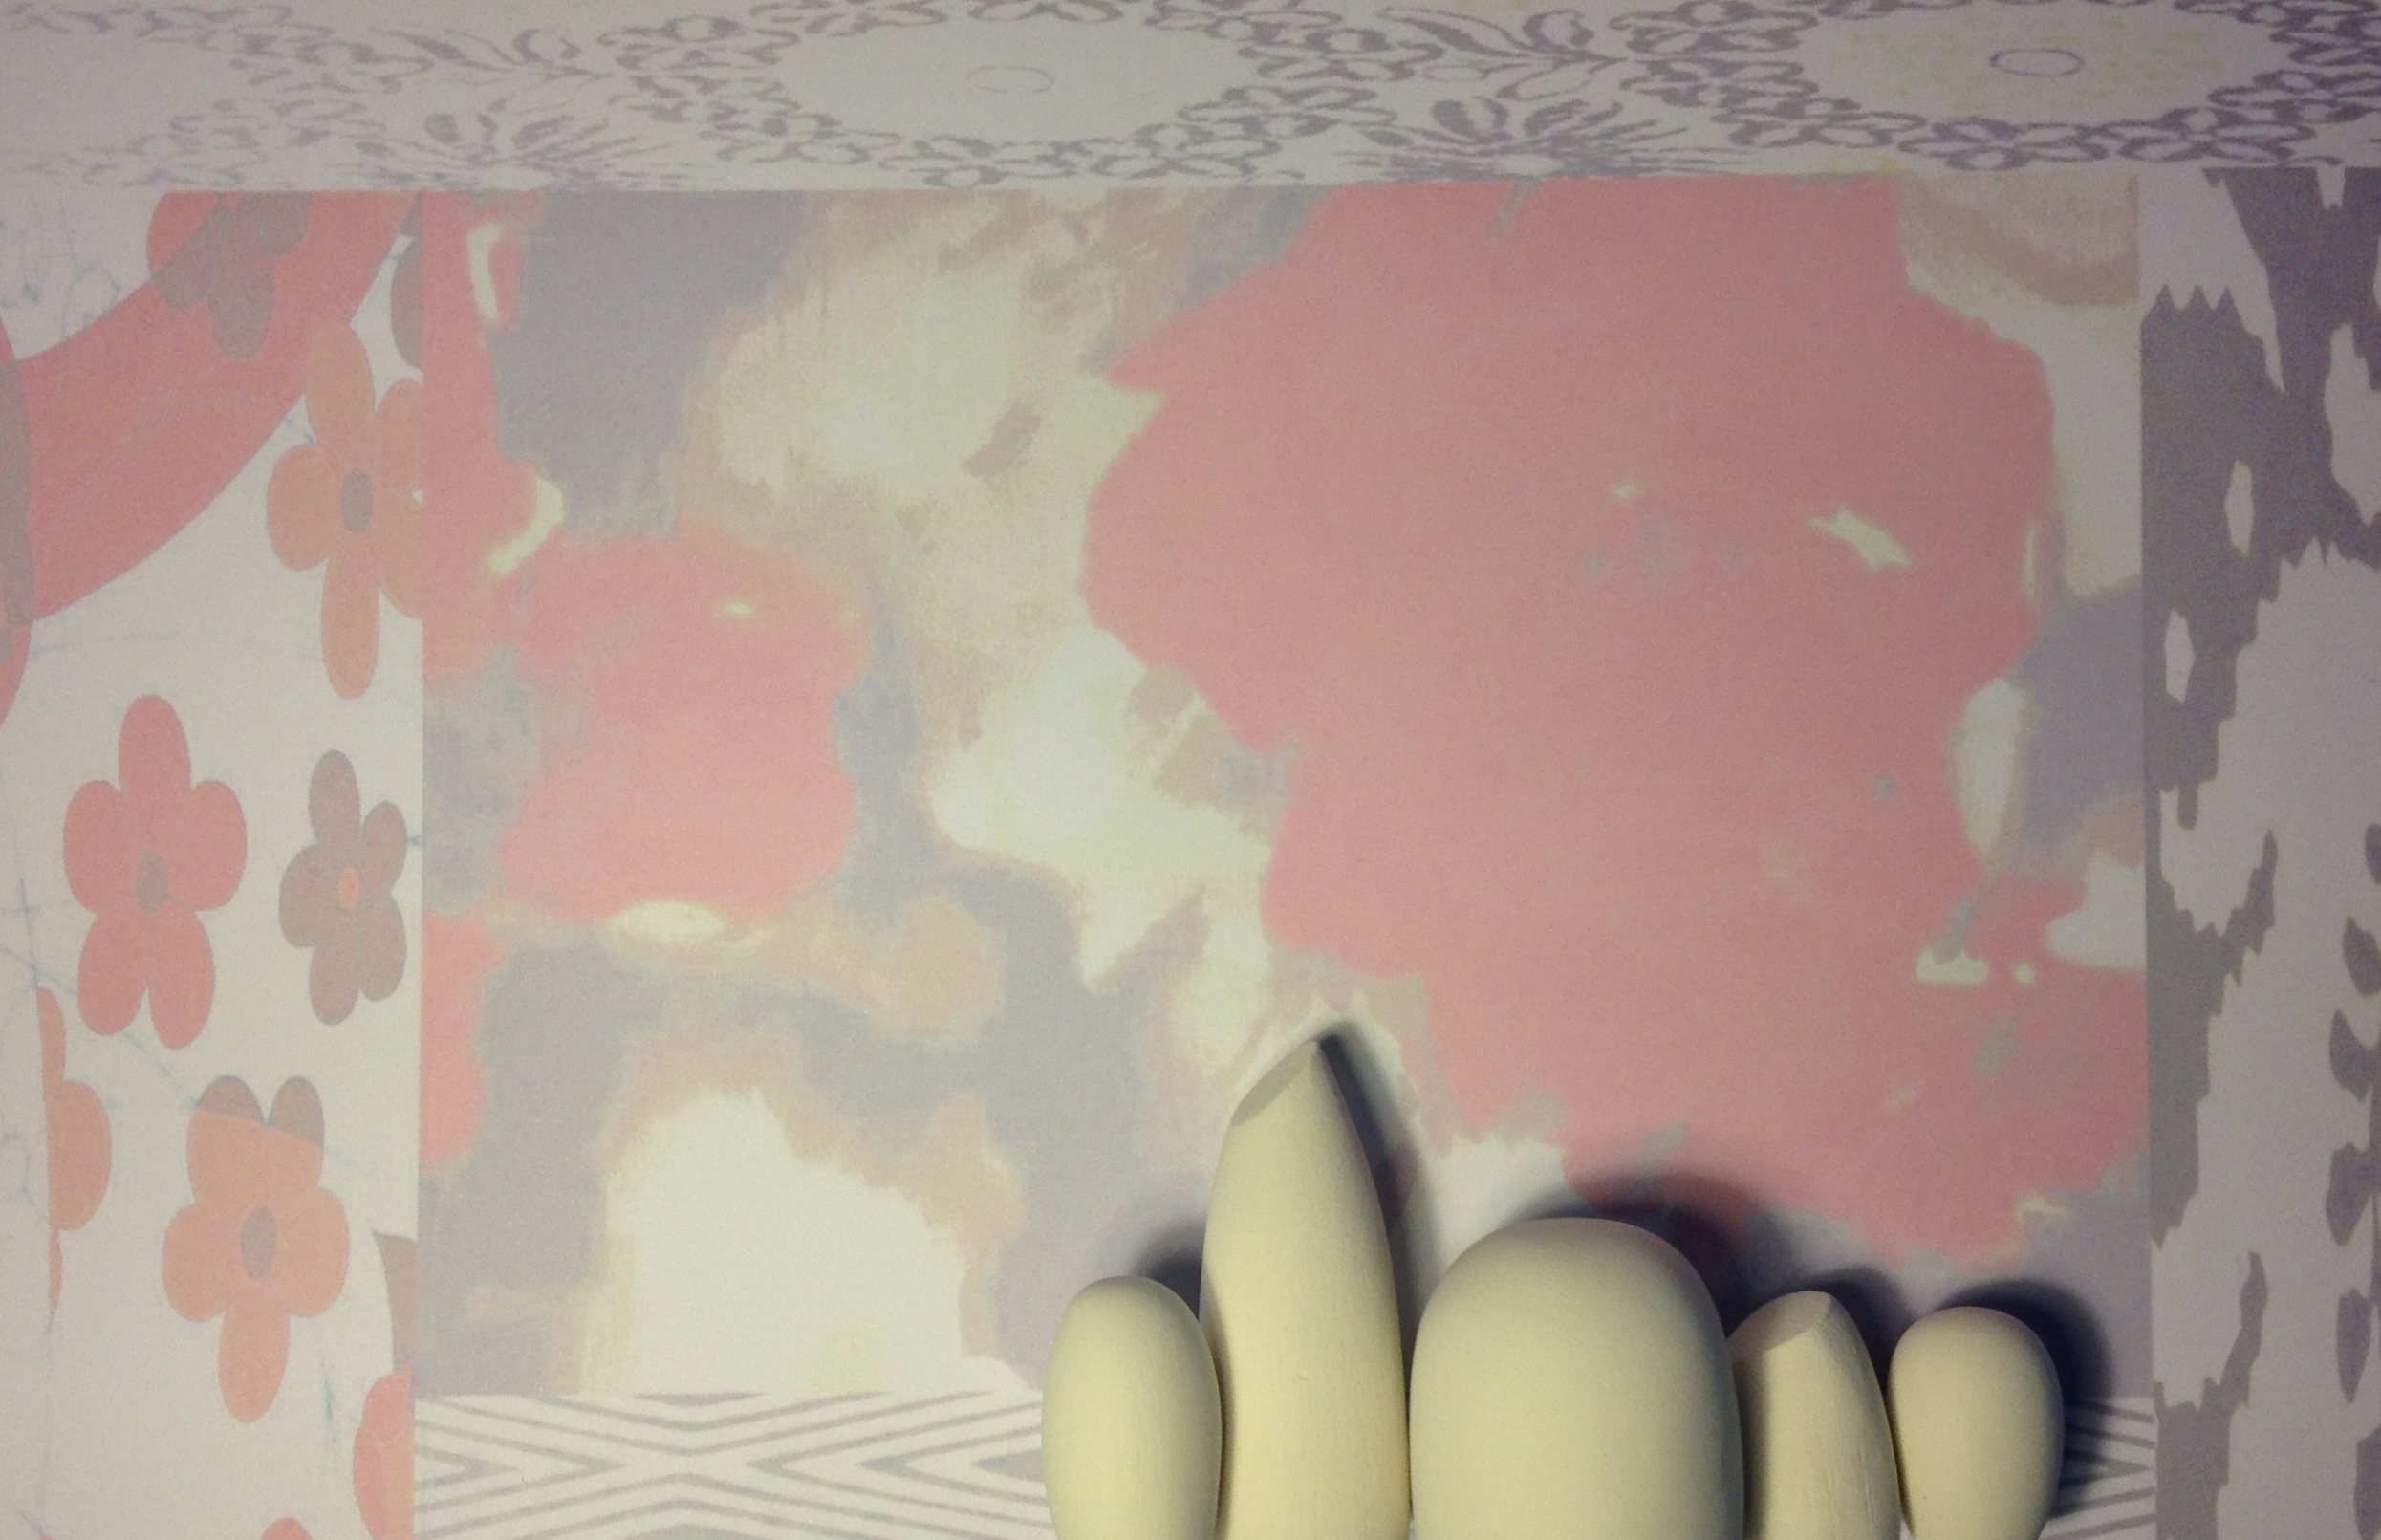
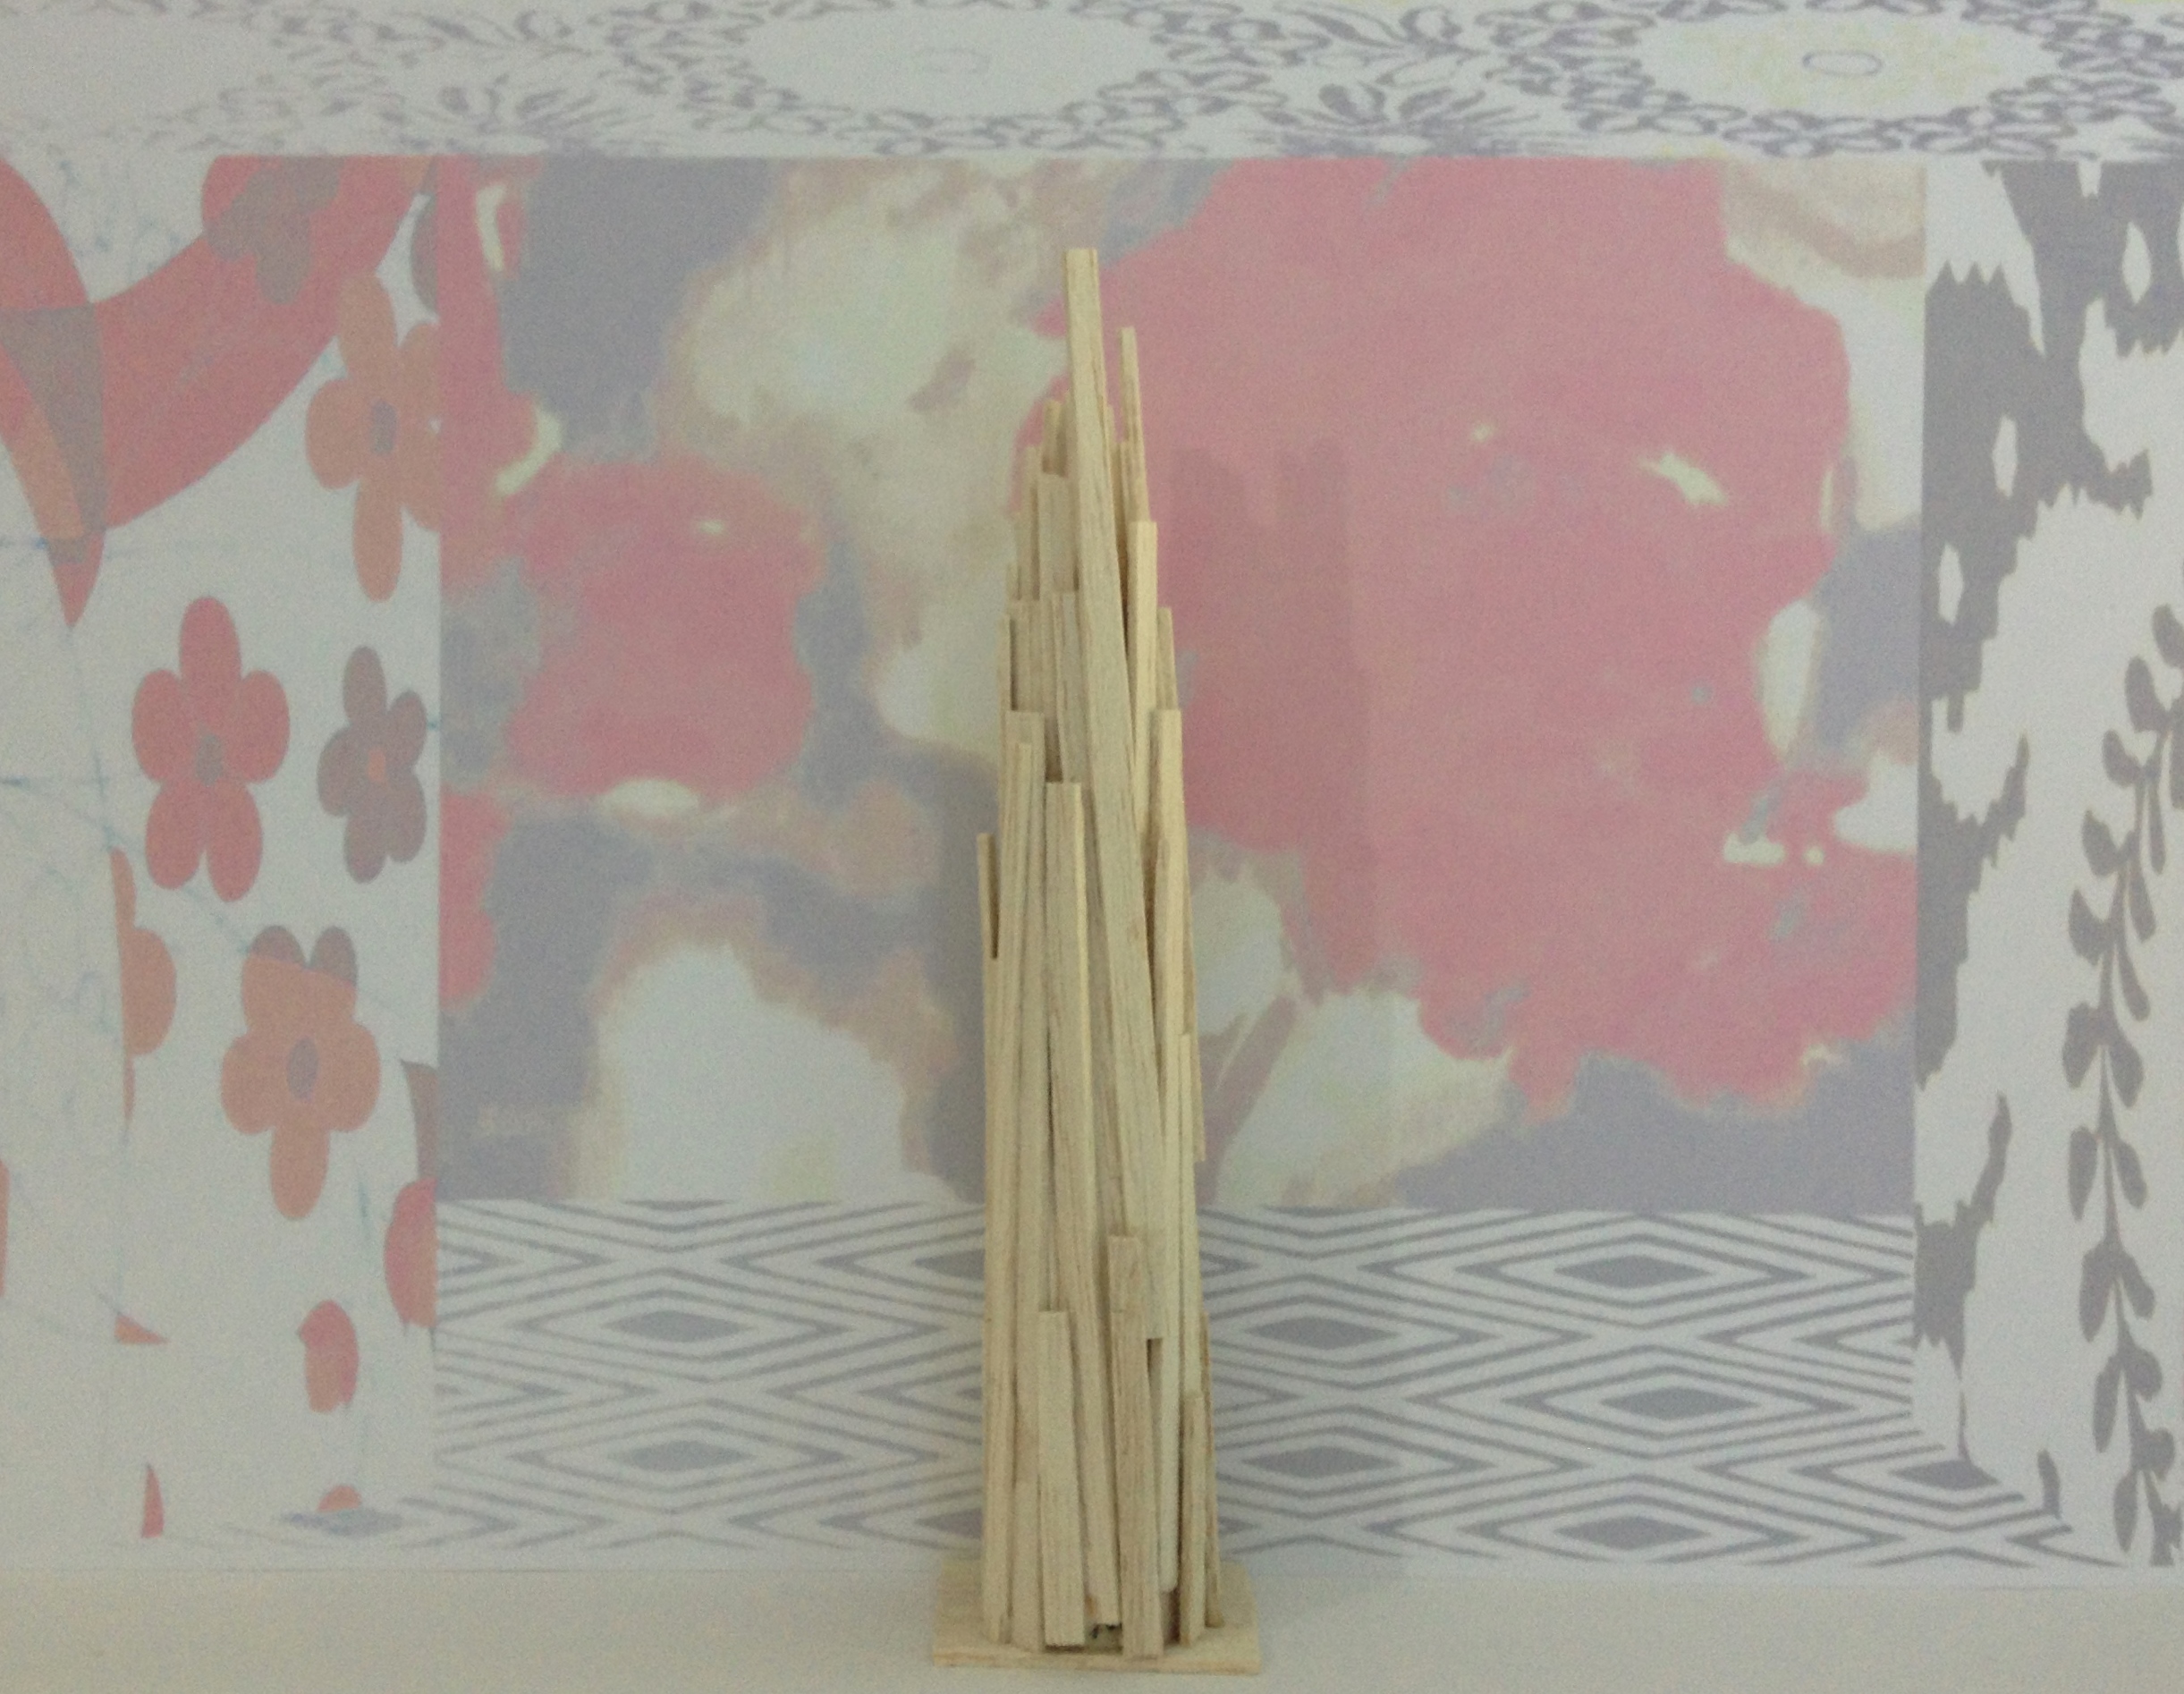
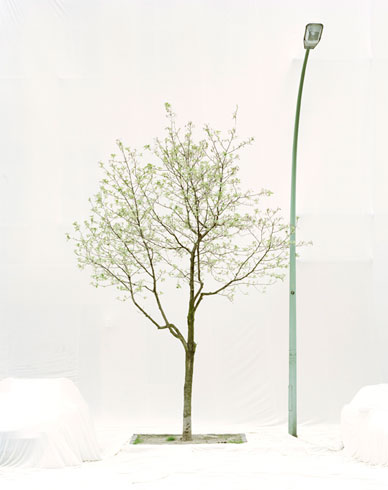
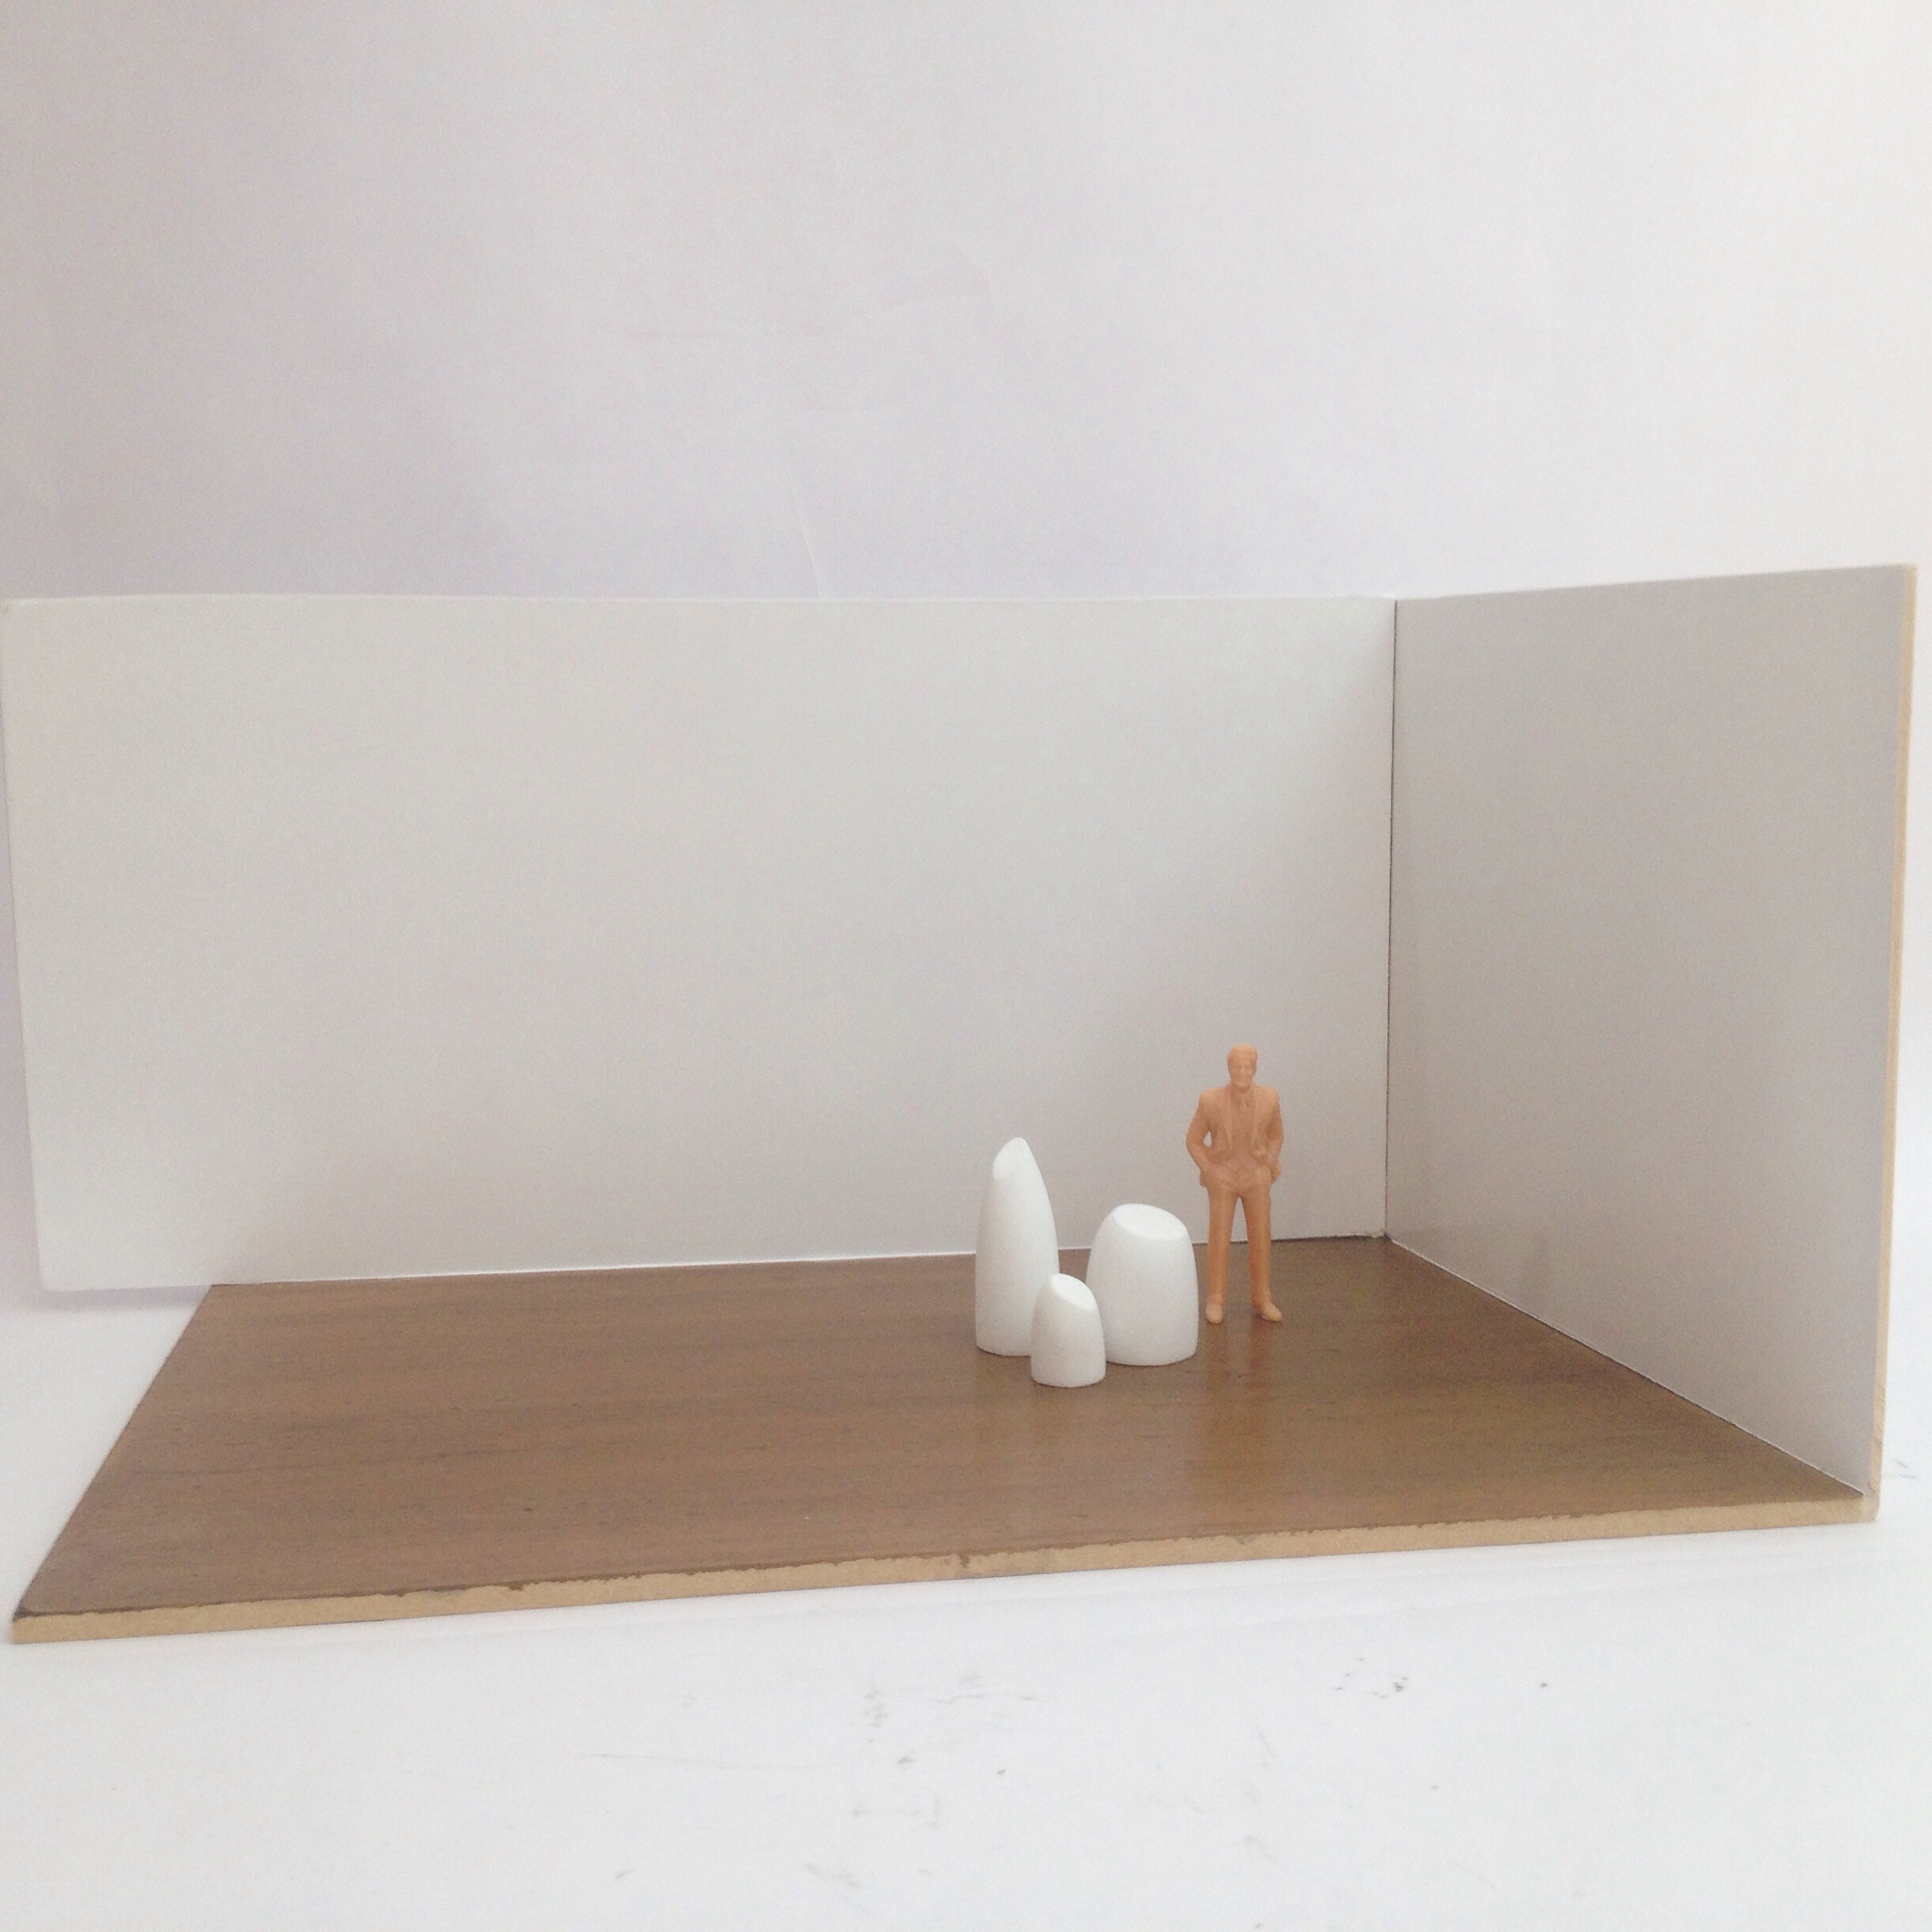
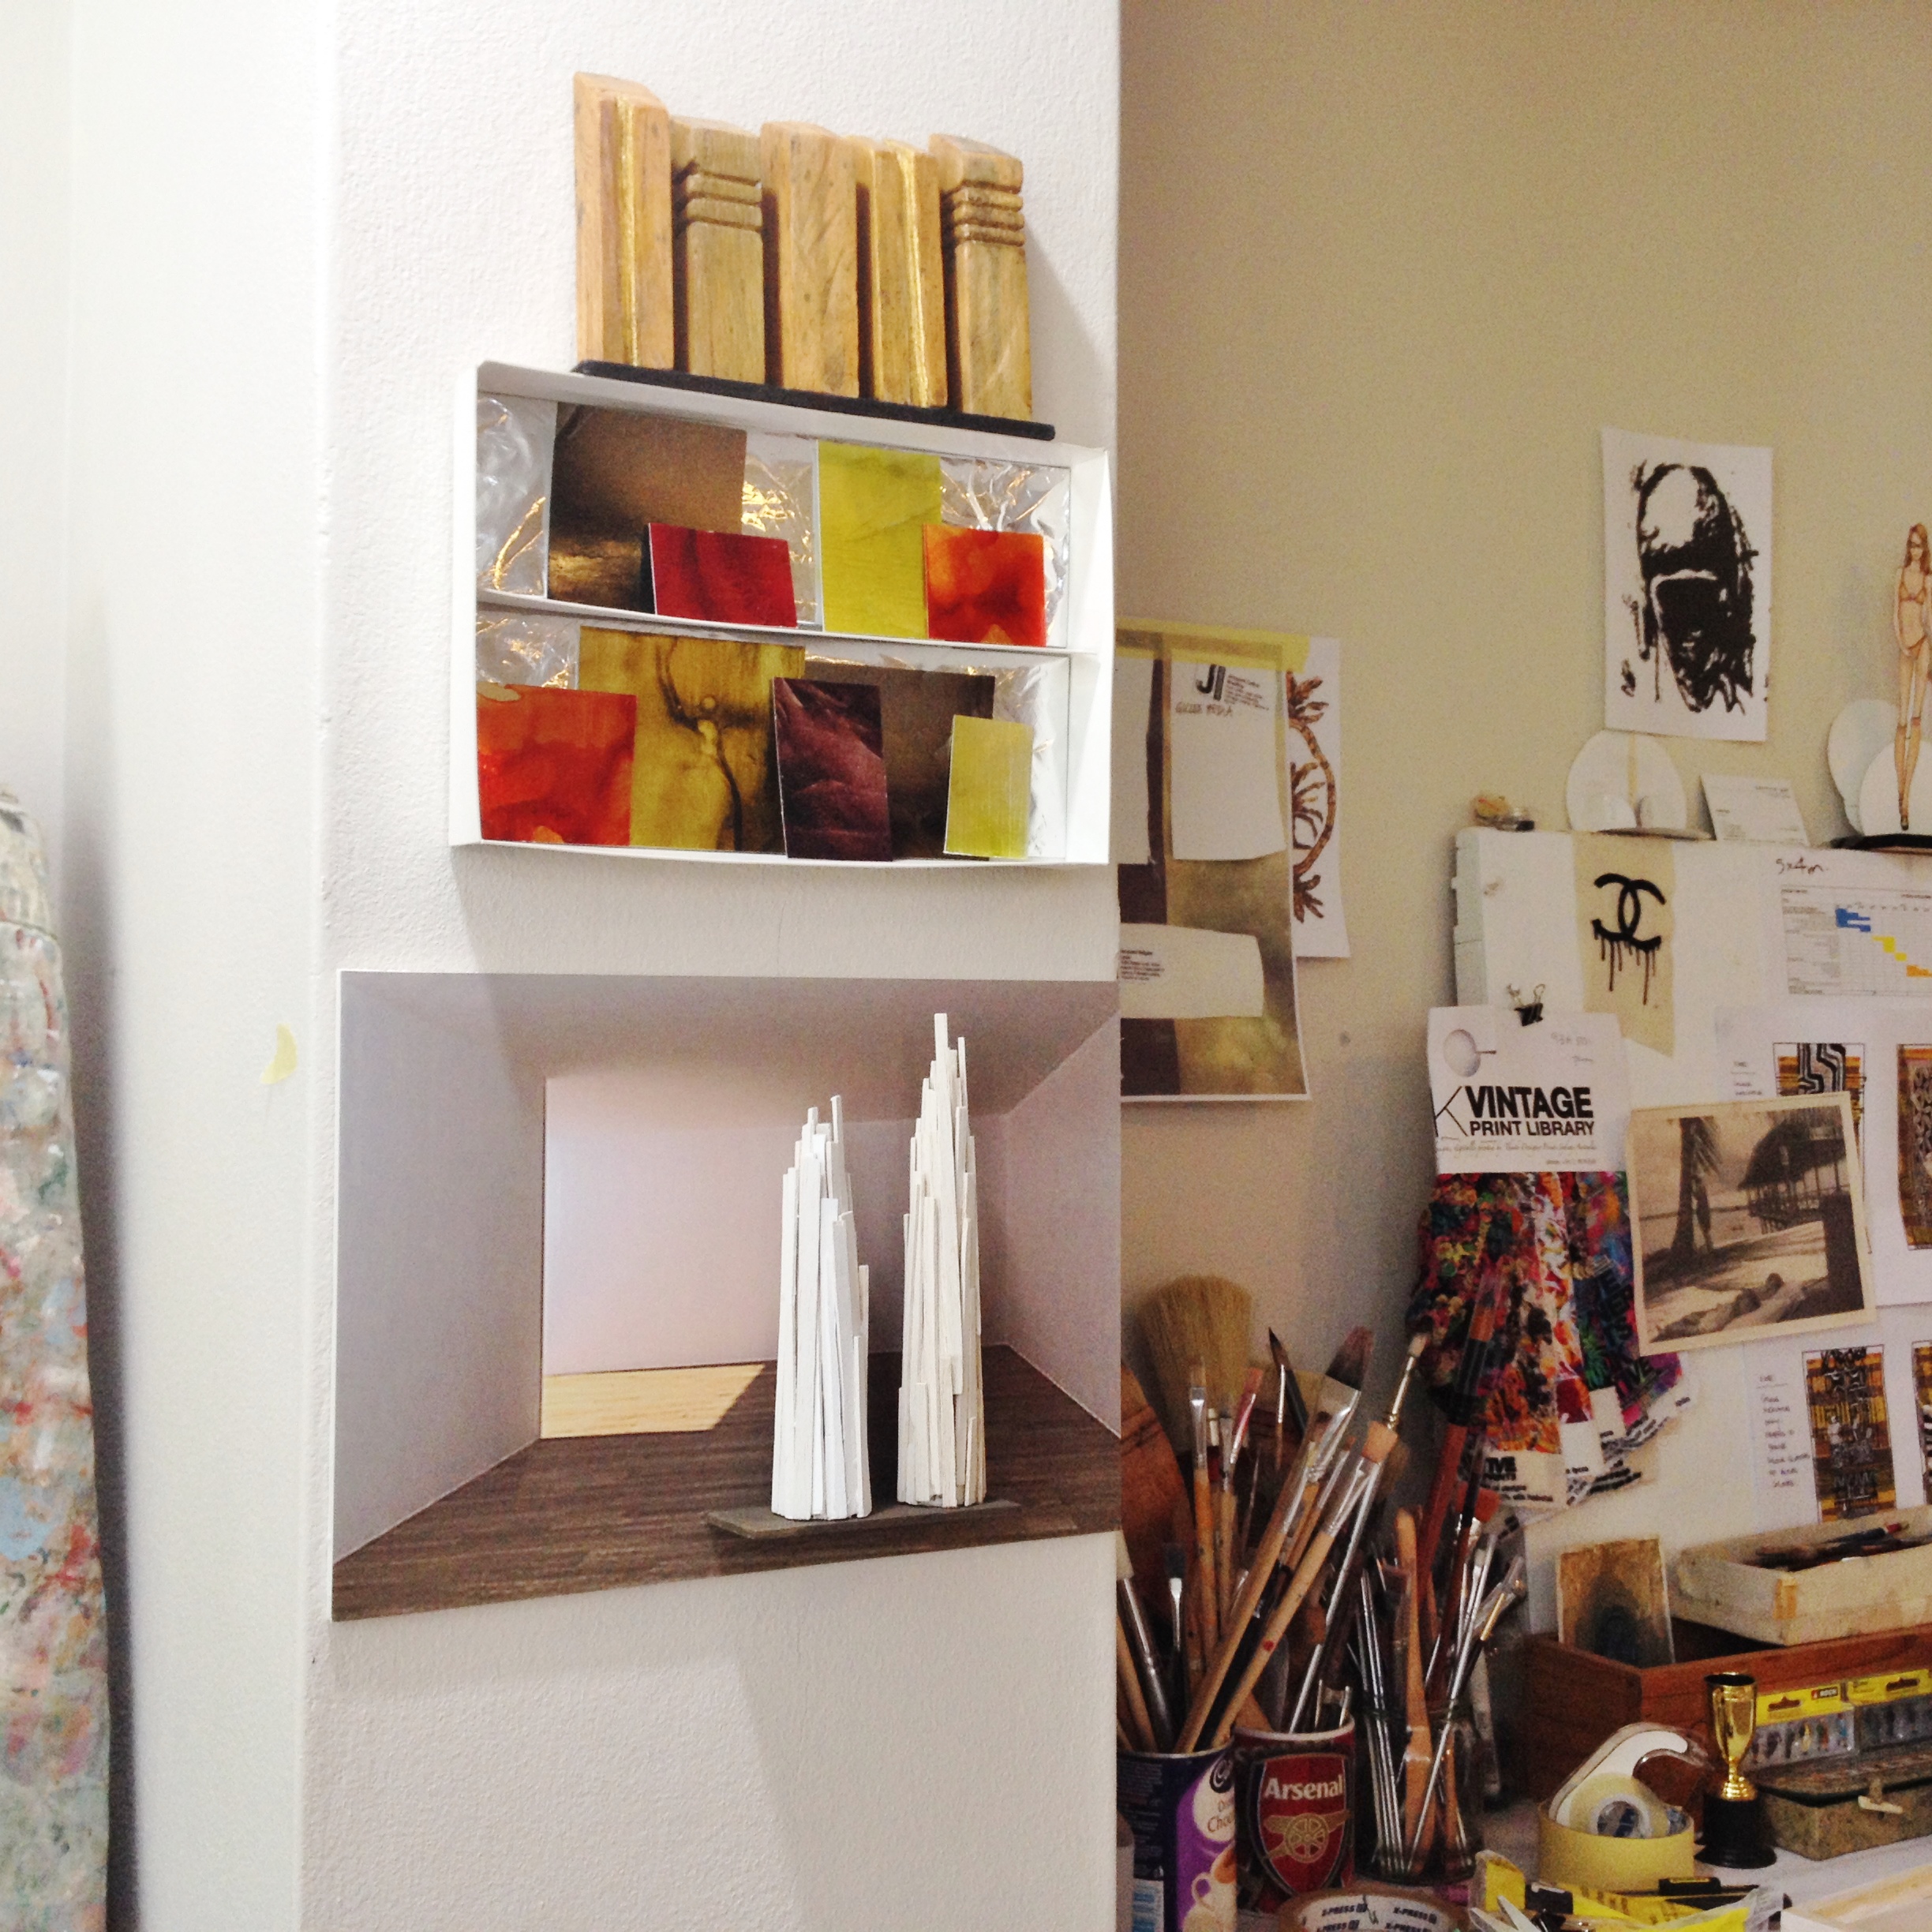
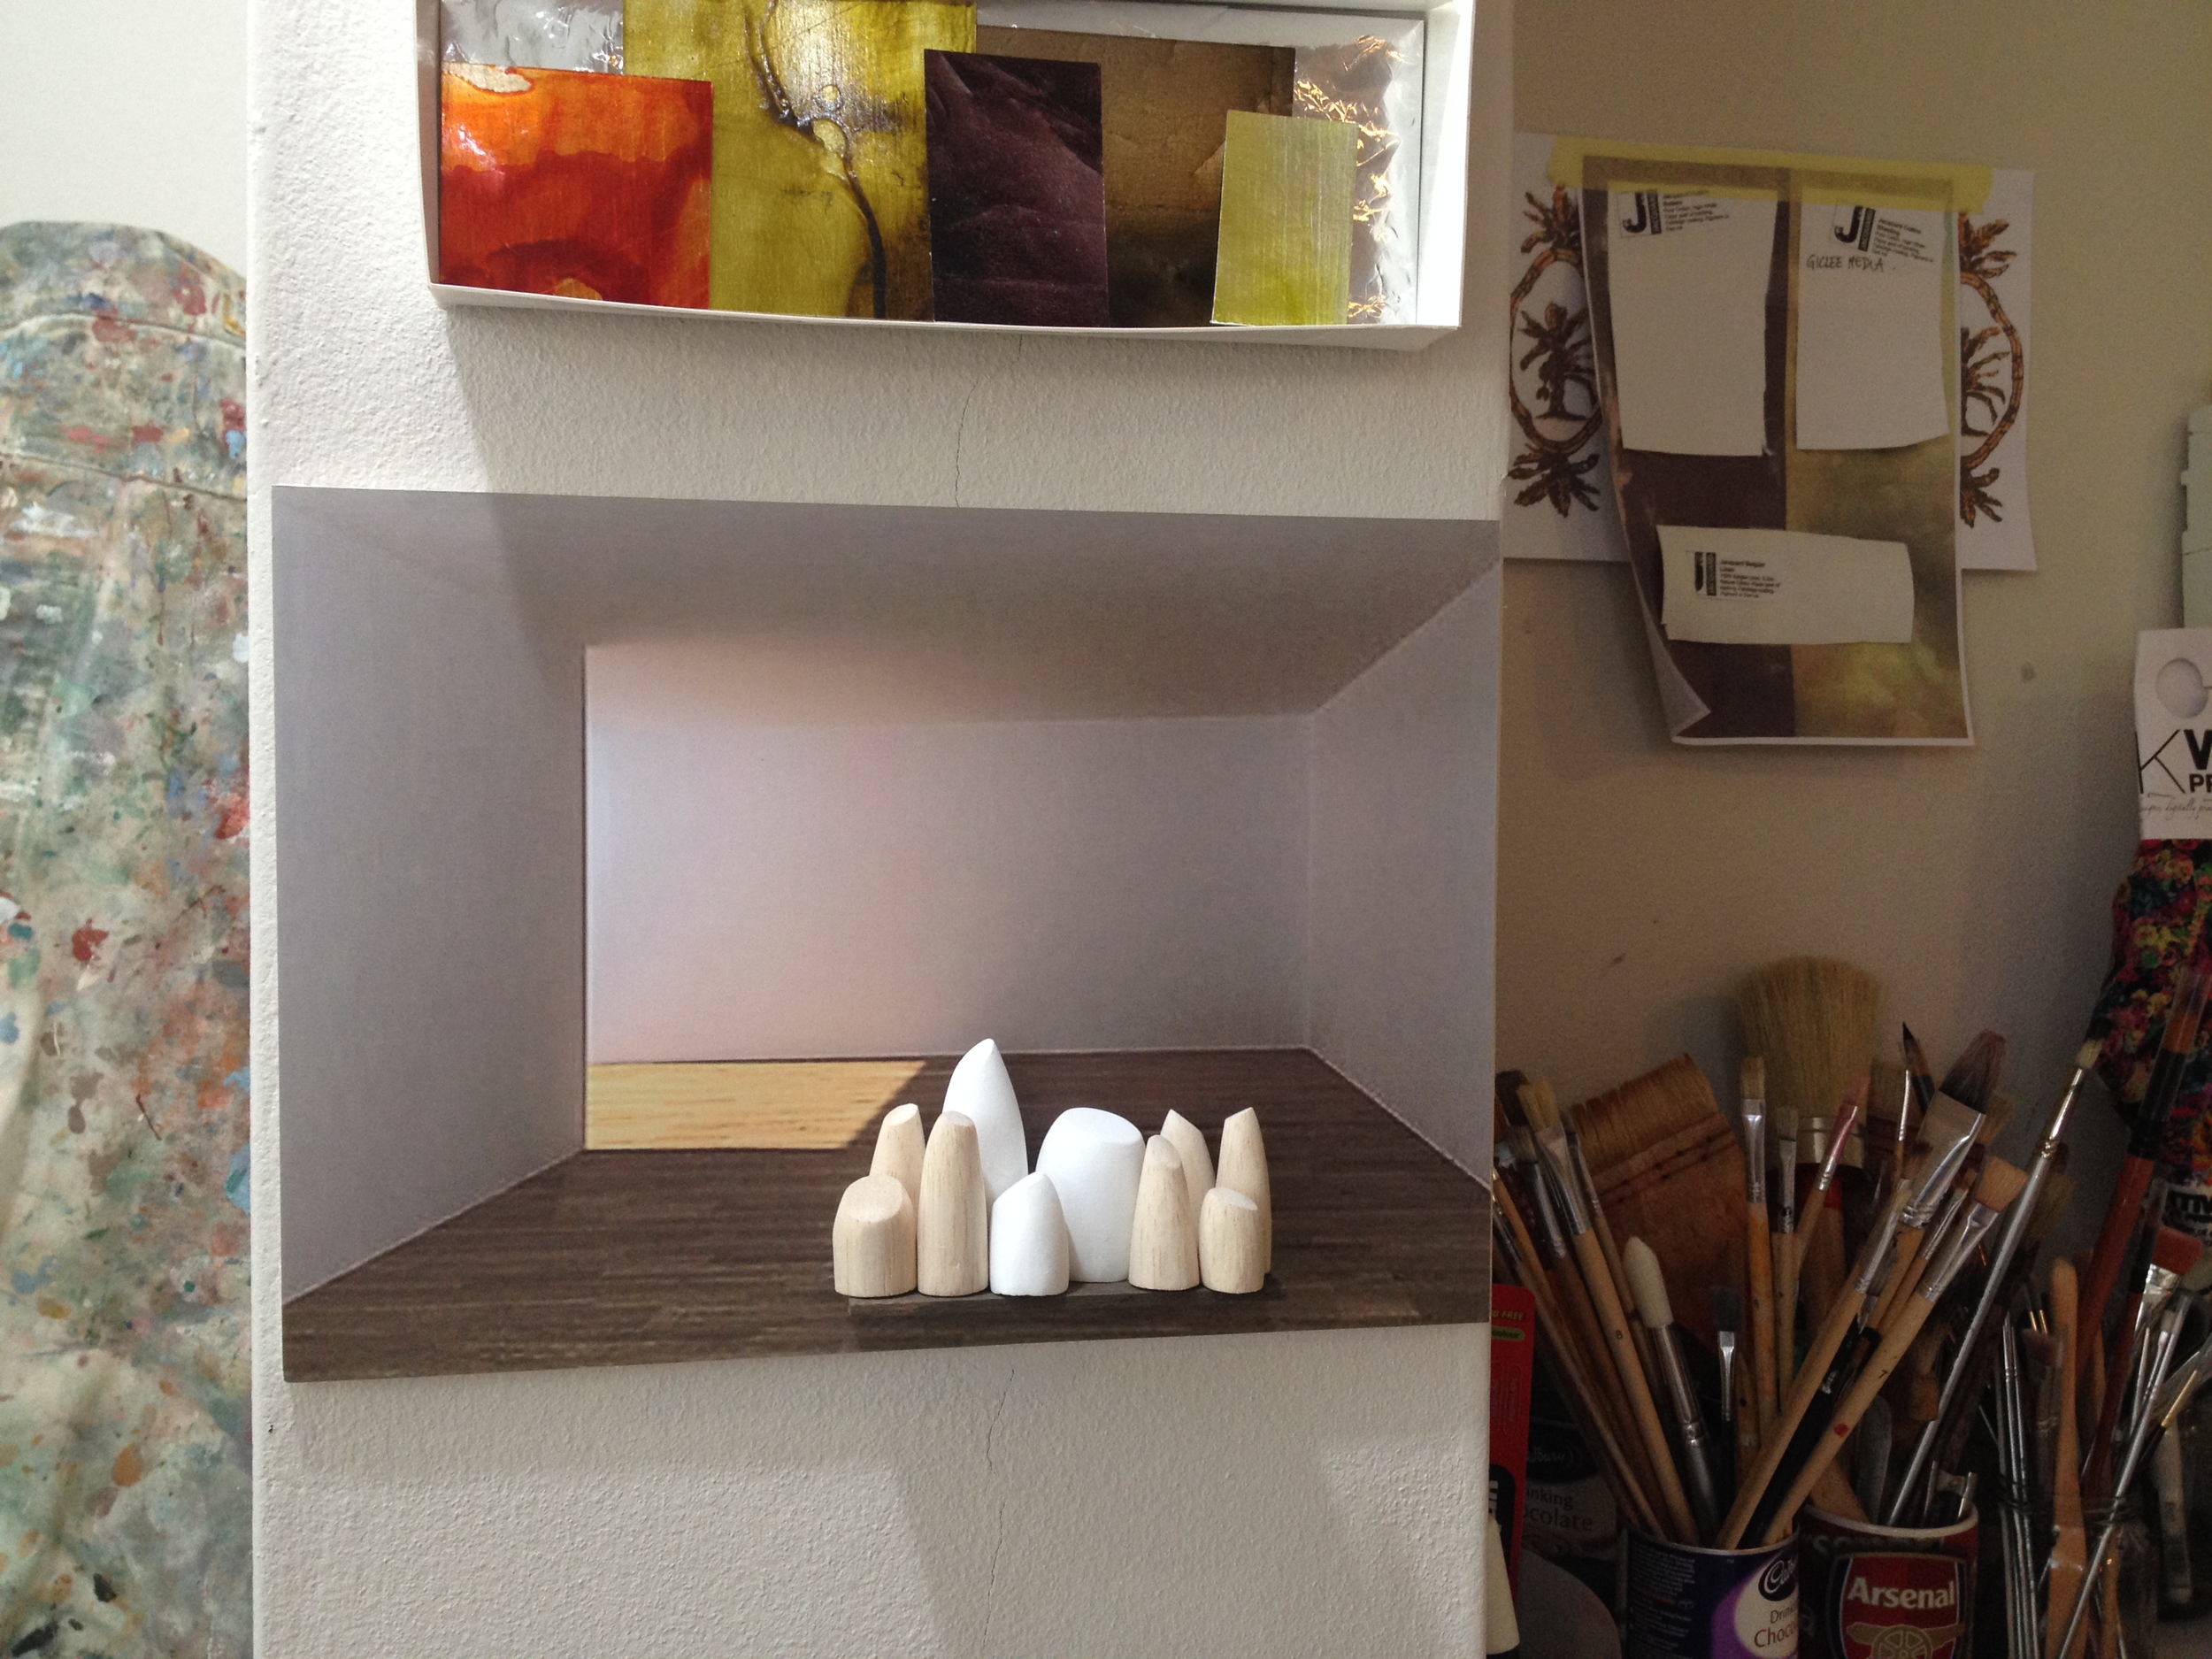
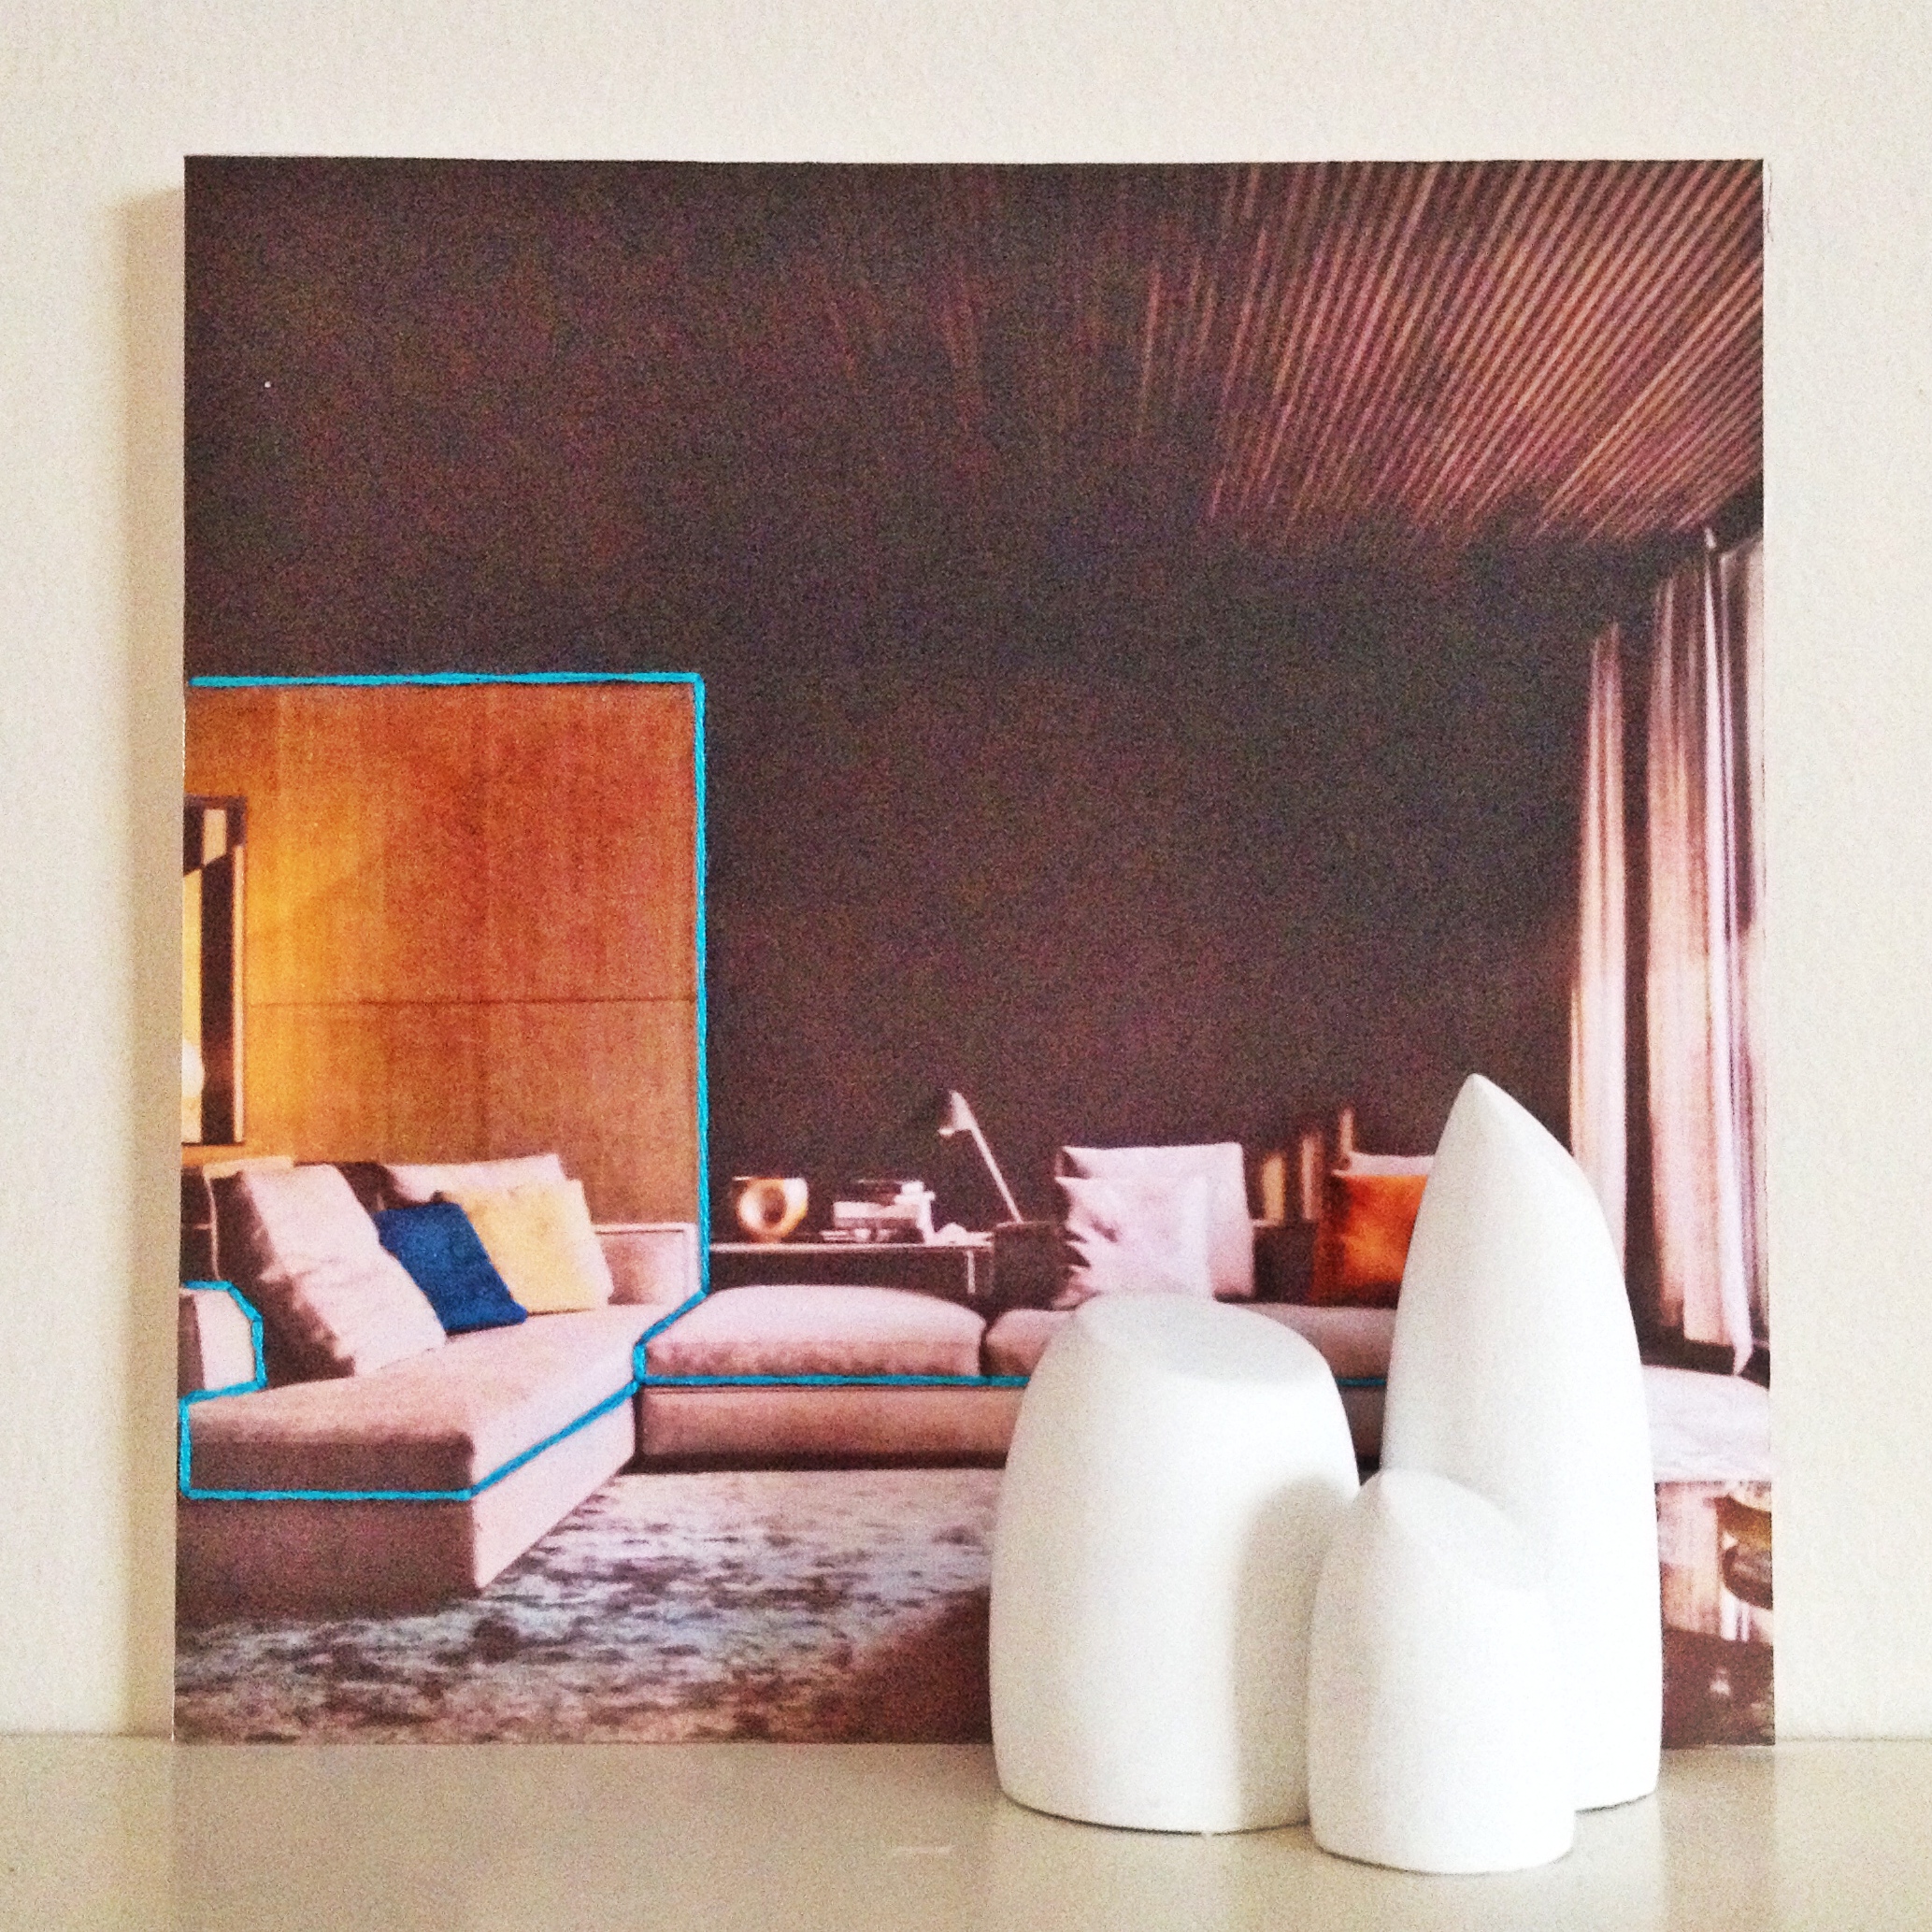
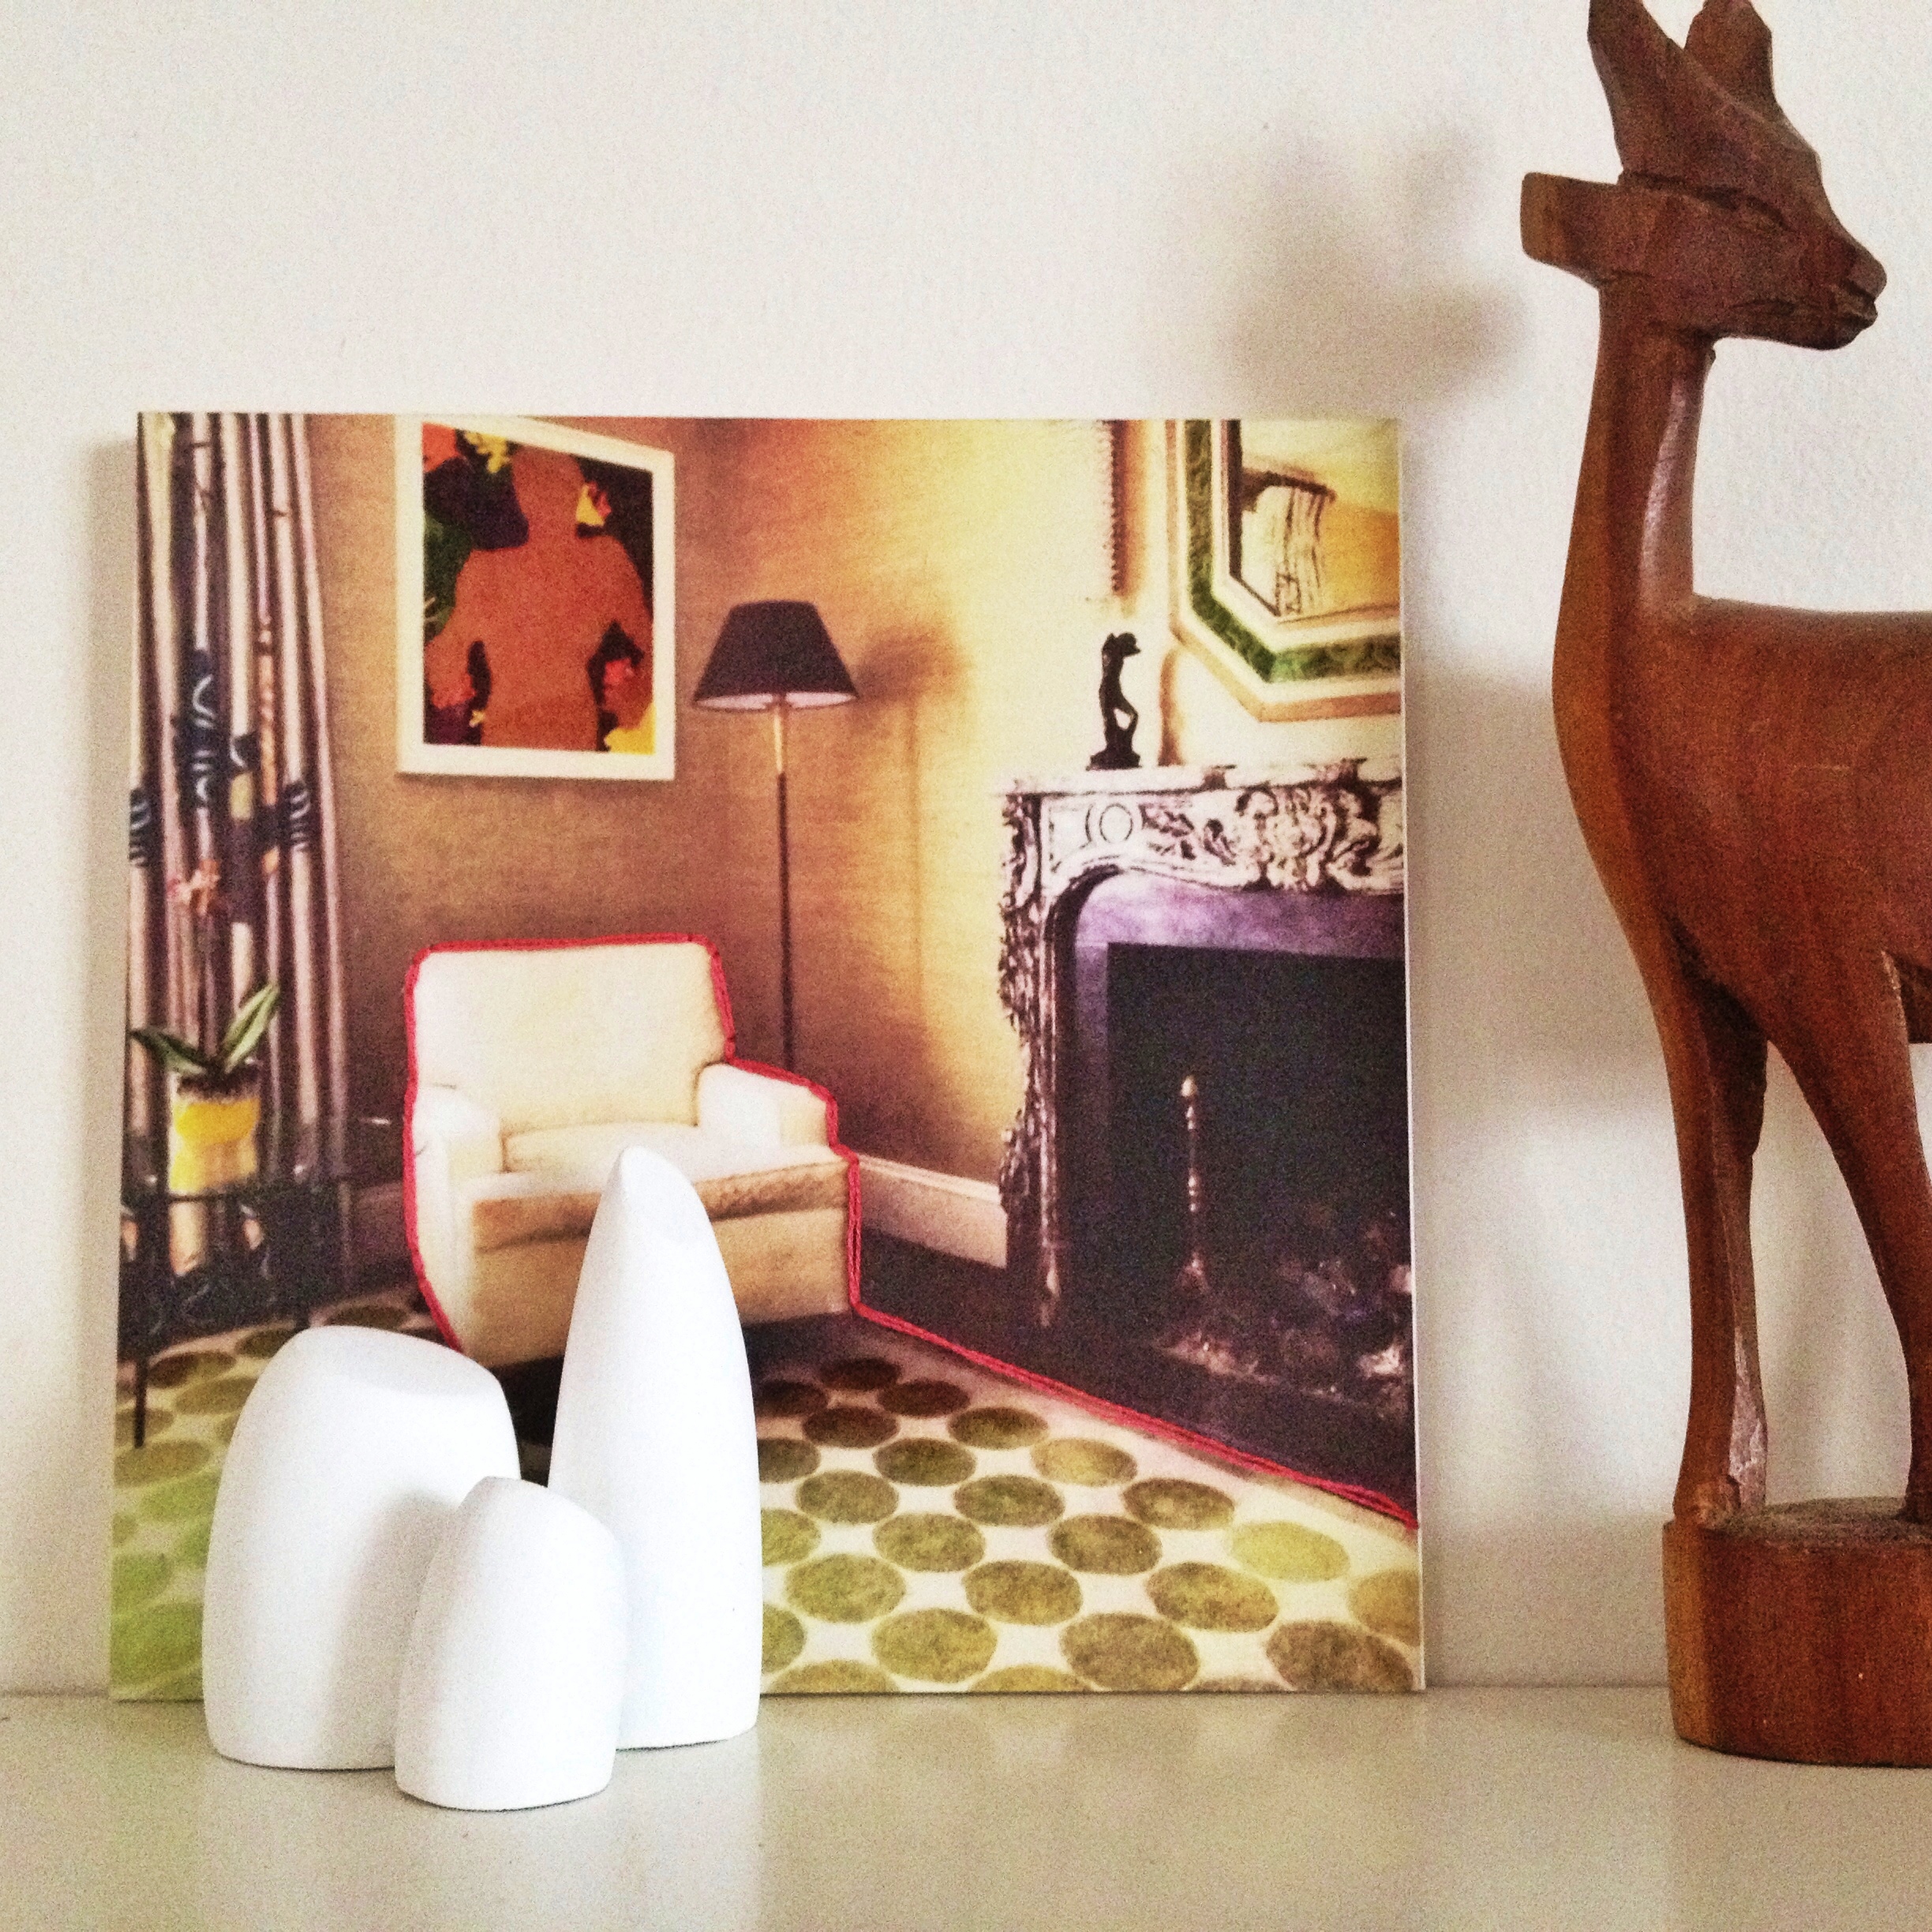
2: An enlarged image of an empty gallery space with a 'shelf' for perching the piece/s upon.
3: The simple graphic backdrop with these fortuitously available digital print fabrics.

Three vertical planes diorama

Single image shelf display design

Backdrop display design
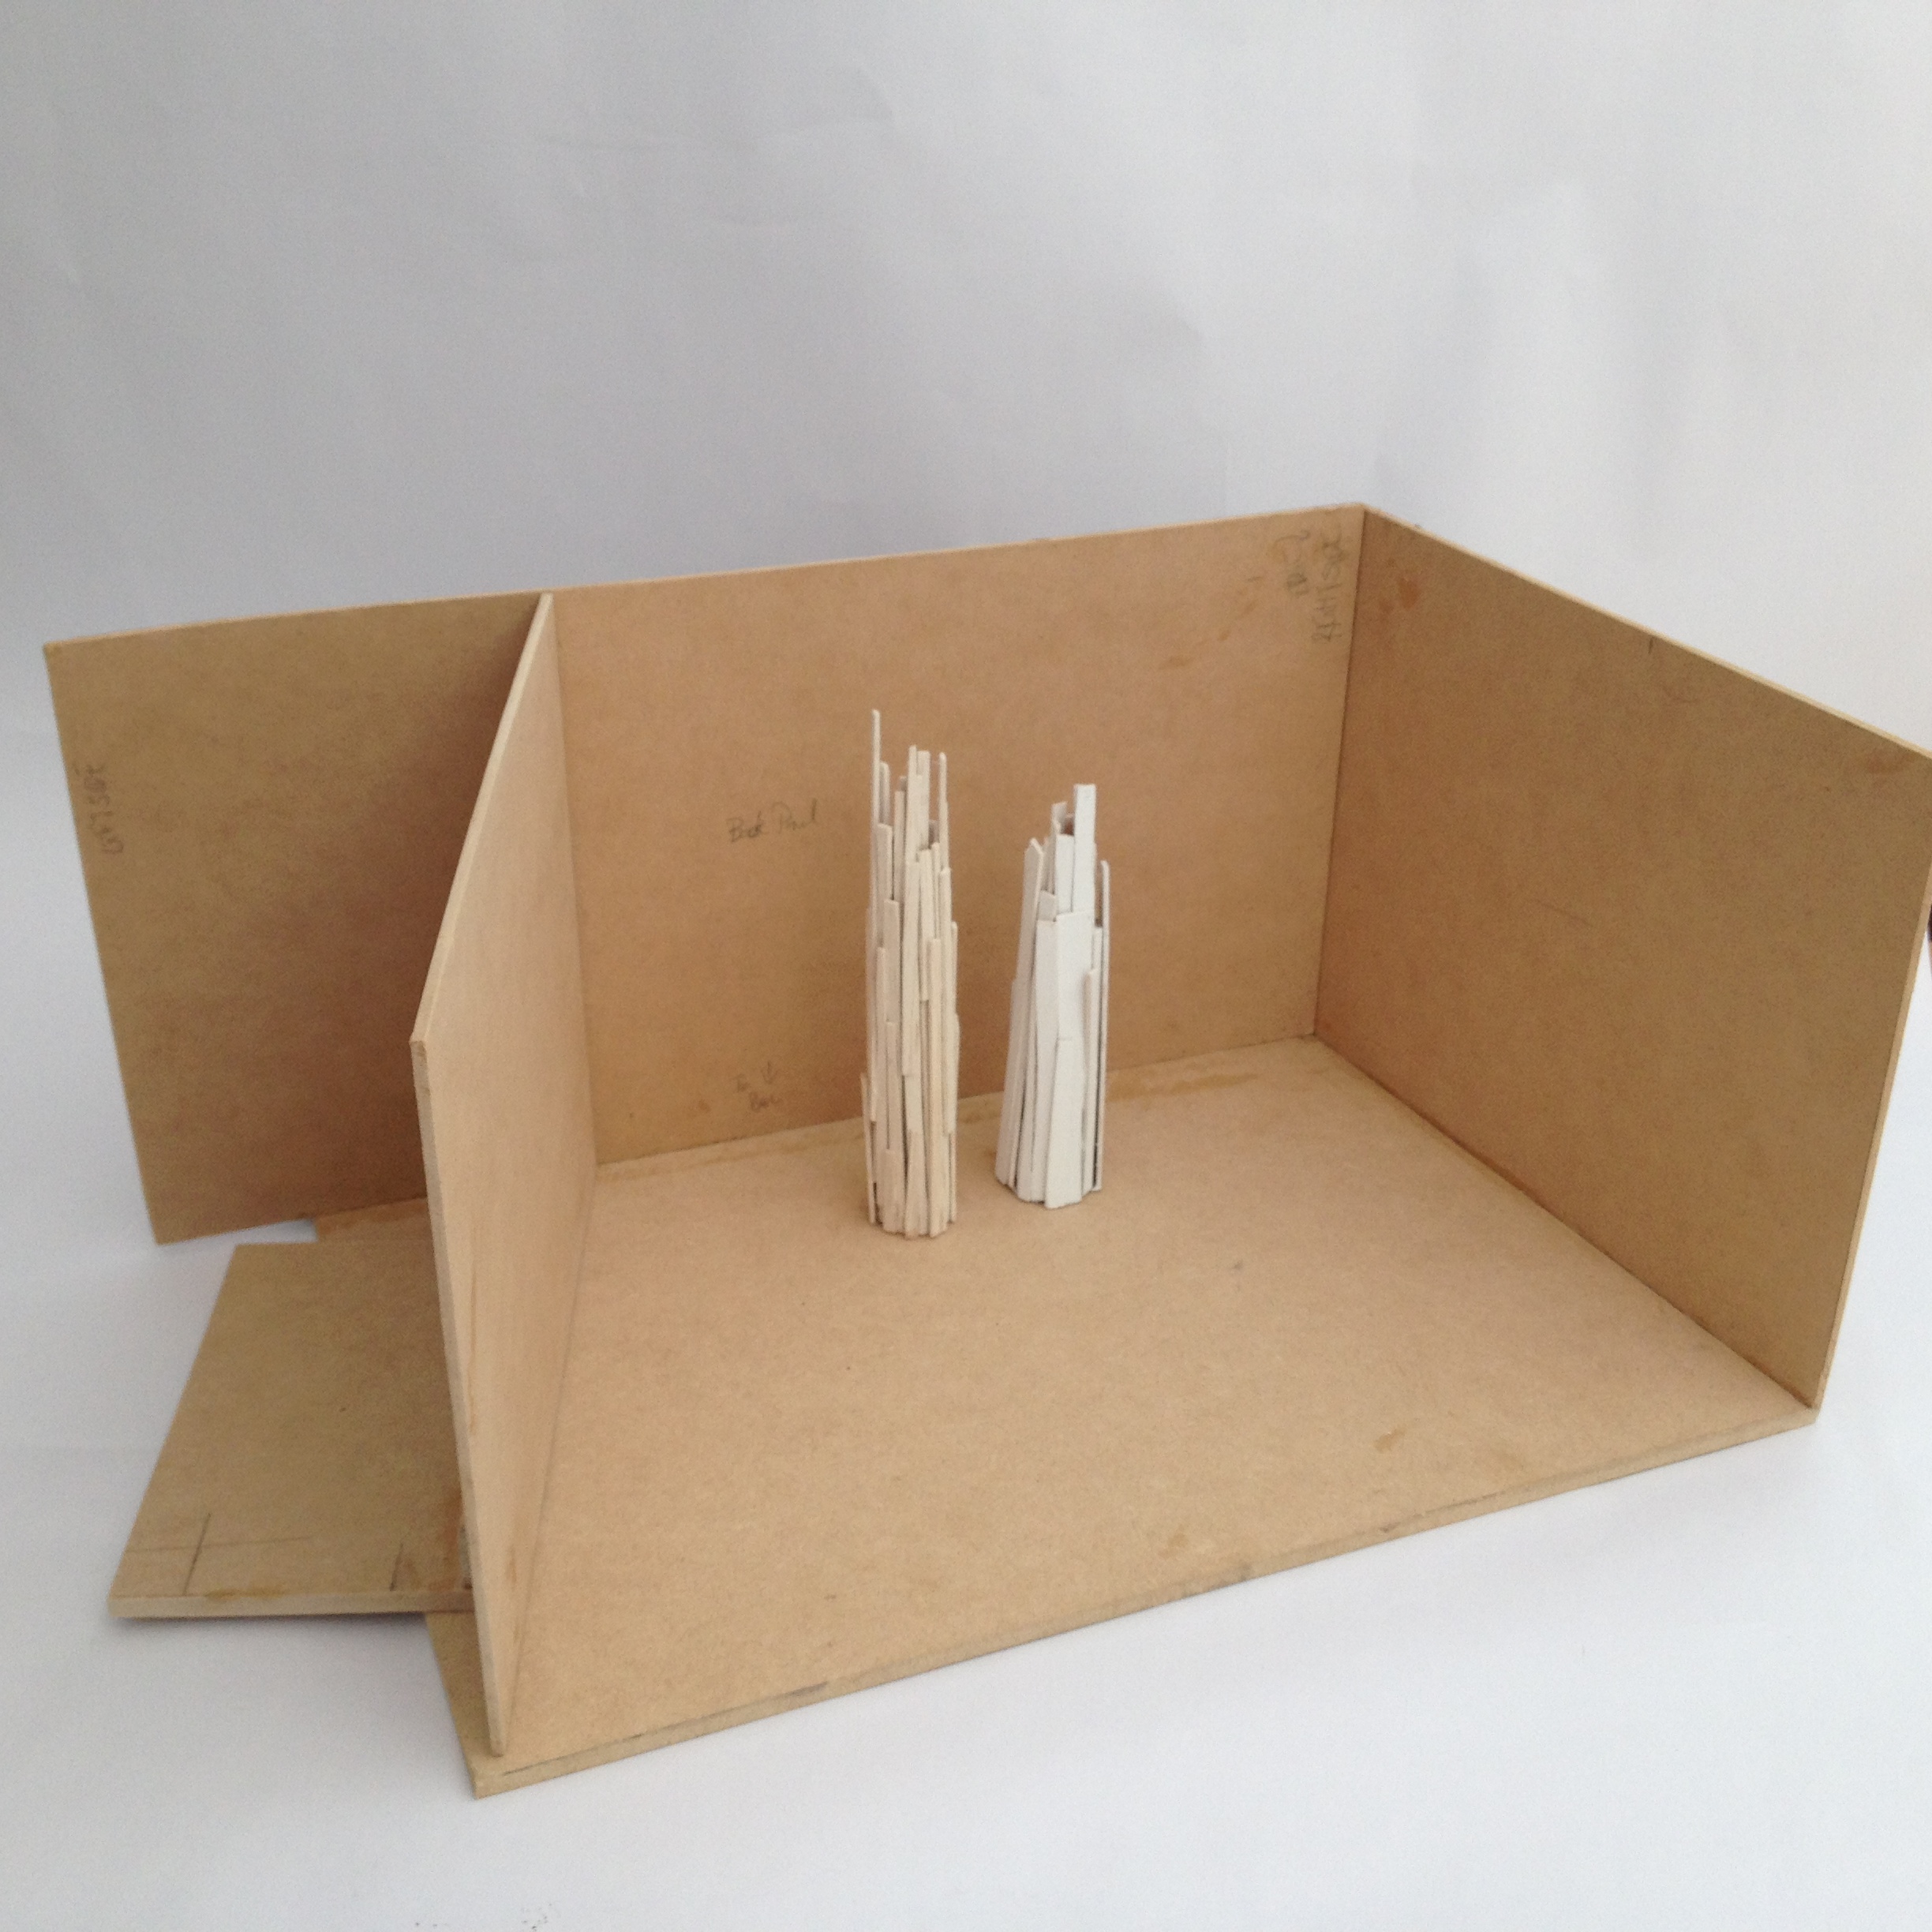
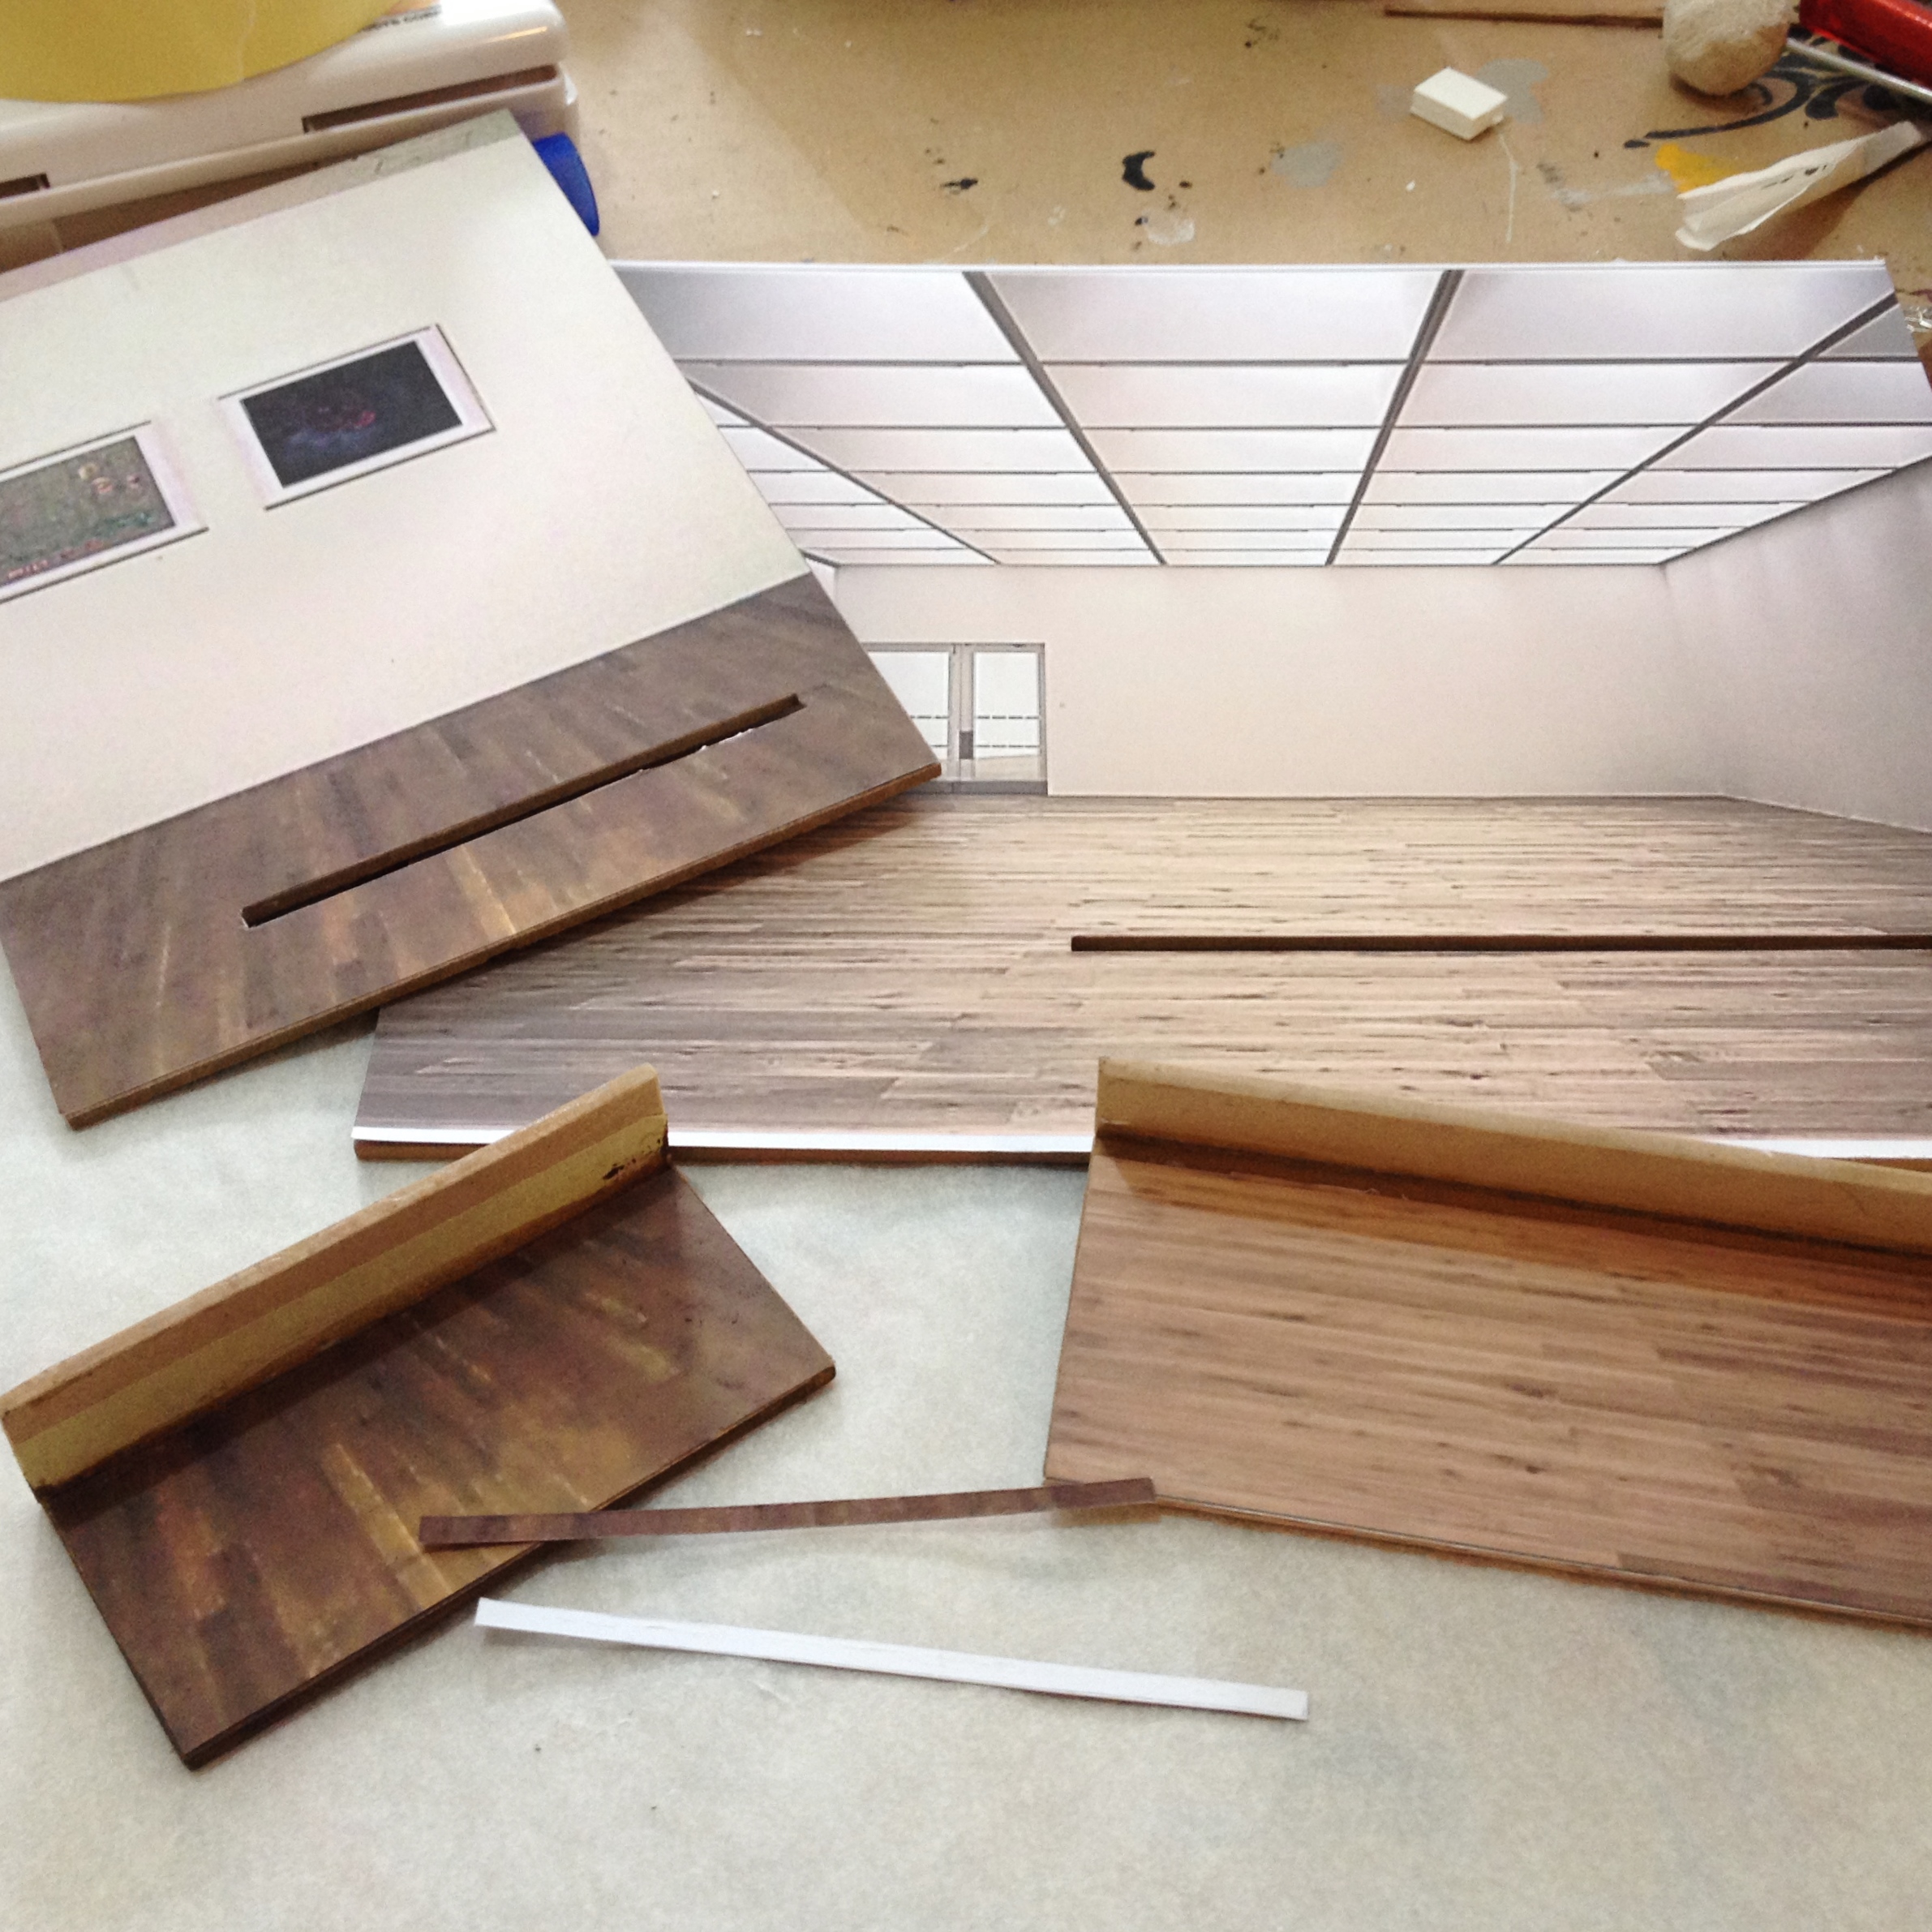
So, time to get real with some mdf, build something proper like:

$12 worth of MDF. Miracle material this stuff, so damn handy.
So here's the backdrop idea:

Simple and it works


Next, the mdf diorama is going to be handy to have around in the future I think. Imagine the applications!. I made the left side panel movable and a false floor to have a look at how forced perspective would look; IE, if the floor was sloping as well as the walls. Of course, I realise now that with a shoebox style construction, with right angles walls & floor, the perspective is already there, simply by virtue of one's view being through the depth of it. But I like the drama of the angled walls on my one.


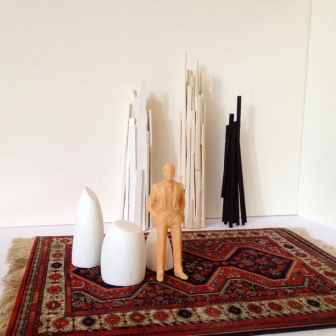


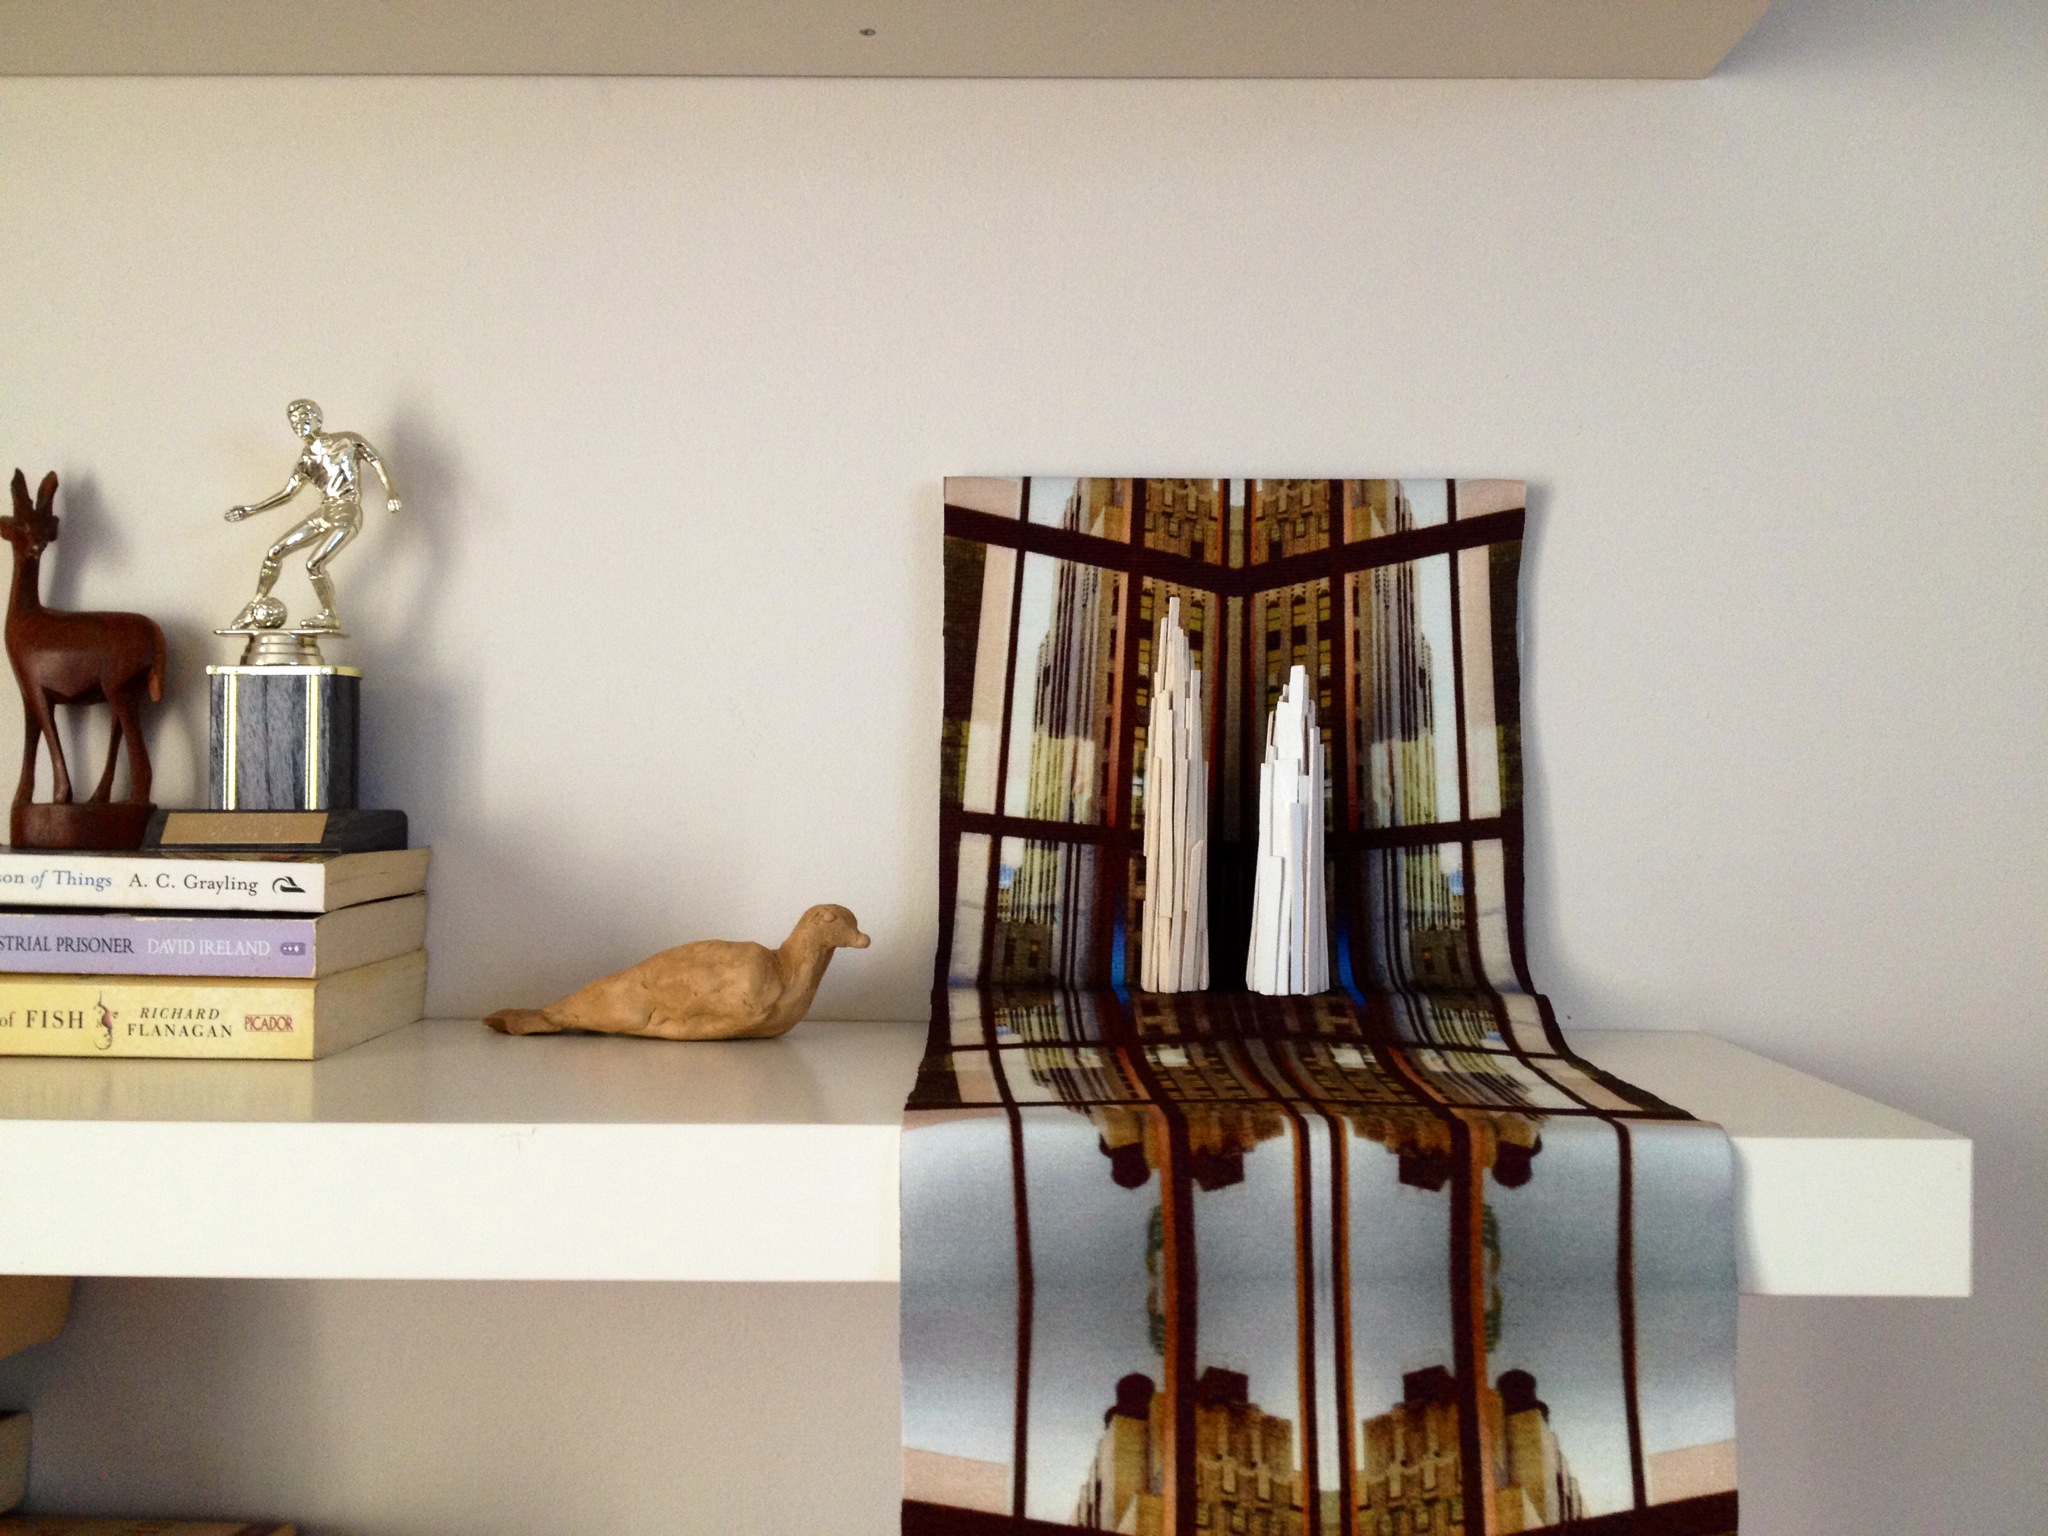
And the single image with a shelf idea, this is great to have around! It goes everywhere! This is also a very handy display, I think I'll put together a tutorial on making this soon.


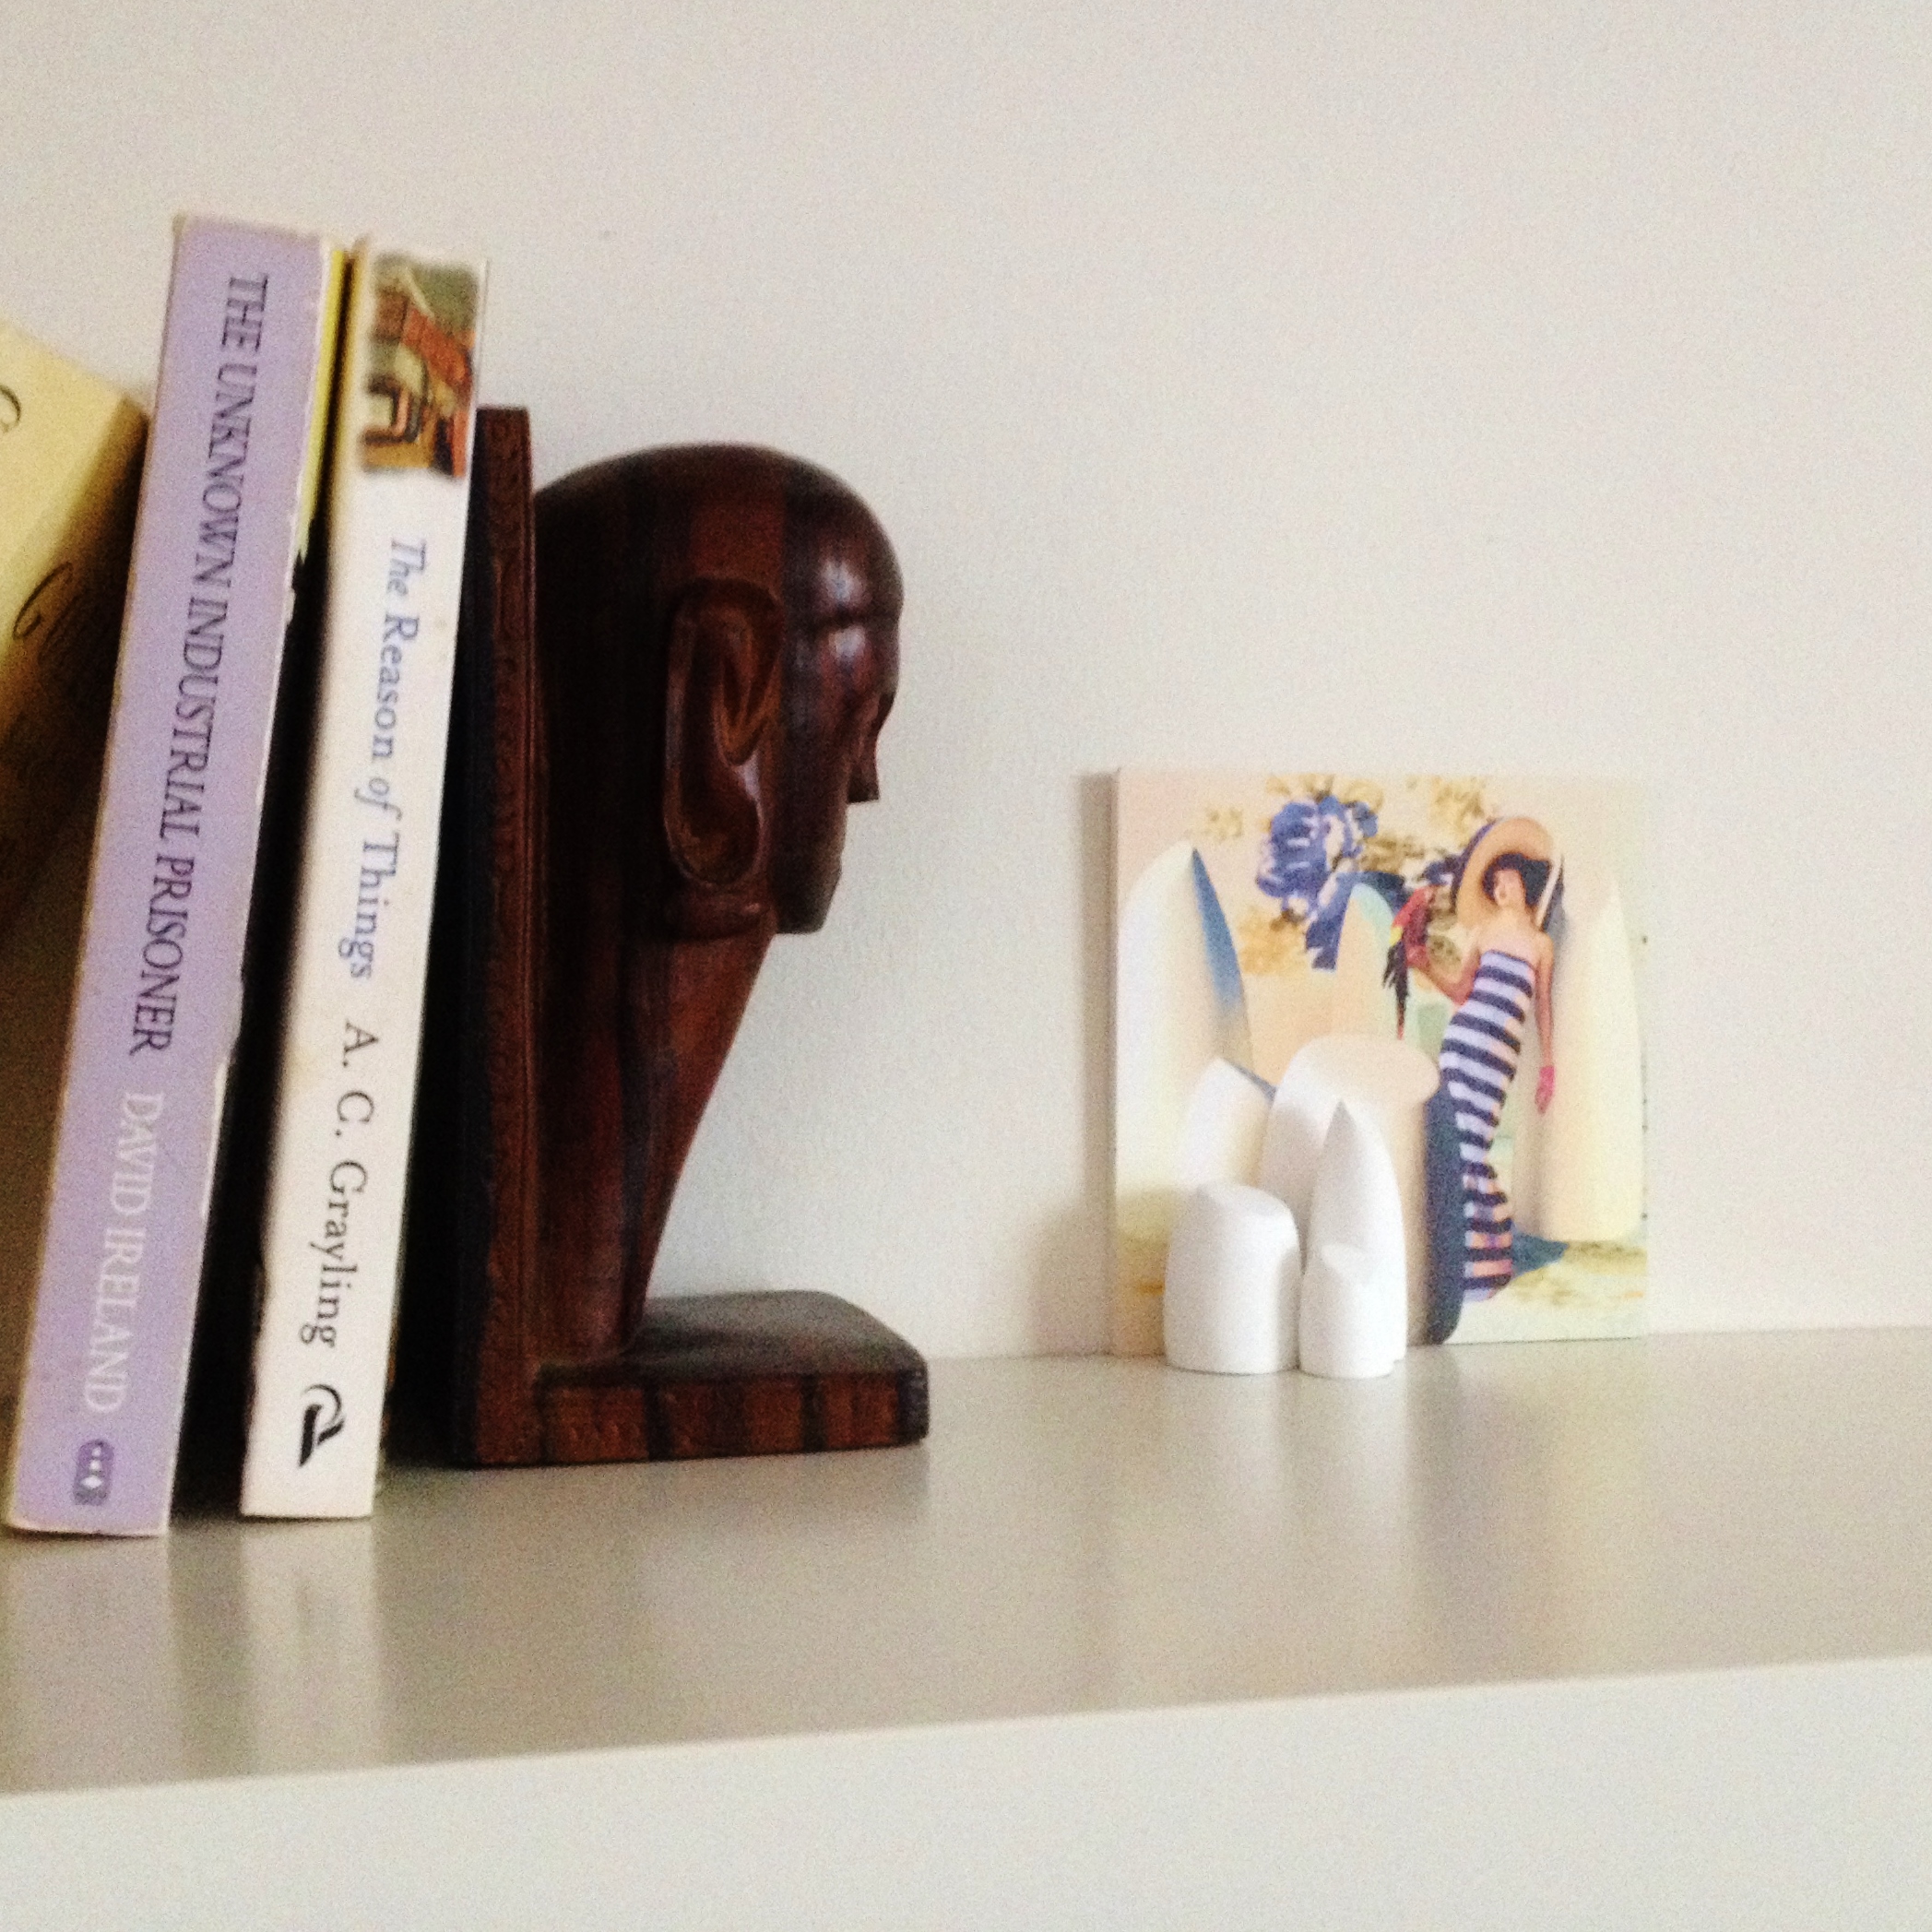
It's an ongoing thing, this, the permutations are endless.... pictures from design magazines, made to look retro-ish with a hint of embroidery; what's not to love?

This has been a great project and I'll probably keep adding more to it as time goes on. For now I might stop there as I really have some other work I must get onto. Much creativity has been generated in the making of all the above; its been not only labour intensive but also most enjoyably diverting! But I'd better get on...more projects beckon.

