
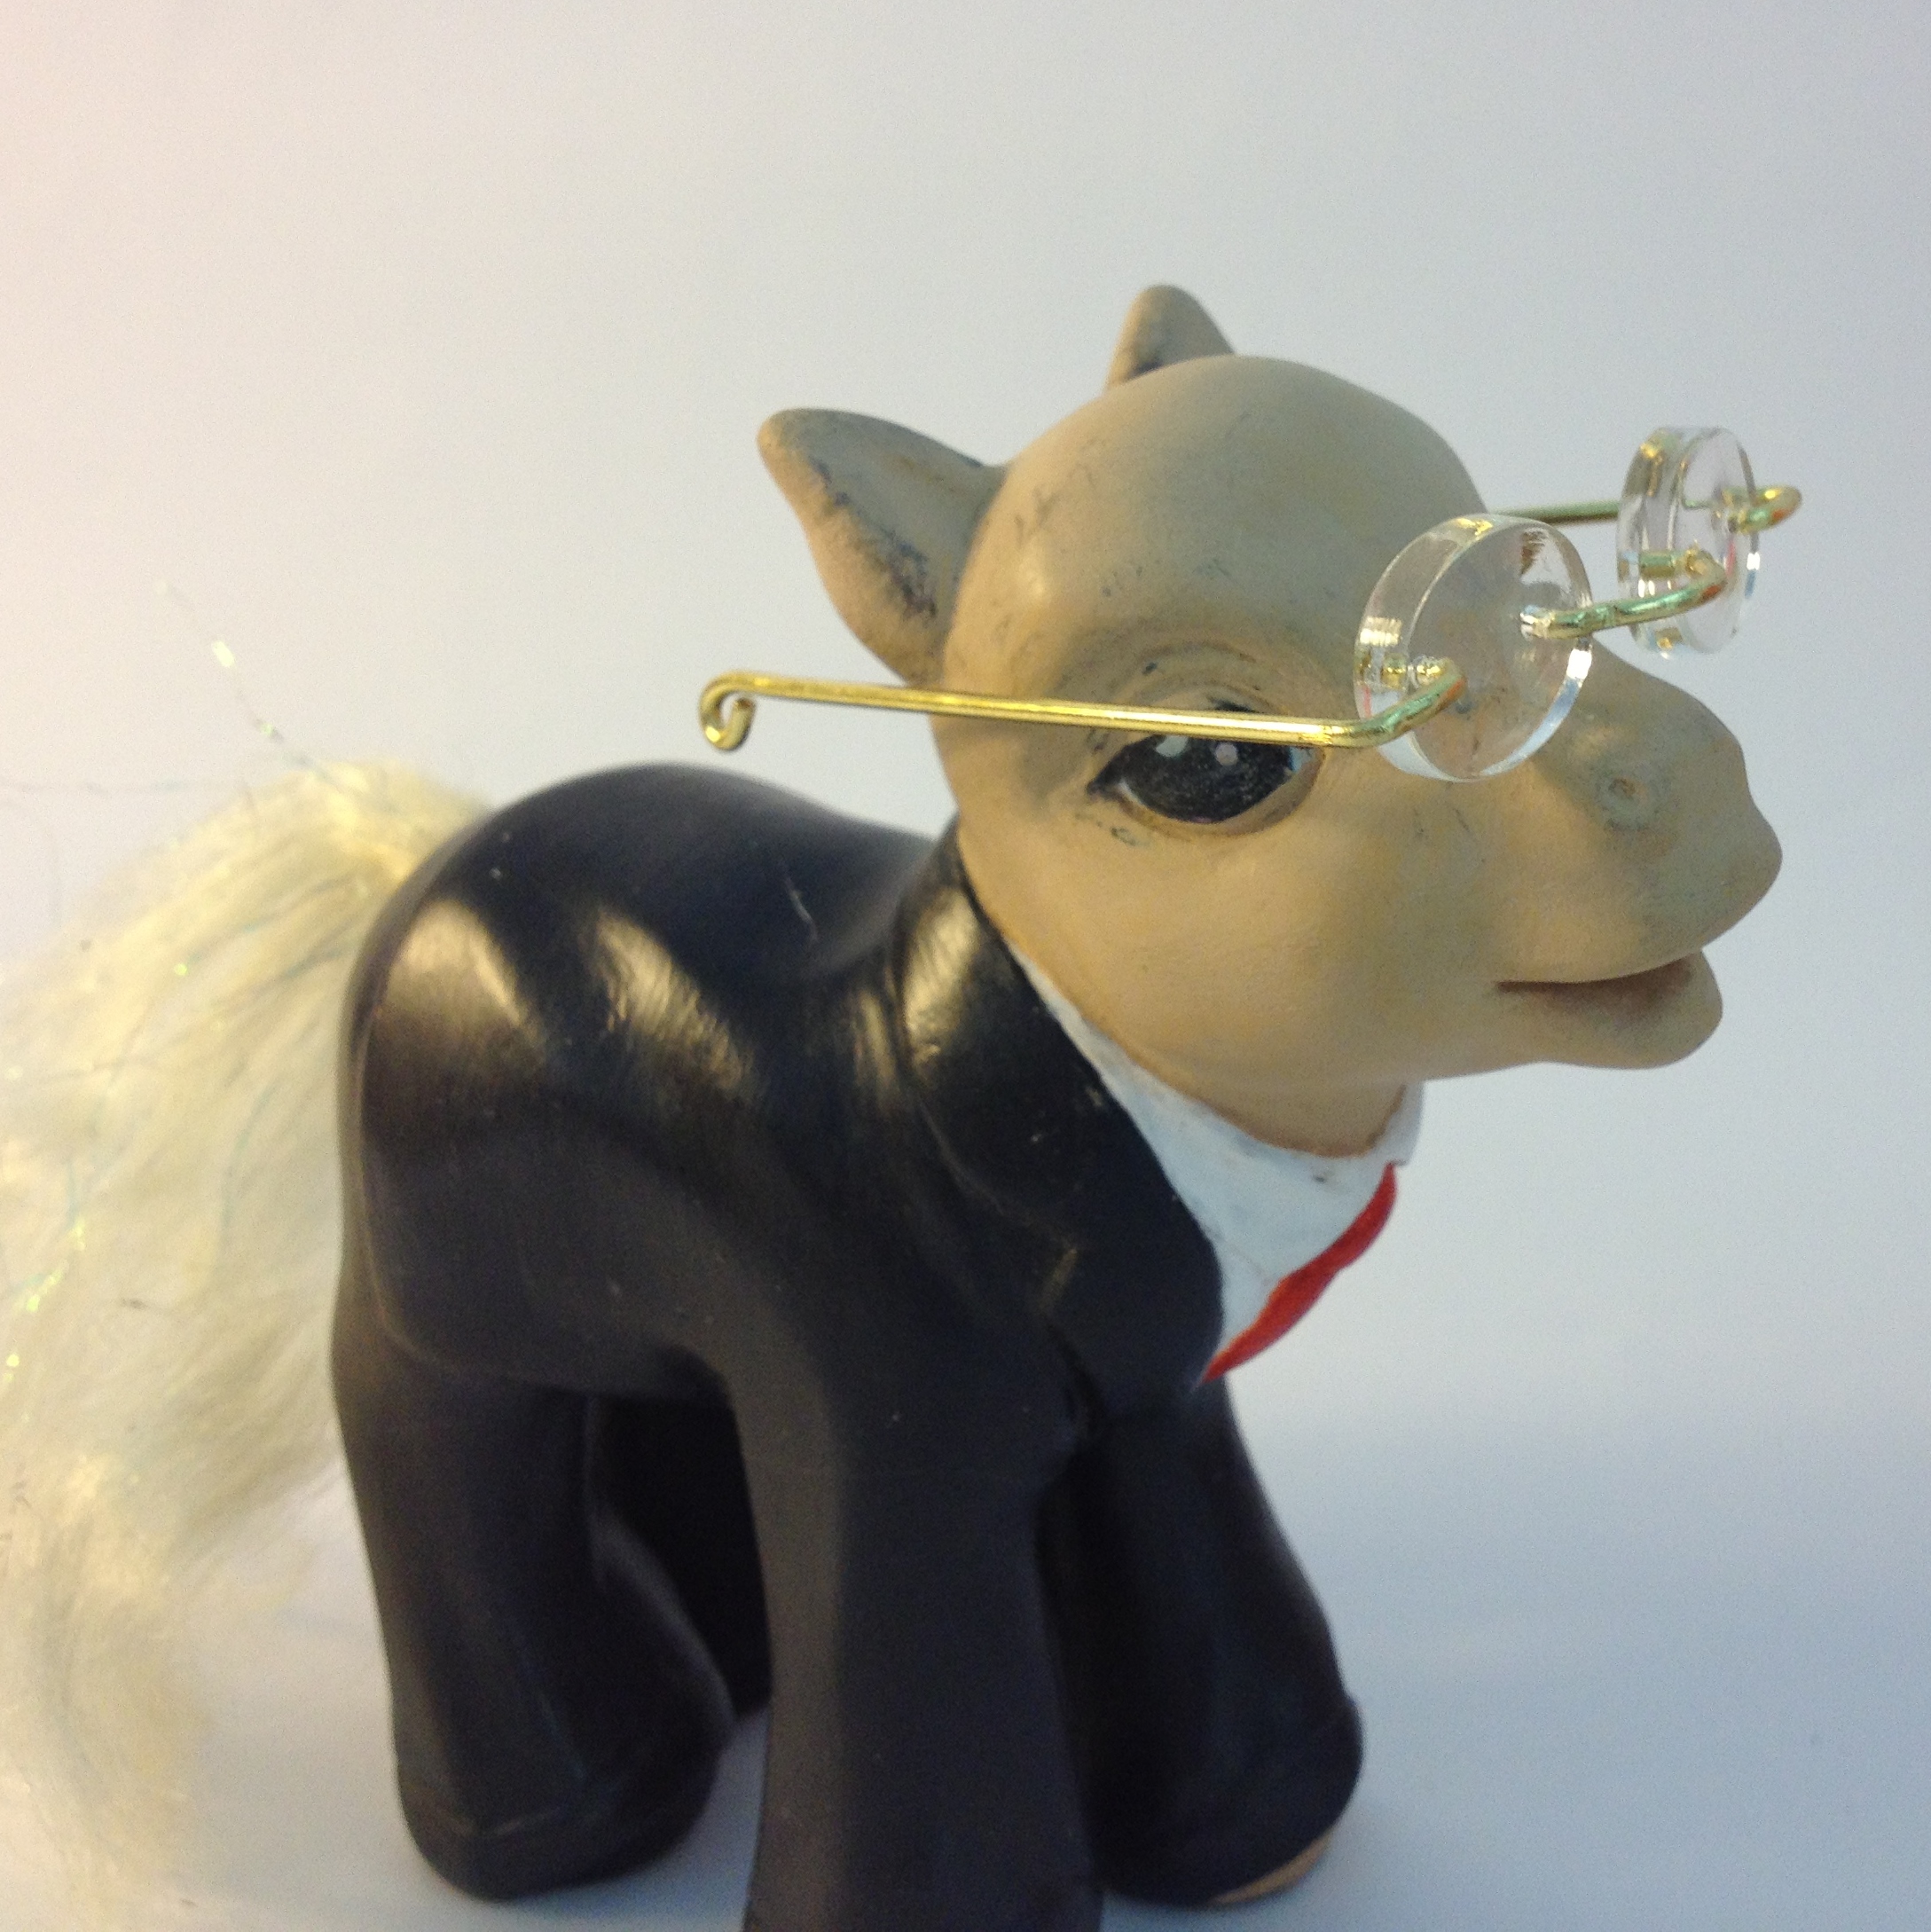
Arrgh, these eye glasses! It's all about the eye glasses now & I get the feeling that they're just not meant to be soooo hard. Must, must, must make them work! Can't I just find some little teeny teeny Le Corbusier glasses ferchrissake??
In fact, I went looking and I DID find some little little teeny eye glasses on Etsy, (of course! Good old Etsy to the rescue) here.

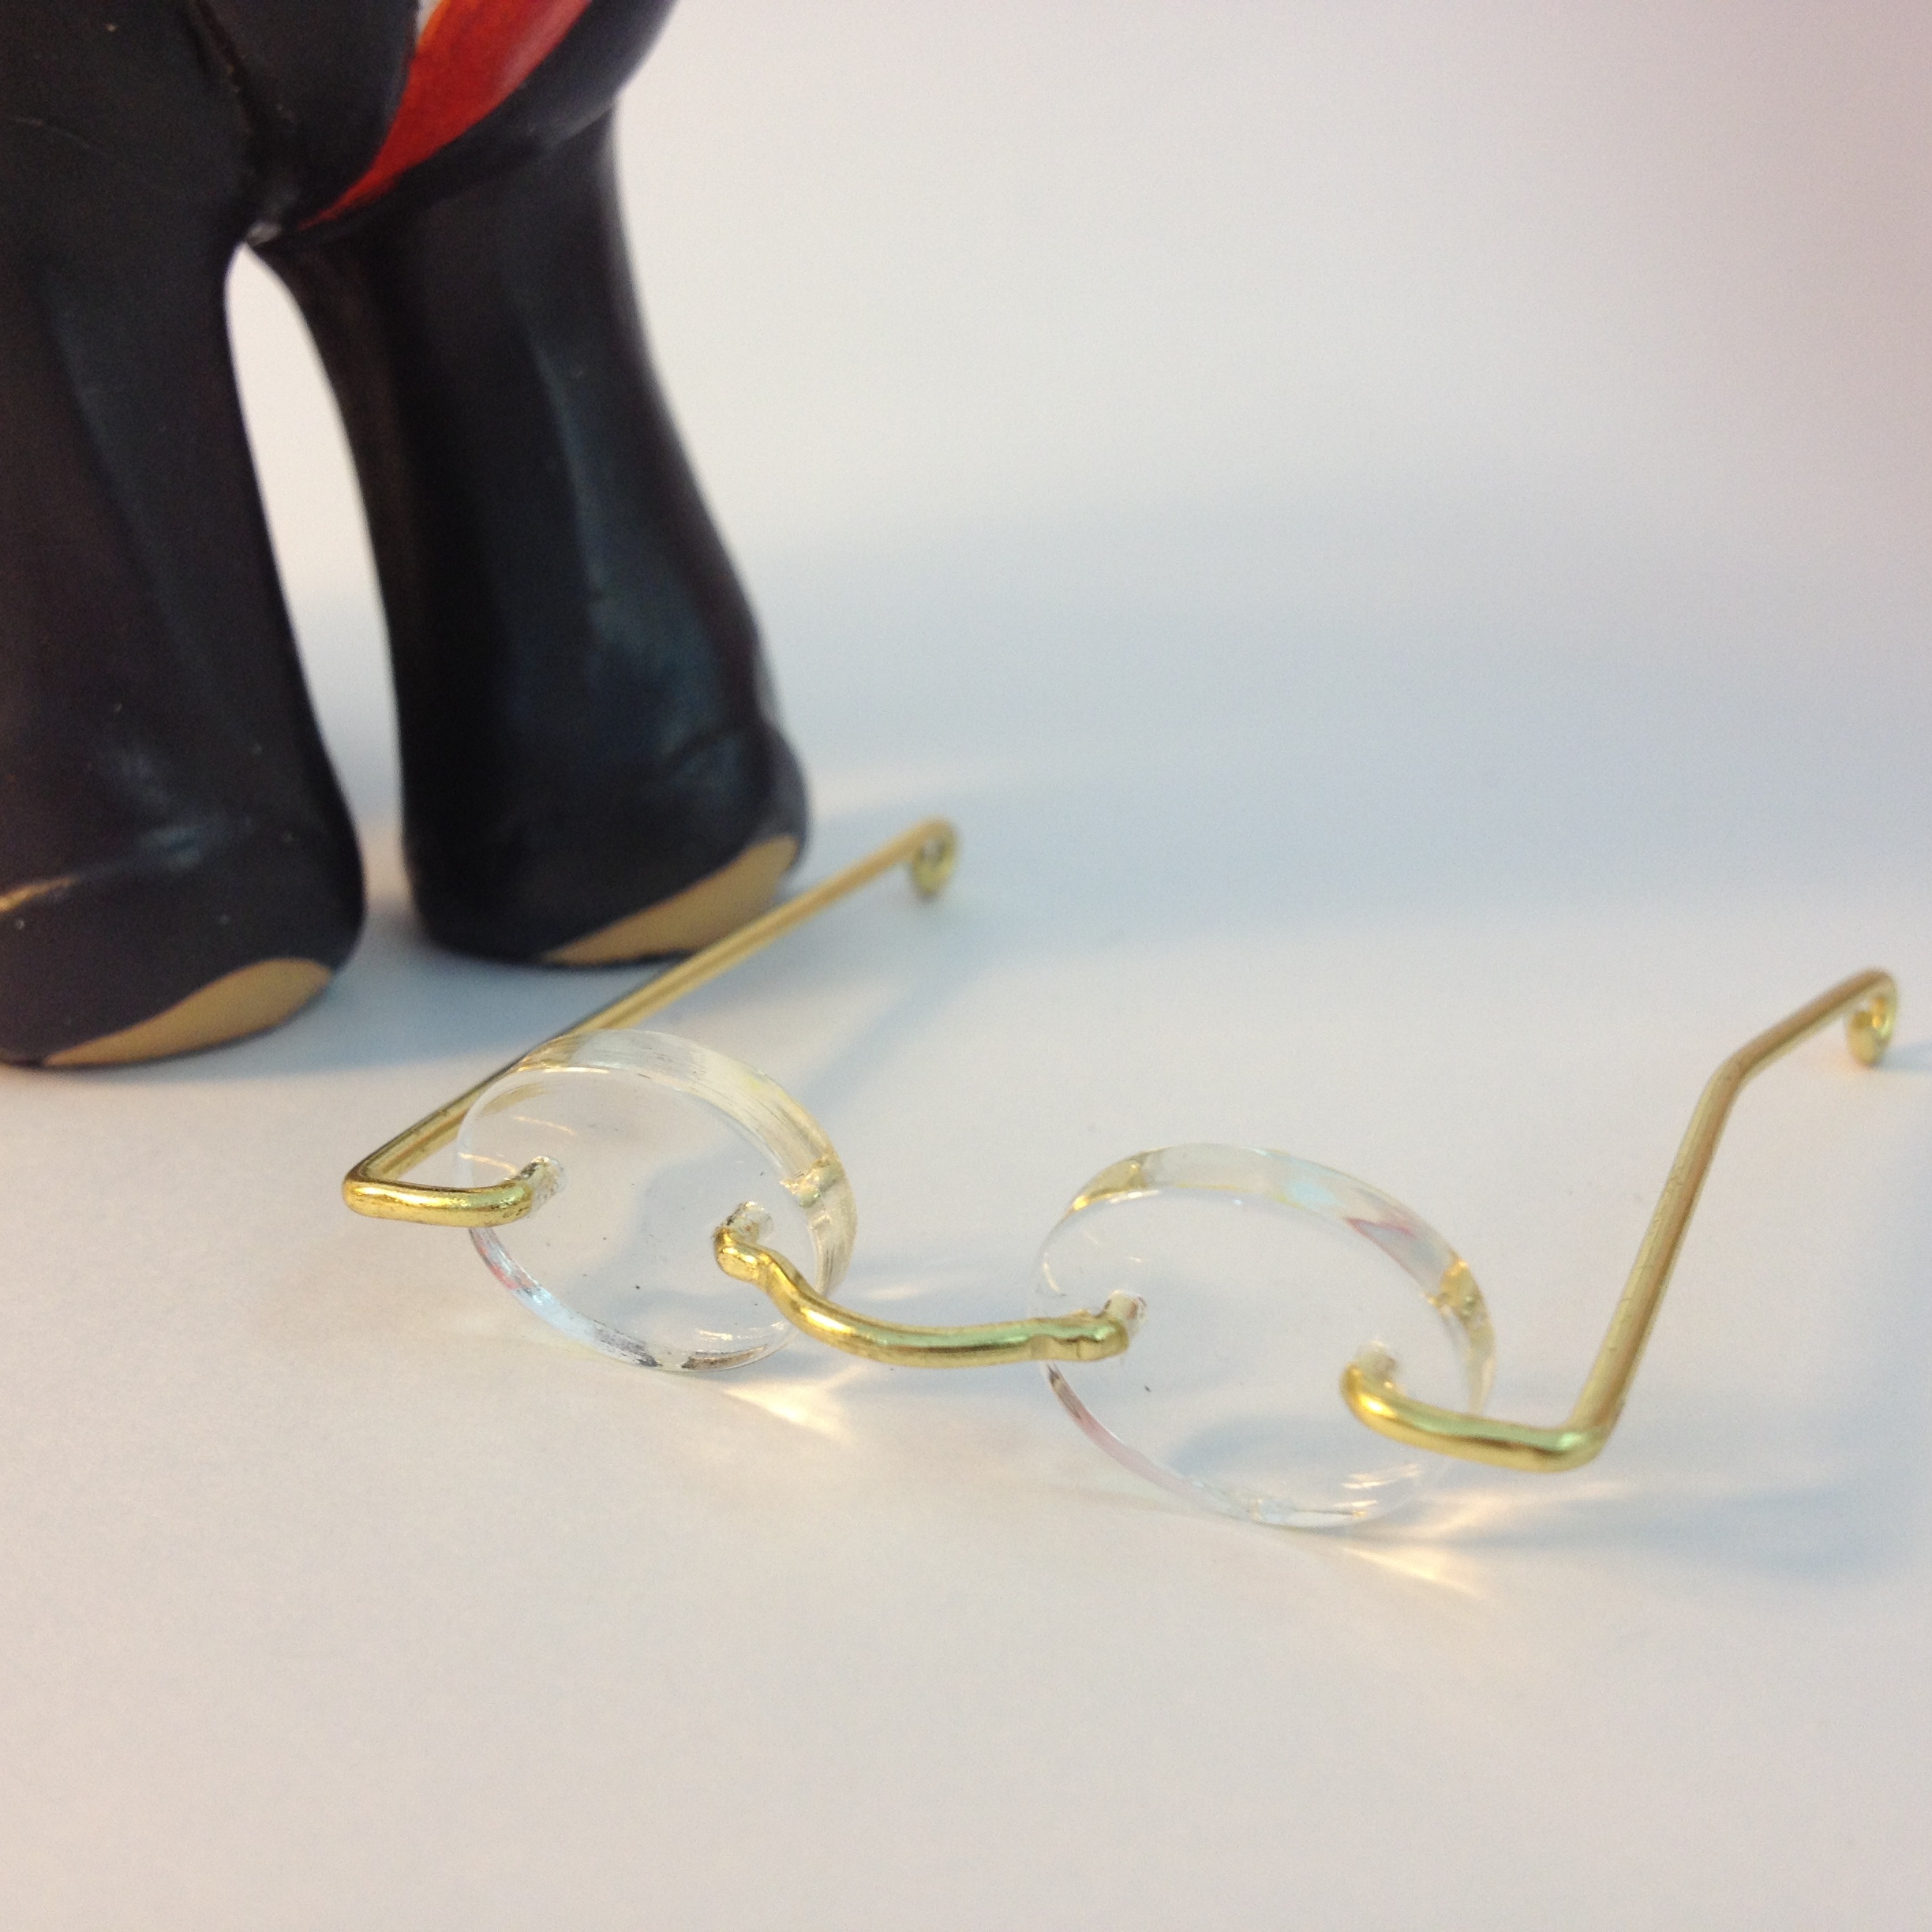
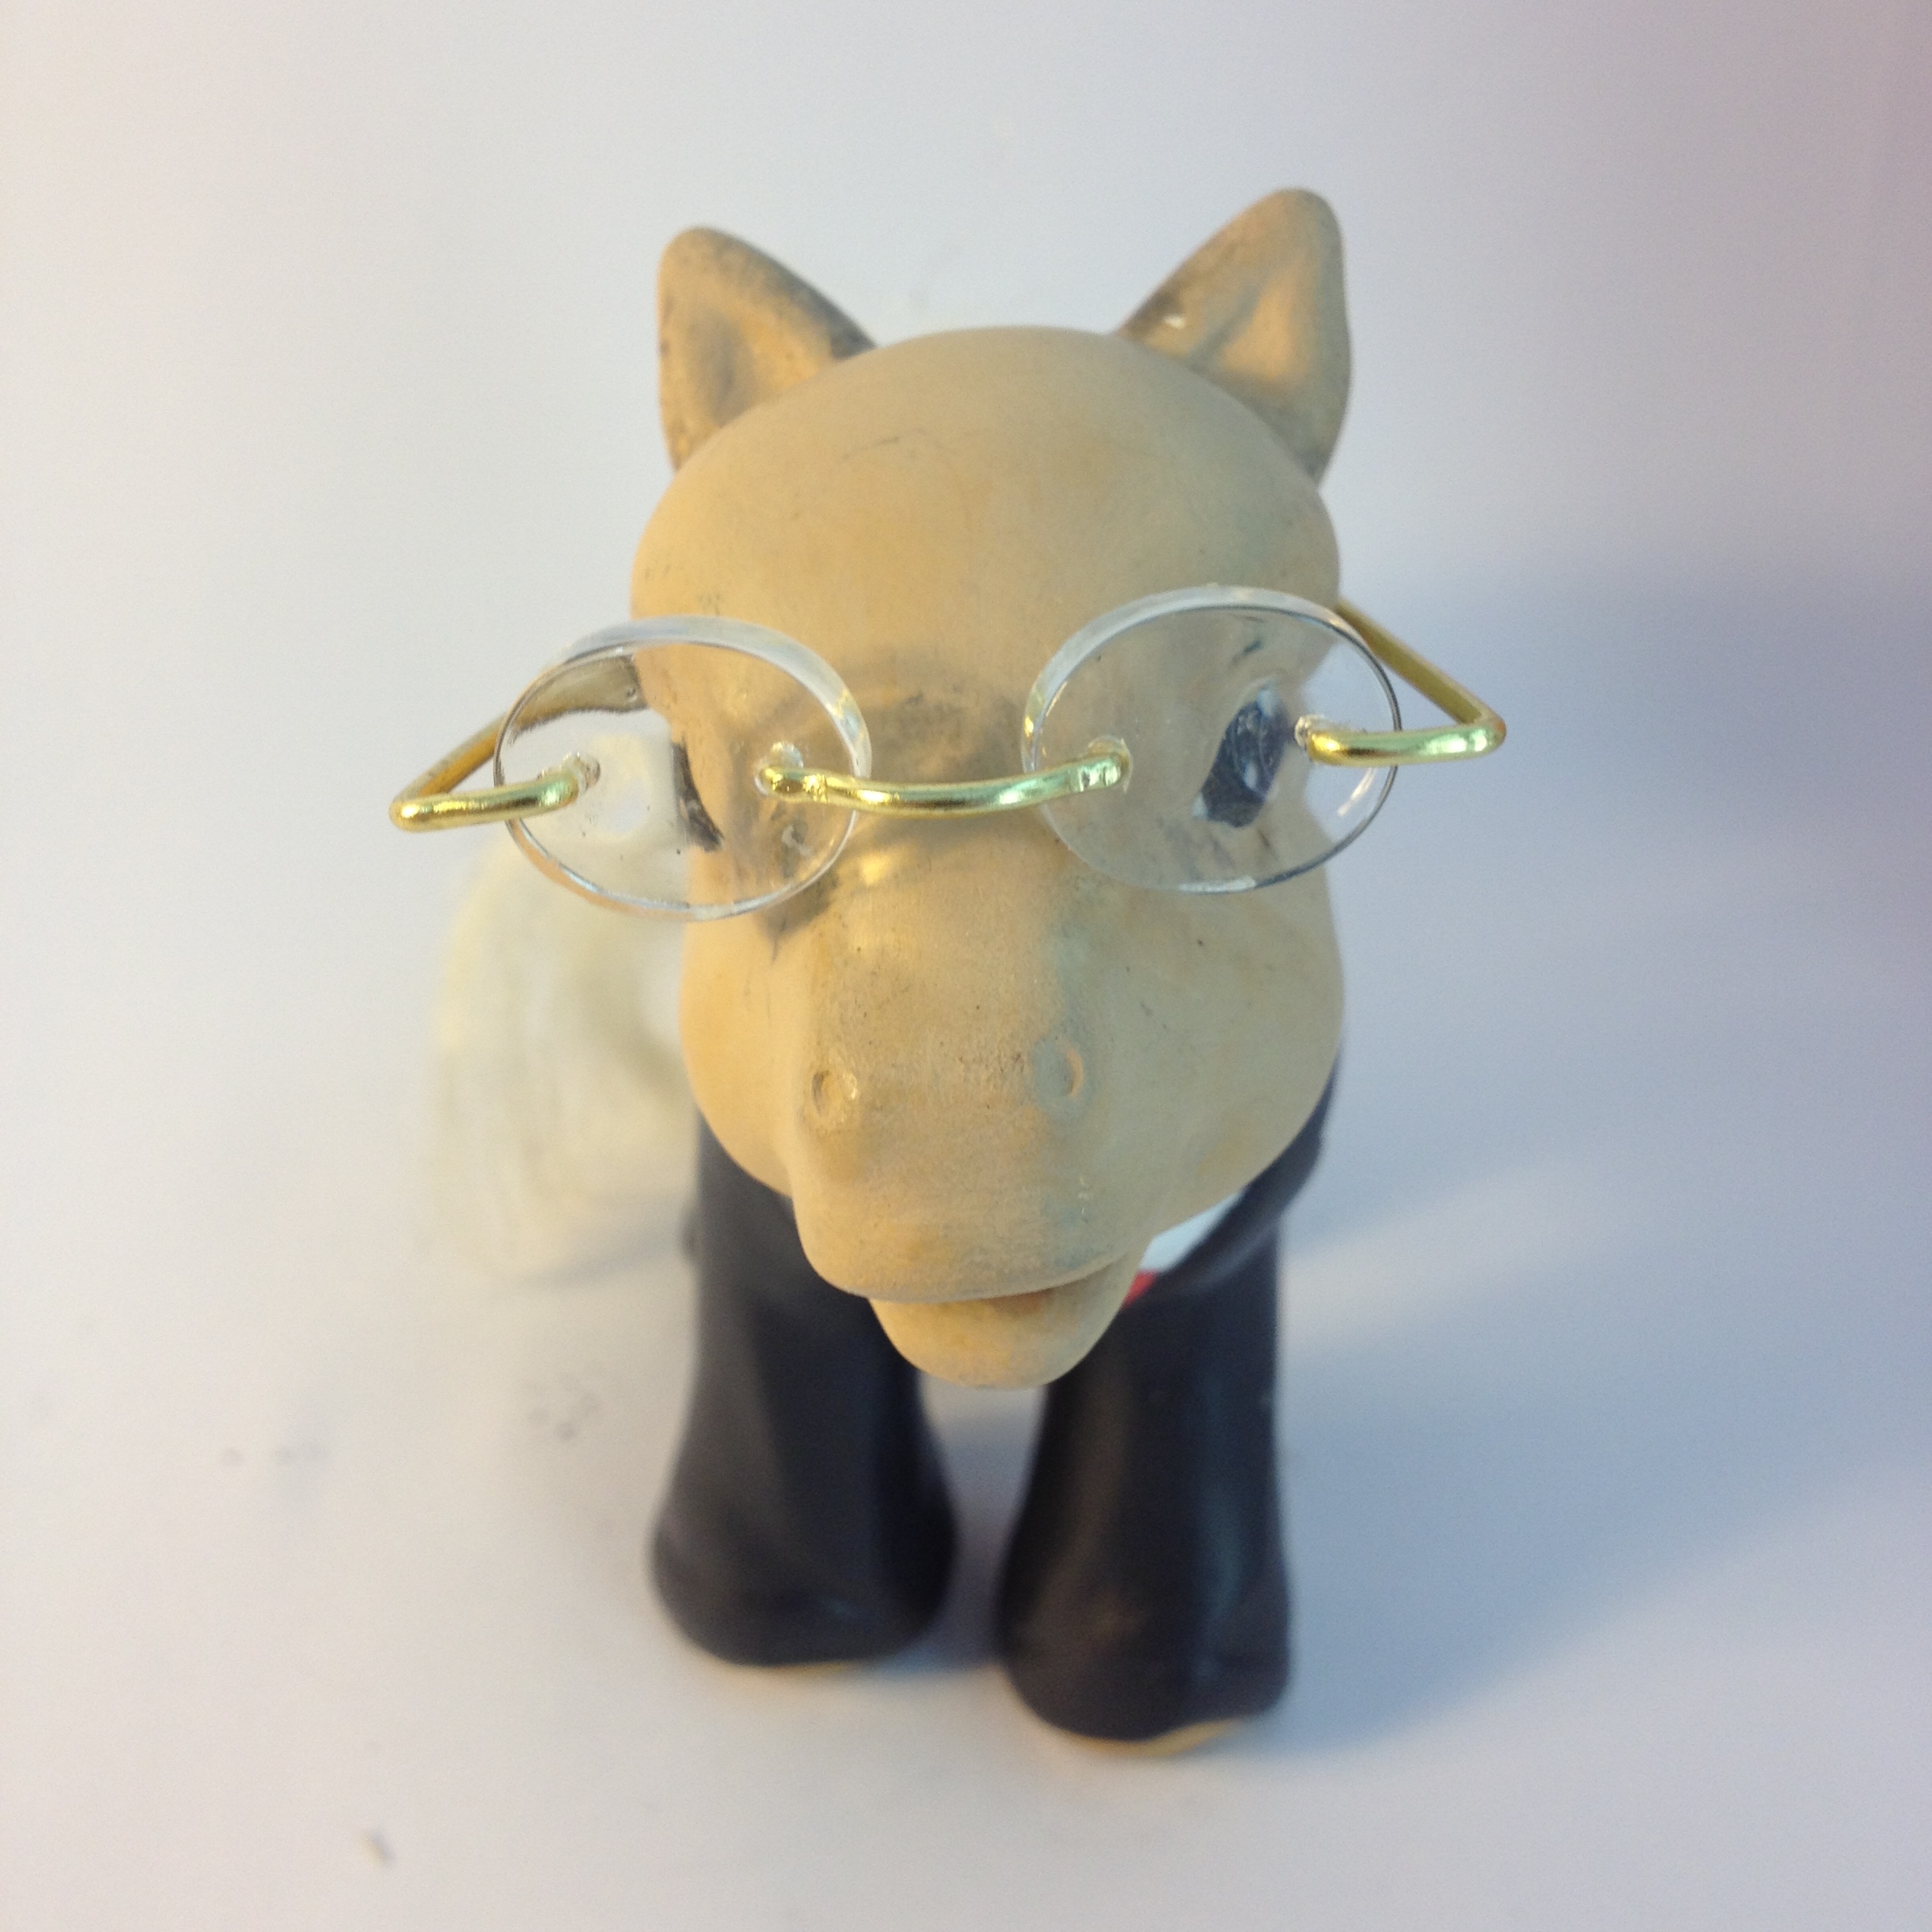
These are the right size! BUT, need black frames and the arms bent etc etc. And the glass is very thick, which is kinda funny. And there should perfectly circular black frames around the eyes. And with perfectly circular glass, these are the wrong shape entirely. And with bold straight arms, also black. And and and.
These things can be tweaked. But. Butbutbut. Doesn't feel right. And these are apparently the smallest eye-glasses available, ever, anywhere, in the whole world & universe. I know, because that's what it says on Etsy. But maybe, maybe they're not so perfect for my I. M. Pei pony after all?
Dammit, I thought this would be an easy way out! I'm just not sure, they seem so simple in construction, and I'm wondering if in fact I'd be better off re-visiting the first idea using the black rubber washers. Making my own. From scratch. Again. Hmmm. Thinking thinking and quite cross with all this to be honest. But onwards like I go. Hmmmm. Lets have a look:
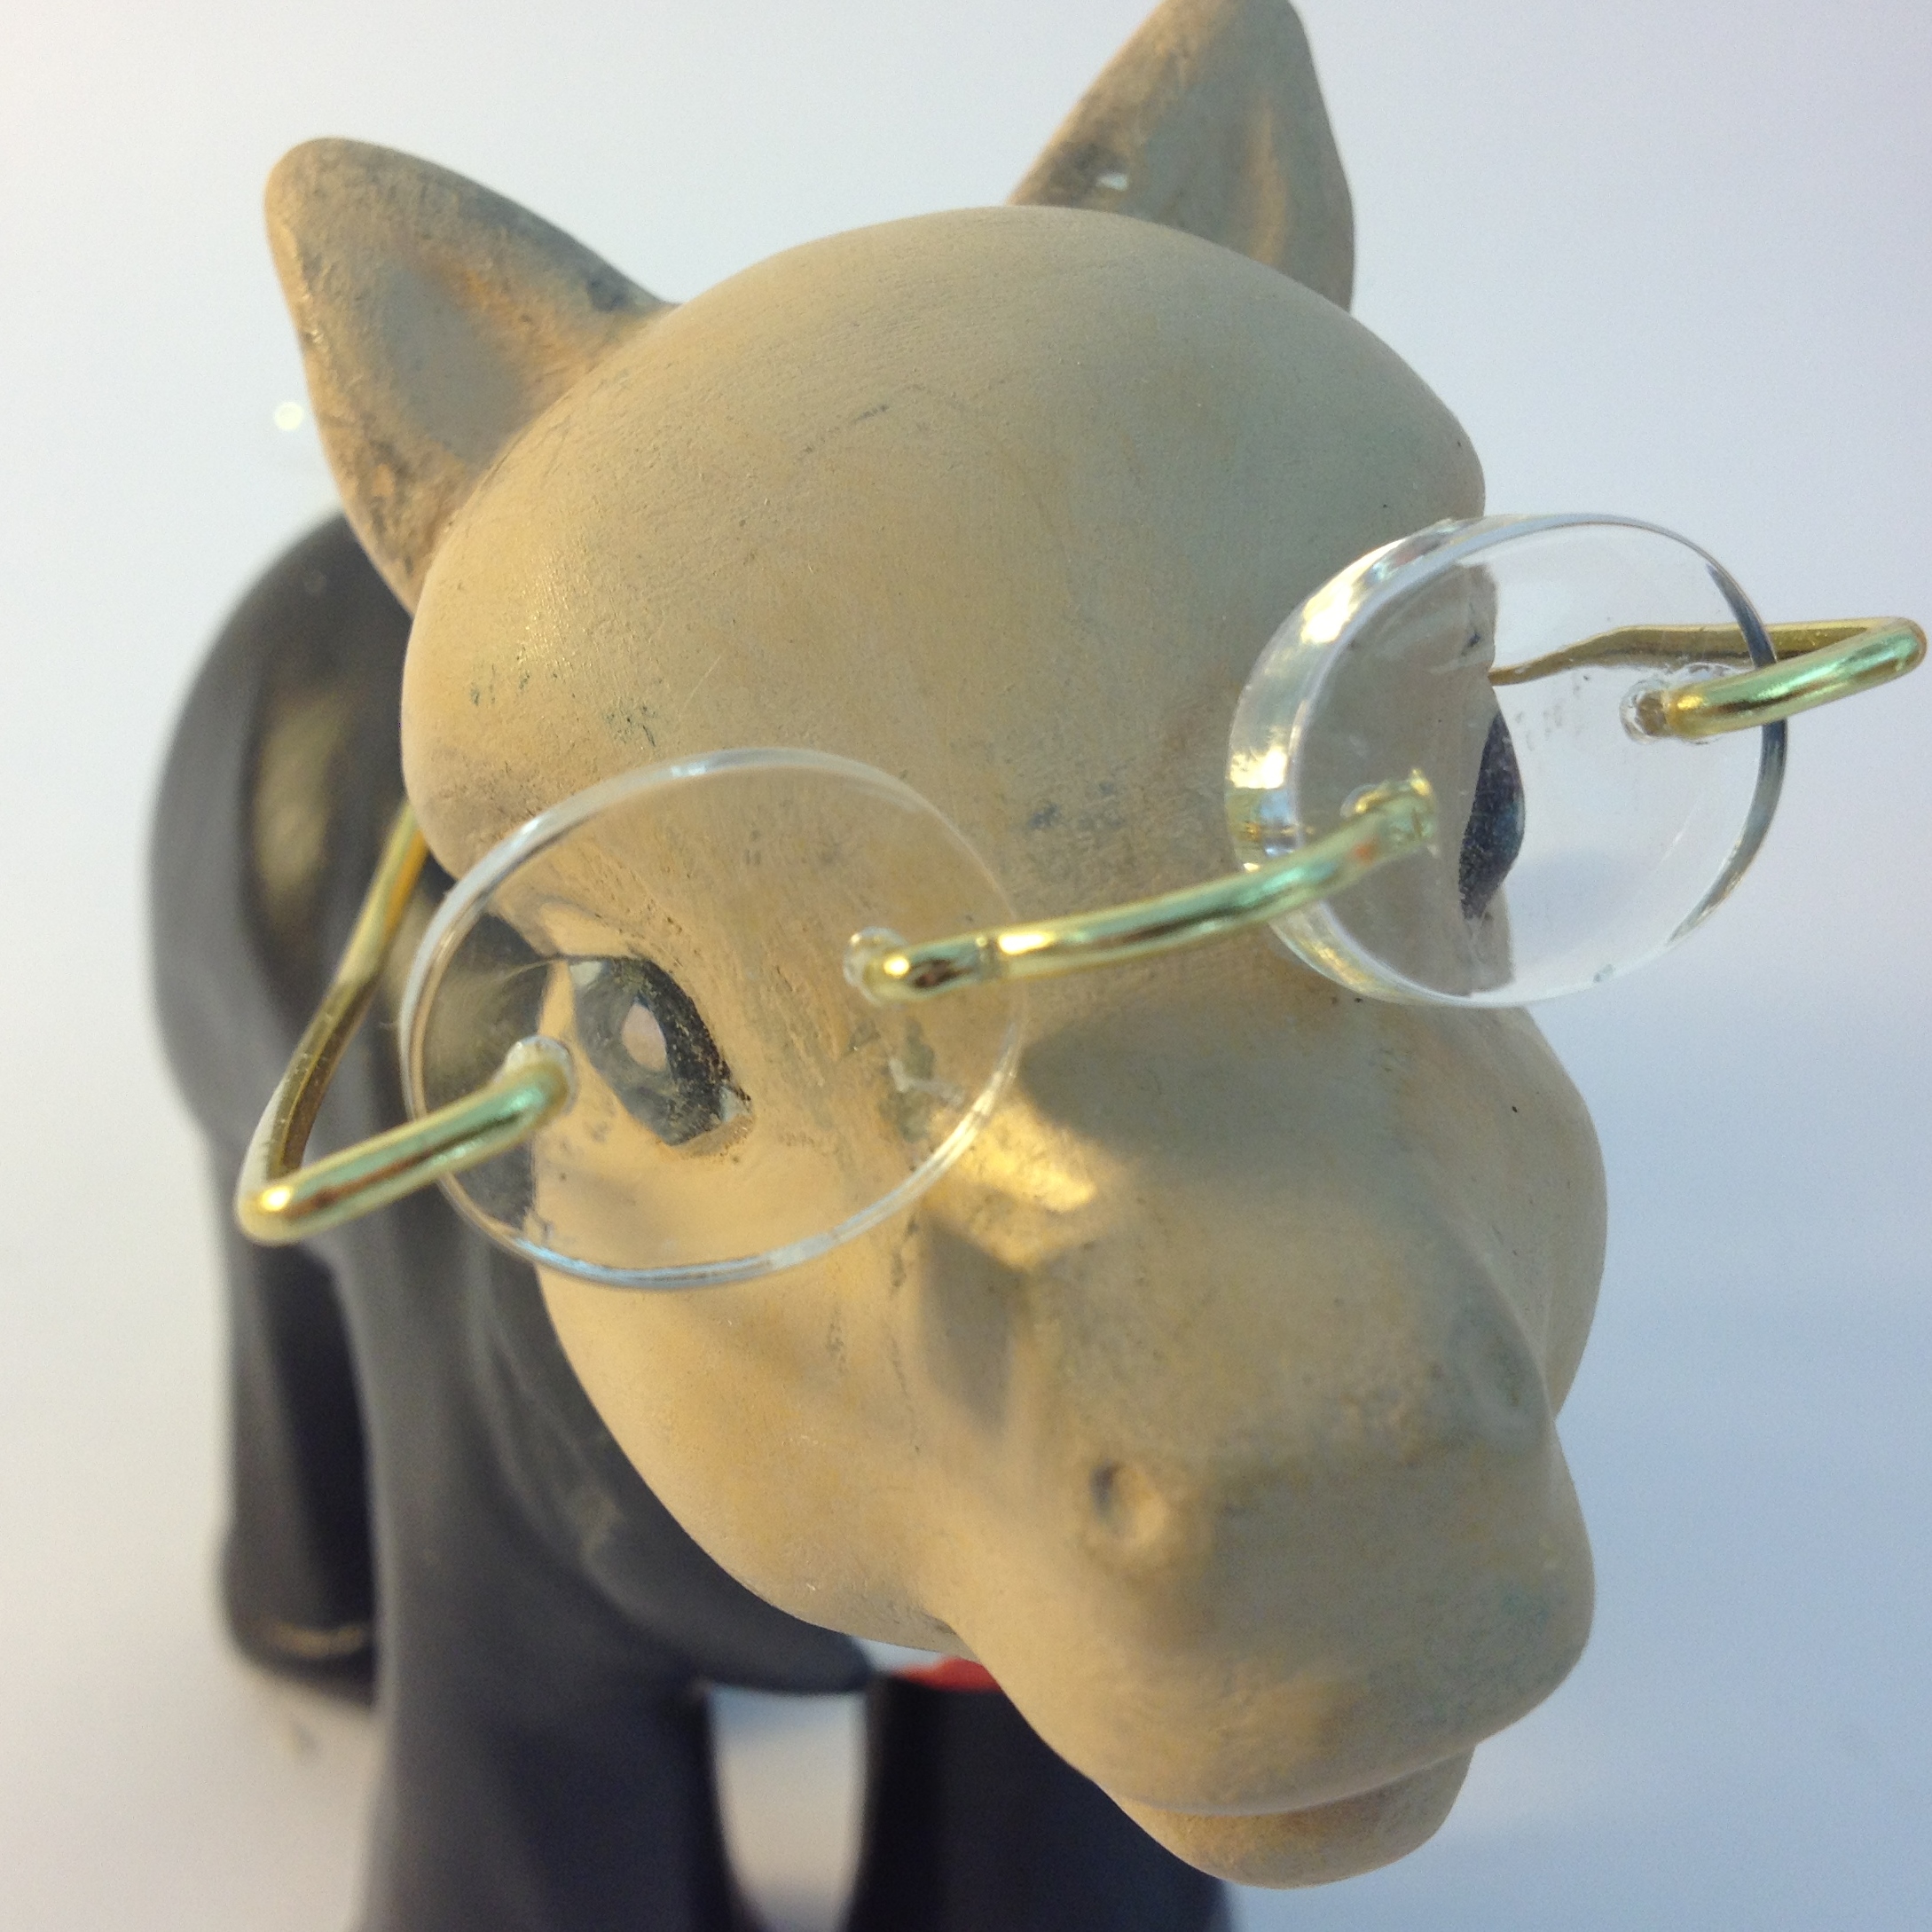
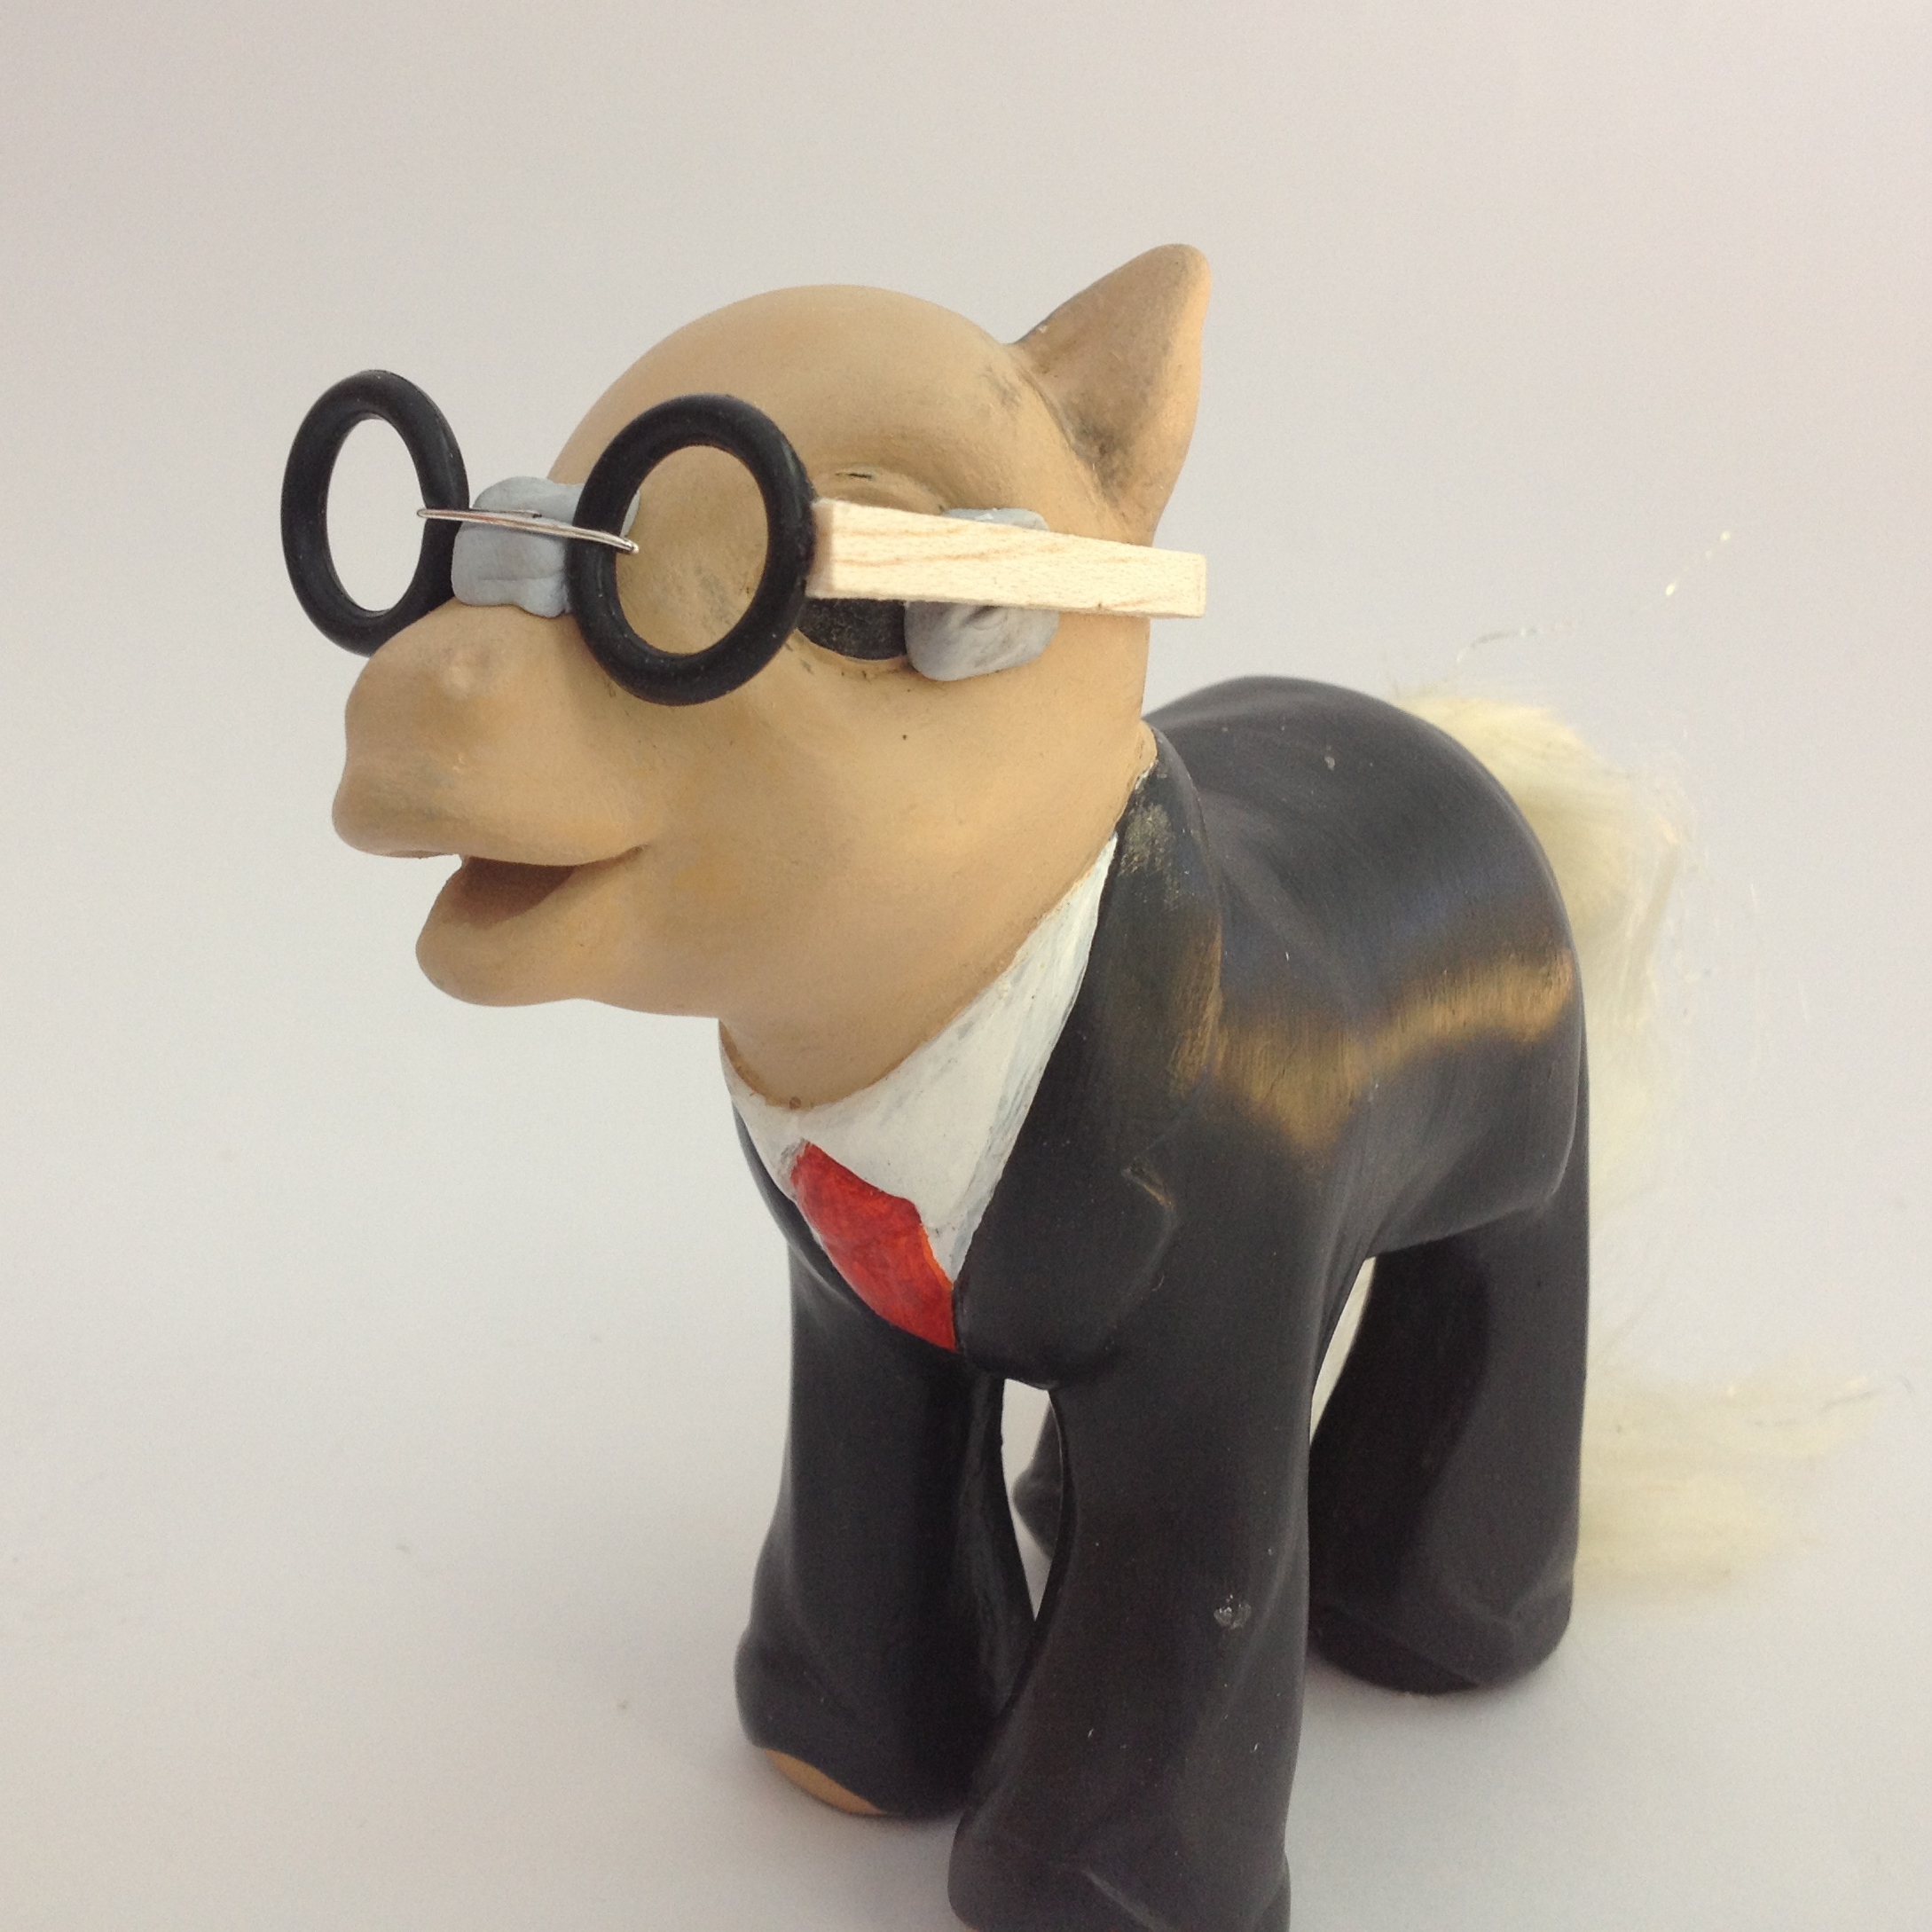
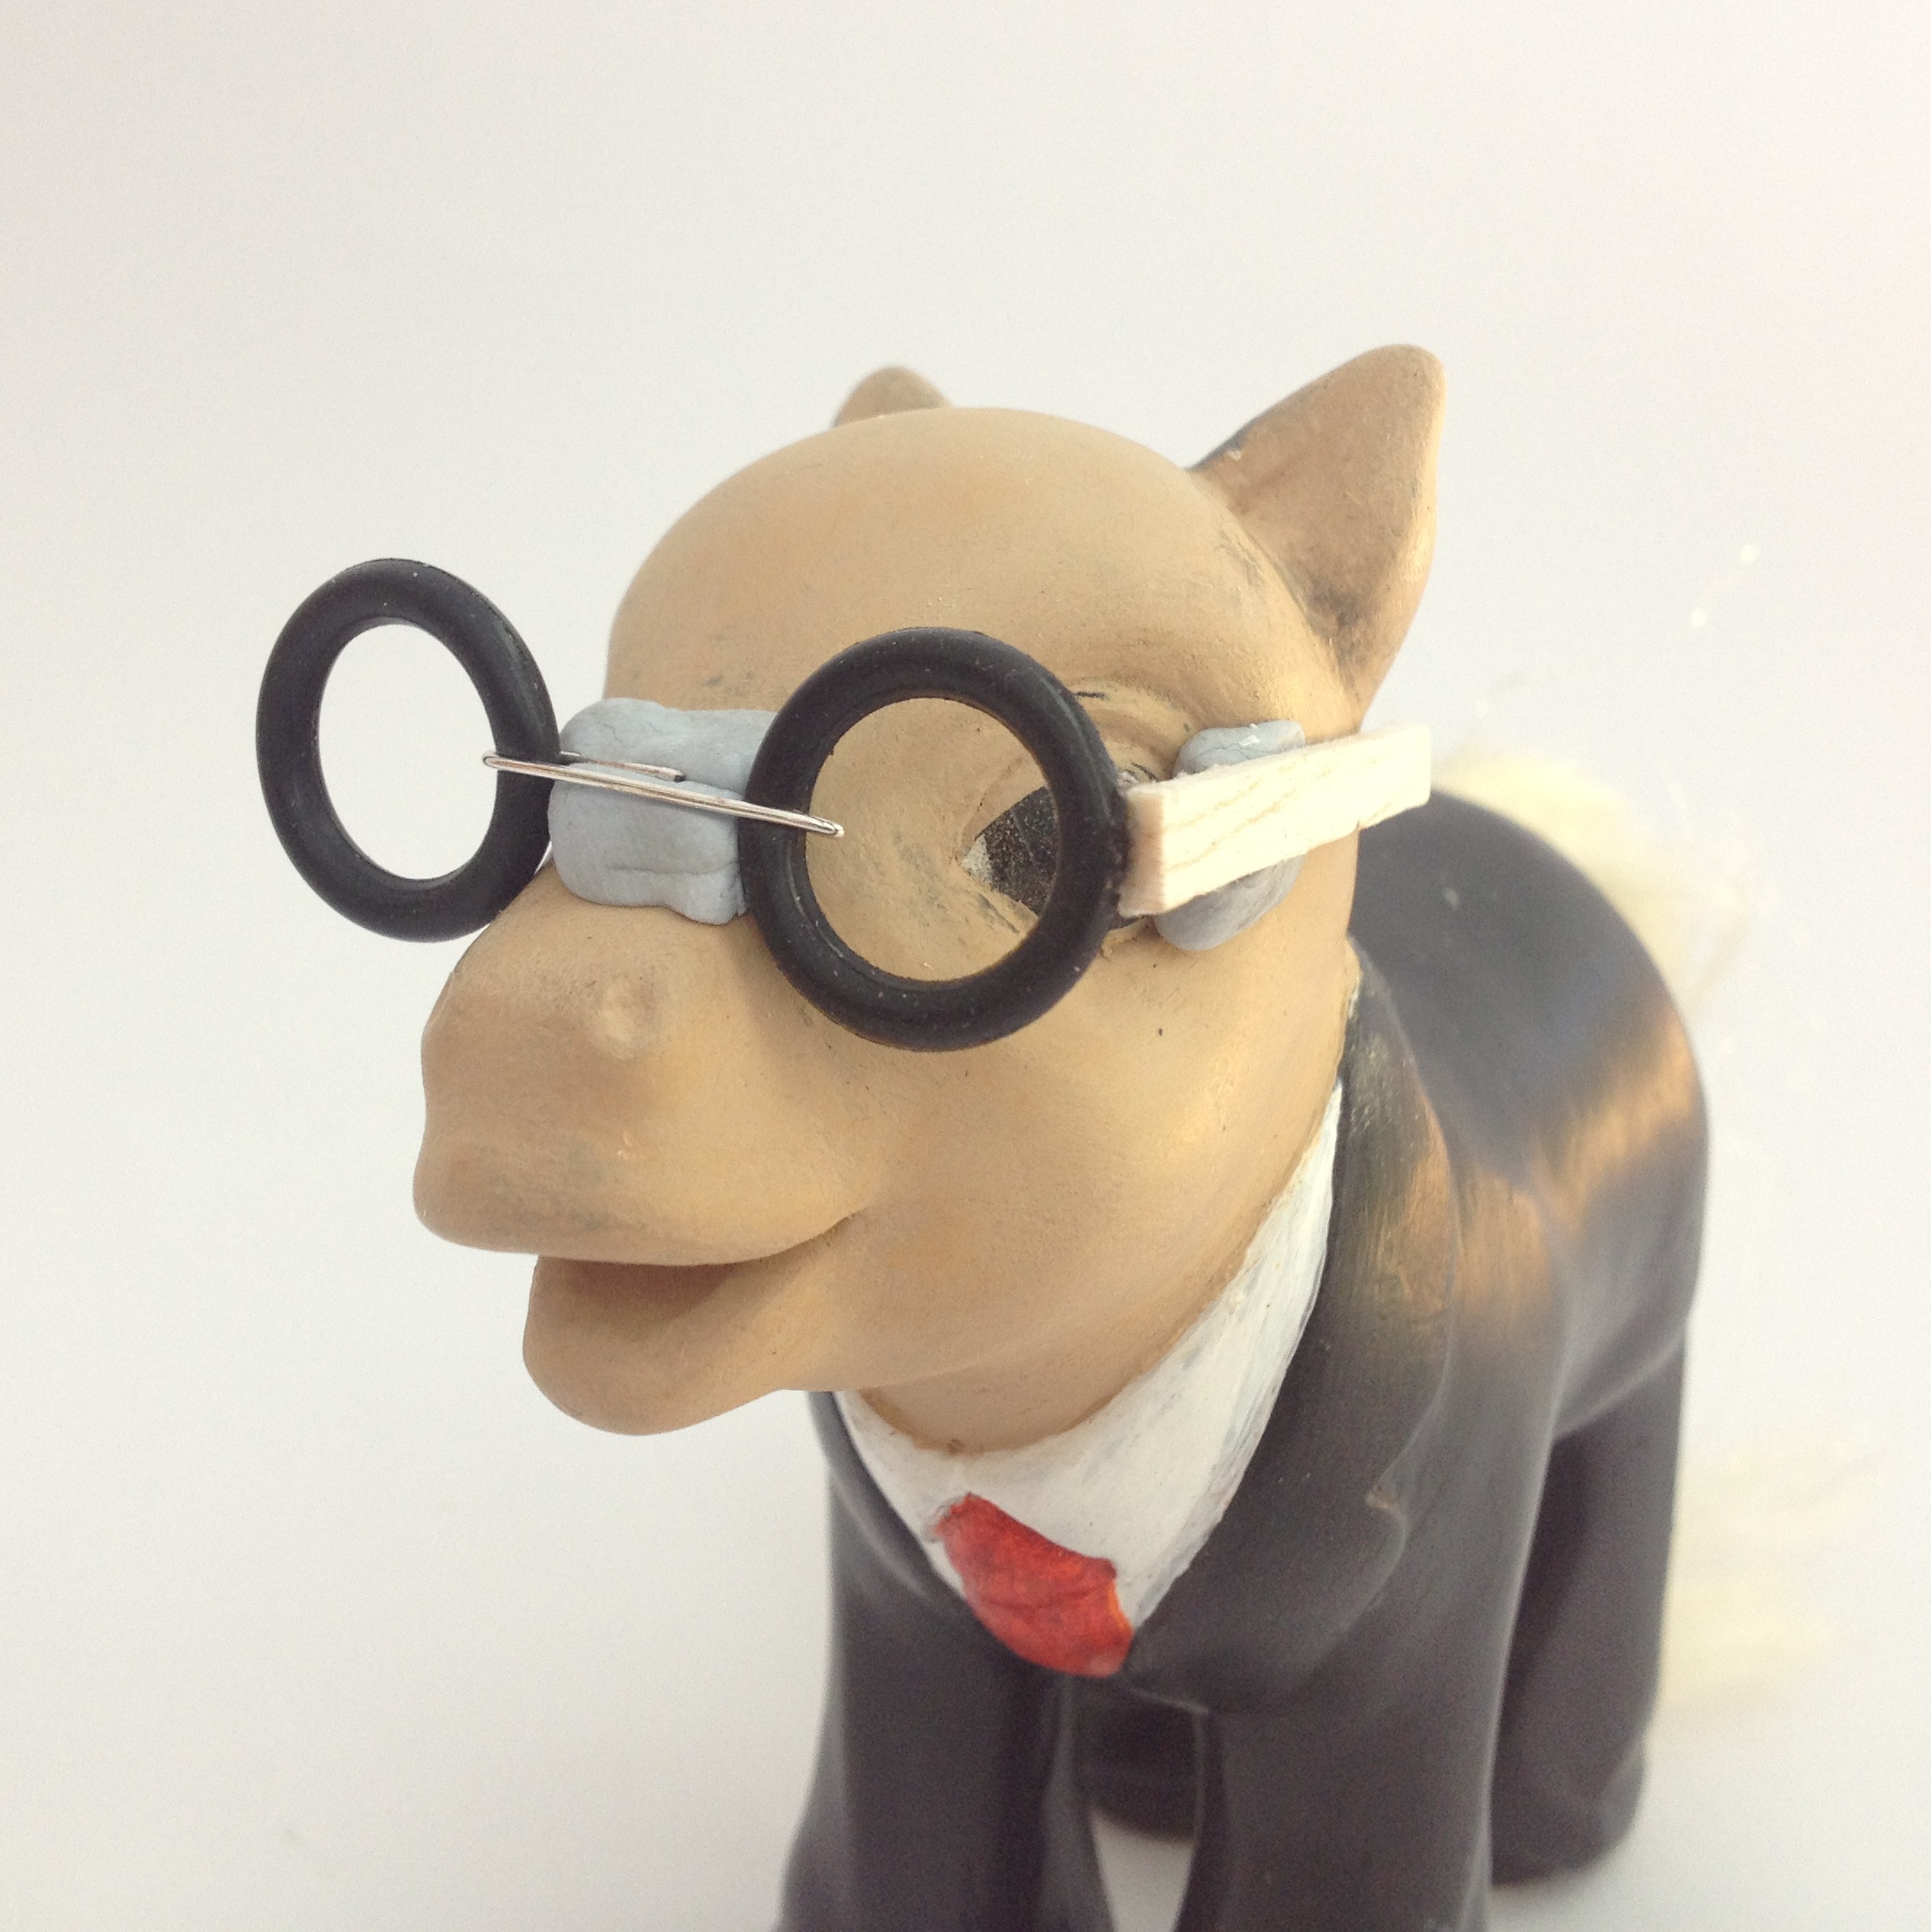
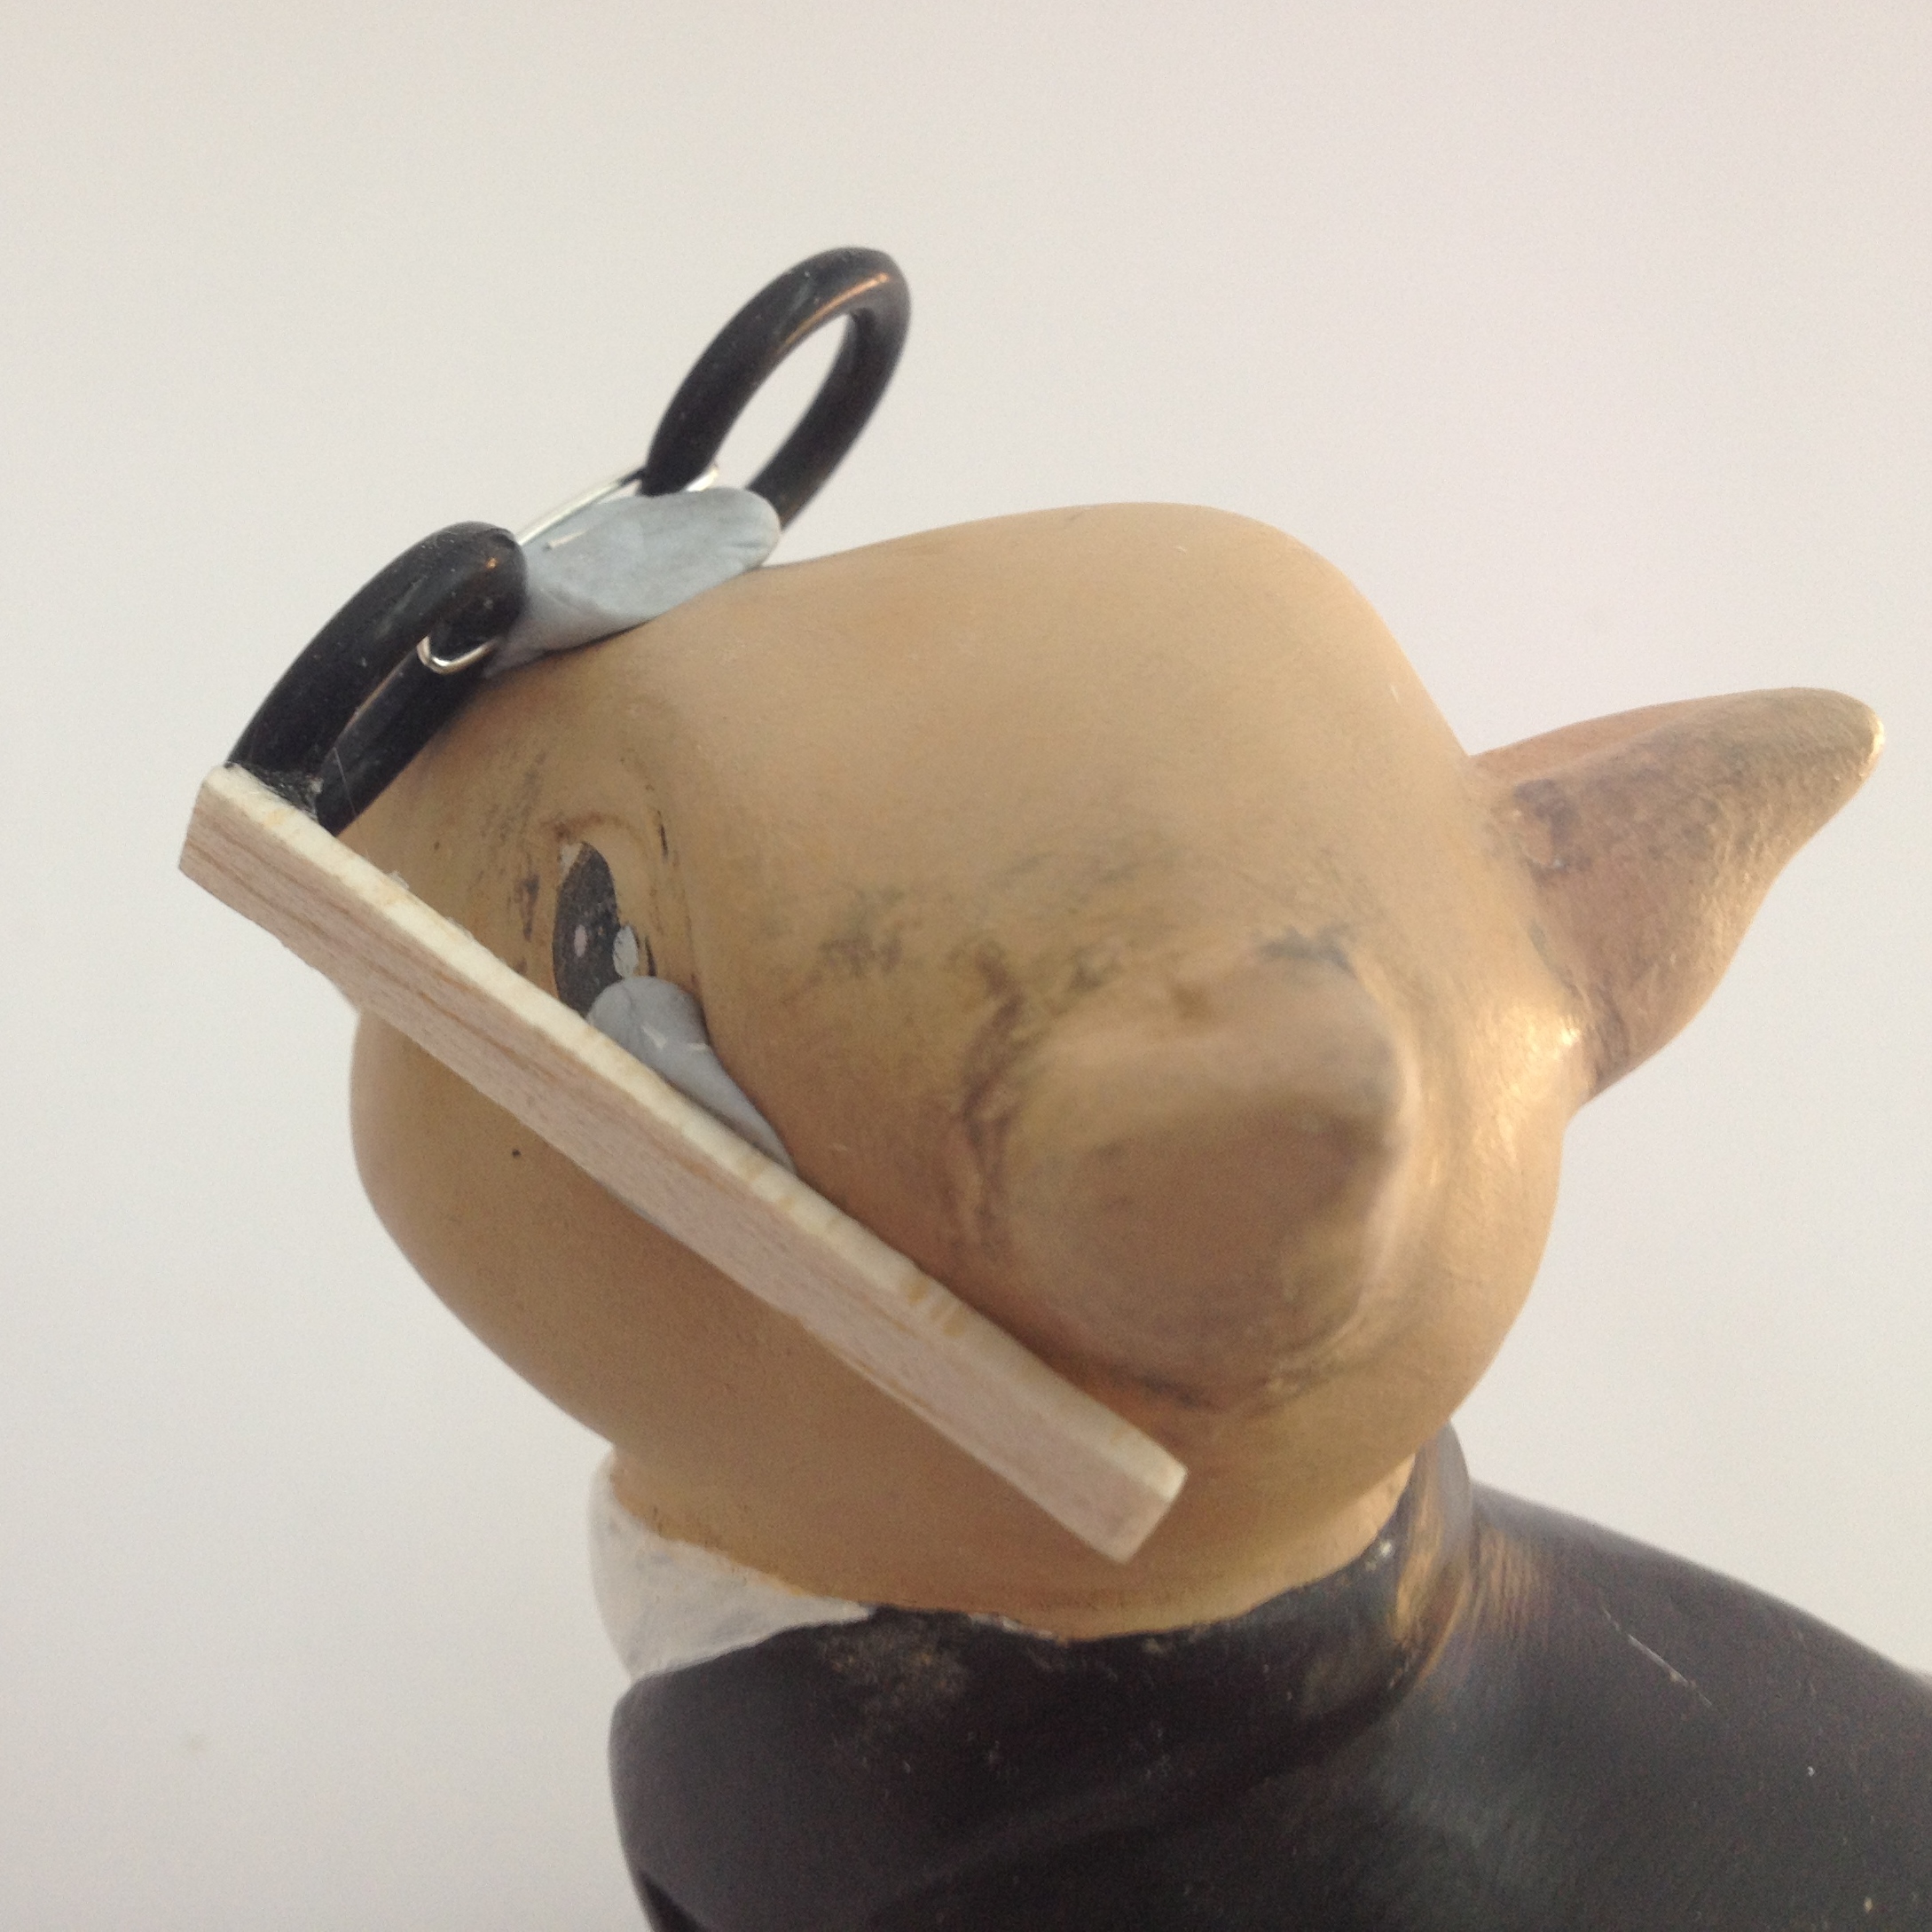
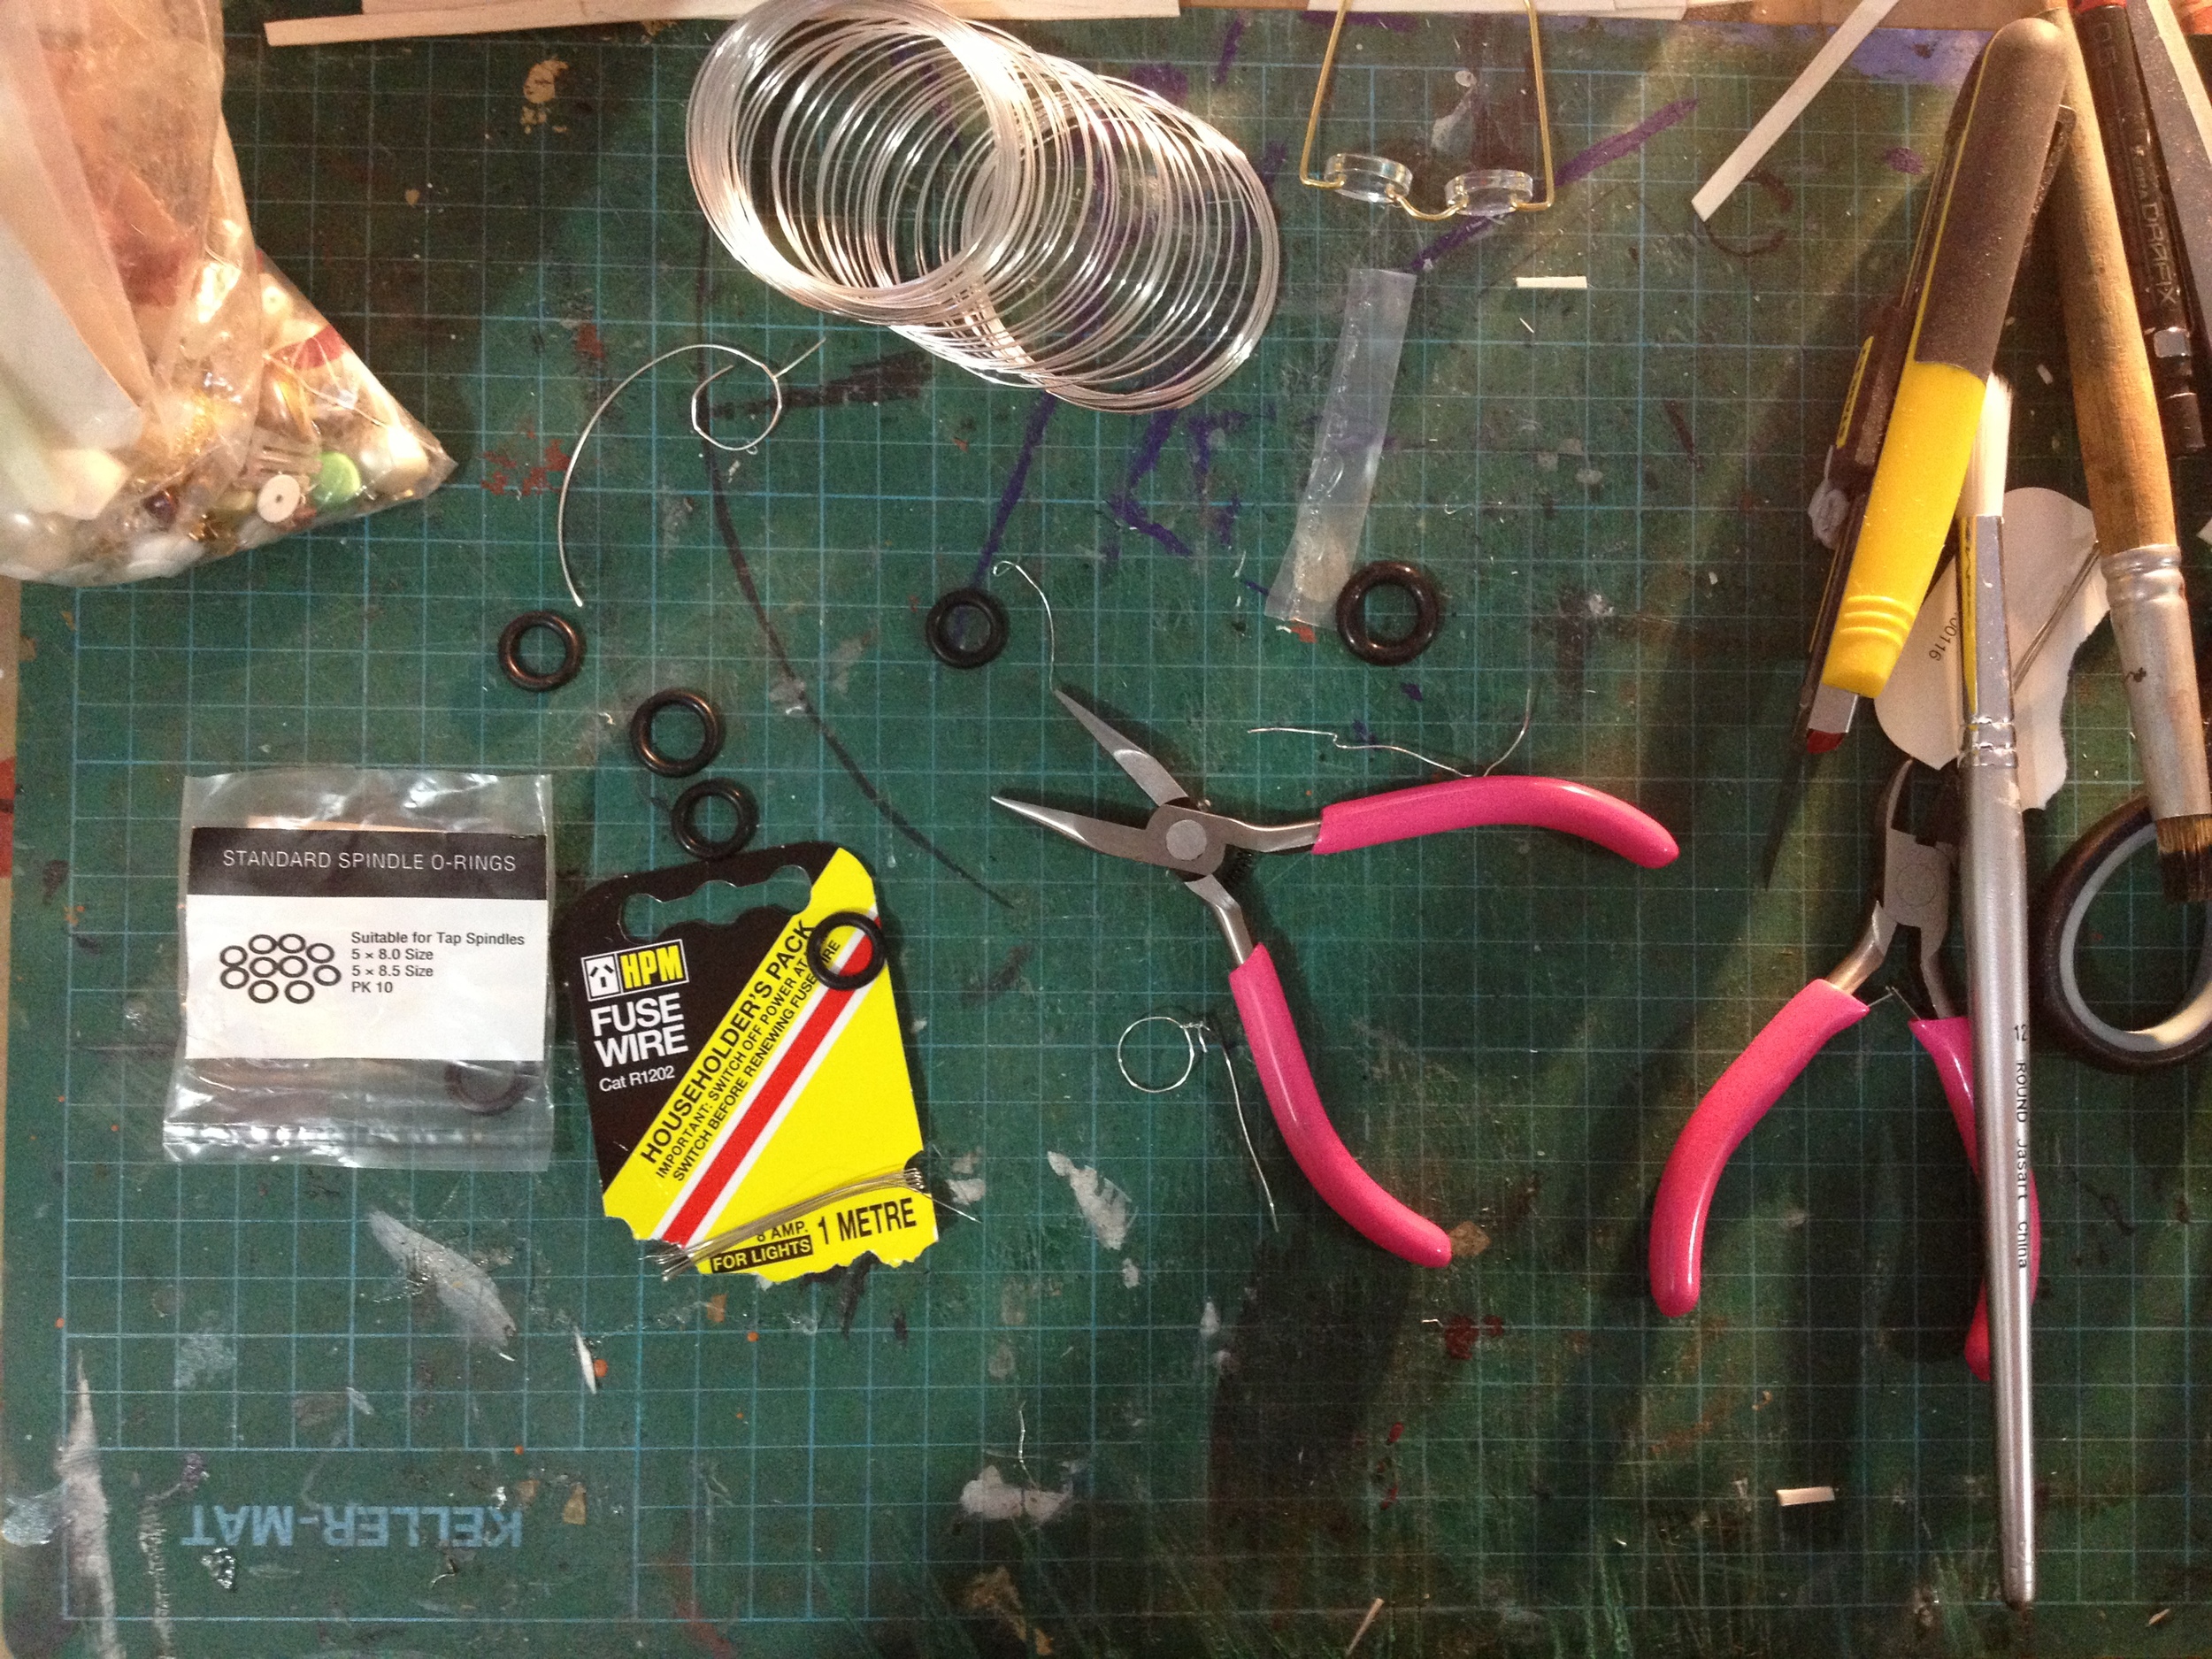
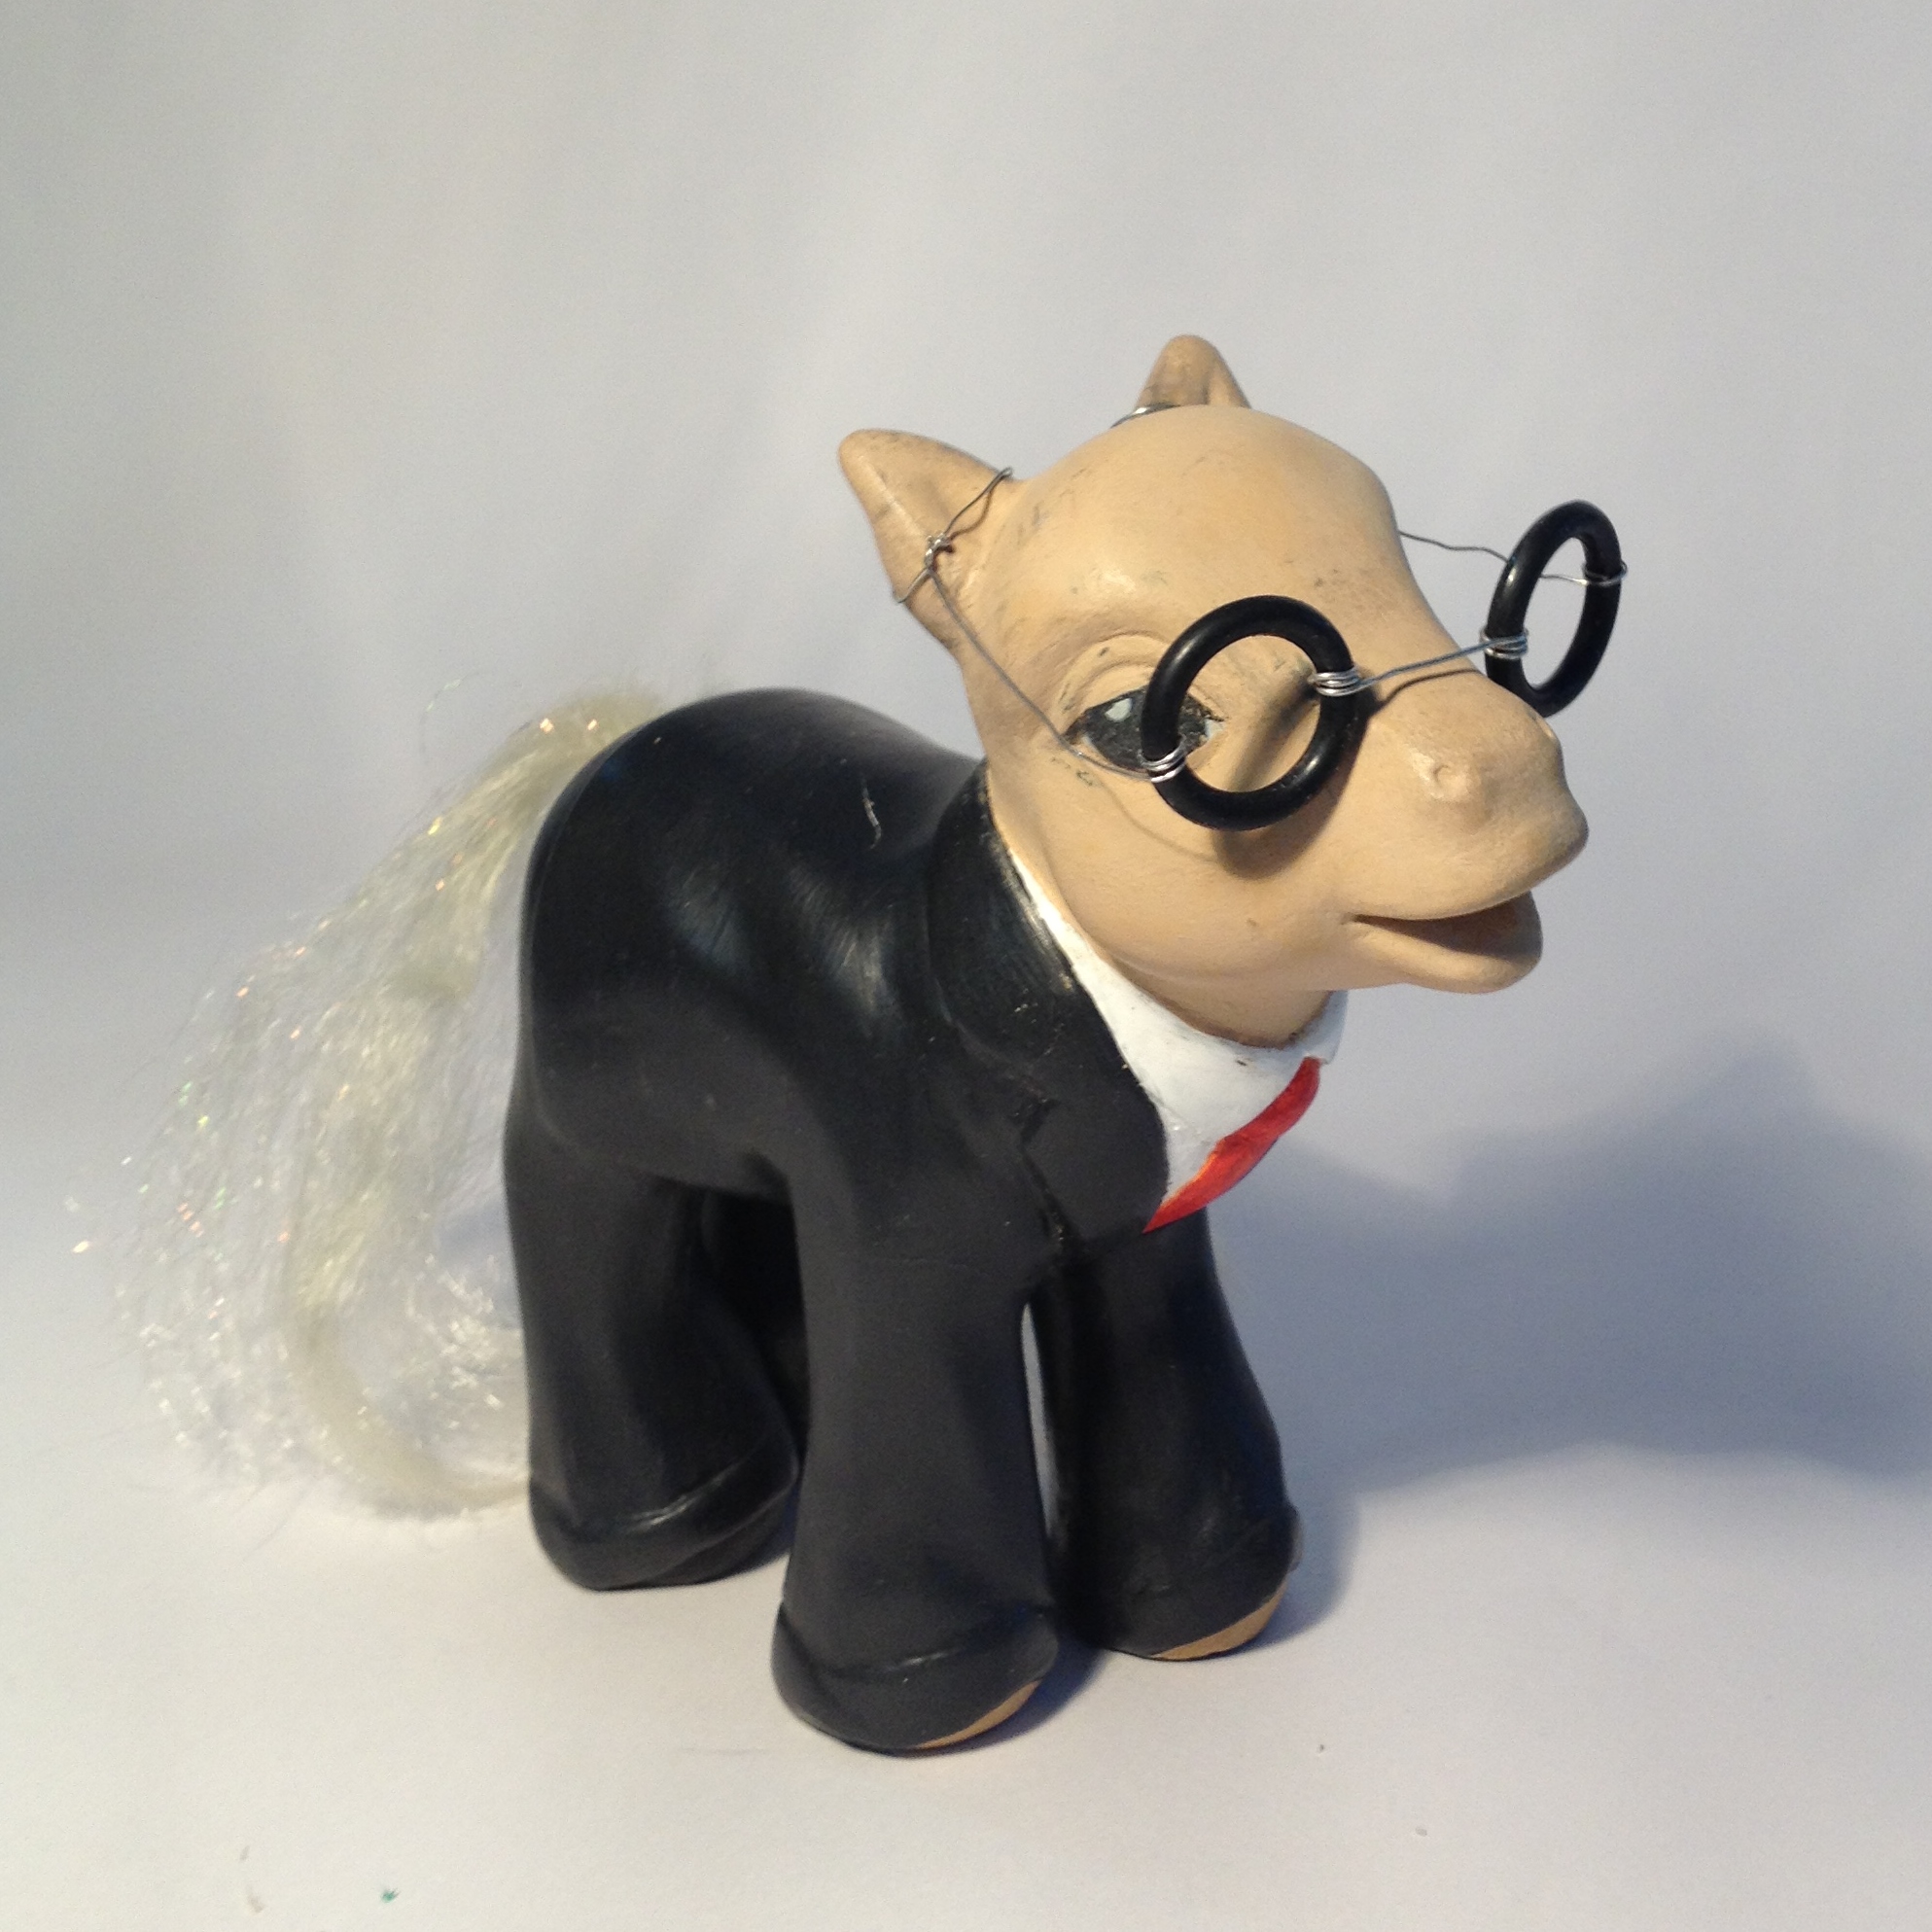
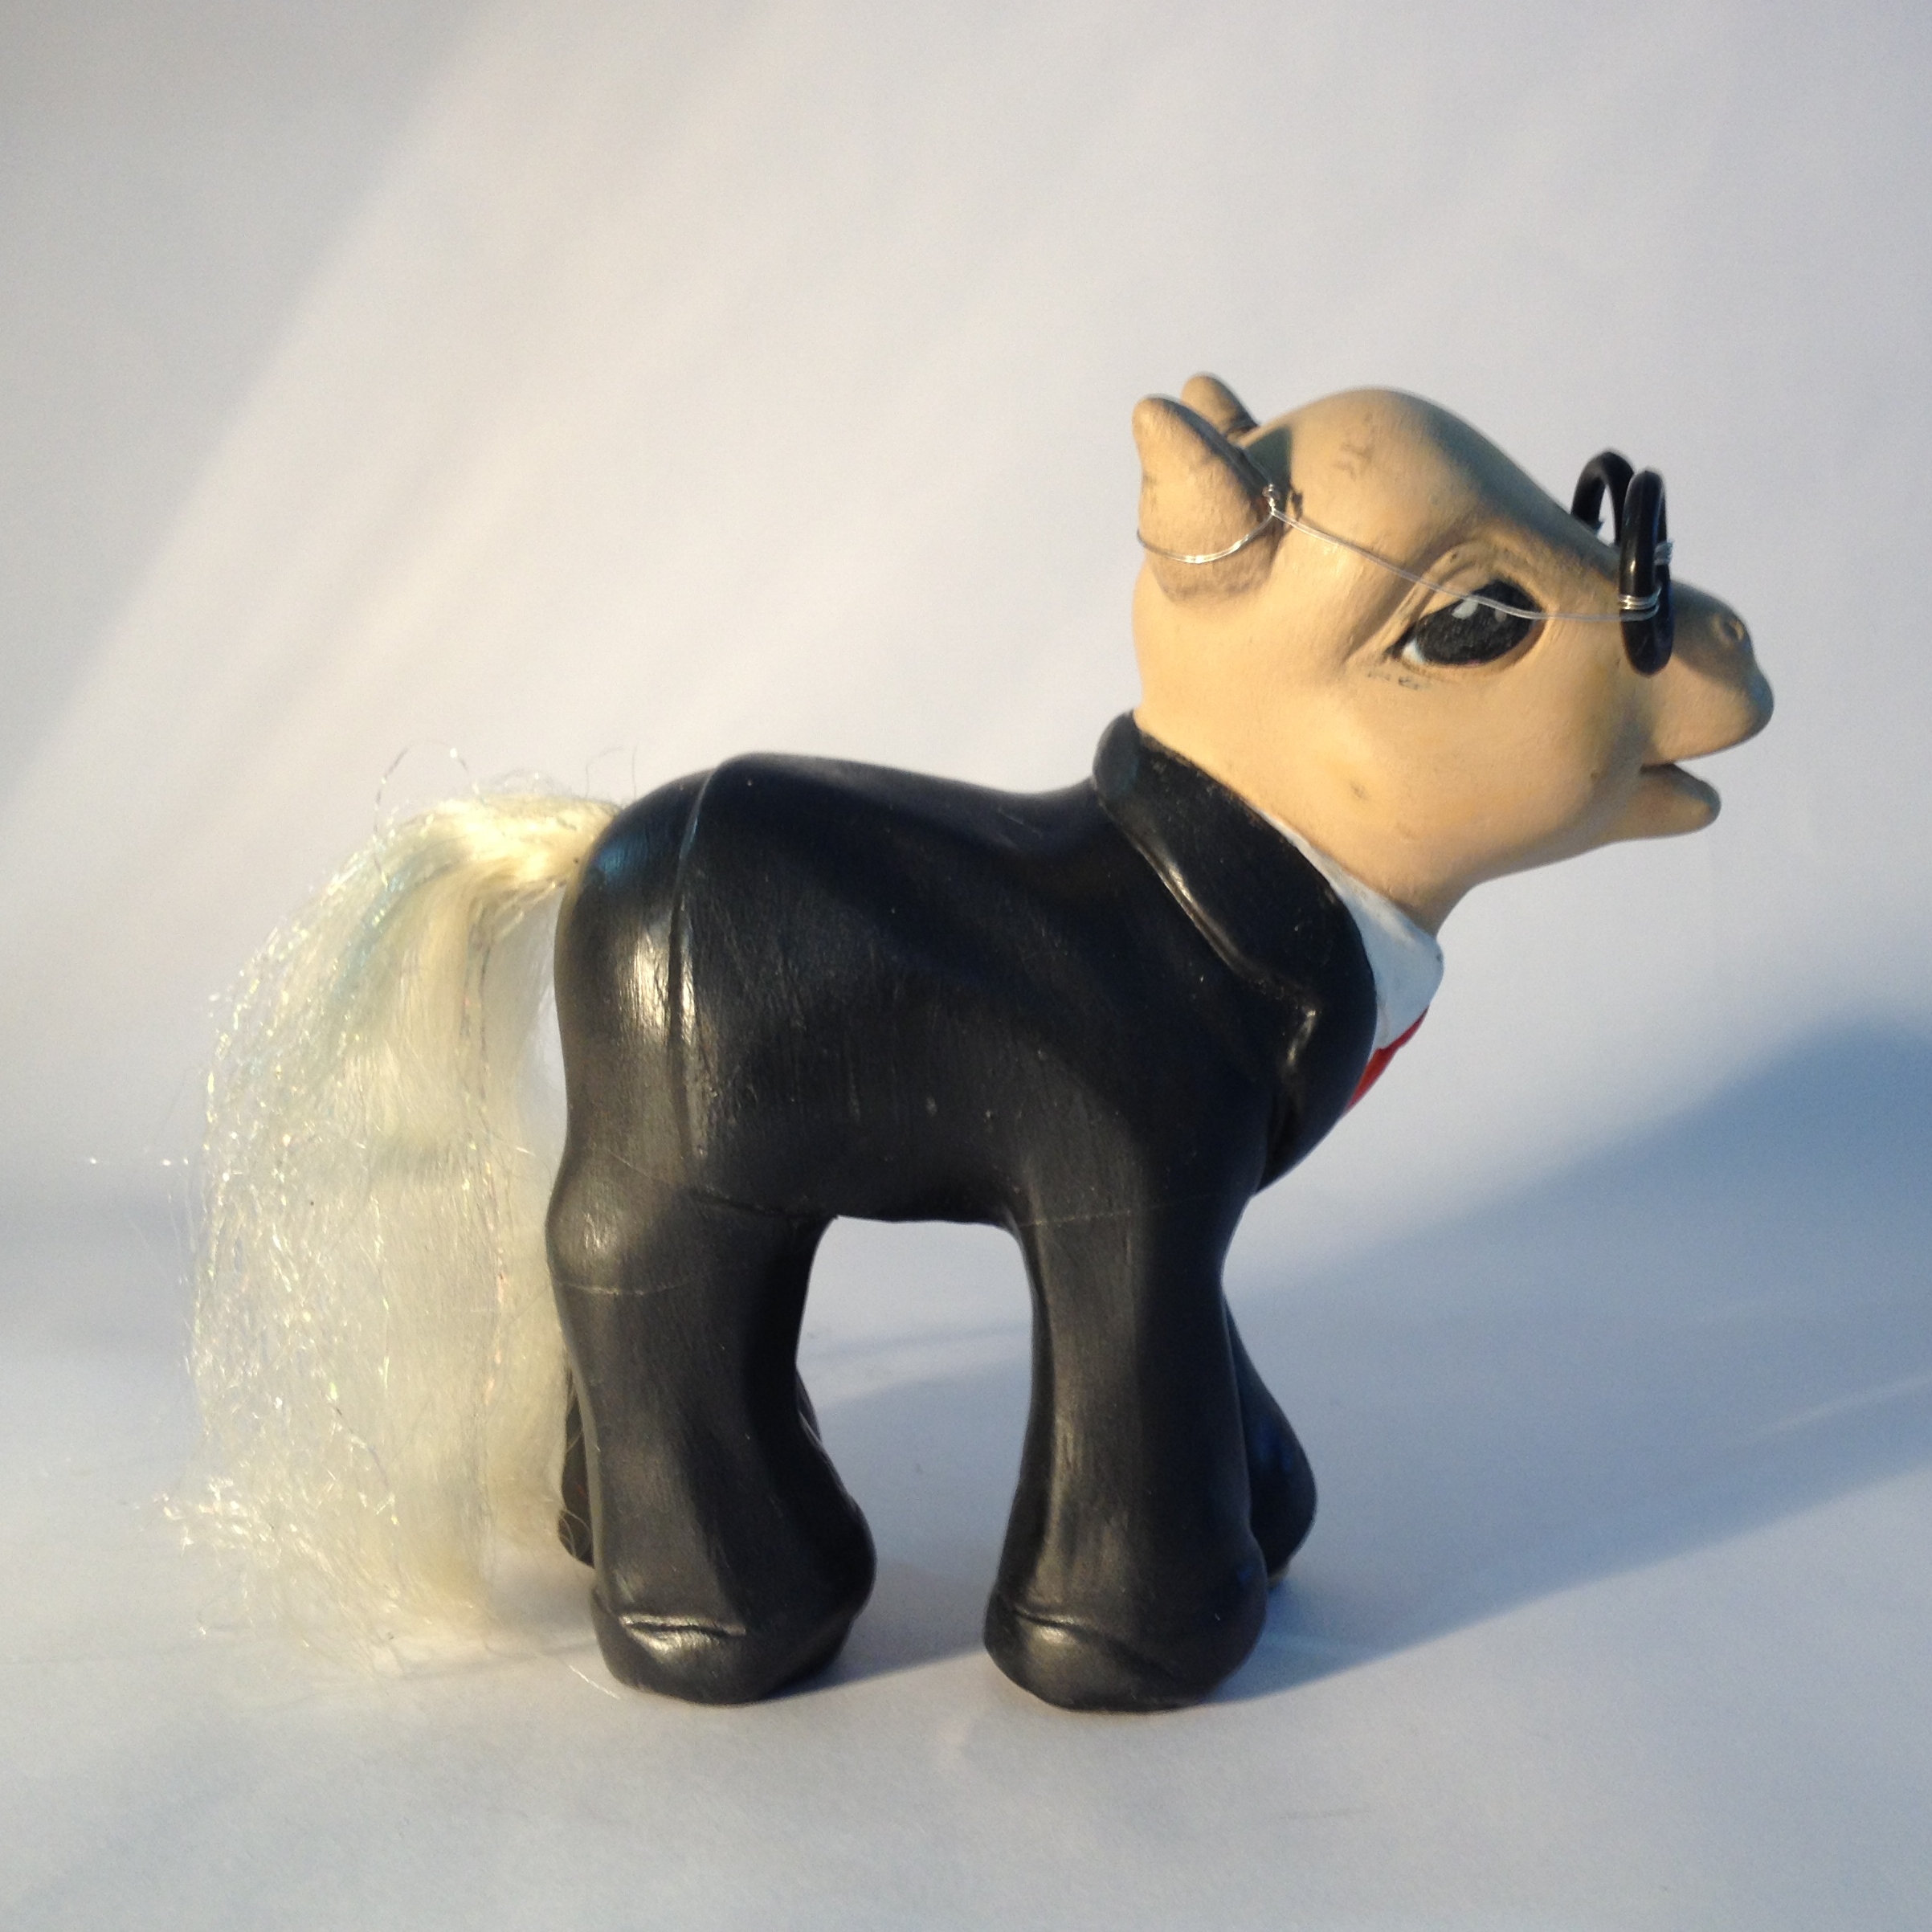
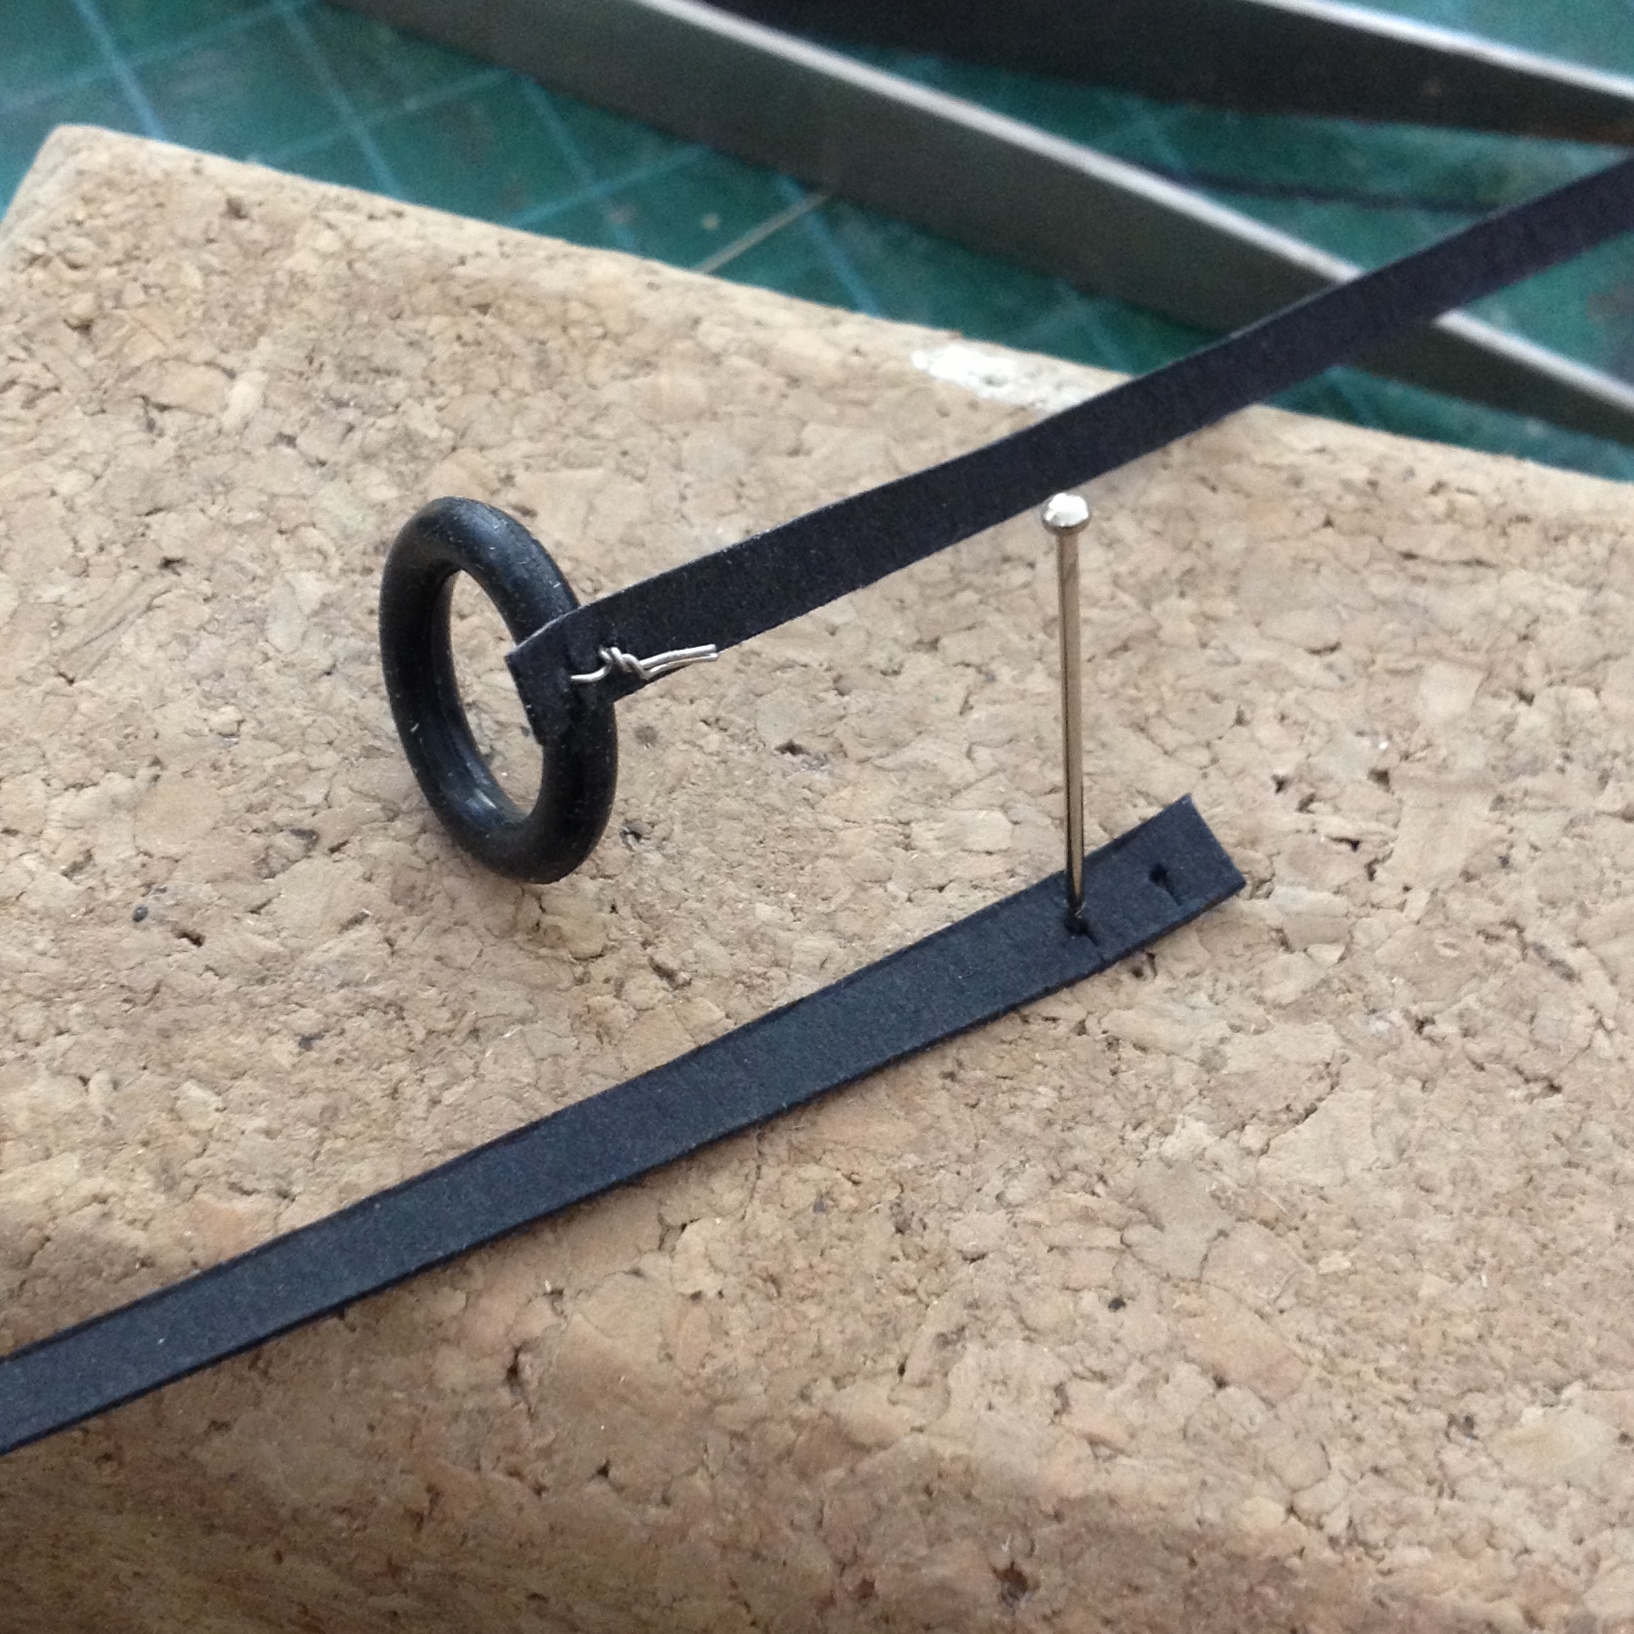
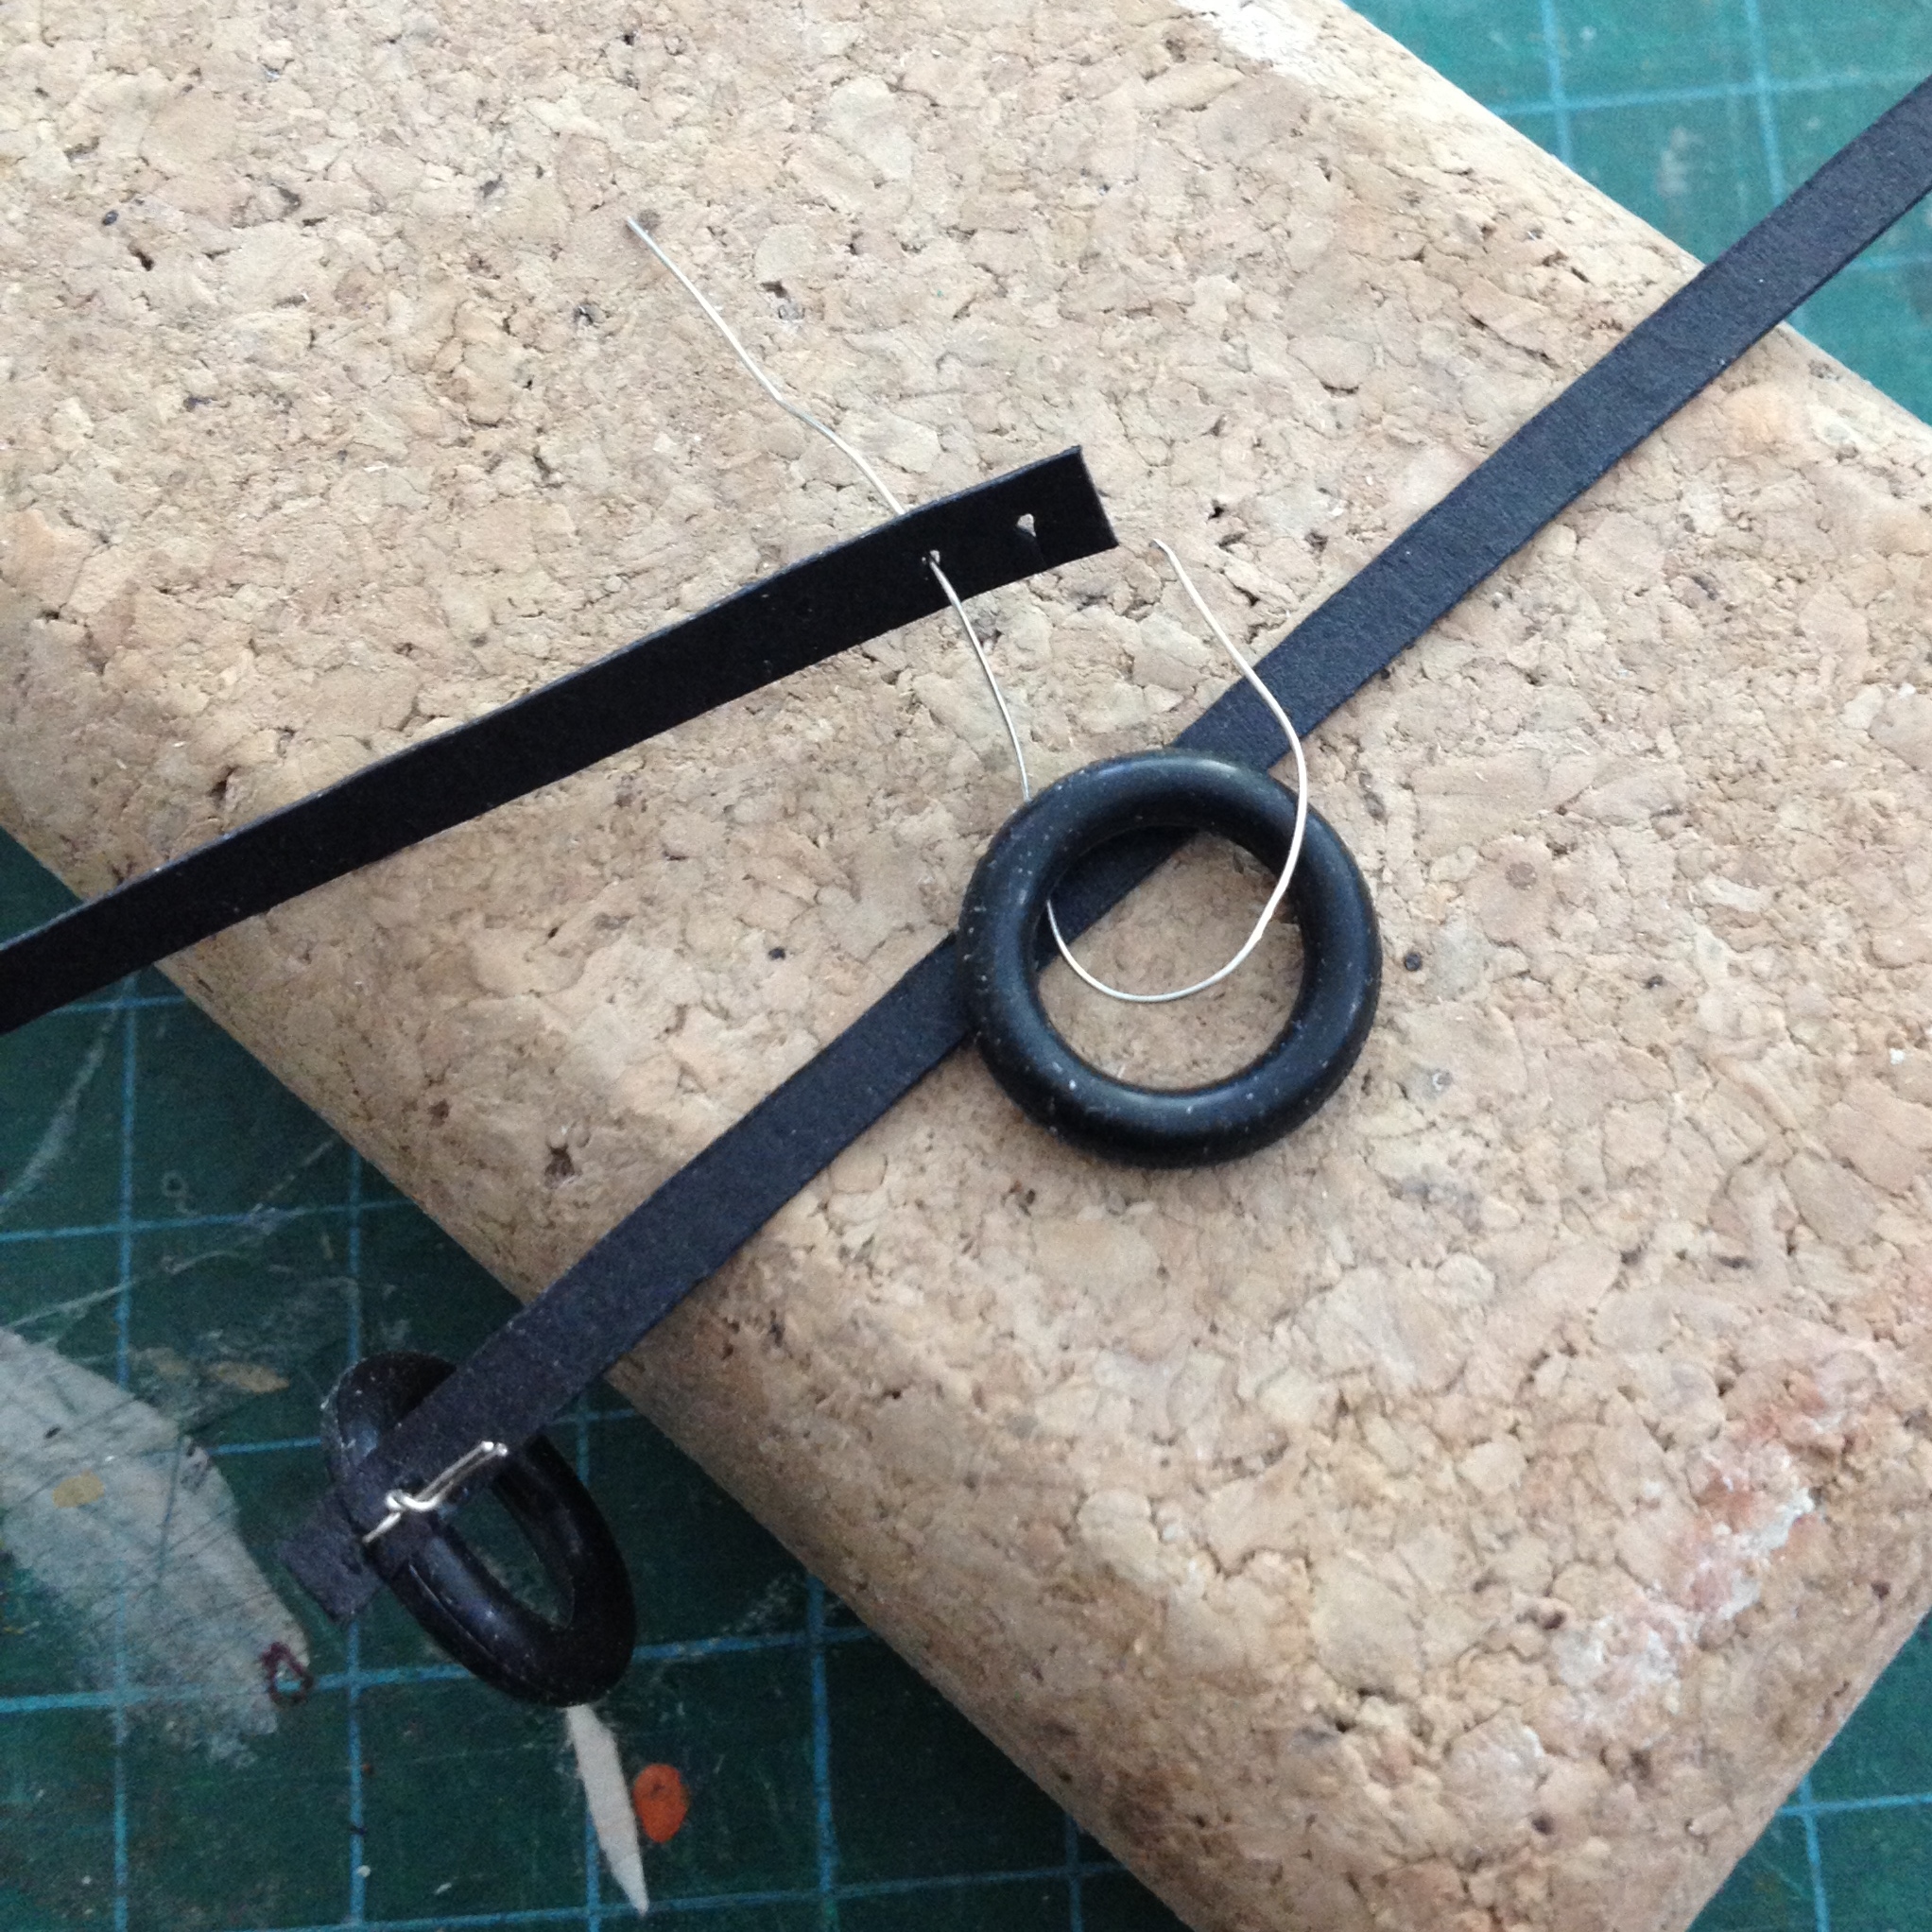
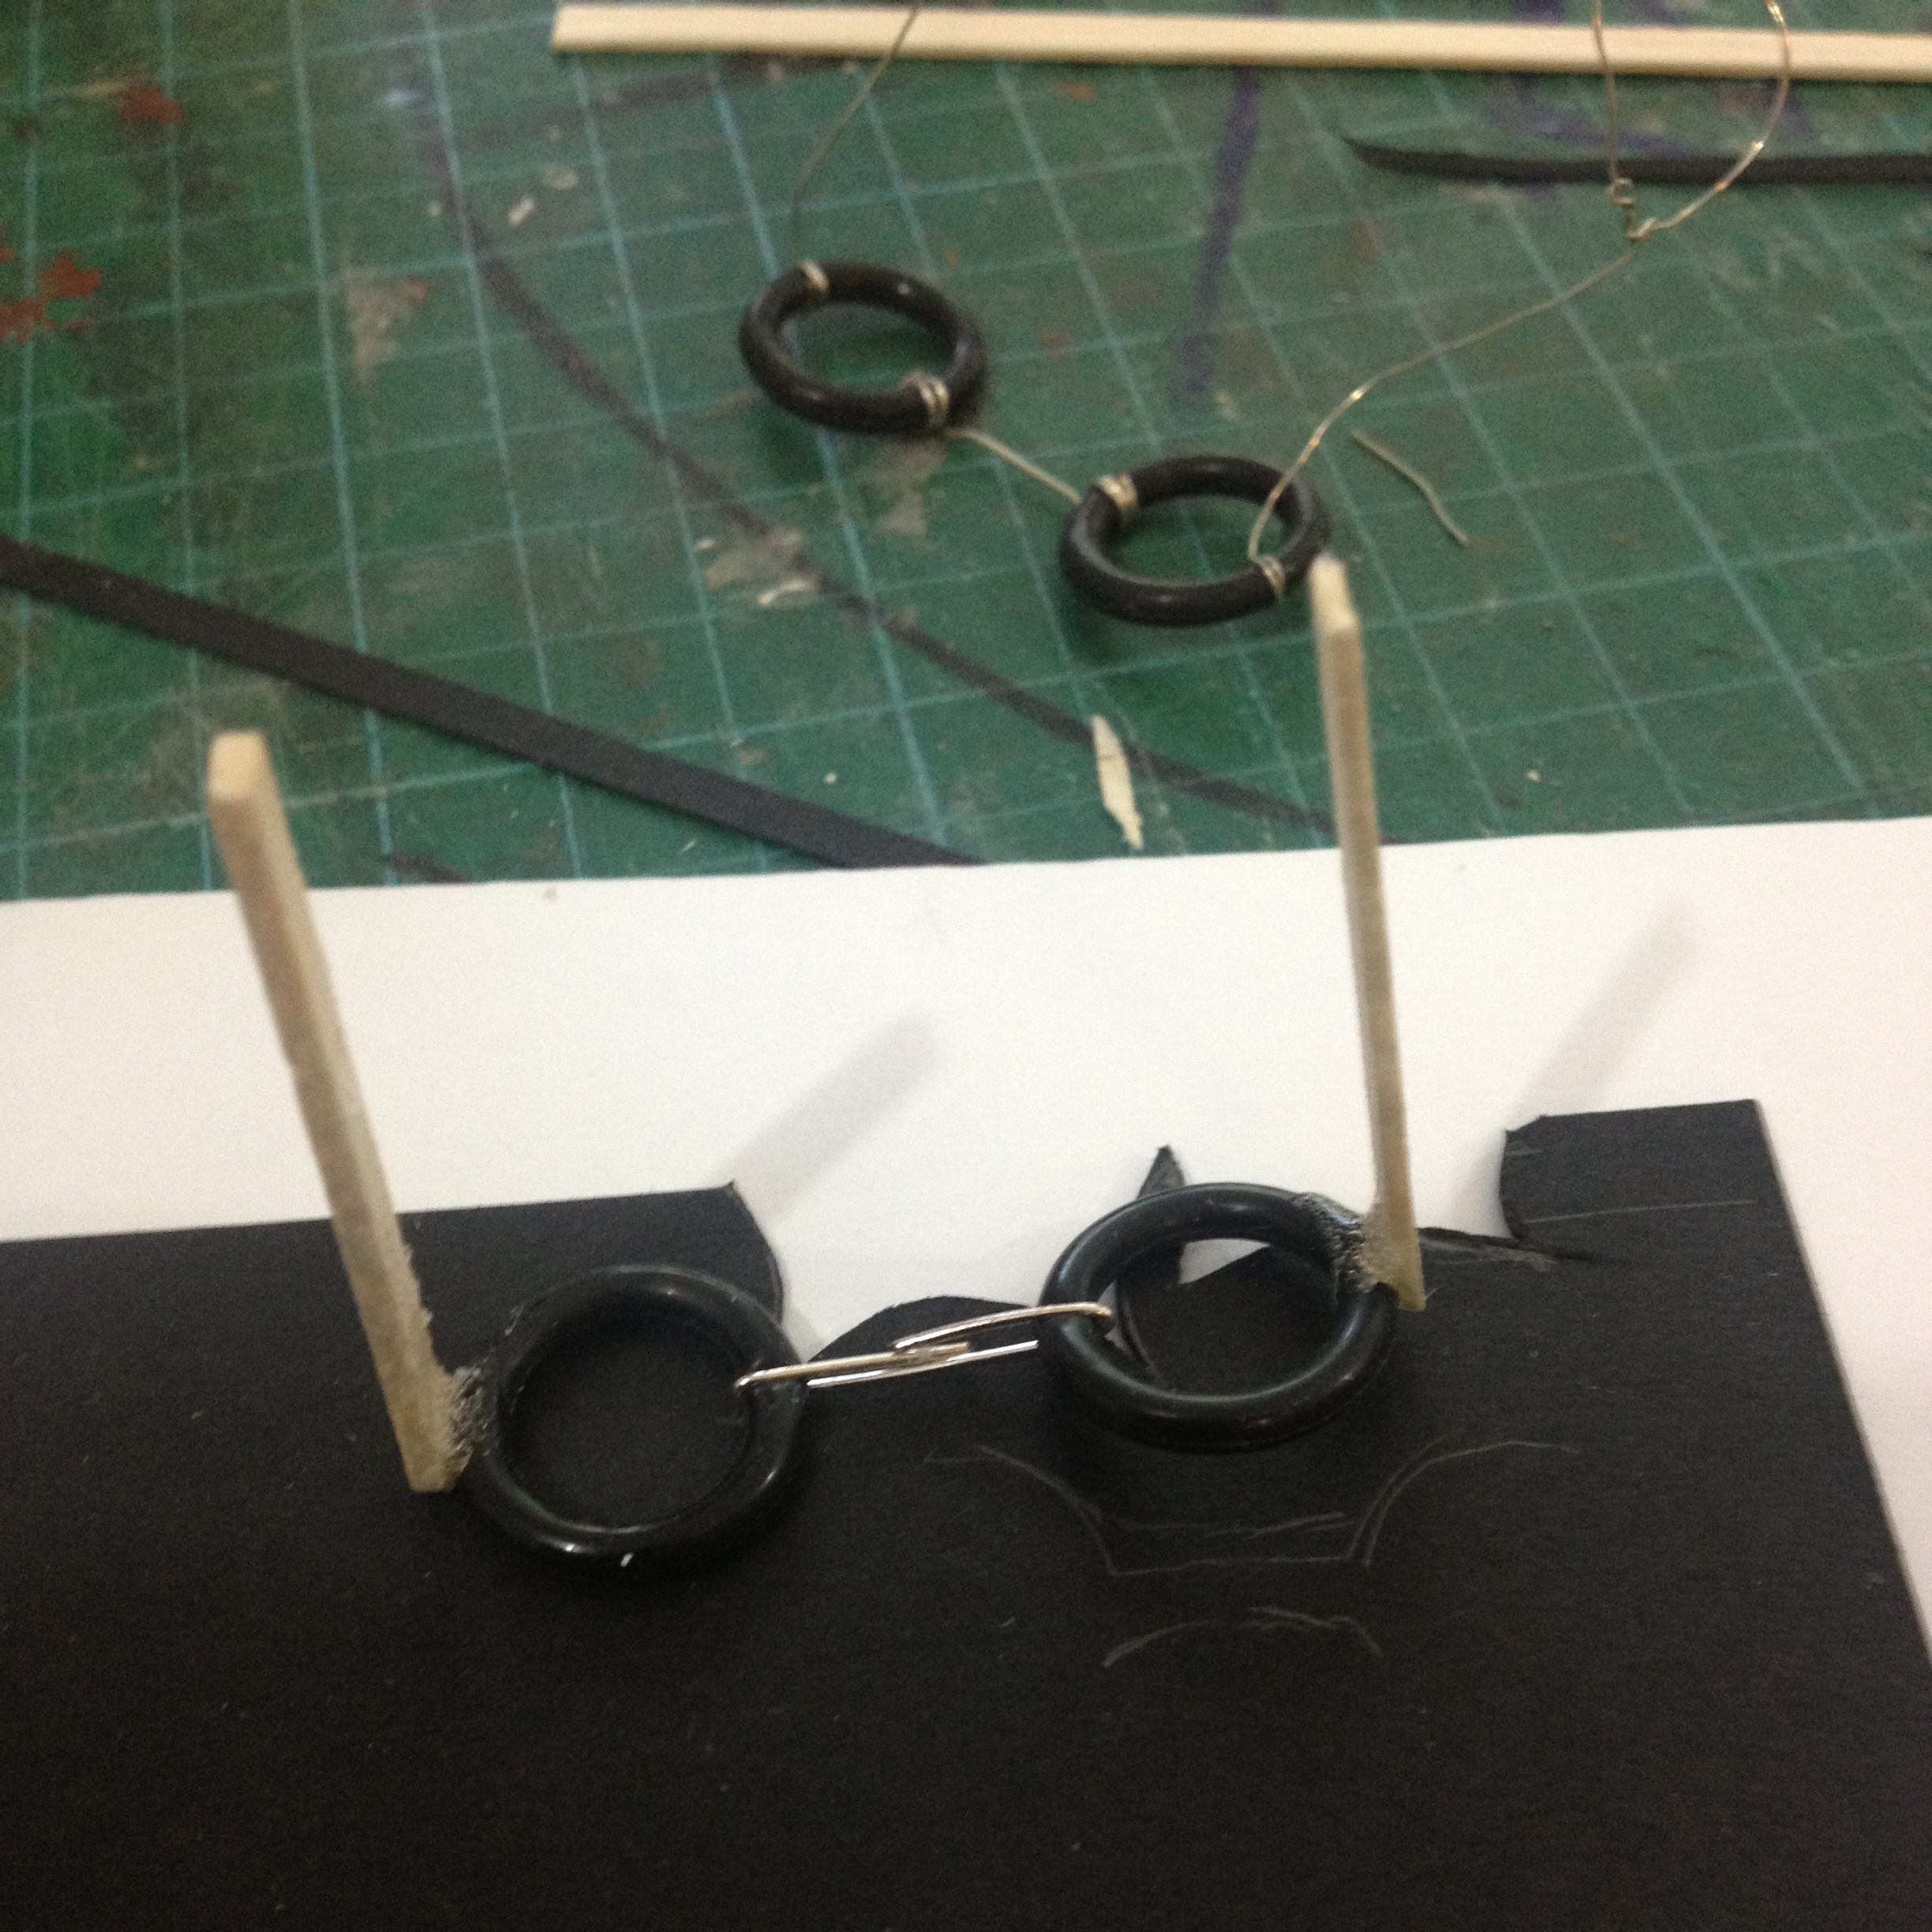
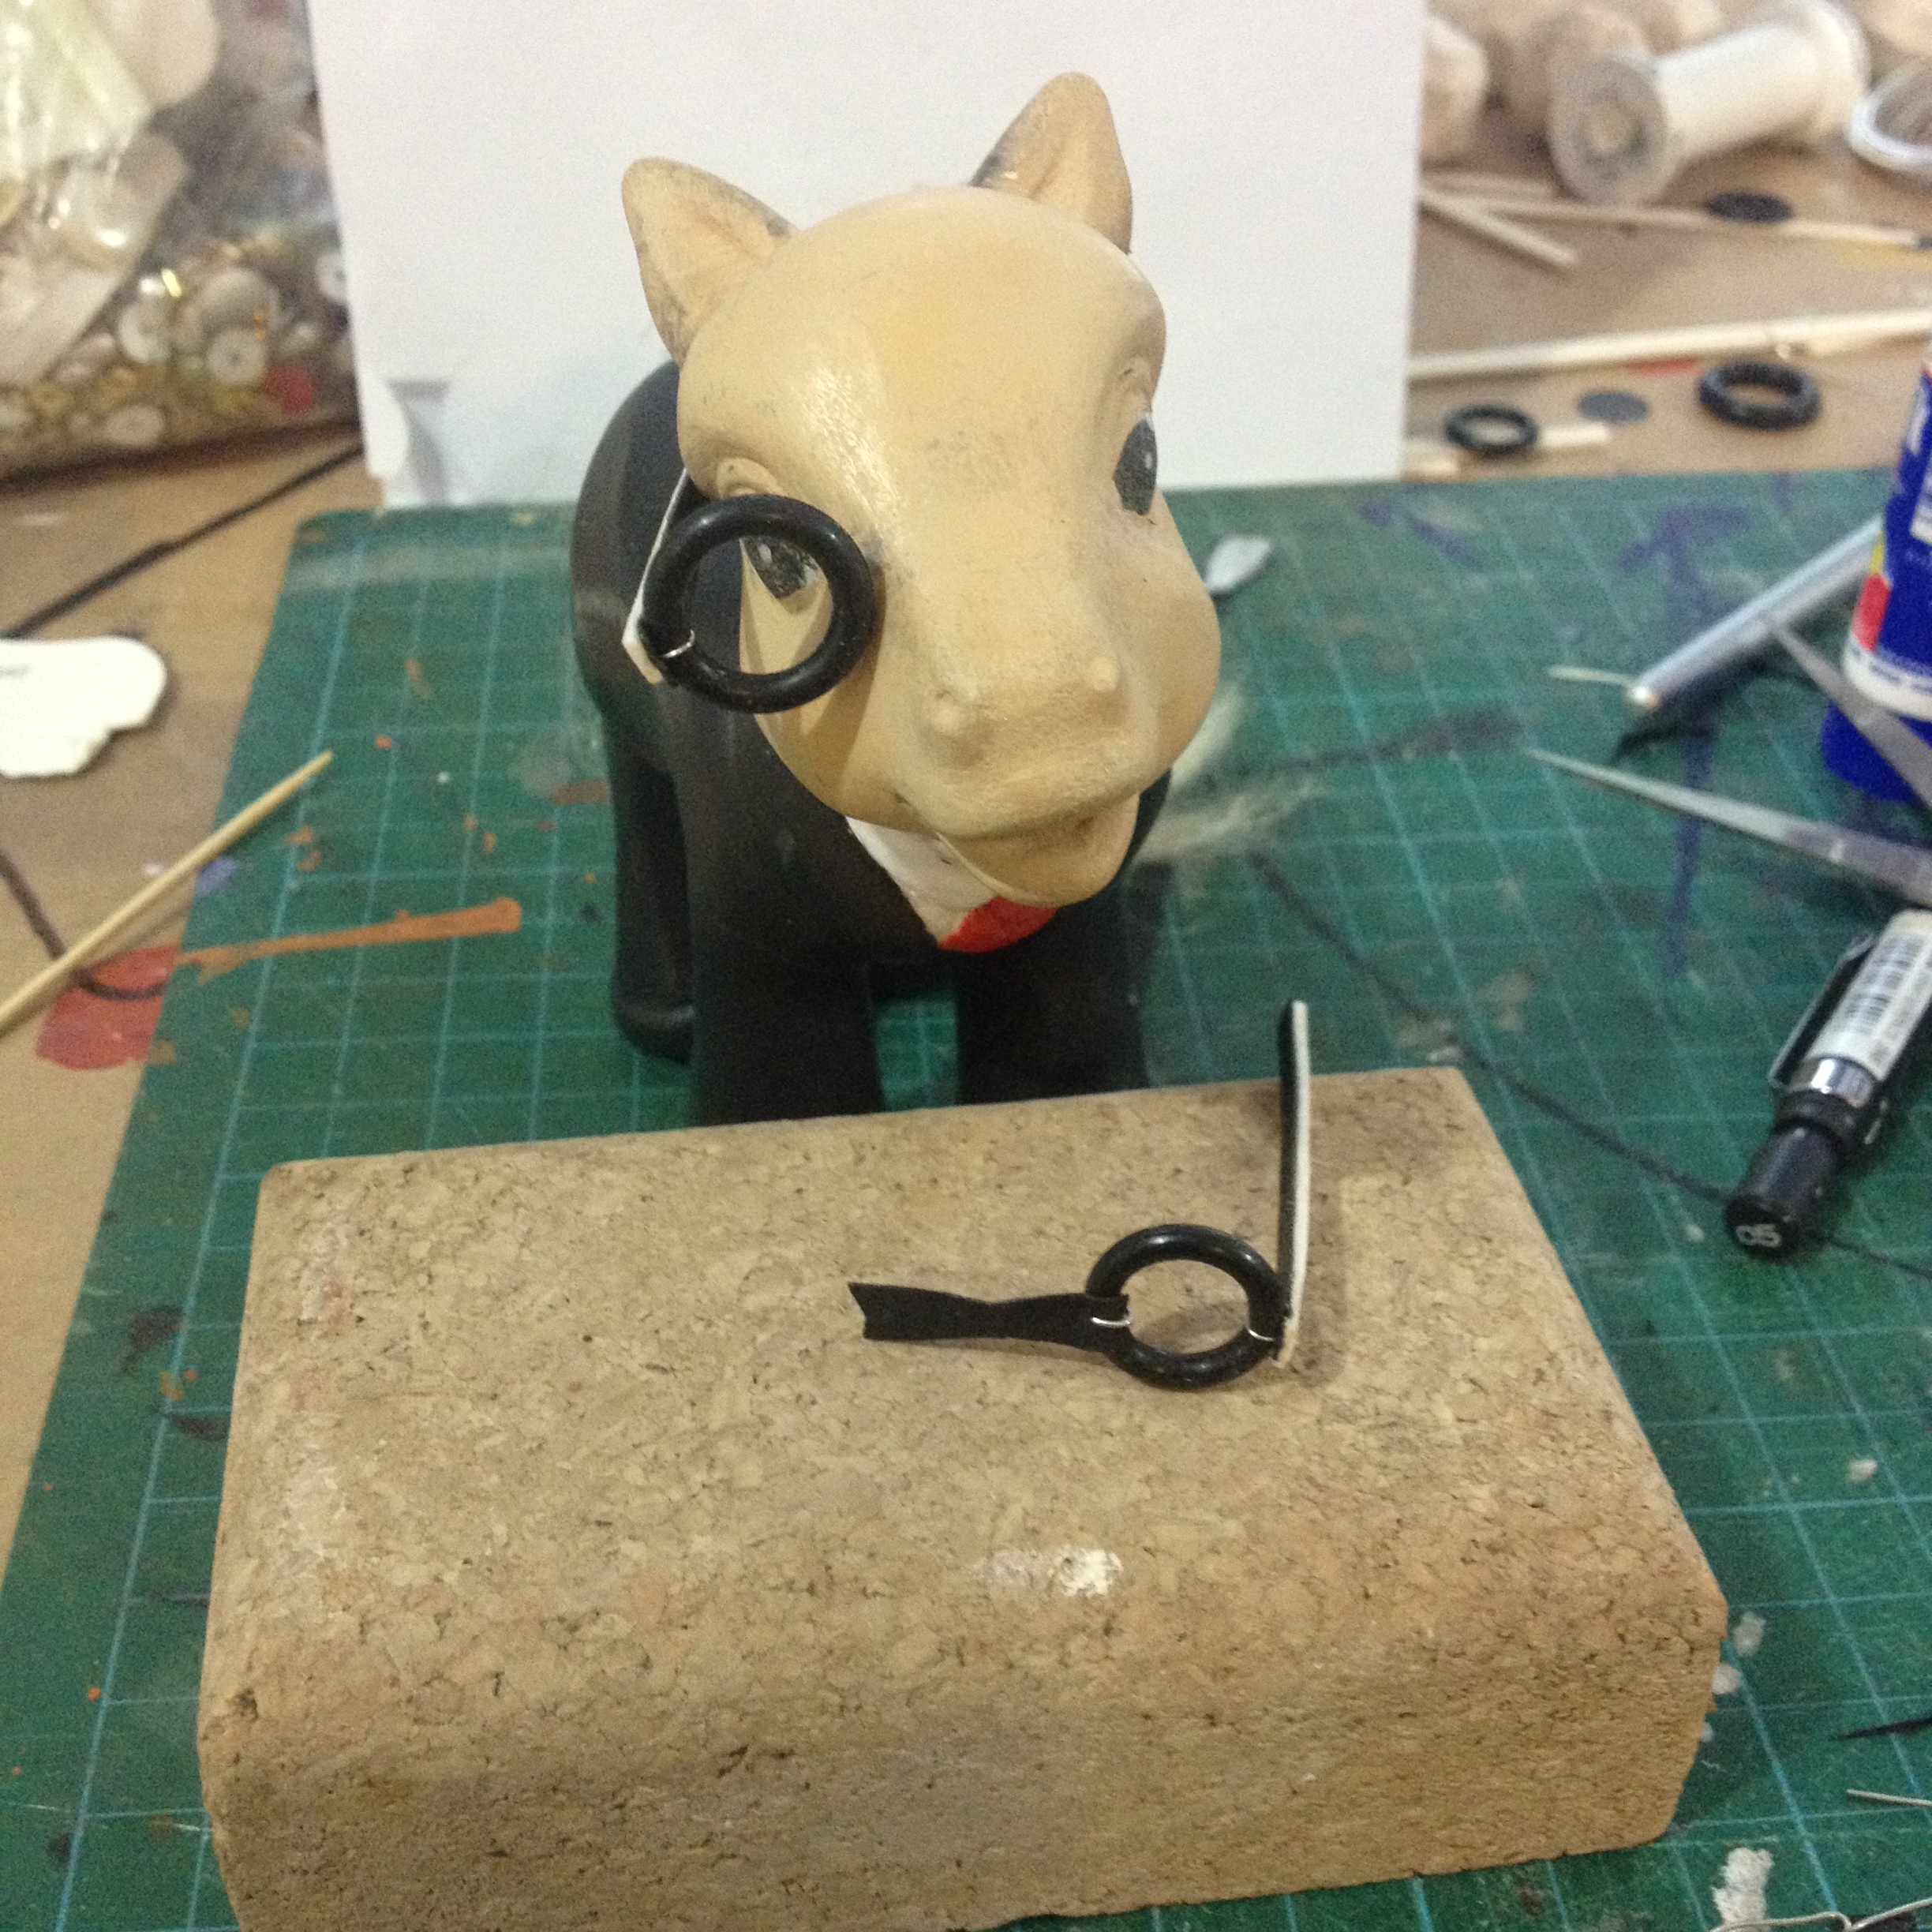
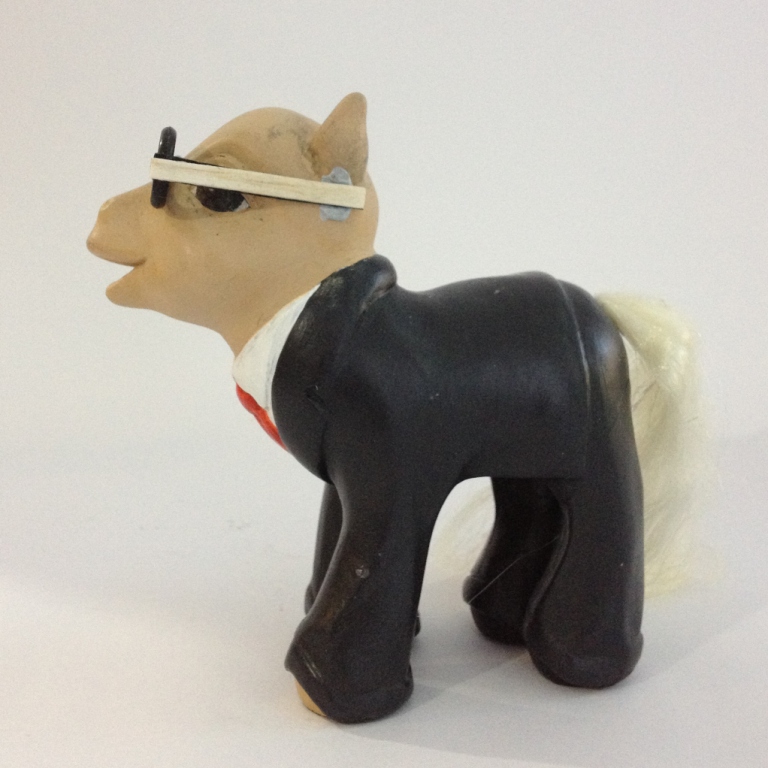
As can clearly be seen, his poor old face is becoming very worn in all this toying with eye glasses. He needs work. Poor old Pei. His eyes still aren't right or finished either. But, while we're still very much in construction mode, yes, I may as well muck around a bit more and have another go at the black rubber washers. They are such perfect little black circles, it's impossible to resist. This time, I'll use thin fuse wire, it's so bendy bendy.

See? The arms of Karl's glasses just sit naturally at the base of his ears!
Aaaaand...yep, this is the way to go I reckon. Except stop mucking around with the loop under & around the ears biz, just give these straight balsa arms that magically grip underneath his ears instead. I have checked again the goddess of pony customisers, Mari Kasurinen and what she did for My Little Karl Largerfeld. See image of hers here.
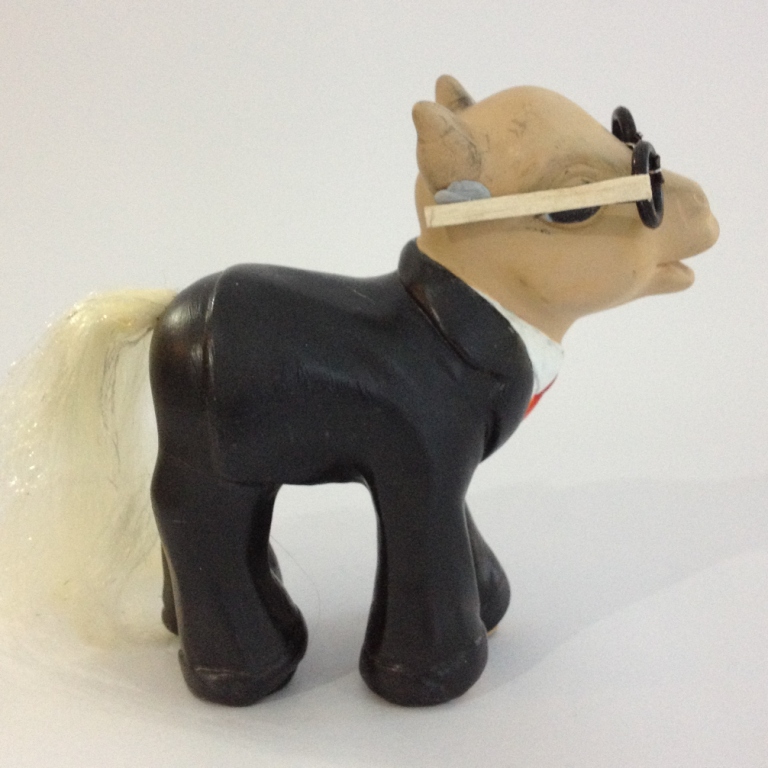
The blu-tack you see in my pics below is for positioning, by the way. There is some glue at work here but I have doubts as to how effective this will be - rubber to balsa wood? But it's looking promising enough. I may have to fashion wire hinges to secure the arms I think. It may really be back to basics here, and not so tricky after all.
Y'know, it's interesting how I make work for myself. I mean, heck. It's really and truly not such a big deal is it? Little teeny doll glasses? It's certainly not world peace.
Regarding the making-more-work-of-things-than-necessary issue, I came across a (totally unrelated) article on Design Sponge recently and the preface (quite a cool DIY actually, here) neatly encapsulates my thoughts on this...way.. I have of consistently making things time consuming-ly. Like, is this really properly necessary??
" I’m constantly getting into silly arguments with my partner about my DIY projects. Whenever I turn to him for advice, ever the left-brainer, he gives me the practical answer, which I hate. Shouldn’t you be able to carry it this way? Wouldn’t this shape make it sturdier? What’s this extra piece for? Excellent questions, all.
I'm realizing that on the art/design spectrum, I fall much closer to the former than I thought. I like nonfunctional objects, unanswerable questions, excessive use of materials and lots of extra steps. I can’t help it. The problem I’m usually trying to solve is how to add strangeness and beauty to my surroundings, not how to make life easier. If you look at my archive of DIY projects, I think you’ll see that at heart, I’m really not a pragmatist or a minimalist, as much as I’d like to be. Form does not follow function — they duke it out constantly." KATE PRUITT.
She said it. Yep. Back to My Little I. M. Pei's eye glasses I go:
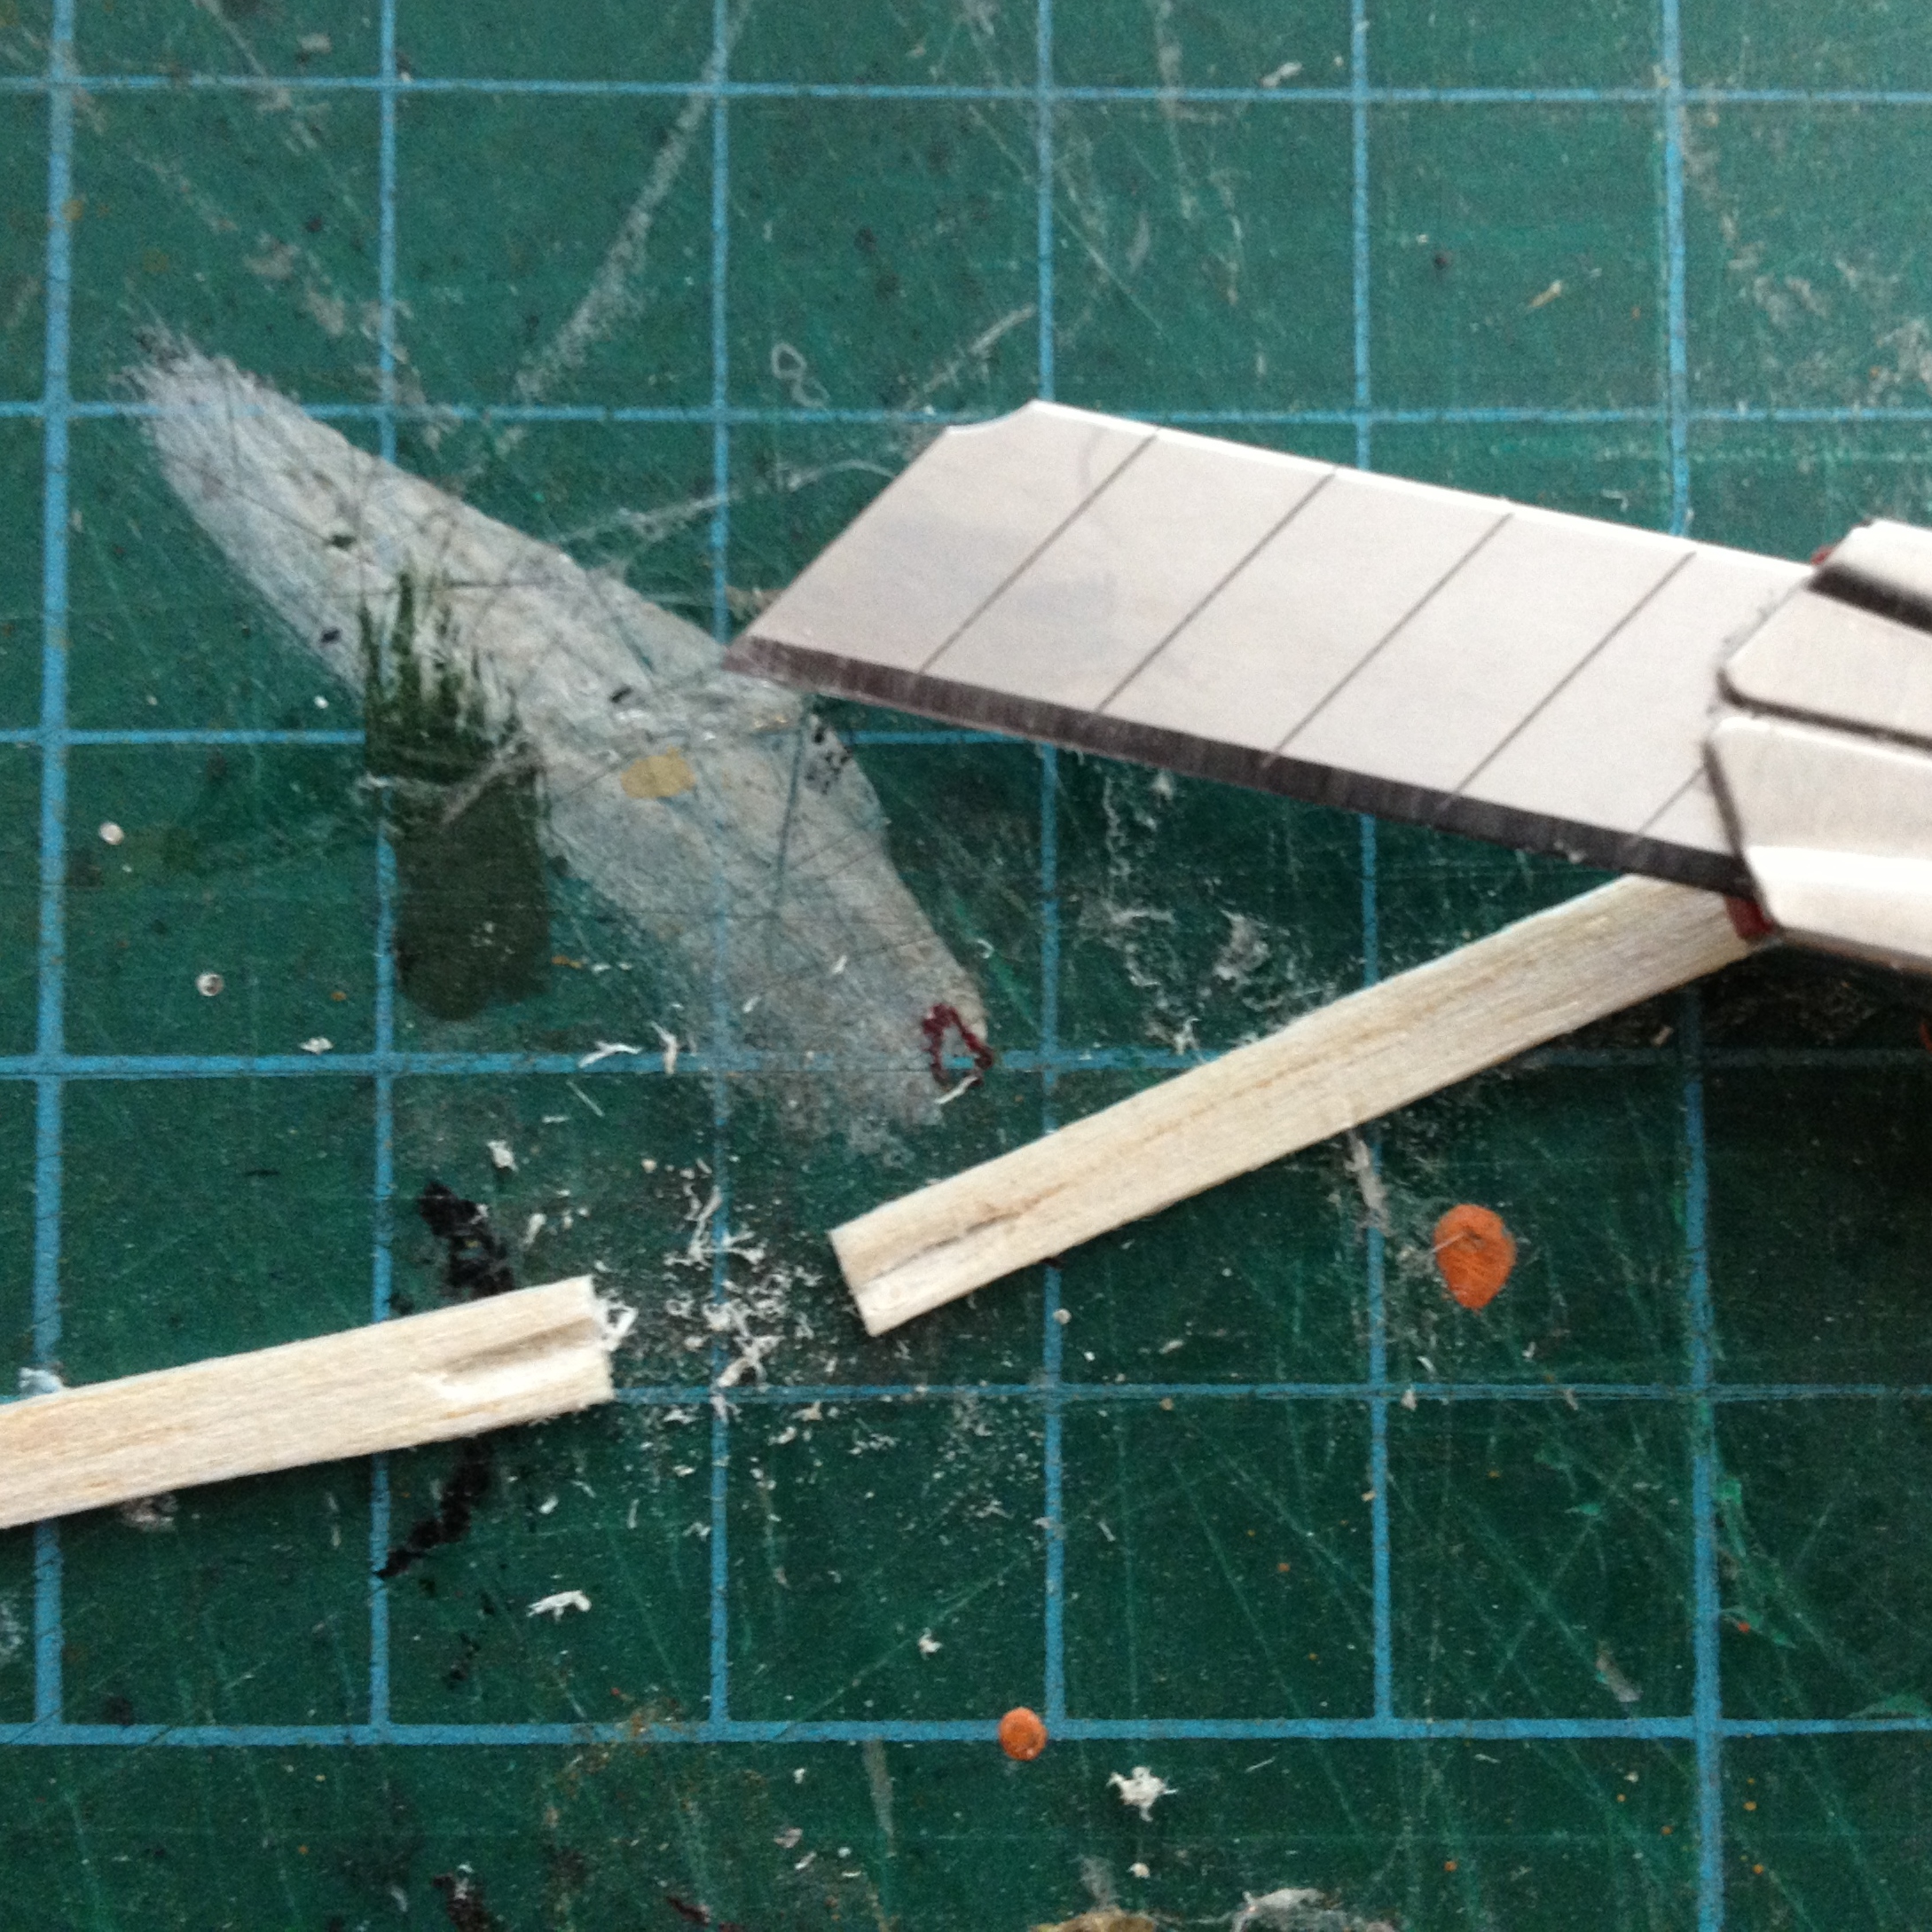
Seeing as I have this stuff right here in front of me, time for some more fiddling.


Axe. Data cable.
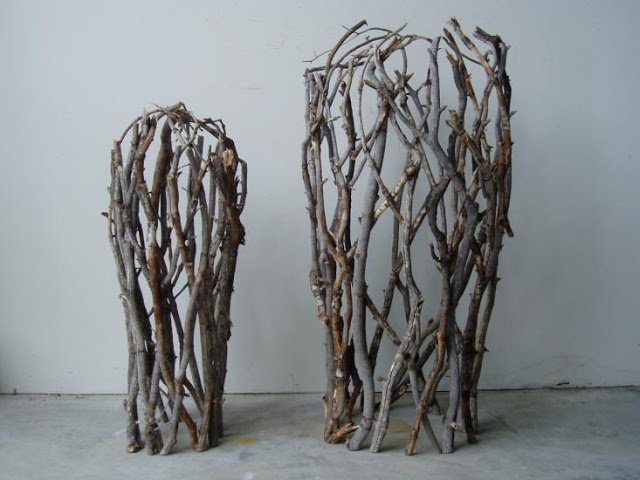
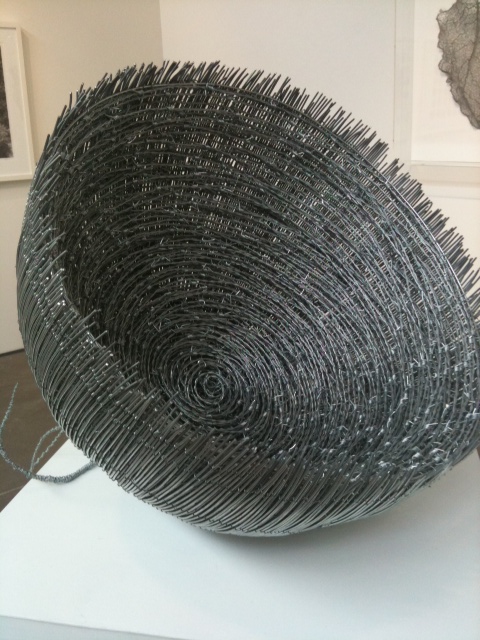
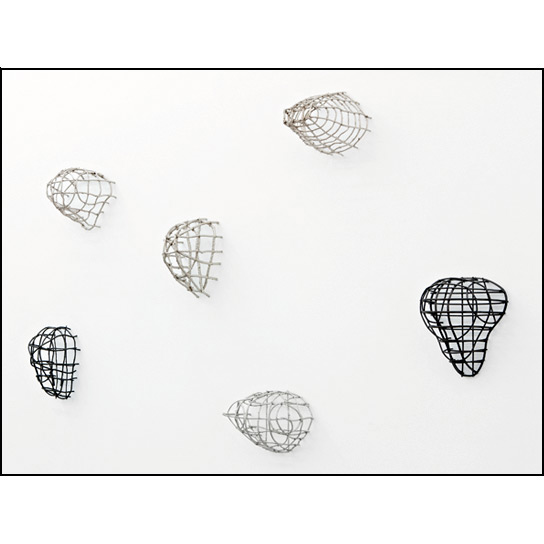
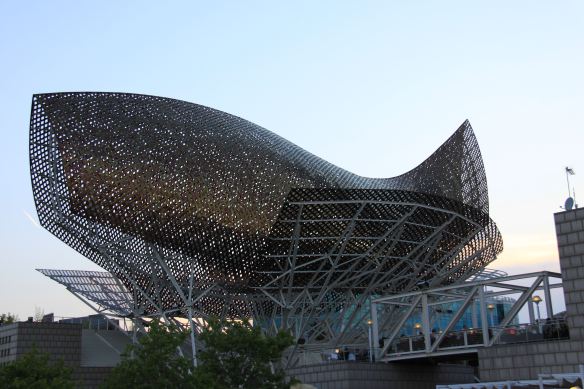
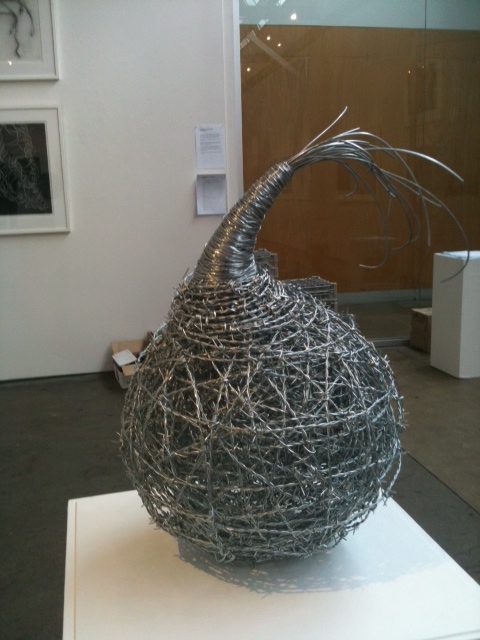
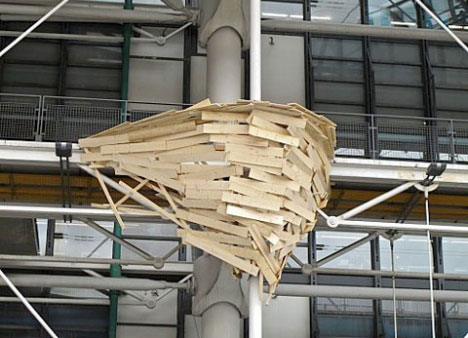
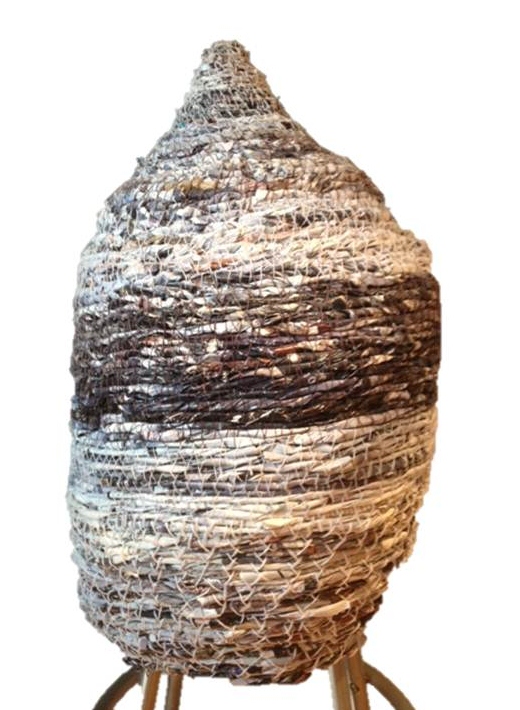
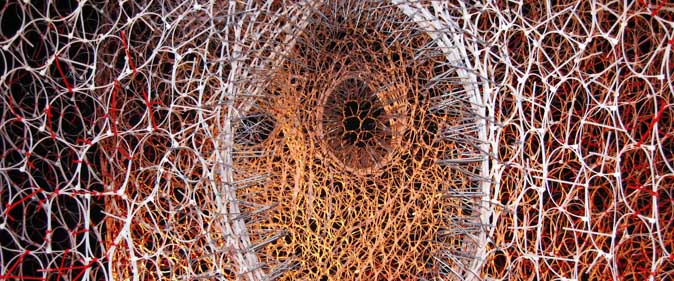
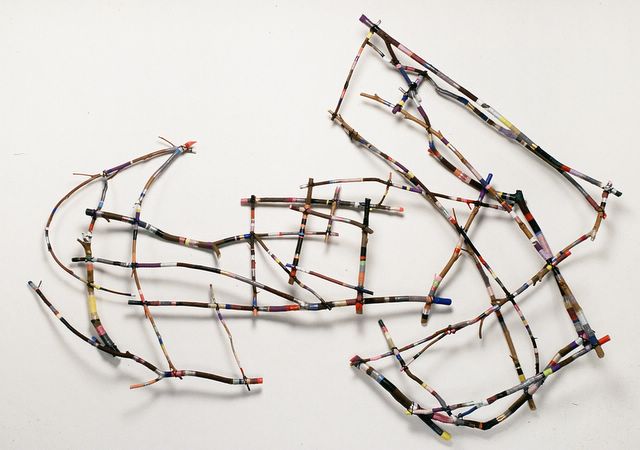
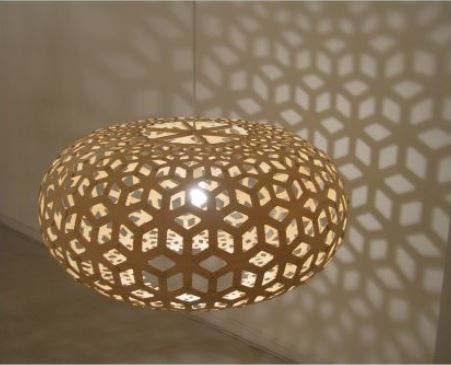
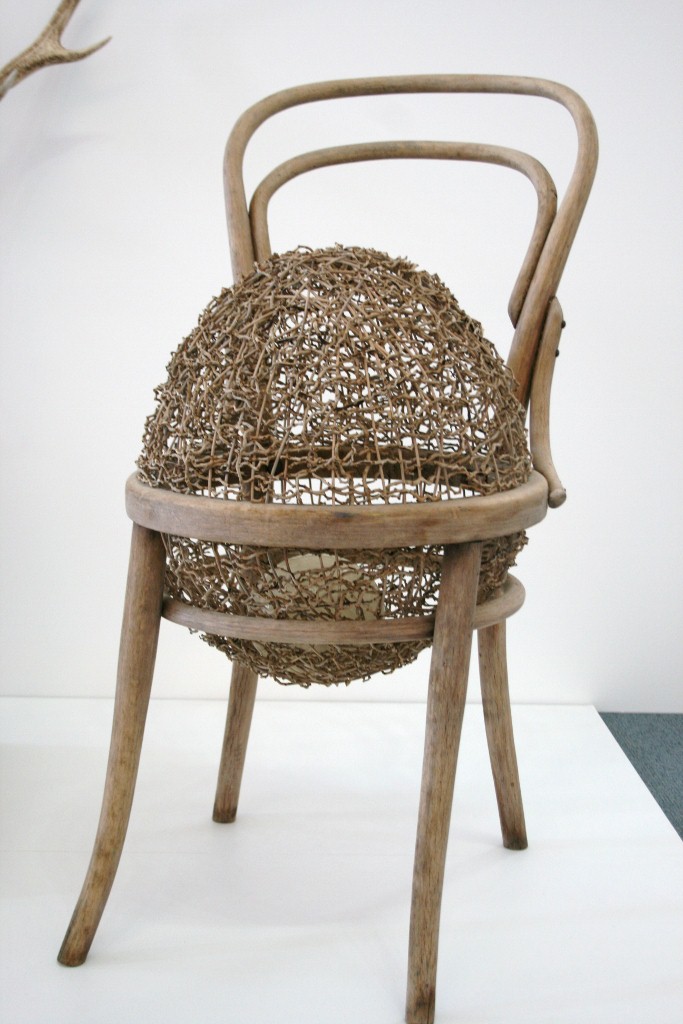
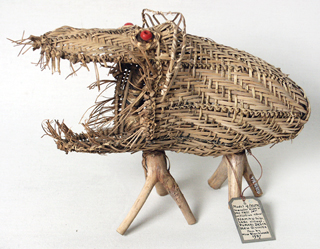
What I need here is that plastic coated wire, black coloured for preference, like the recycled telephone wire that's used to make baskets and decorative vessels. Aha! A brilliant opportunity here to touch on a subject very close to my artisan heart: basketry! Or to be more precise, contemporary basketry. Oh it's fabulous and many a project is simmering away in my mind I assure you. I'm a bit bored with teeny MLP glasses this minute actually. Please find below some absolutely gratuitous & indulgent images of basketry inspiration! Excellent, I've been keen to work these in somewhere. Heh.
Image to left, axe handles wrapped in data cable, via Brenda May Gallery, Sydney.
Fabulous, sinuous totems, aren't they?
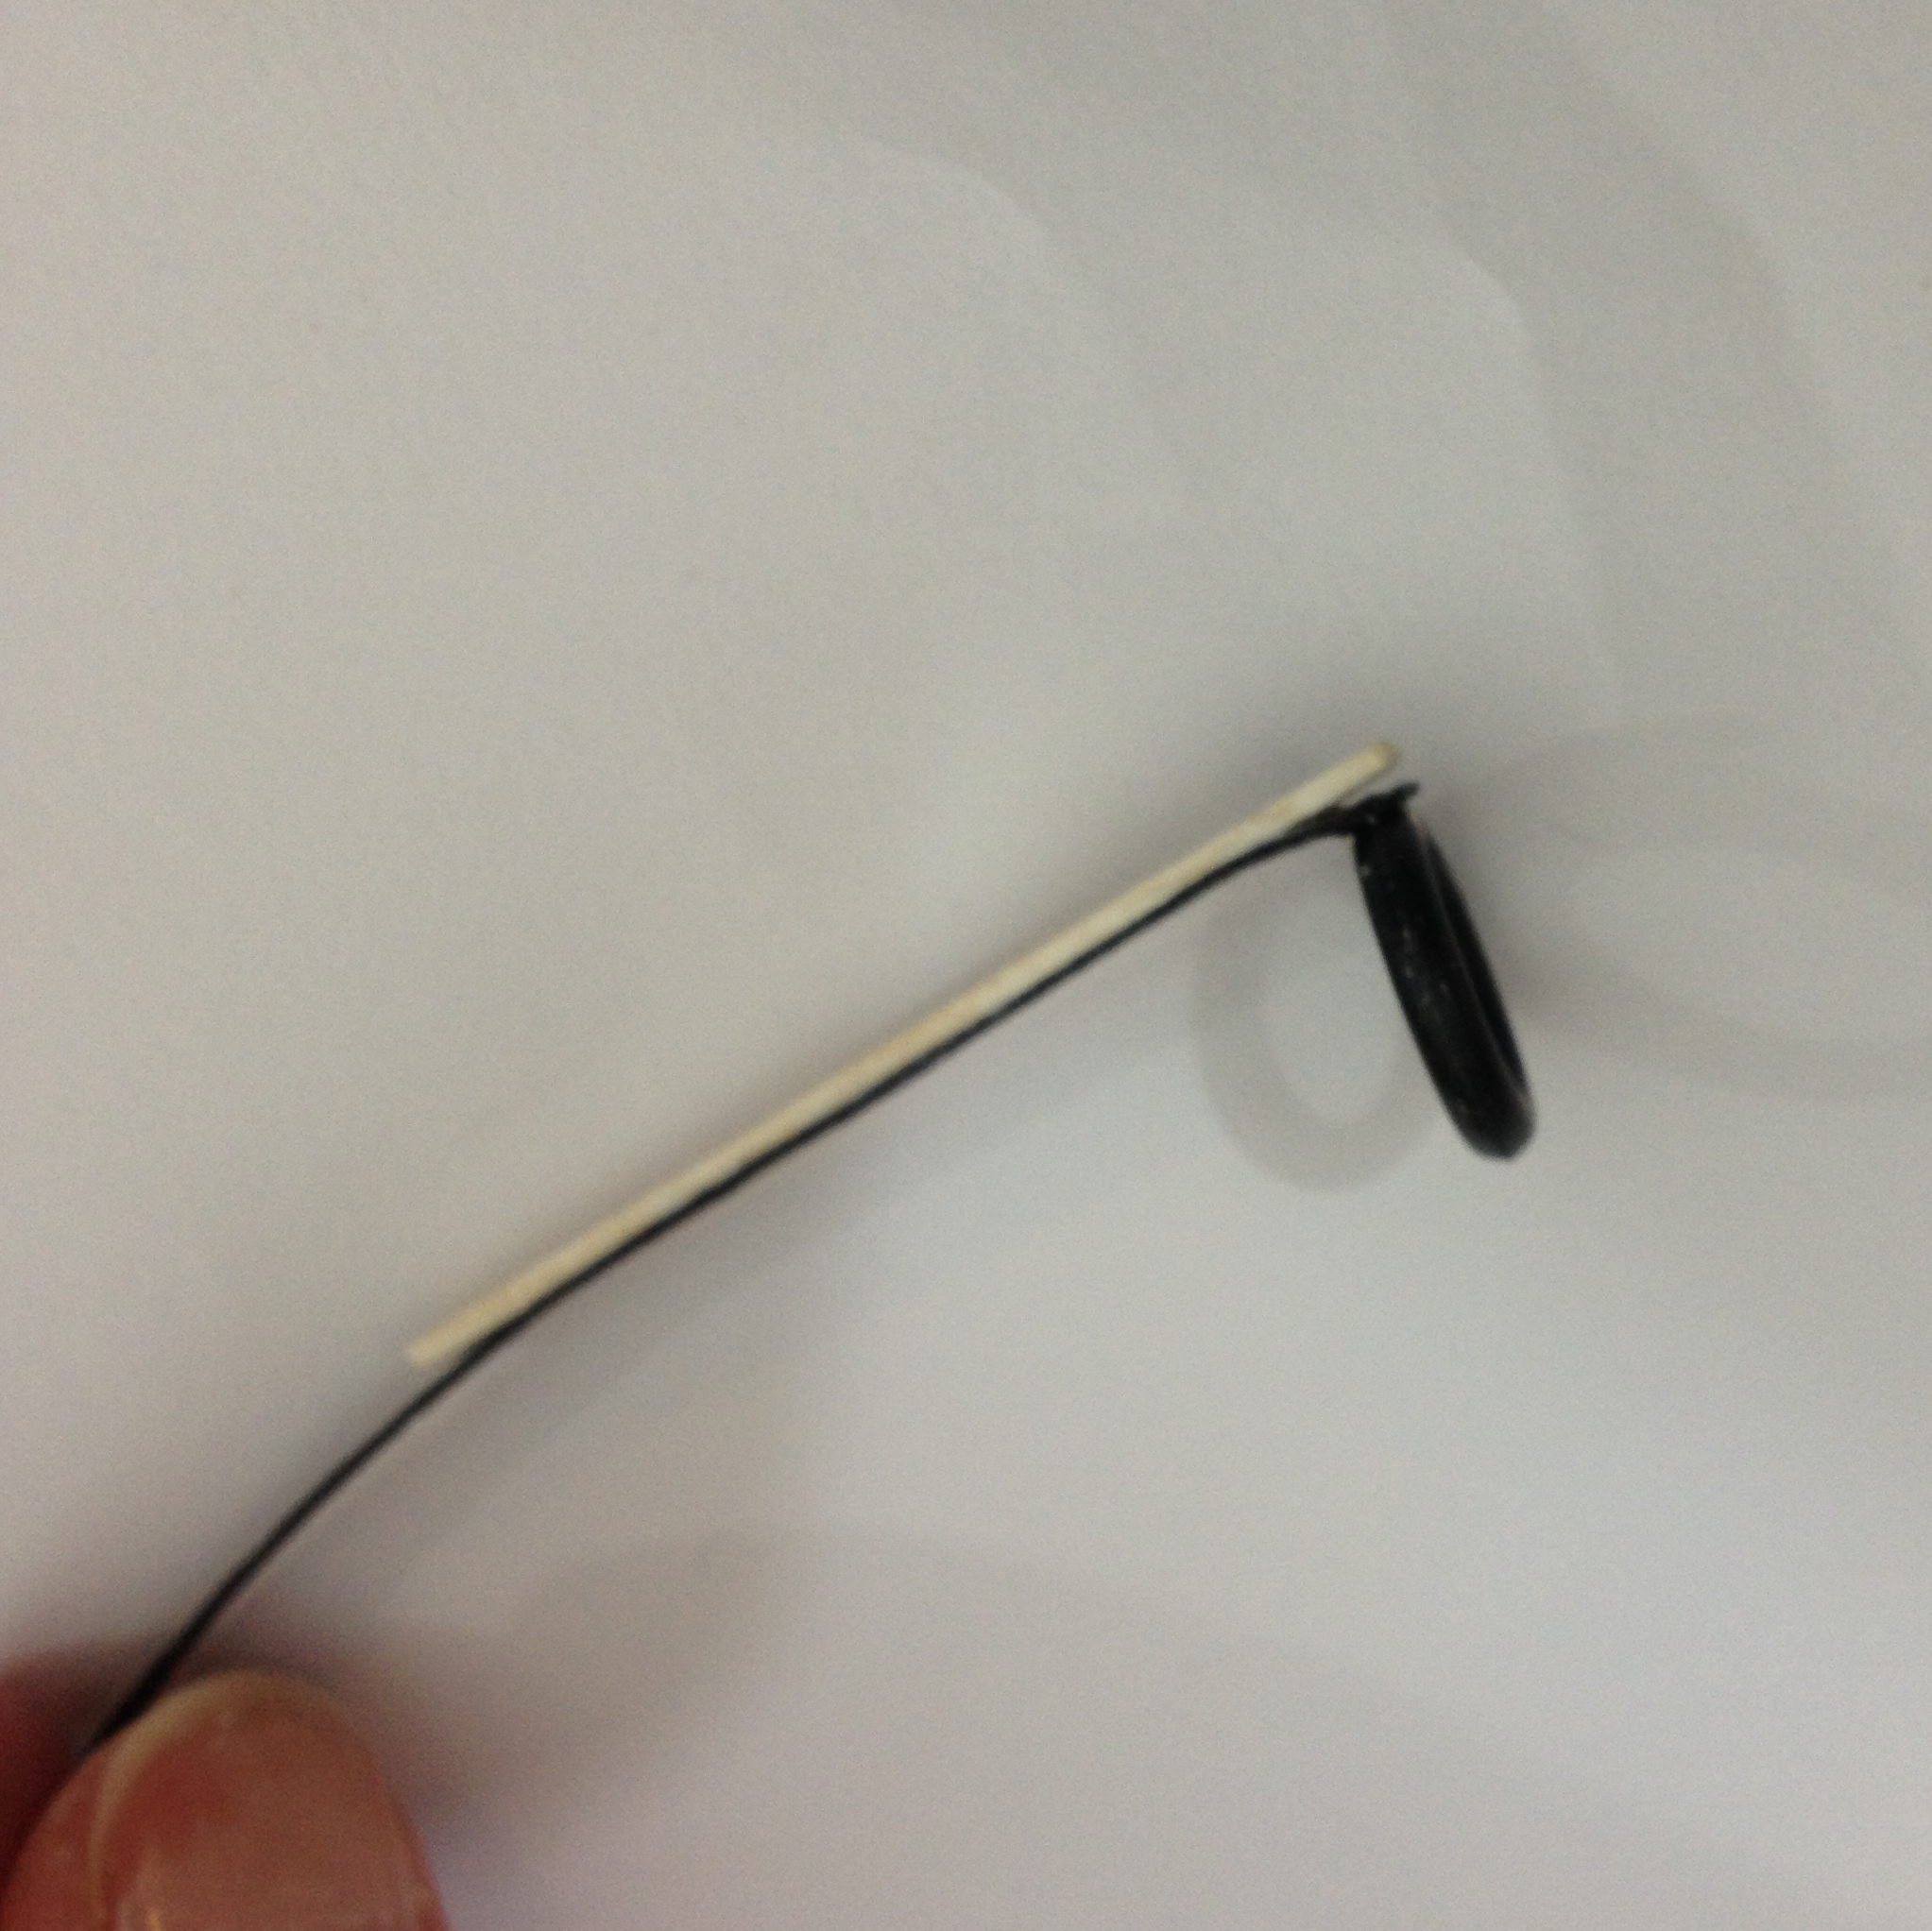
As for Pei's glasses, a combination of black rubber washers, fuse wire, strips of balsa wood and paper card should sort this pesky issue once and for all.


Meanwhile, I know I know, just damn well finish this Pei thing, jeez. So I'm gonna get me some of this black wire stuff and go to it. Ferchrissake.
OR, maybe not. I sorta cant bear the thought of another expenditure on this project. Will knuckle down & make do with materials (vast array of materials, to be honest) at hand & see how it goes...
I figure that if I use card for the arms where they hinge at the frame, it's easier and better than balsa - balsa wood splits very easily and at these dimensions, it wont work well for purpose. So, poke two holes through strips of paper card, thread through with fuse wire & fasten around the rubber washers...then make it look more substantial by gluing on a strip of balsa wood over this...then connect the two circles with arms together with a nose bridge...good plan...
Lord! Praise His name!
I think. That this. Will do. And it goes to demonstrate: first ideas are often best. Heck, back where I started...
And on that note, here be the end of this post.
This guy needs his face repainted and general touch-ups along with polishing off these glasses. And I have other projects that need attention. So come back later and check on how My Little I. M. Pei finishes up. And new exciting projects! Always!


A message from The Future. Yes this guy got finished & theres probably some pics around this place somewhere. We’ll have to wait for another message from The Future to see them, but it worked out really well. FYI and thank you for visiting