More like advice than a tutorial...
Wondering how to gild with imitation gold leaf? Here I'll take you through gilding a canvas, ready for use as the base/background for an artwork...
The basic technique holds for gilding any surface.
Seal the surface to be gilded. Essential preparation for any surface.
Leaf can be applied to almost any surface provided it has been appropriately prepared.
Never touch imitation leaf with bare fingers and keep it dust and moisture free; it tarnishes easily and quickly. Therefore, it must always be sealed when complete, unless subsequent chemical patina is used and that must also be sealed when completed to prevent further discolouration occurring.
Discolouration will occur in time, even with all precautions! This is important to note if you require archival longevity. Consider using real gold leaf if a plain ‘gold’ colour is required long term.
Two types of size (glue) are used to adhere the leaf to the surface: oil based or water based.
The different qualities of each should be considered for each project as this will affect the aesthetic. Eg; oil based size allows an *‘open time’ at differing rates according to the ratio of driers in the mixture.
*‘Open time’ means the point at which the size is wet enough to adhere the leaf whilst being dry enough to continue to harden when covered over by it.
Lay down the leaf too soon, before the correct open time, and there will be a soft under-layer of size beneath the leaf that will never dry. Gild too late in the open time and the leaf wont adhere well at all, resulting in ‘skips’.
The oil/water based sizes have a subtle but different 'look', with the oil size usually being slightly superior. But, acrylic size is very forgiving and best for beginners and large volume work. It has an indefinite open time (within reason) and is the first size of choice really. Turps clean-ups are a drag.
I like The Gold Leaf Factory for most supplies.
There are a number of tutorials available online from a simple search, but altogether, gilding is a mechanical process which is well summed up on a site called artsparx, (which I happened across, when I entered the above search) and it looks like this:

General guide only. More detailed tutorials on artsparx site, here.
These essential steps do remain the same throughout time, which is borne out in my experience, as you see below...
In fact, I had forgotten until recently that I've demonstrated gilding before. In 1992. Yes, I really have been doing this a long time! Just to be clear: for me and others like me, being 'an artist' is vocational. That is, it's a way of life and I've practiced as an artist all my working life...which has somehow added up to a lot of years now!
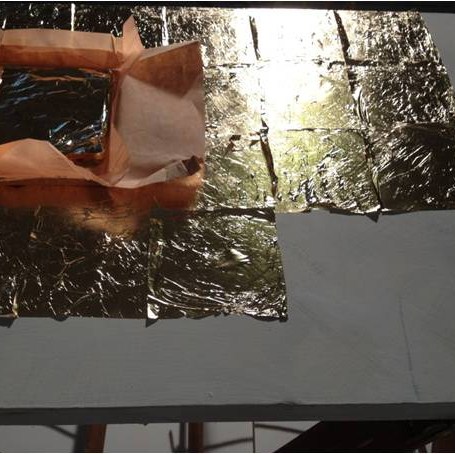
Below are the scans from "DIY Gilding" article in Classic & Country Decorating Magazine, 1992.
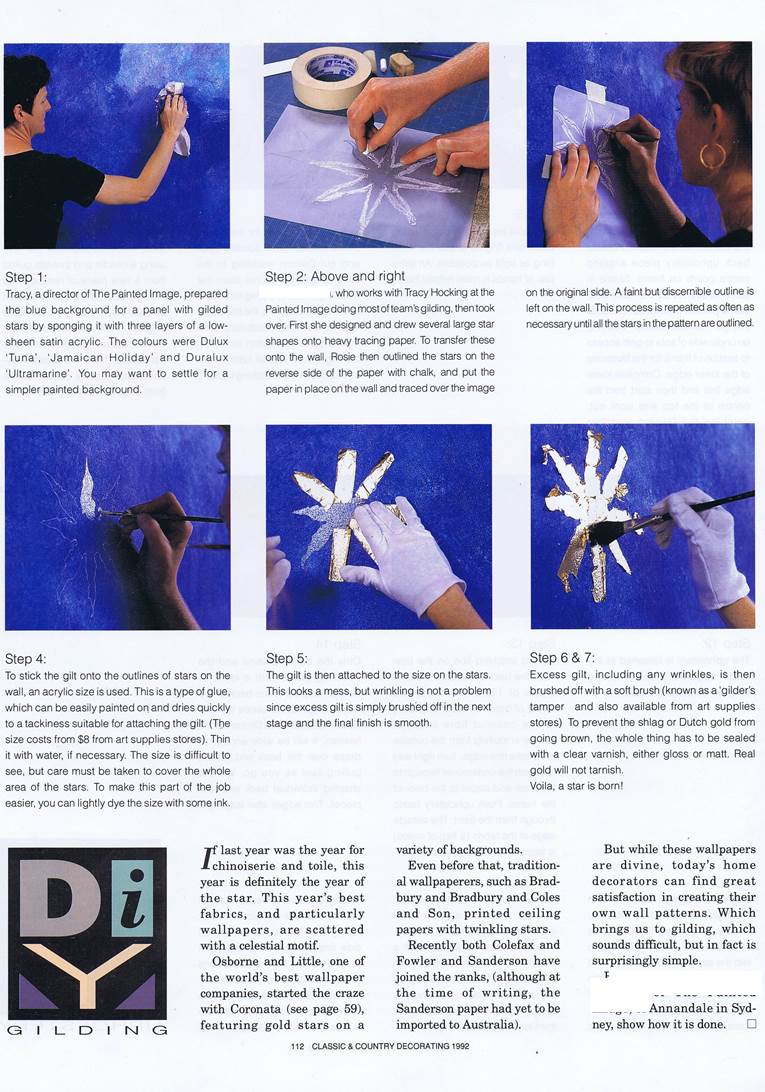

THEY PROMISED ONLY HAND SHOTS! REALLY! I had no idea they'd use a photo of oneself, let alone a large feature, omg, or I might've made a bit of an effort getting dressed that day! And lord, one was so very young. Ah well.
Interestingly, as you can see, the gilding principles are the same in 1992 and 2013. But I'd never muck around with interleaving leaf with newspaper any more. For a start, newsprint would definitely tarnish this kind of leaf if left in contact with it, although as I recall, the whole occasion was news to me the morning I arrived at the studio, so this was done on the fly. And I was much more precious about gilding back in them days, hence separating the leaves at all; it's not necessary, just use gloved fingers.
But now for gilding a canvas:
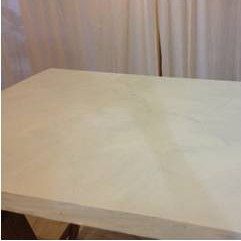
1. I have some pre-used canvases about and I like the surface texture of these and that's what I'll use for the project today.
So, sanded, sealed with Dulux prep-coat and sanded again, I have the perfect surface for this piece. As it's a noticeably worked surface, white base is fine; I can live with any small skips and with acrylic size, these are rare anyway. For preference, a mid to pale yellow colour is better as a base colour when 'flat gilding'. (Not a moulded, complex surface.)
Before you begin, take note of your environment: a temperate, dry, still atmosphere is the way to go. Breezes are bad! So is damp! Trust me on this. So even when it's really really hot, shut the windows!
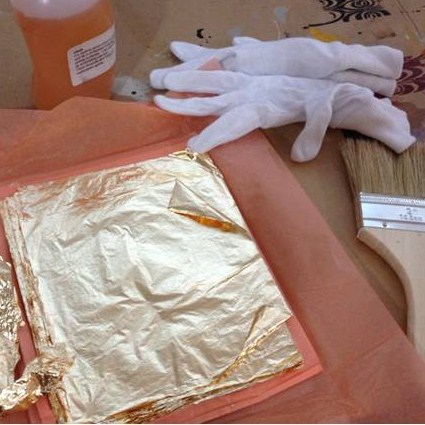
2. You’ll need some loose imitation gold leaf or whatever colour leaf you prefer (aluminium is 'silver'), acrylic size, cotton gloves, (local pharmacies/supermarkets always sell these) and a soft brush (called a ‘tamper’ or a ‘mop’ in gilding-land). Usually, a tamper is a brush with very soft bristles (squirrel is good) that wont scratch the leaf, but for my purposes here, a plain hogs bristle, well used & many washed is soft enough. Given that my canvas surface isn't pristine, I won't get a mirror finish anyway and also I need to push the leaf well into contact with the size to ensure the pits and ridges on the canvas surface are all filled and covered.
3. Make sure the surface is as dust free as possible. Give it a wipe over with a clean, just damp household sponge or a tack cloth. Tack cloths are invaluable around the studio. Made from muslin or loose weave fabric, impregnated with 'tacky stuff', it is wax and silicone free, as well as being anti-static. Always handy, always, and essential really for gilding. Any teeny imperfection will show up under the leaf, which you may really regret. With this project, as I've mentioned, the canvas is quite imperfect already, so it's not too critical, but clean, clean and clean should always be the order of the day. Always.
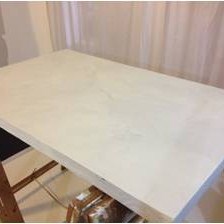


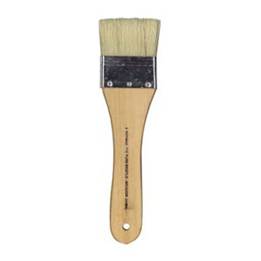
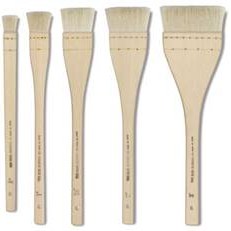
4. Paint on acrylic size with a soft wide brush, eg: a Hake. Work against a directional light to see from the glare that the entire surface is covered. Do not go over & over your brush-marks, this size dries really quickly. The idea of using a wide soft brush like a Hake is so the size flows onto the surface smoothly in the first place.
5. When the whole surface is evenly and completely covered with size, let it dry. Make sure it’s dry; gilding onto un-ready size is a terrible mess. Acrylic size dries fairly quickly, as you'd expect, but for oil size...well, every oil size is made with a different drying time... and that's a whole 'nother kettle of issues and I wont cover them on this tutorial.
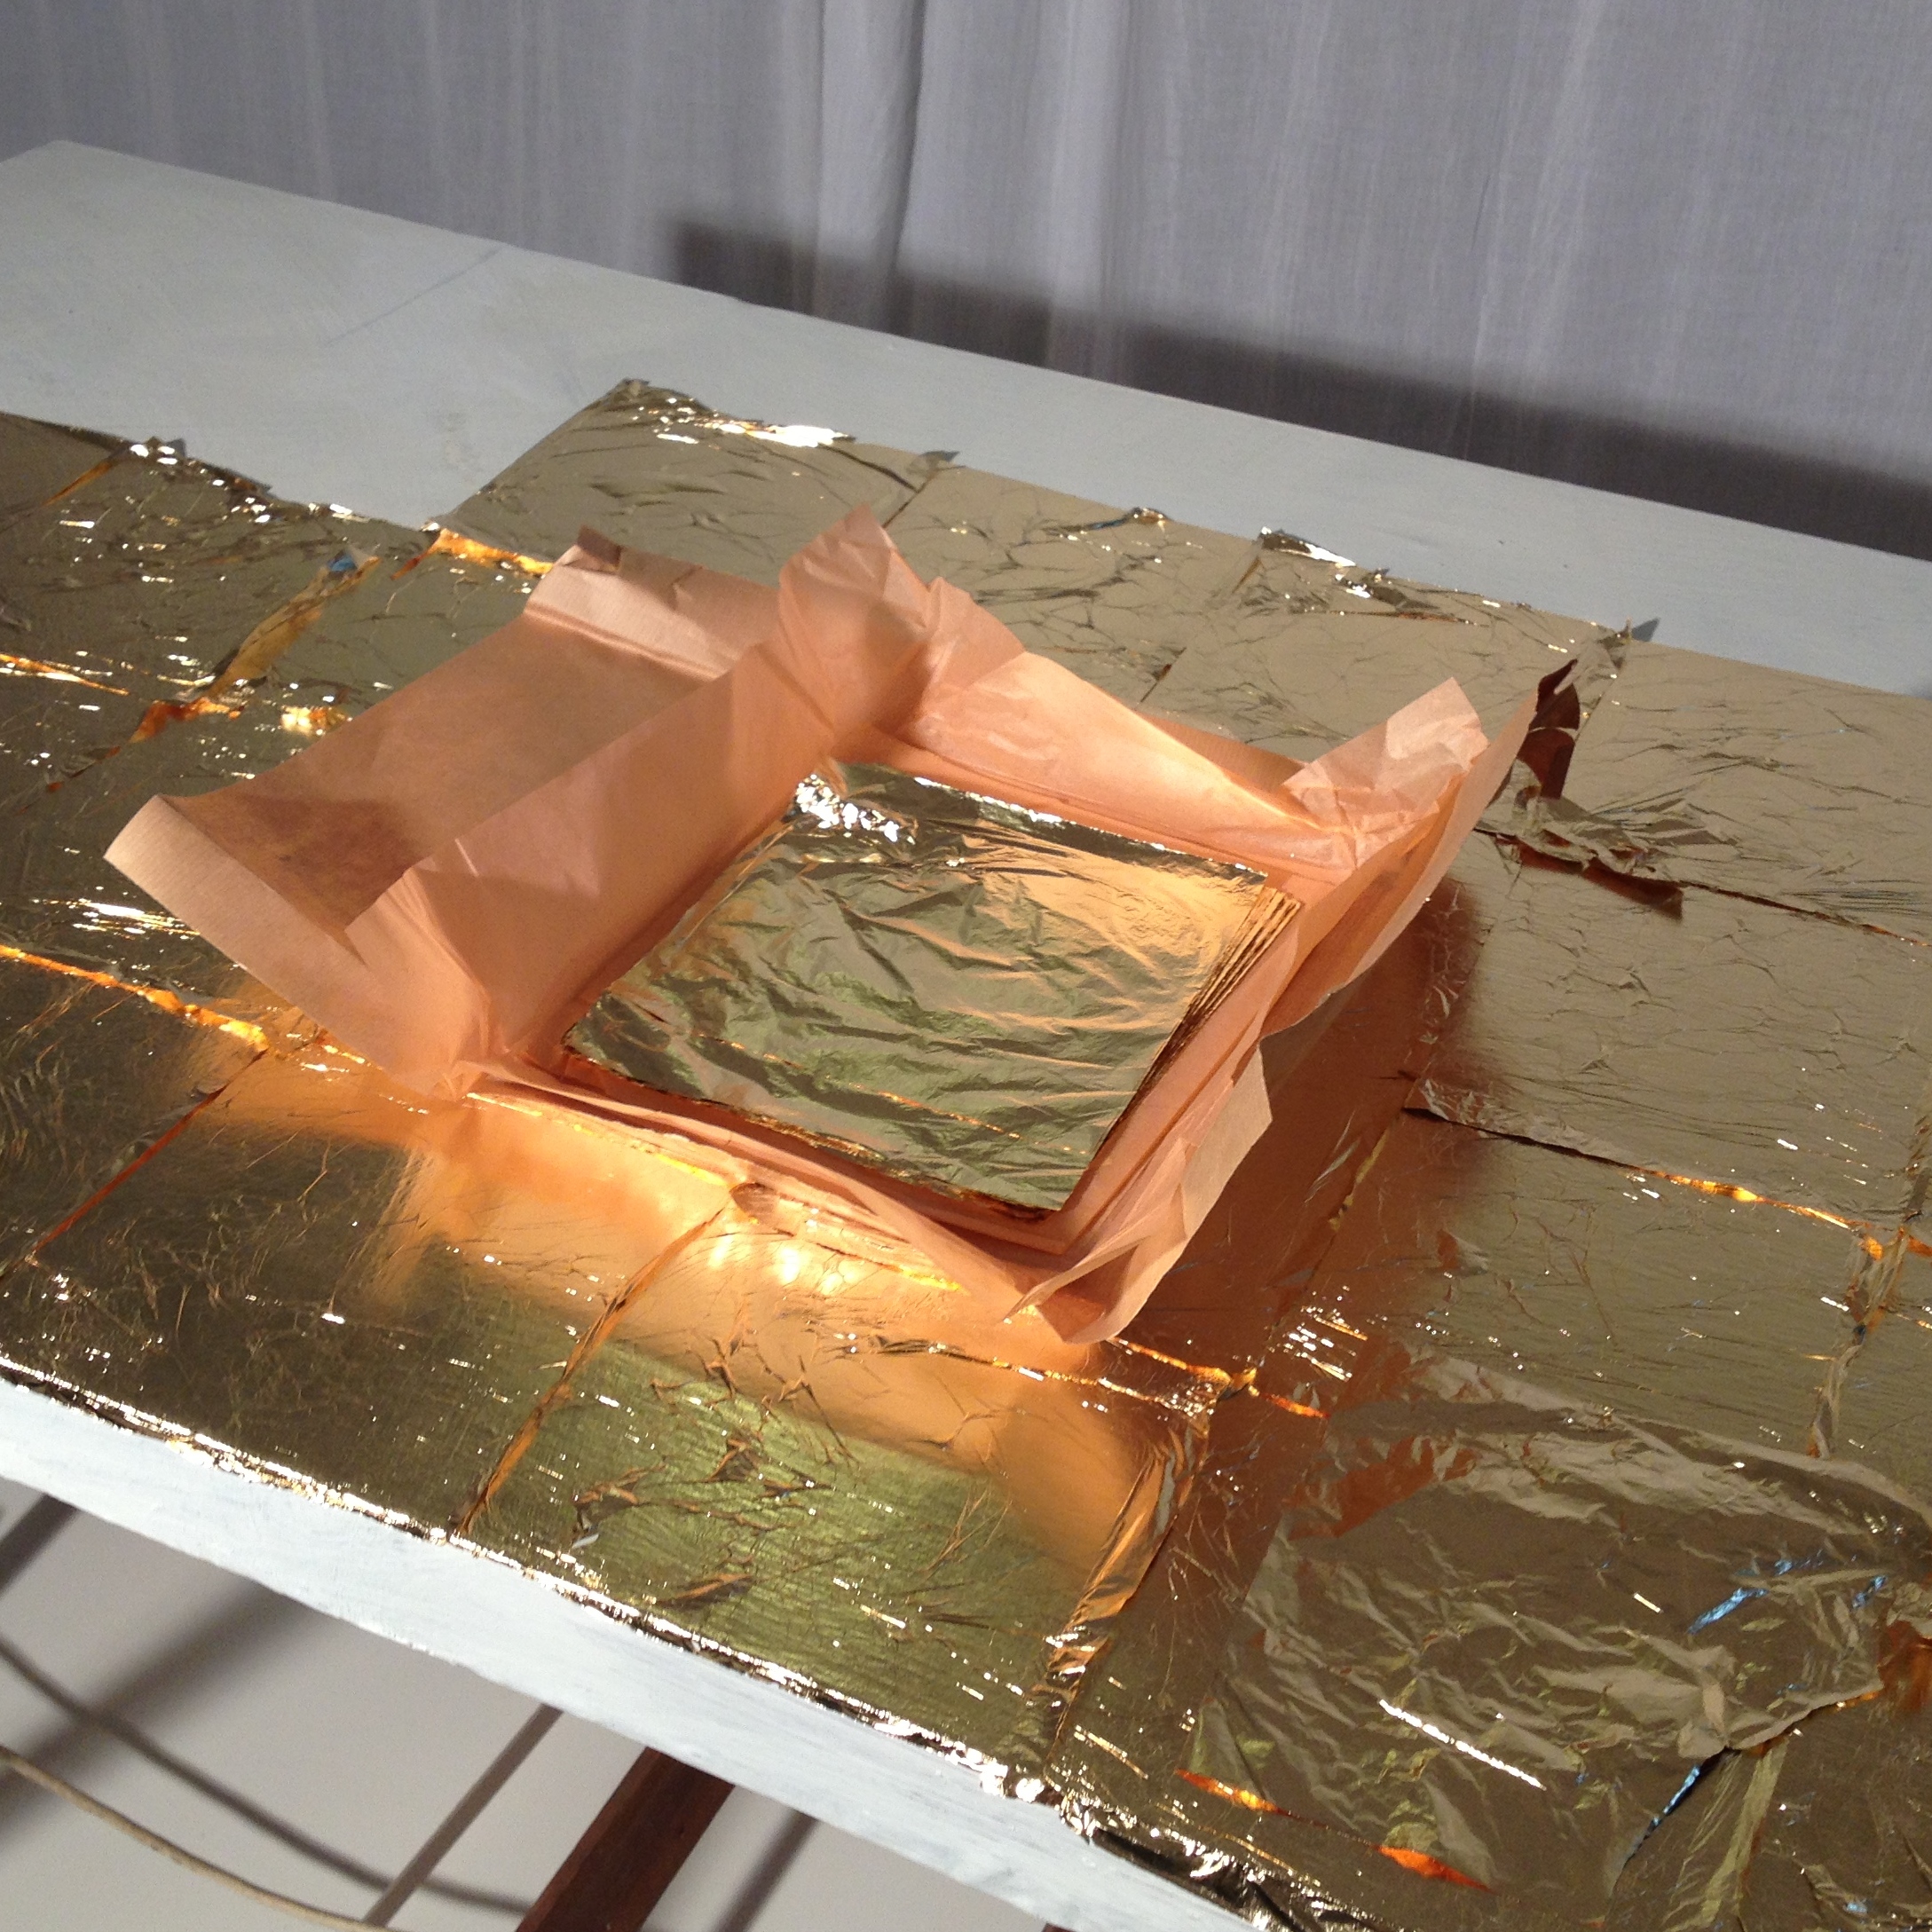
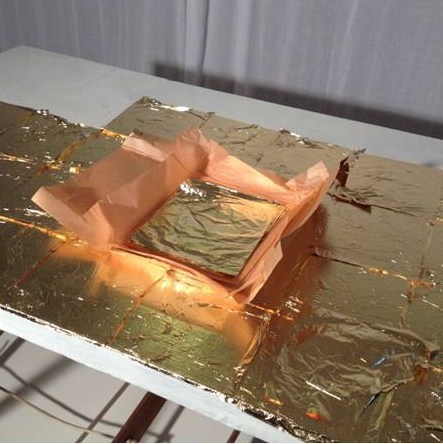
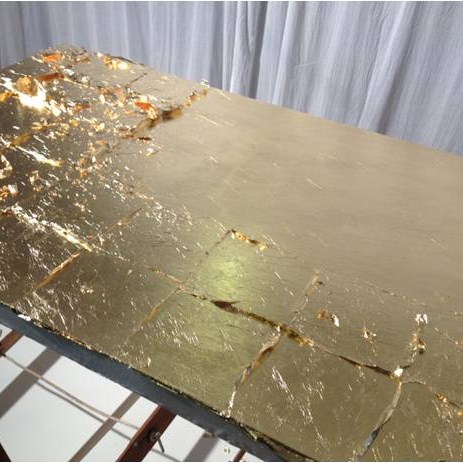
6. And OK, you can start gilding now! Lay down the sheets in a grid, patting down gently as you go. I tend to fix skips (gaps or missed bits) as I go. Broken leaf can make a great effect and sometimes you don't want to see the grid pattern. In these cases, just tear up the leaf and jigsaw it together unfussily. There will always be the slightest tell-tale sign of the many individual sheets of metal though.
Keep torn or ragged leaves for patching the skips, just tap them down onto the size.
Handle the leaves as little as possible. I'll say it again, close any windows & doors around - good ventilation is a pain when gilding! Any air movement flutters the leaf around, but It's surprisingly robust to handle as well. Don't be frightened of gilding; a measured, steady hand comes with practice and so will speed. Take your time and remember: it's fake gold!
7. Don’t be tempted to clean up the leaf until the entire surface is covered; the bits & pieces (‘skewings’) will fly around & may land on sized areas.
If this happens, you’ll know about it at the end when you do clean up; the skewings will be noticeable as a crushed looking patch, probably right where you don’t want it.
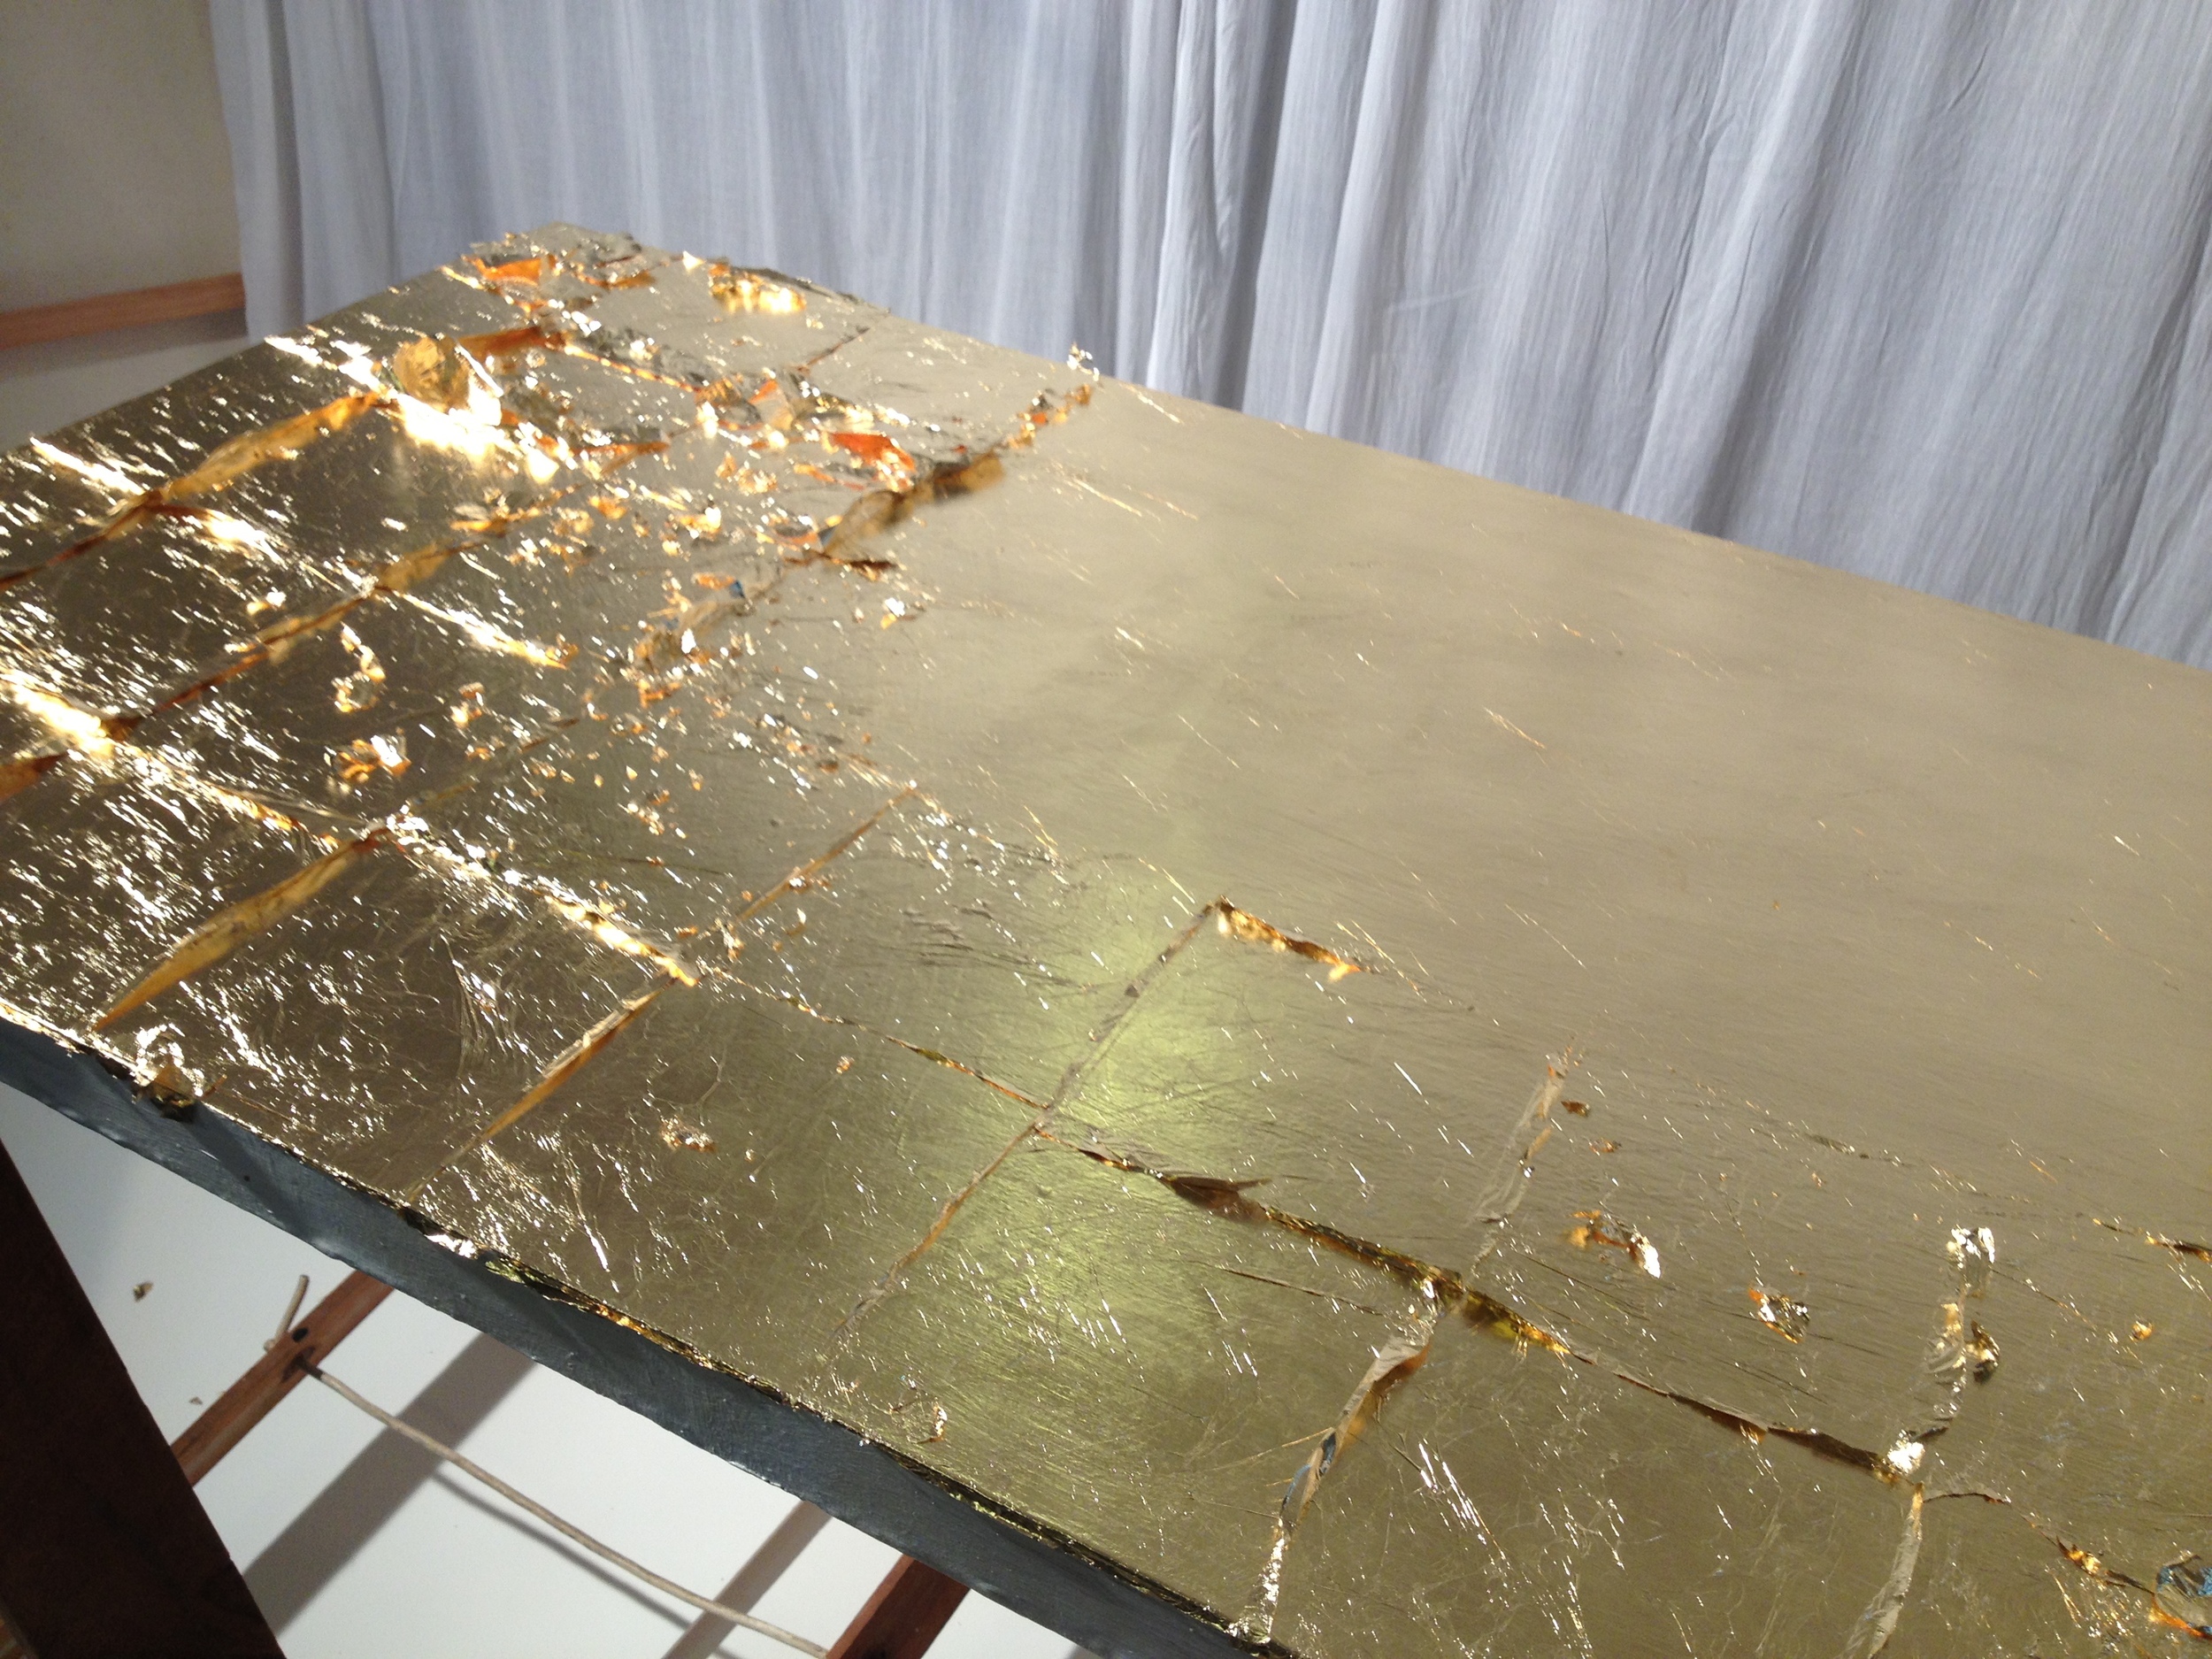
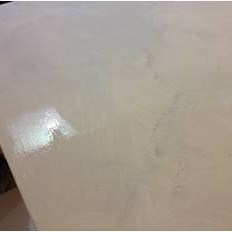
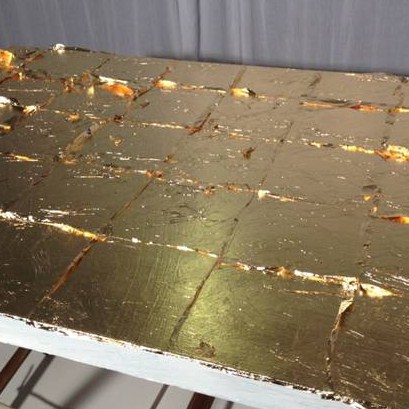
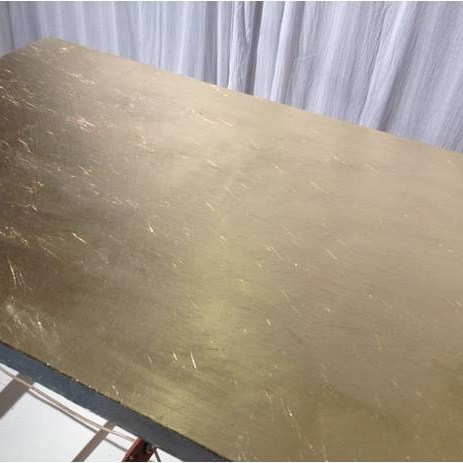
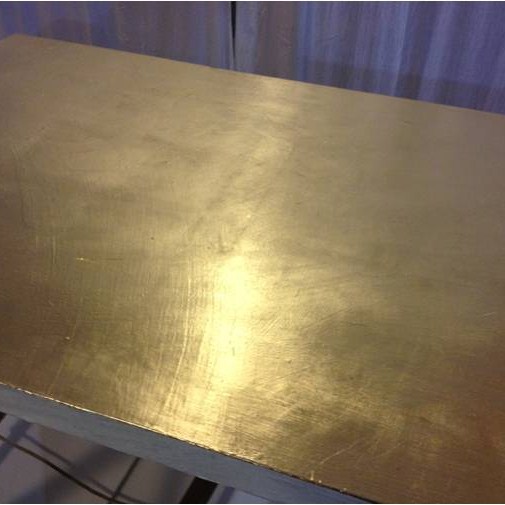
8. To clean up – smooth down – press/ tamp down all over, particularly at edges where leaf meets.
A clean cotton glove wadded up into a flat pad is ideal. Start pushing away excess. Keep going until the surface is all clean and shiny perfect. The only way to get a perfect finish is with a perfect surface to begin with, unfortunately. The glassy finish you see in photo below was made possible by an extremely well sealed, sanded and impenetrably smooth surface. (The impasto texture is due to all the underpainting; it's a recycled canvas . That's one of the reasons I like them; all those layers of paint already applied will utterly seal and build up to a gorgeous nubbly smooth, gestural texture. Keeping that high shine while protecting the leaf from damage & tarnish depends on your.....
9. Topcoat. Be warned, imitation gold leaf will tarnish under many topcoats - I don't like water or oil based varnishes for this reason.
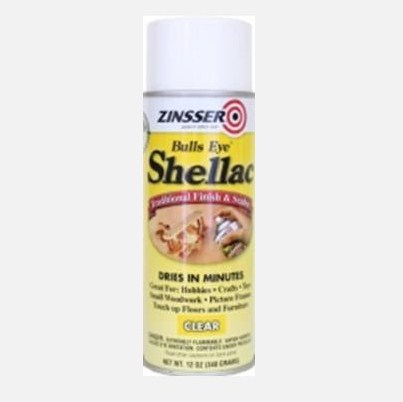
The topcoat I use most is pale de-waxed shellac, applied with a wide Hake brush. Other shellacs (the pedestrian orange) will bloom – go cloudy.
For this project, (ever since I discovered it I use it wherever possible) I used spray shellac, which I get at Barnes.
There are purpose made acrylic and turps-based topcoats for gilding available out there and good luck with that. Me, I'm a bit old fashioned maybe when it comes to shellac-as-a-rule, but I stick with it. Another excellent spray varnish is acrylic lacquer, the kind made for sealing polished brass and copper. It's perfect (but watch the ambient air temperature and humidity for bloom potential) and very durable, but highly toxic! Same with 2-pack polyurethane and thinners based varnishes. Maybe spend some time browsing online forums before deciding or experimenting. Modelmakers, props artists and gilders have a lot of opinions! Decide for yourself then just do it. If it all goes horribly wrong, its always re-do-able. (Sad and boring, but yes.)
Whichever you choose, give it 2 or 3 coats.
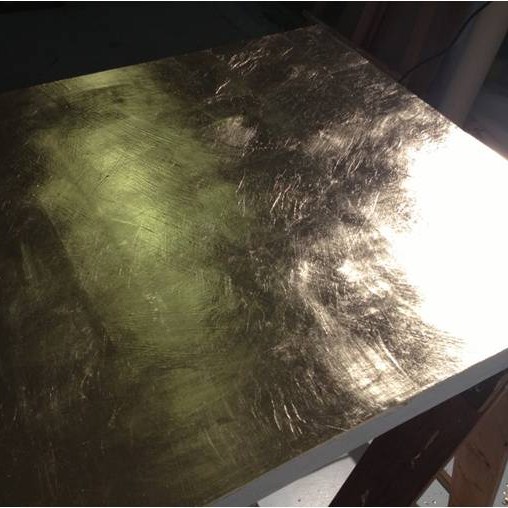

And there you have it. A gilded canvas, ready for artwork.
Once the canvas is gilded and sealed, it's ready for work. Acrylic paints will crackle over shellac, so either use oil paints or lay on a water based polyurethane on top of the leaf sealant (whatever you've used) and then use the acrylic colours. (Obviously, almost any paint will be fine over a thinners based sealer.)
The flatness and opacity of solid painting over the reflective metal is a great effect, even better with different, alternate layers.
There endeth the advice session. After all that careful, prescriptive work gilding the damn canvas, it's time to get creative.
(Whee!)
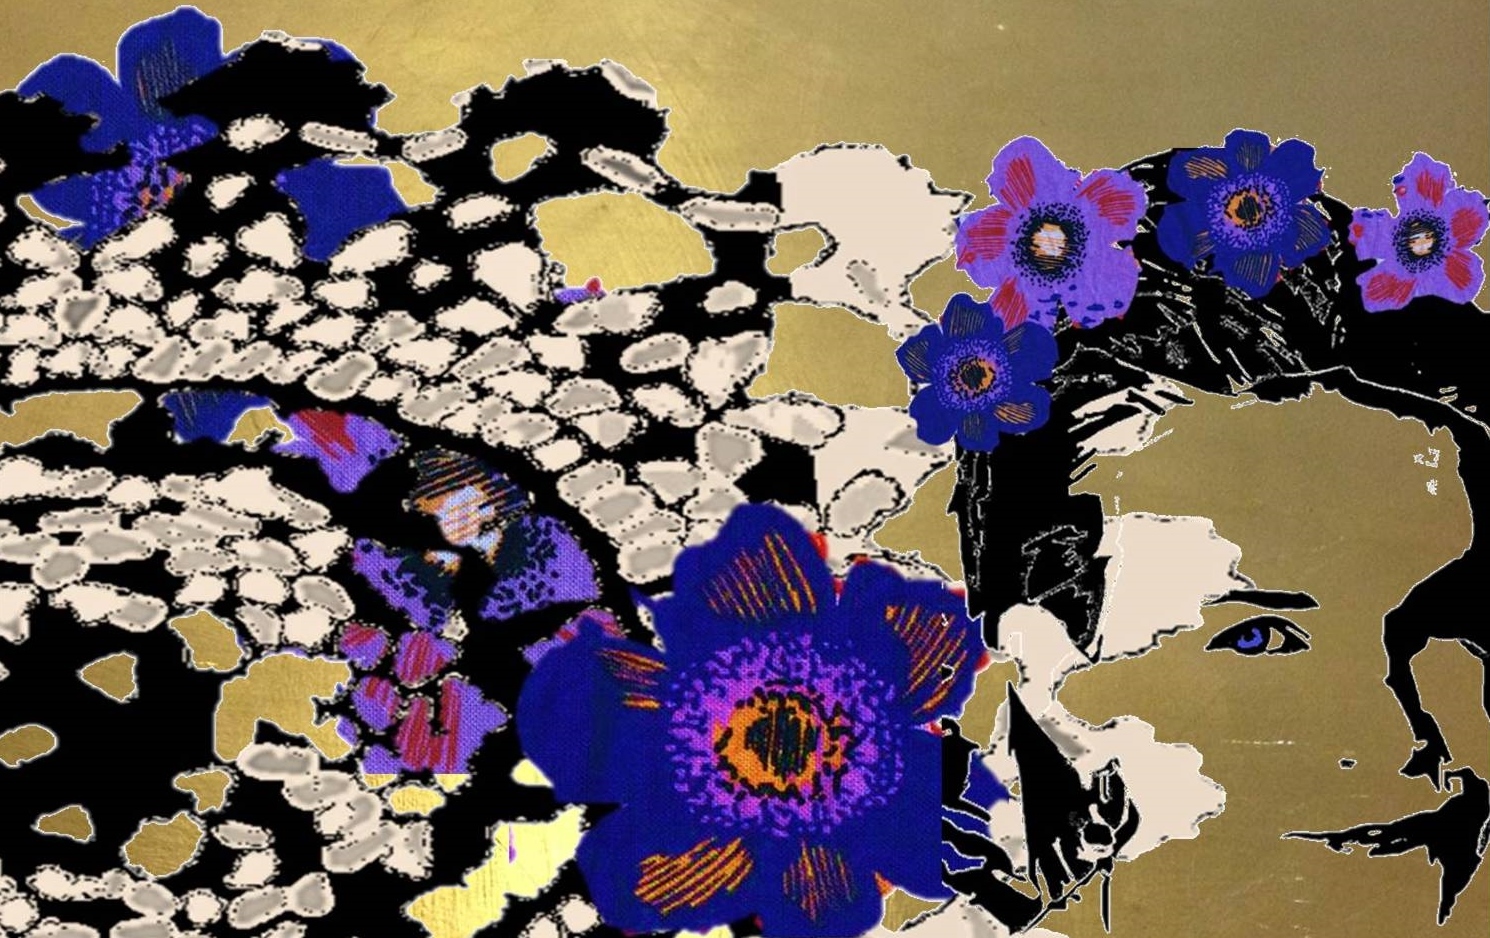
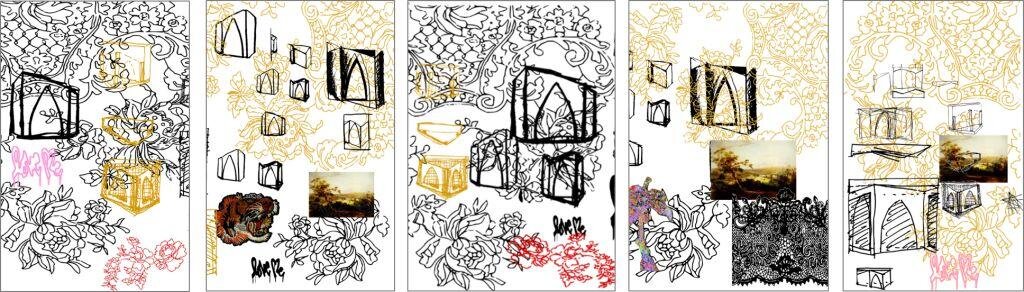
And this is what I have planned for it....or something like this anyway...
To see the making of the finished artwork, click here
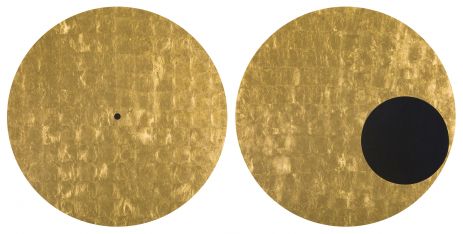
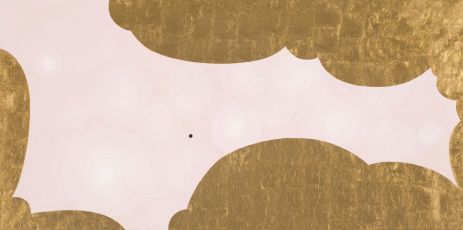
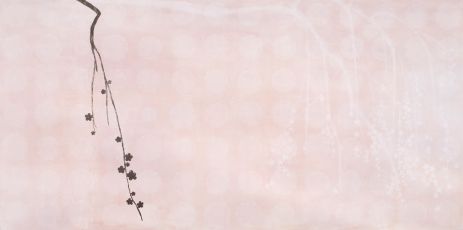
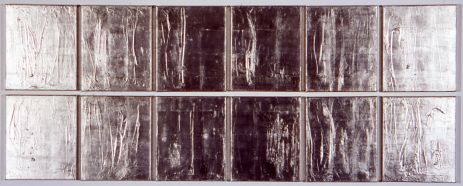
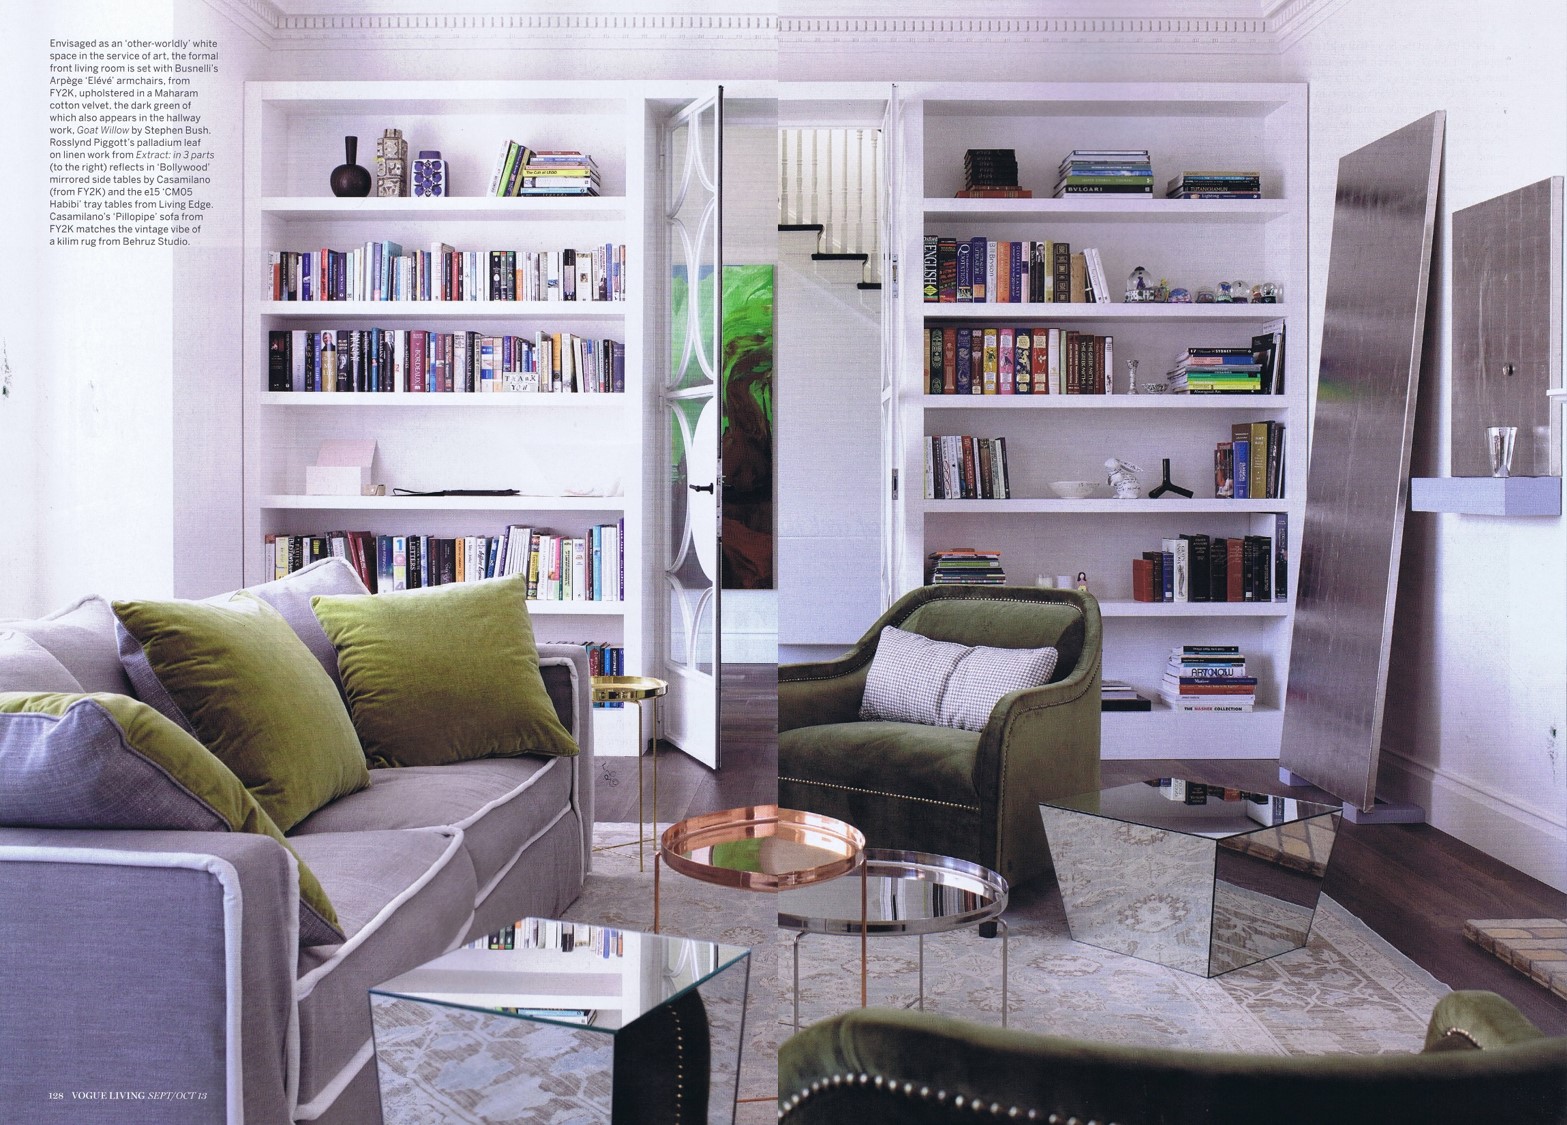
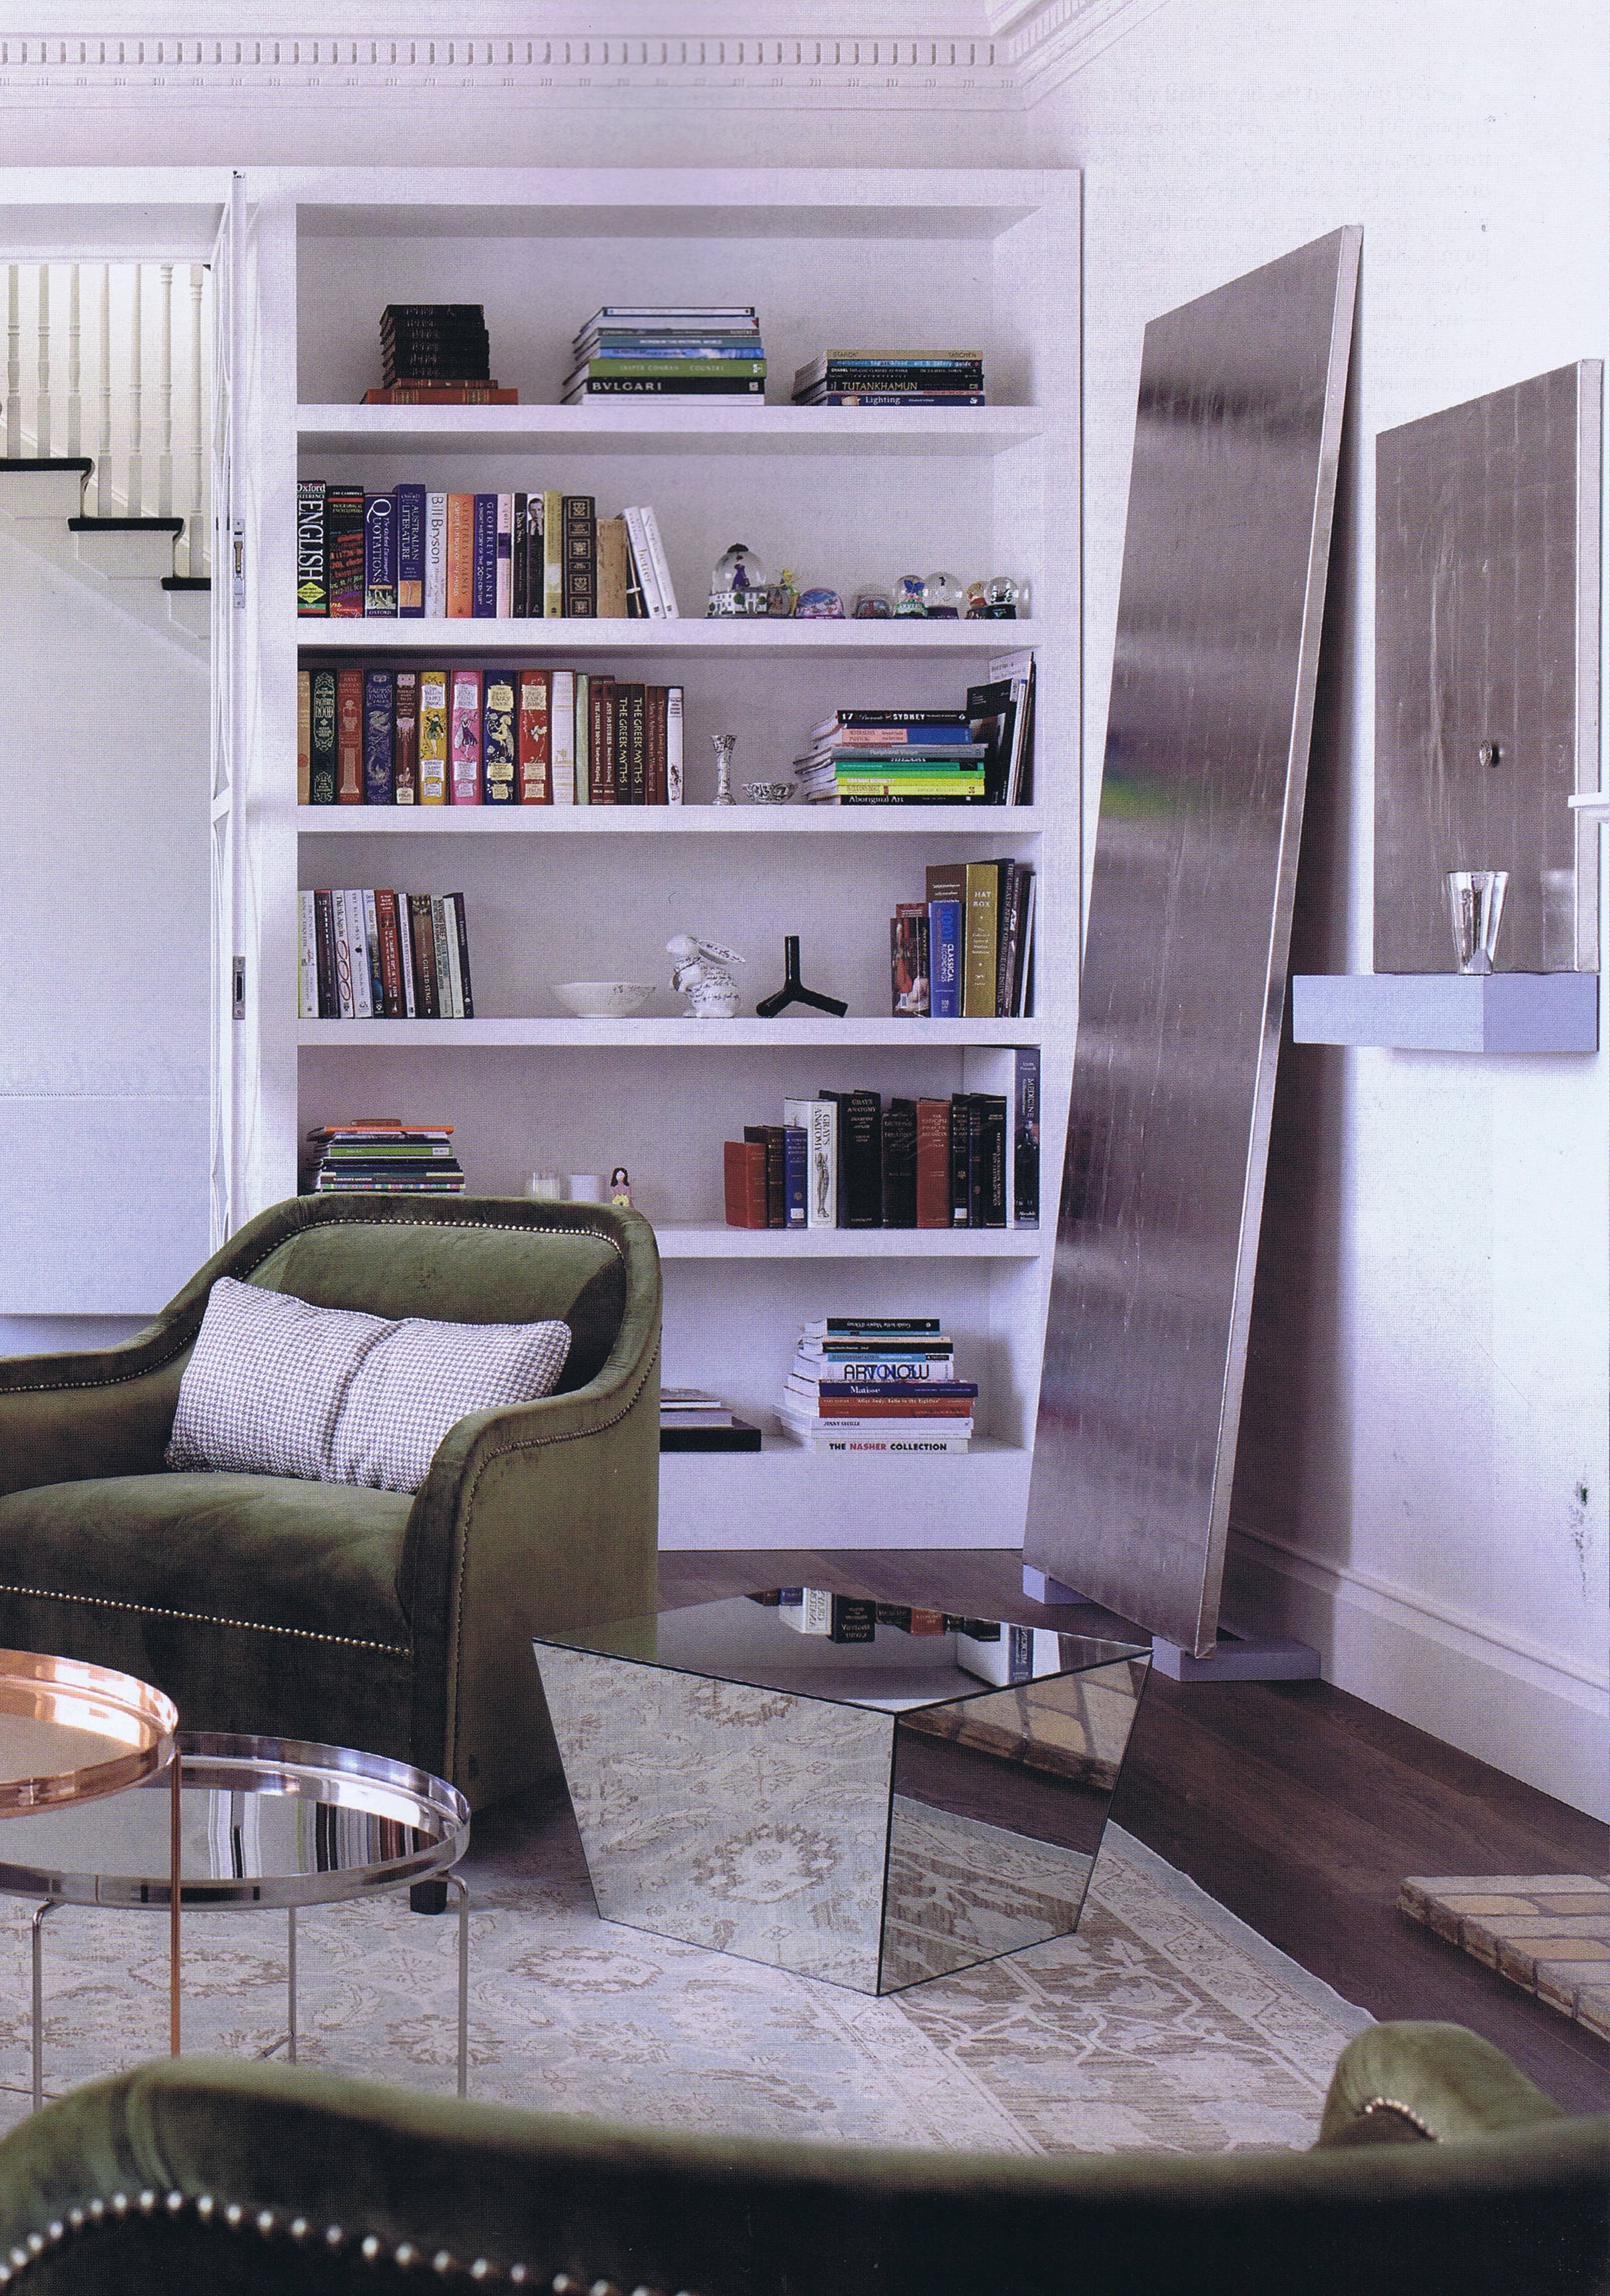
Artworks below feature metal leaf on canvas. Rather lovely. The works by Australian artist Rosslynd Piggot are wonderful.