Paper Dolls in stylish folders, containing the doll on a folding stand as well as all their clothes! Many designer outfits! Yay!
One adores paper dolls, so fun and cool and sort of guileless. So I made these presents last year for two close-est girlfriends: their very own entire package. The doll, complete with stand, the vast wardrobe in cutting edge designer gear, made out of cunningly crafted paper...and my love for my friends that goes into it all.
This post looks at how I made the really nice covers for the folders with which to present said package. Next post is the fabulous interior furnishings, and there's a tutorial on how I made the flat folding stand too. It's a guaranteed more involved stand than any you've ever made before - that's sometimes the way somehow, with me - but it looks good. In fact, I'm really pleased with the total look of this project.
I've always loved the concept of paper dolls, they're exactly the kind of practical/pretty-yet-not-really-useful kind of thing that really appeals to me. So I love Danielle Meder's paper dolls and her site finalfashion.ca. She's very clever indeed, with great fashion illustrations and well written fashion trend theories, critiques and musings, as well as cool links every so often on 'click-click'. For this project I used her "London and Milan SS13 collections" Doll, customising one with darker skin tone to suit one of my friends all the better regarding her outfit choices.
So beginning at the beginning: the outside covering of the folders.
I have a (large) stash of fabrics I've collected, a collection amassed over quite a few years of fabric love and being based on desire before purpose, ie, if I like it, I need it/buy it first, then stash for future potential. For the cover of the presentation folders I found therein said stash a cotton velvet upholstery fabric remnant, perfect for task. It is shiny and smooth, lovely to touch, with a short pressed nap in just the right stylish shade of creme. It lends itself well to the black/creme colour scheme employed by a "well known fashion house"; the modified logo of which also finds a place here.
Which logo? I came across the "DIY Chanel drip tshirt" once upon a browse, here on the Londoner. The nice author said feel free to copy, so I did.
paper doll – London and Milan SS13 collections Image by Danielle Meder, final fashion
Image from The Londoner blog
I transferred the drip logo image to the fabric using the always handy Saral Transfer Paper then painted on with a fine brush & black artist's acrylic. Very pleasing results, looks schmick.
The size of the folders? Well, this was determined by eyeball: the length of the doll + stand as well as considering potential dimensions of envelopes for the clothing collections. (As these gifts now reside with their owners in London, I cant now recall the exact measurements, but this should give a guesstimate. Envelopes approx. 350mm x 180mm for a greeting card size and I knew I'd need two at least.)
Fold the strip of fabric AROUND the spine to join the two pieces.
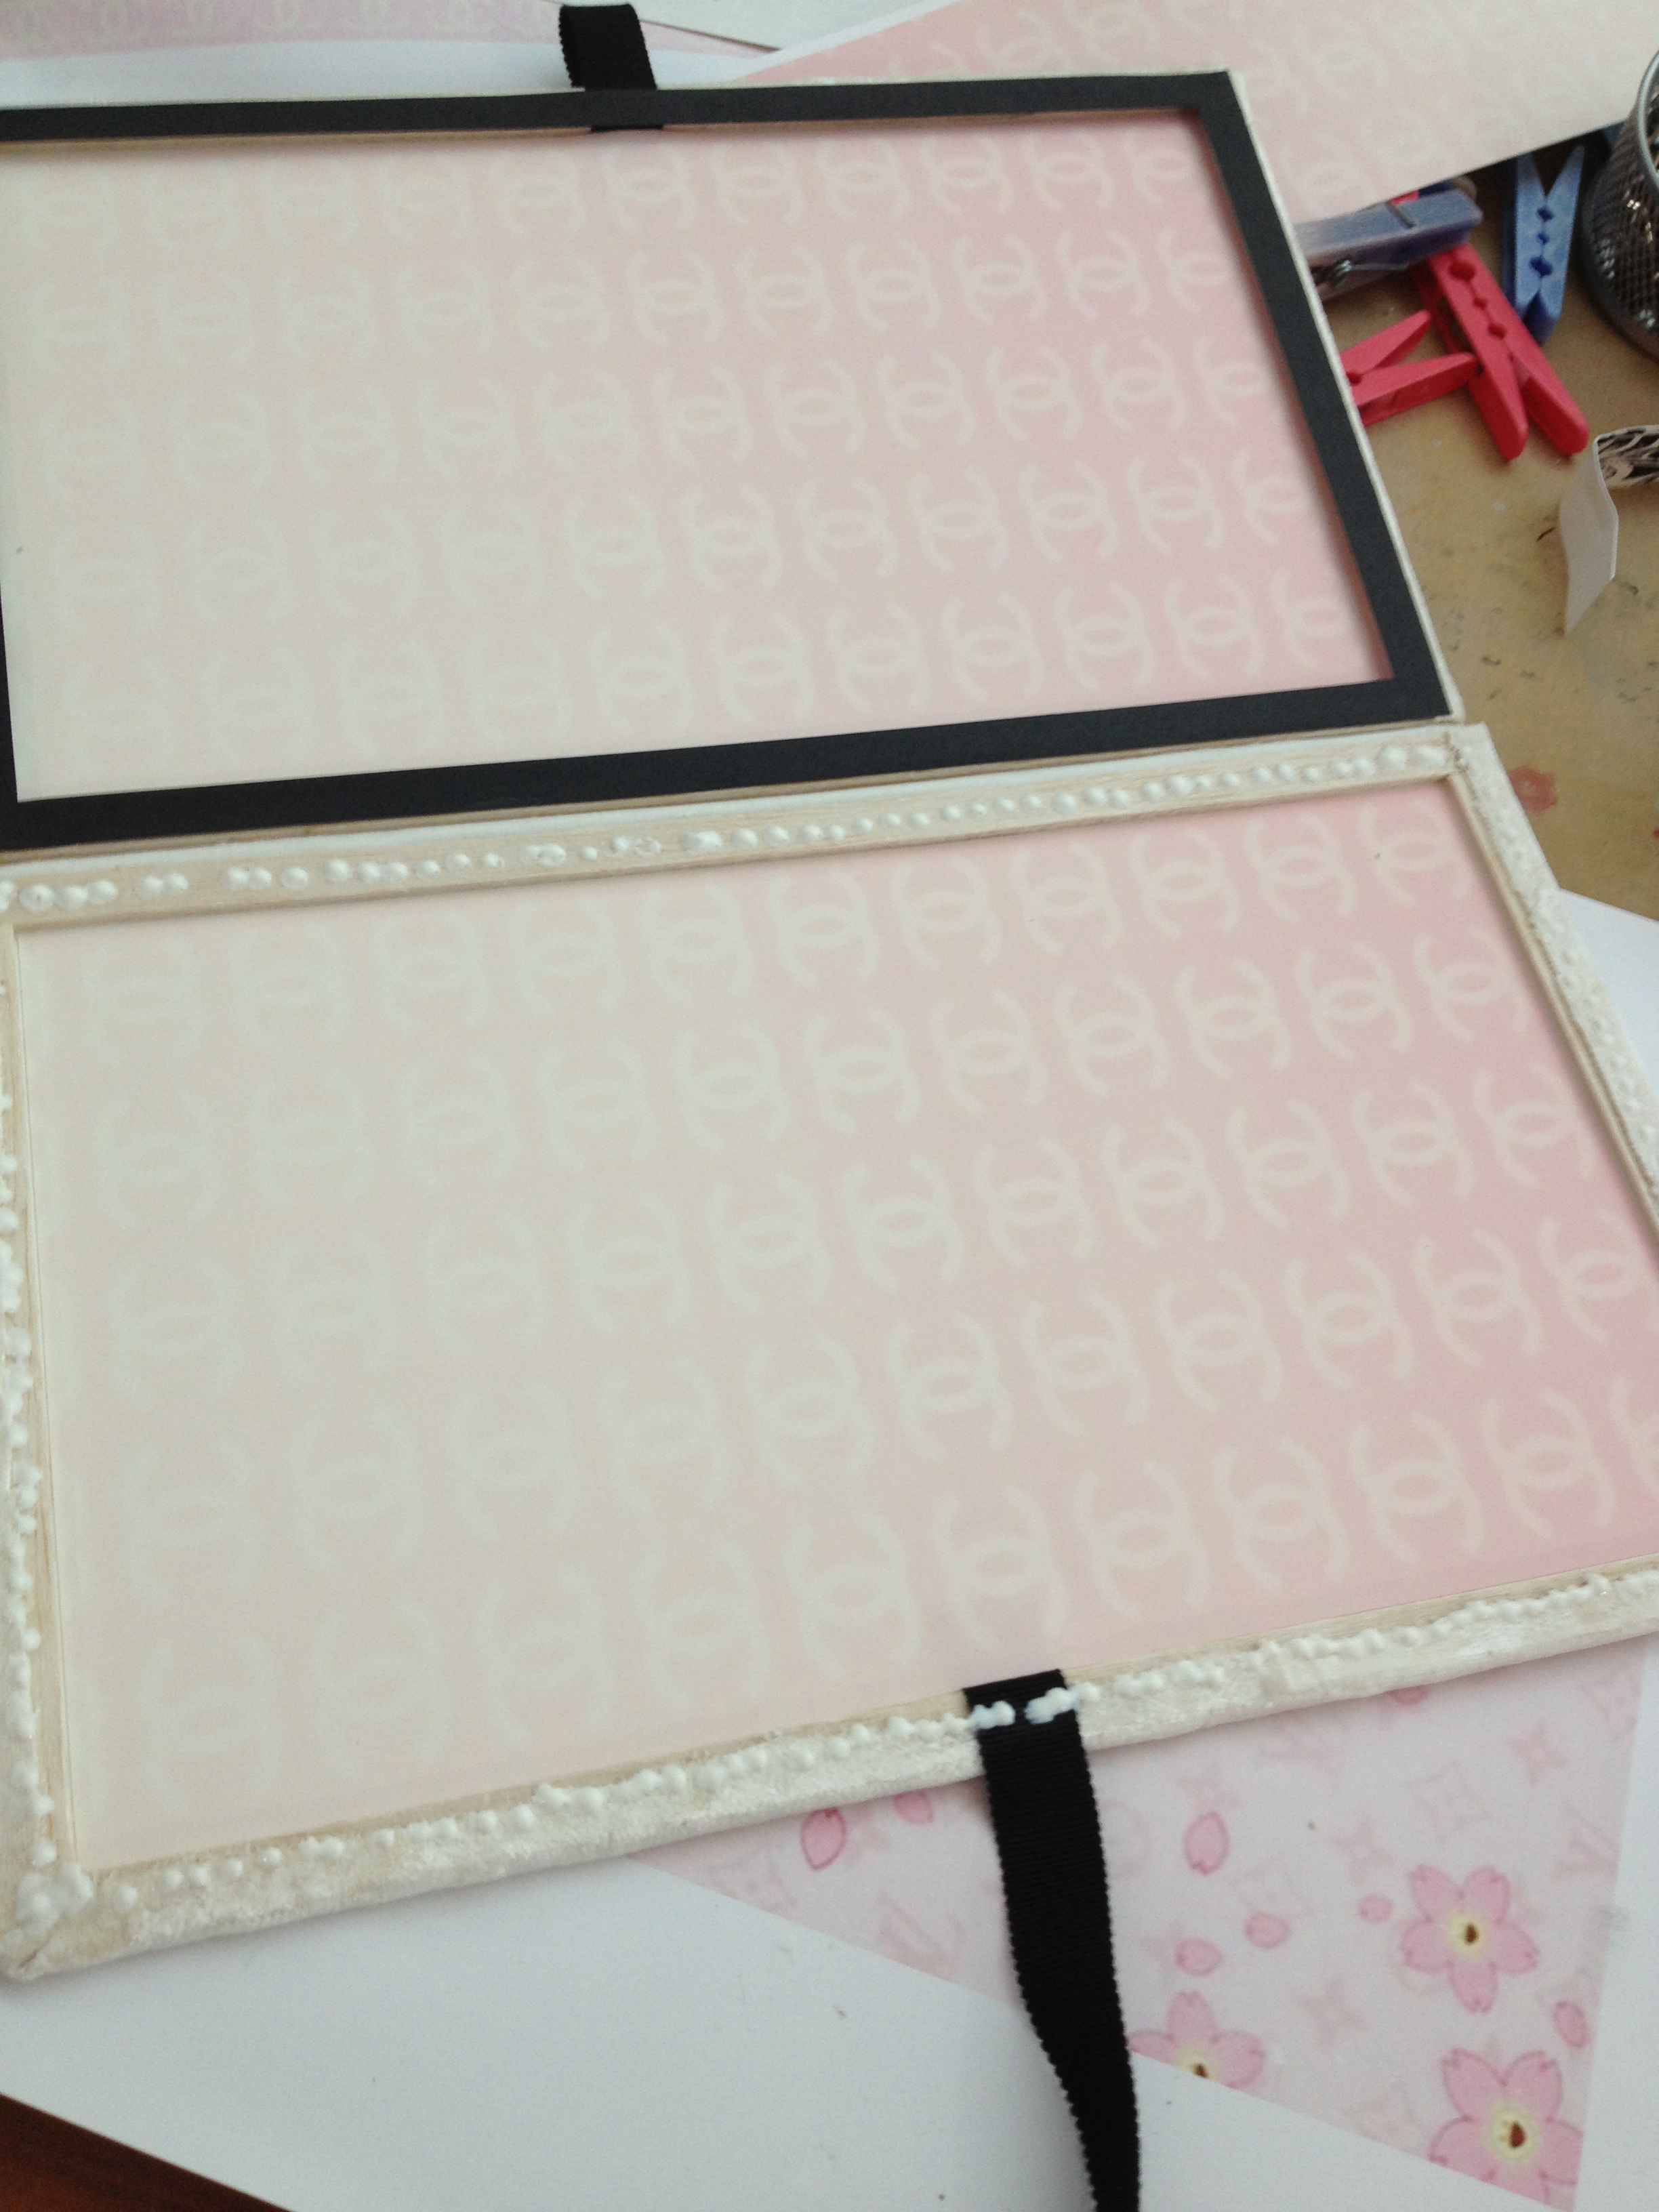
The inside of the folders are framed with thin strips of Balsa wood @ 3mm x .9mm. Various dimensions are available my local hardware store, (or art/craft shop) ready milled, just needing cutting to chosen length. This creates two shallow 'trays', so there's space for the dolls & clothes to fit within. These I book joined by gluing a strip of light cotton lining fabric down the long edge of the two 'pages'. *Make sure when gluing the spine to fold the fabric around the two pieces when they are sandwiched together, allowing for the fold! Any lightweight non-stretch fabric will work, just make sure the PVA glue is smeared evenly all over. Wipe off excess glue and press down the fabric firmly to make sure there is good all over contact between the two book leaves and the cloth spine.
I fixed the painted velvet cover fabric using spray adhesive, trimming as it folded up around the sides to just over the inside face onto the Balsa frame. I used plastic clothes pegs as clamps but be careful to place a good wide flat surface at the pressure point as Balsa is very soft and will mark (see center image).
Now I needed a decorative lining paper to match the style scheme and found a very pretty (pink!) wallpaper style pattern on Google image search. (Umm, just entered "well-known-fashion-brand-name + wallpaper" & clicked. This showed quite a few options.) Print this on A3 size decent paper.
First, I glued 2 lengths of black grosgrain ribbon at sides as closures, THEN spray adhesive-d on the lining paper, trimmed to fit perfectly within the balsa frame. Presto! the inside of the folders looks nice
Then cover all neatly with a window frame cut from black card. I find the best way to control the application of potentially messy glue is to dot it all along the edge, rather than run a bead all around. It's much more controllable that way, seems to me.
Lovely!
And now for the doll and her clothes! Fill this up with goodies! ....Next post
The dolls, with flat folding stands attached, are gorgeously packaged and include removable wardrobe pockets. Ready to play with!


