Its the best top Ive ever made
Its a Tessuti Athina Top with puff sleeves and its super classy fun.

Again (see hack 1 here), simple changes, big impact; increase width of sleeves & gather, add piping & cuff binding, lengthen body + split high/low hem

STRUCTURAL cloth.
To DIY this:
I’ve used a soft kind of crafting cotton, I bought a bolt end from a small local shop…so Im not sure how much fabric I used in total but would say it’d have to be around the 3.5 meter mark, we’re having volume here. The fabric needs to be non-drapey if you want that volume to hold itself & fabric choice will also play a part in the length of sleeve as the puffing will reduce the length as cut; more on crispy, less on softy. I erred on too long but I’d rather go longer to begin with…you can add more salt but you cant take it out…
So, begin as usual, sew front & back together at shoulders, stabilise or finish neckline, then…..

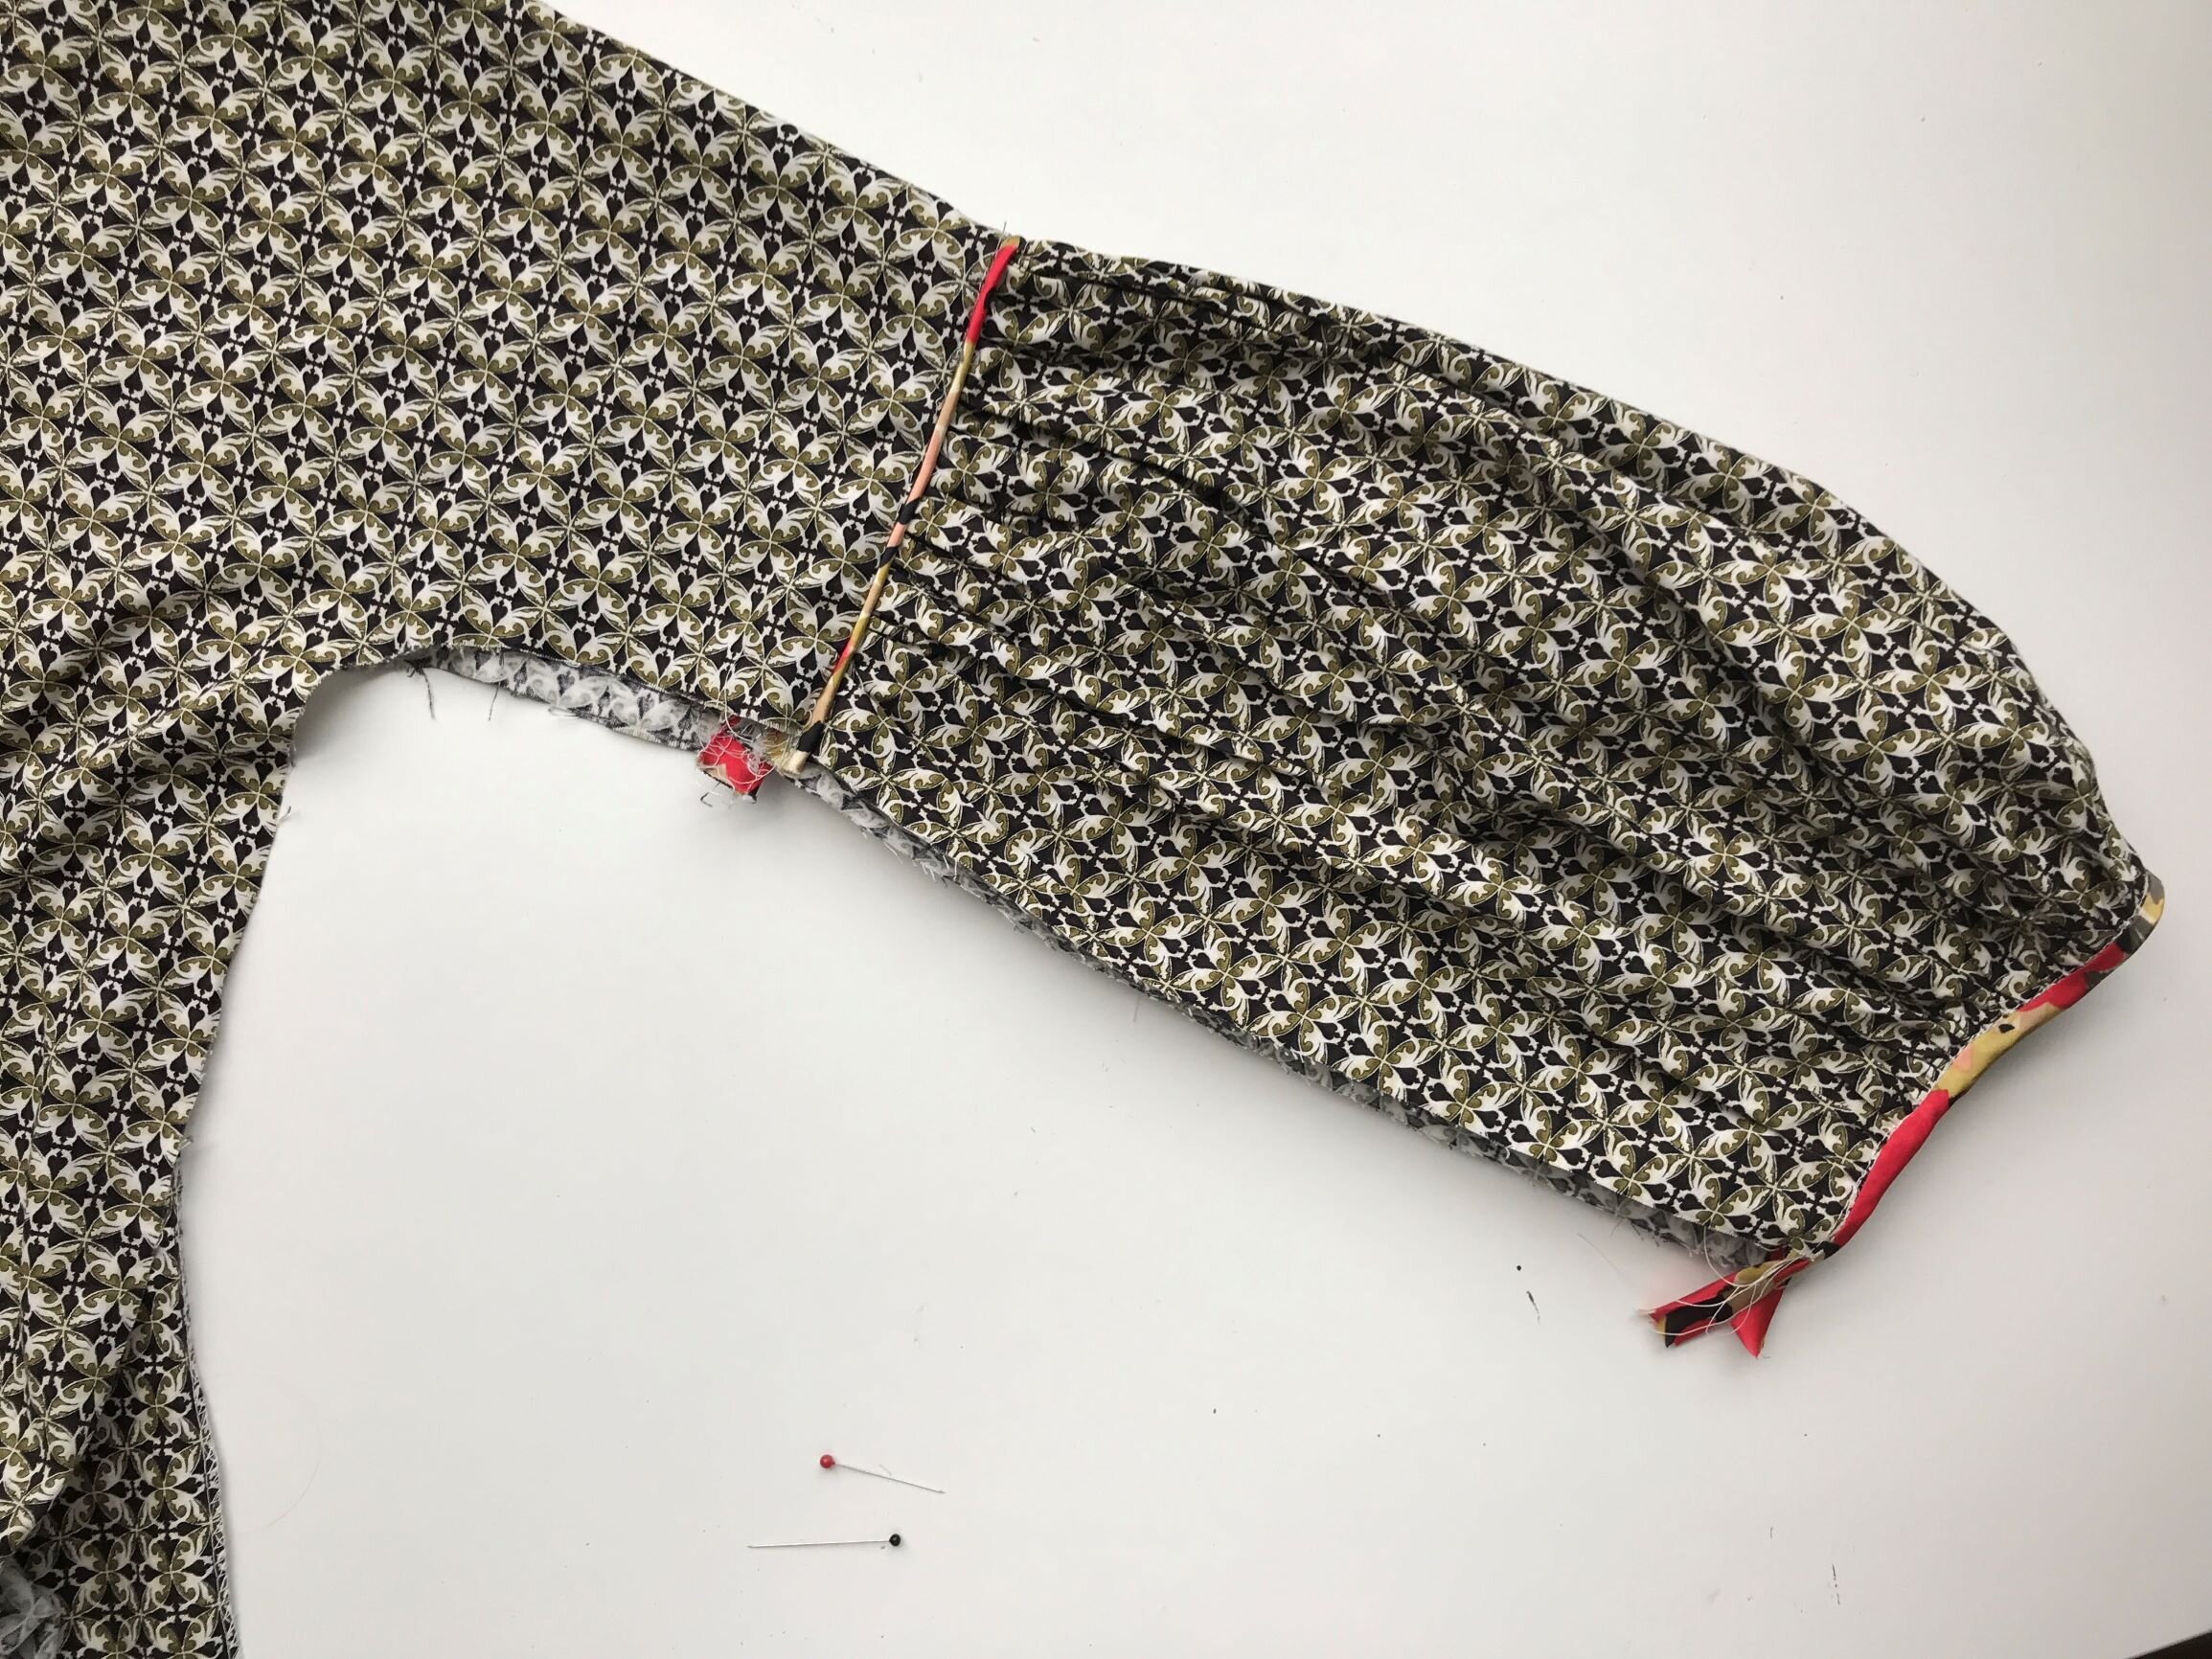
Measure the width of the sleeve as it joins to the body, then times it by 2.5. Add about 3-4” to the length to account for the pouffing of the gathered sleeve puff


Fold the fabric in half just like you do with a regular sleeve & cut it as per usual, so it follows the same angle at the seam edge. I curved the edge that joins the body a little as seen below. I’m not sure what effect it gives but I was thinking it might decrease volume on the underarm. But between the busy print & the puff, any subtle tweak like this is nice try

I also cut them hem edge so it should fall nicely with the weight of the puff at the back

Add piping? I love piping, it looks good & isnt a drama here because you’re sewing on the flat so why not hey. Decide on wild card self-made

Sew it on, not a drama at all

Sew double lines of long stitches at both ends of the sleeve pieces & gather.
I dont like gathering

The bulkiness of the gathers & getting a smooth piped finish is fiddly but ok. A bit drama but not really

Nice
Looks like I got away with that

Gather the cuff

SPOILER: it turned out that the sleeves are too long. The first time around, as seen above, I finished the cuff with bias binding (same fabric as piping) on the flat, before sewing the sleeve/side seam. But I really didnt like the look of the join*. Its easier to do it this way but its better doing it the more annoying way, gathering the cuff once the side seam has been closed. Its an infinitely nicer finish. I say this piously as one whose hand was forced.
Carry on with the usual, sew a continuous line of stitching from the cuff of the sleeve to the bottom hem

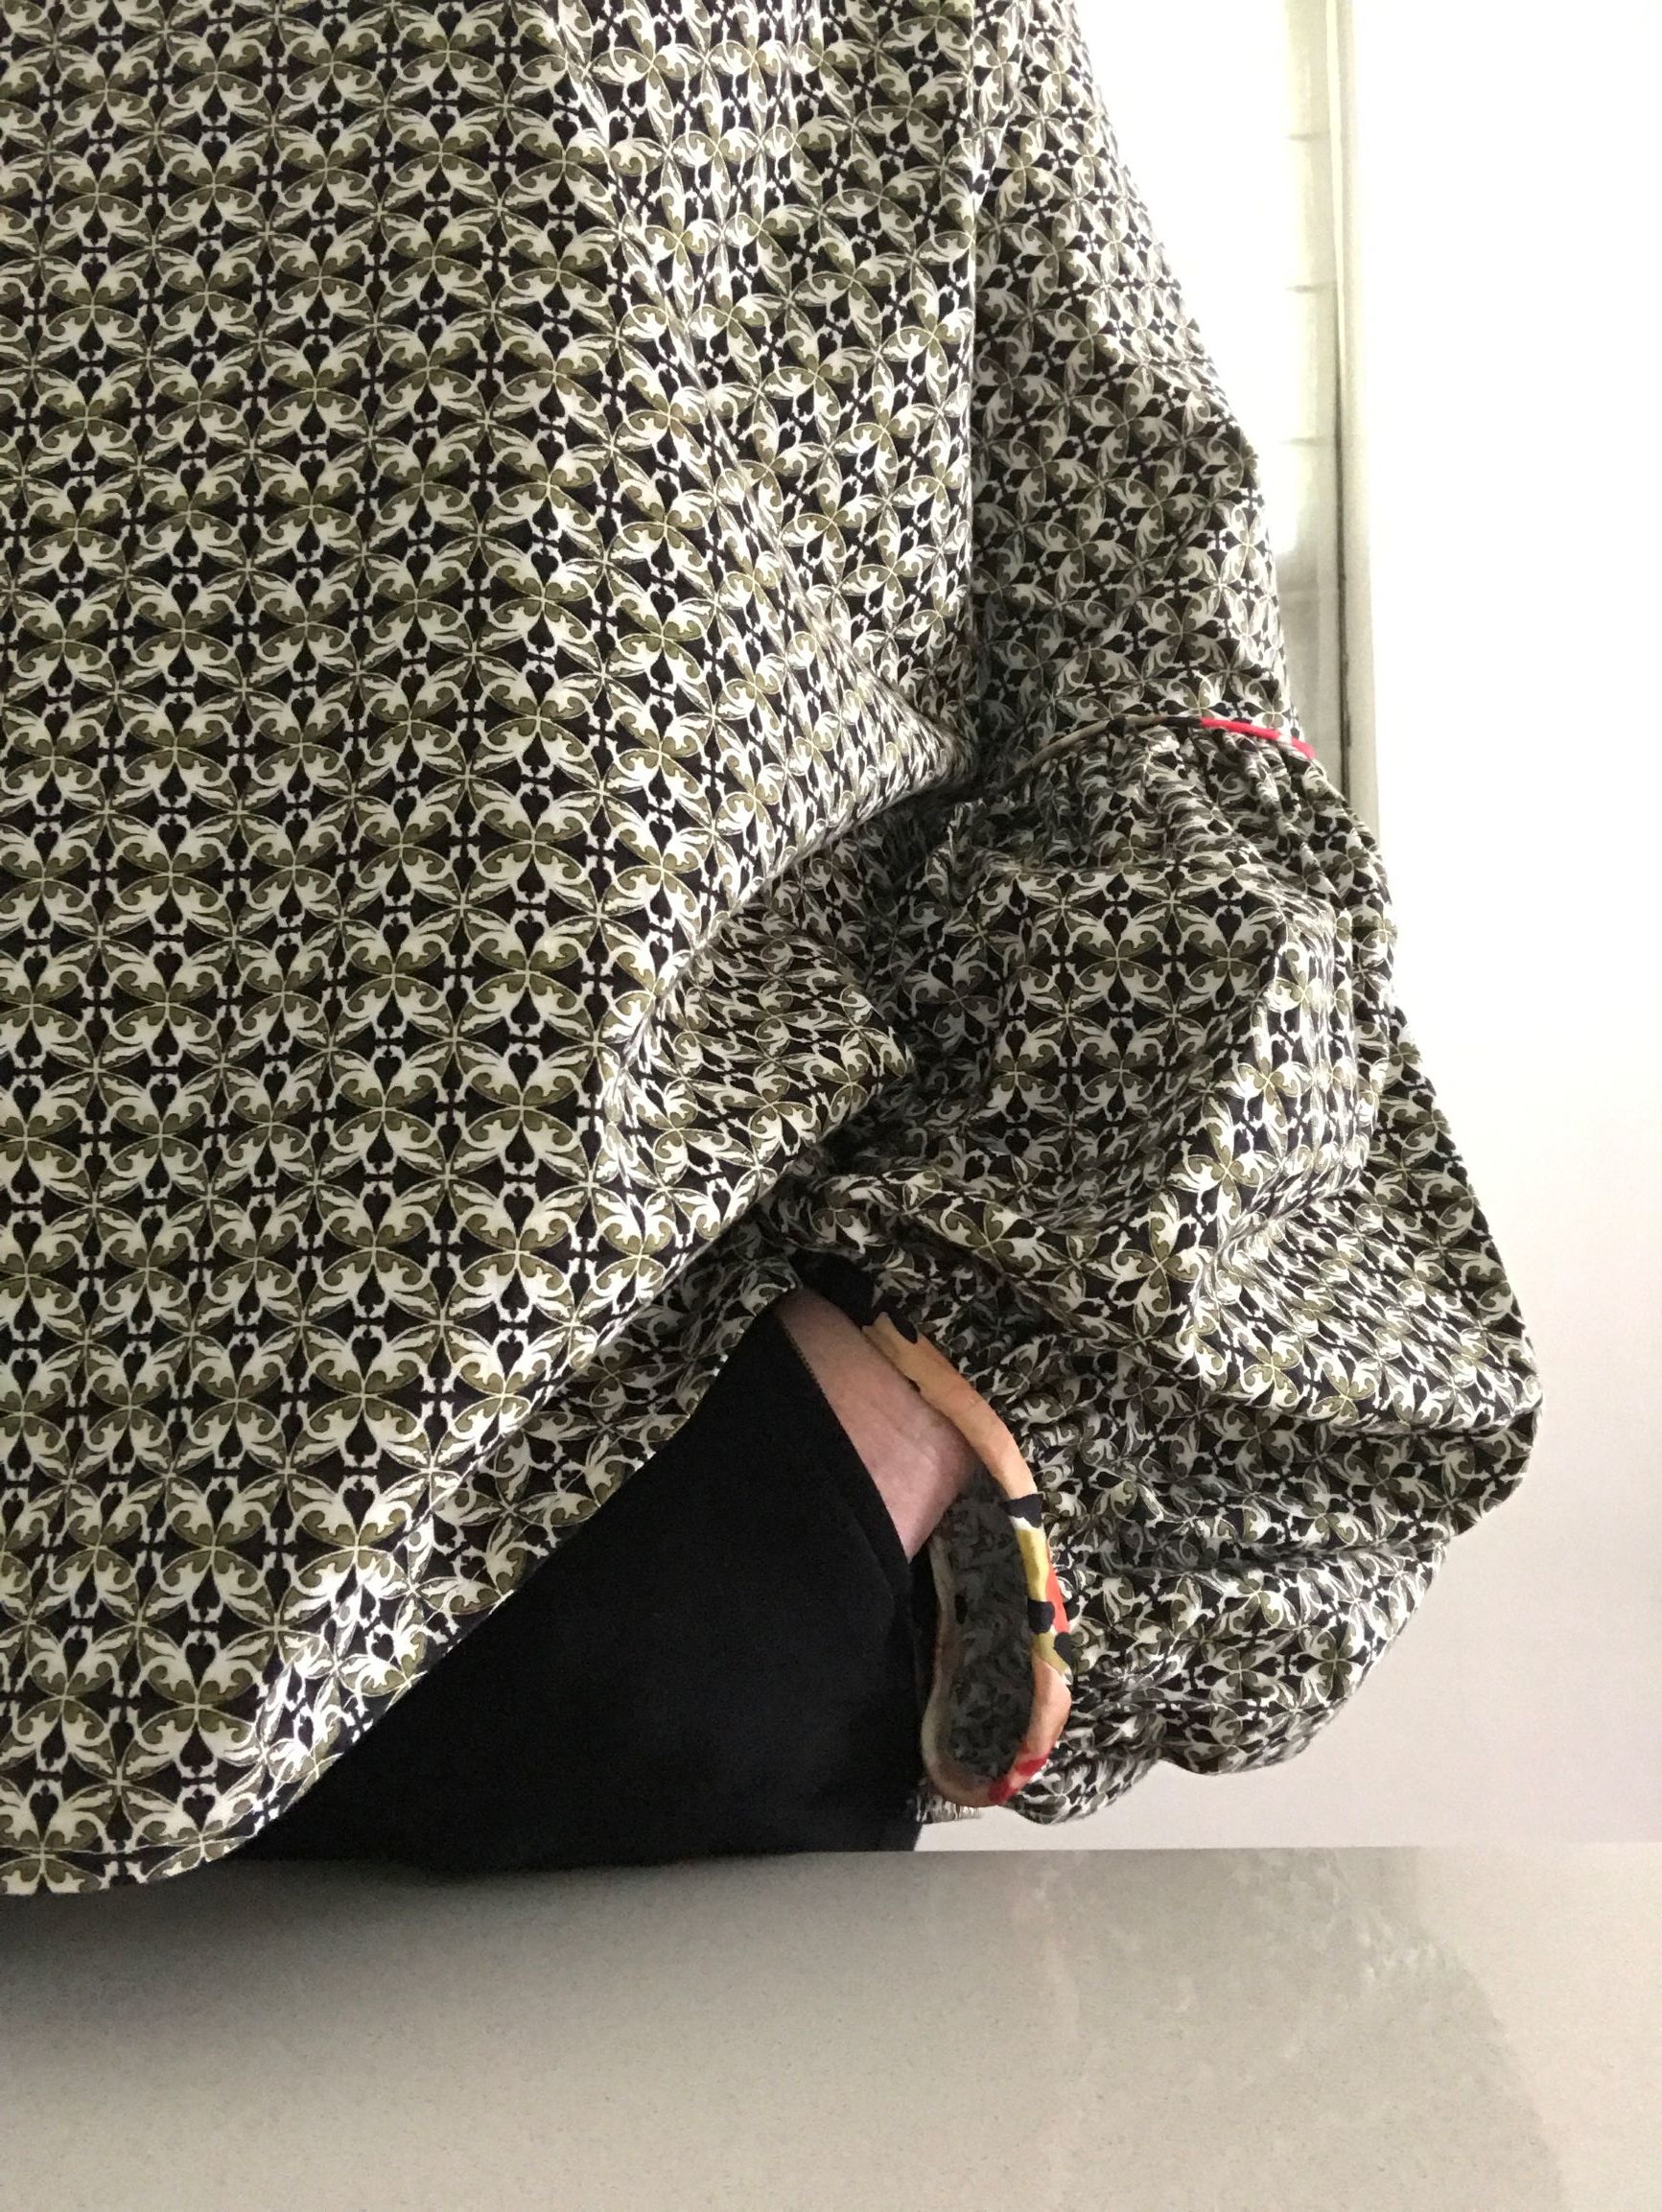
Boom! The Pouff, the puff, the puff daddy puff puff

Love it!

Is it too long? Is it really badly too long??

Yes Rosie, way too long. But as mentioned above, that turned out to be a better thing

Because the next time it was PERFECT
Somebody stop me
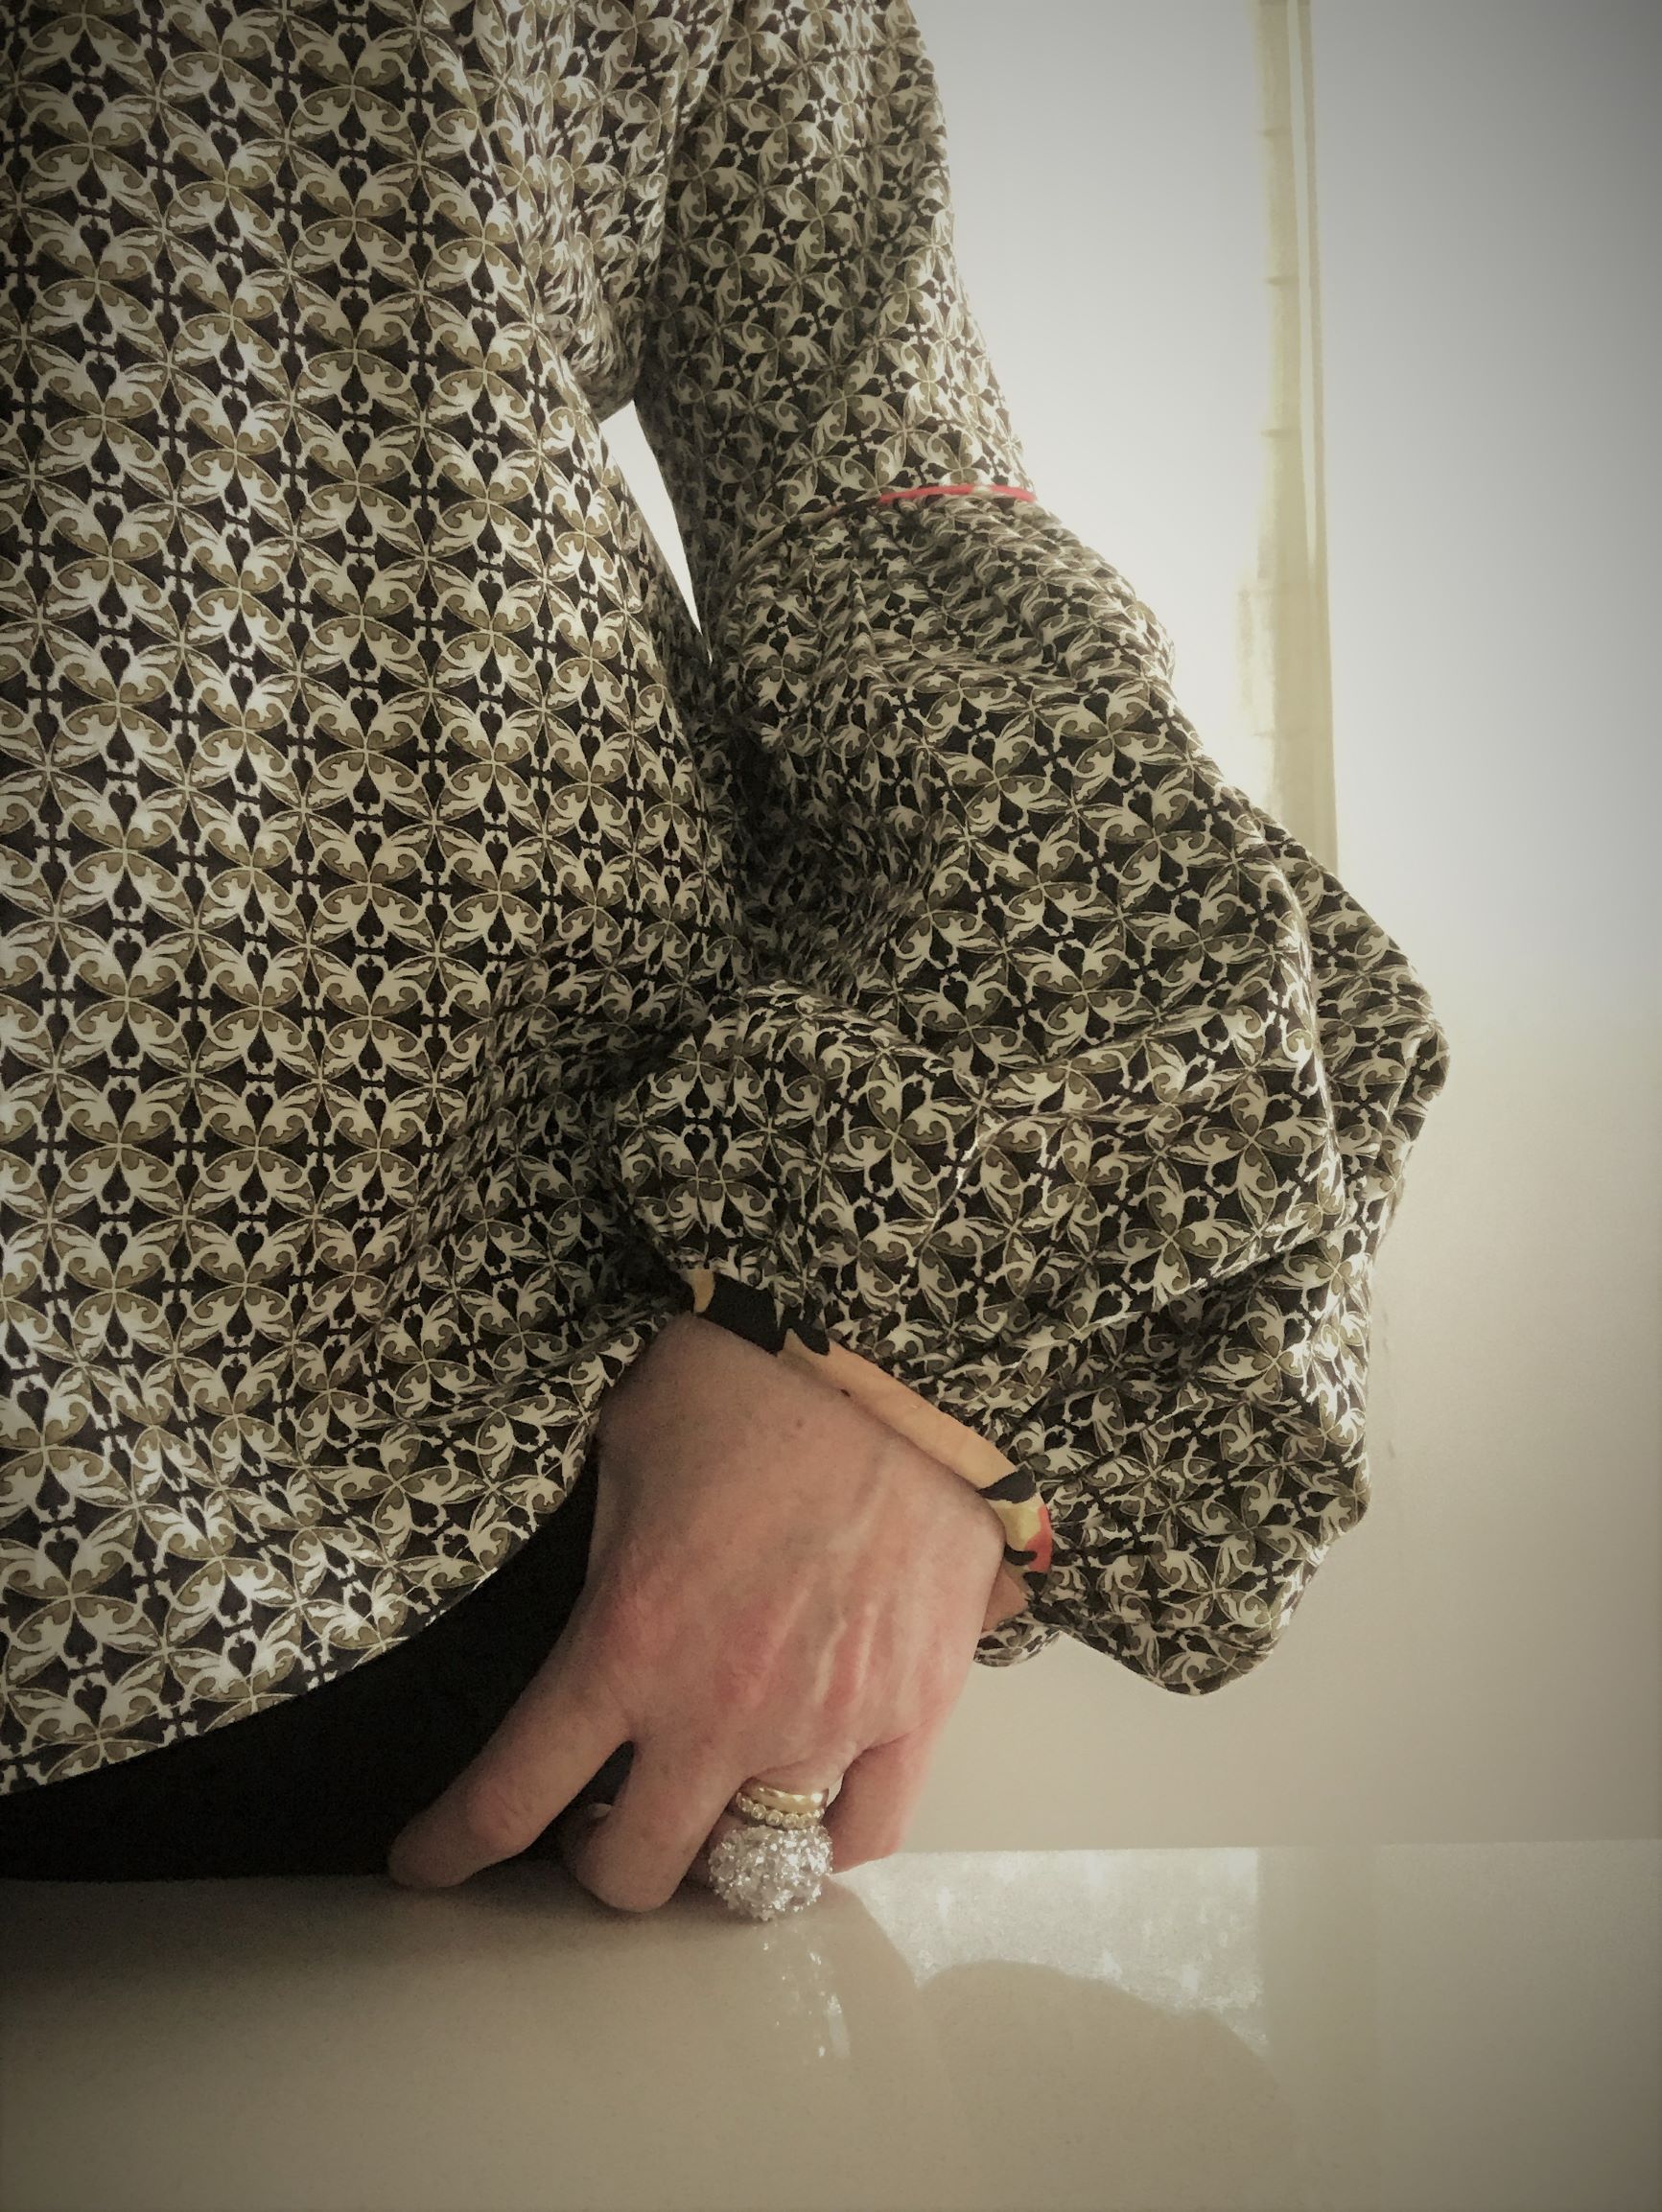
Can’t stop me
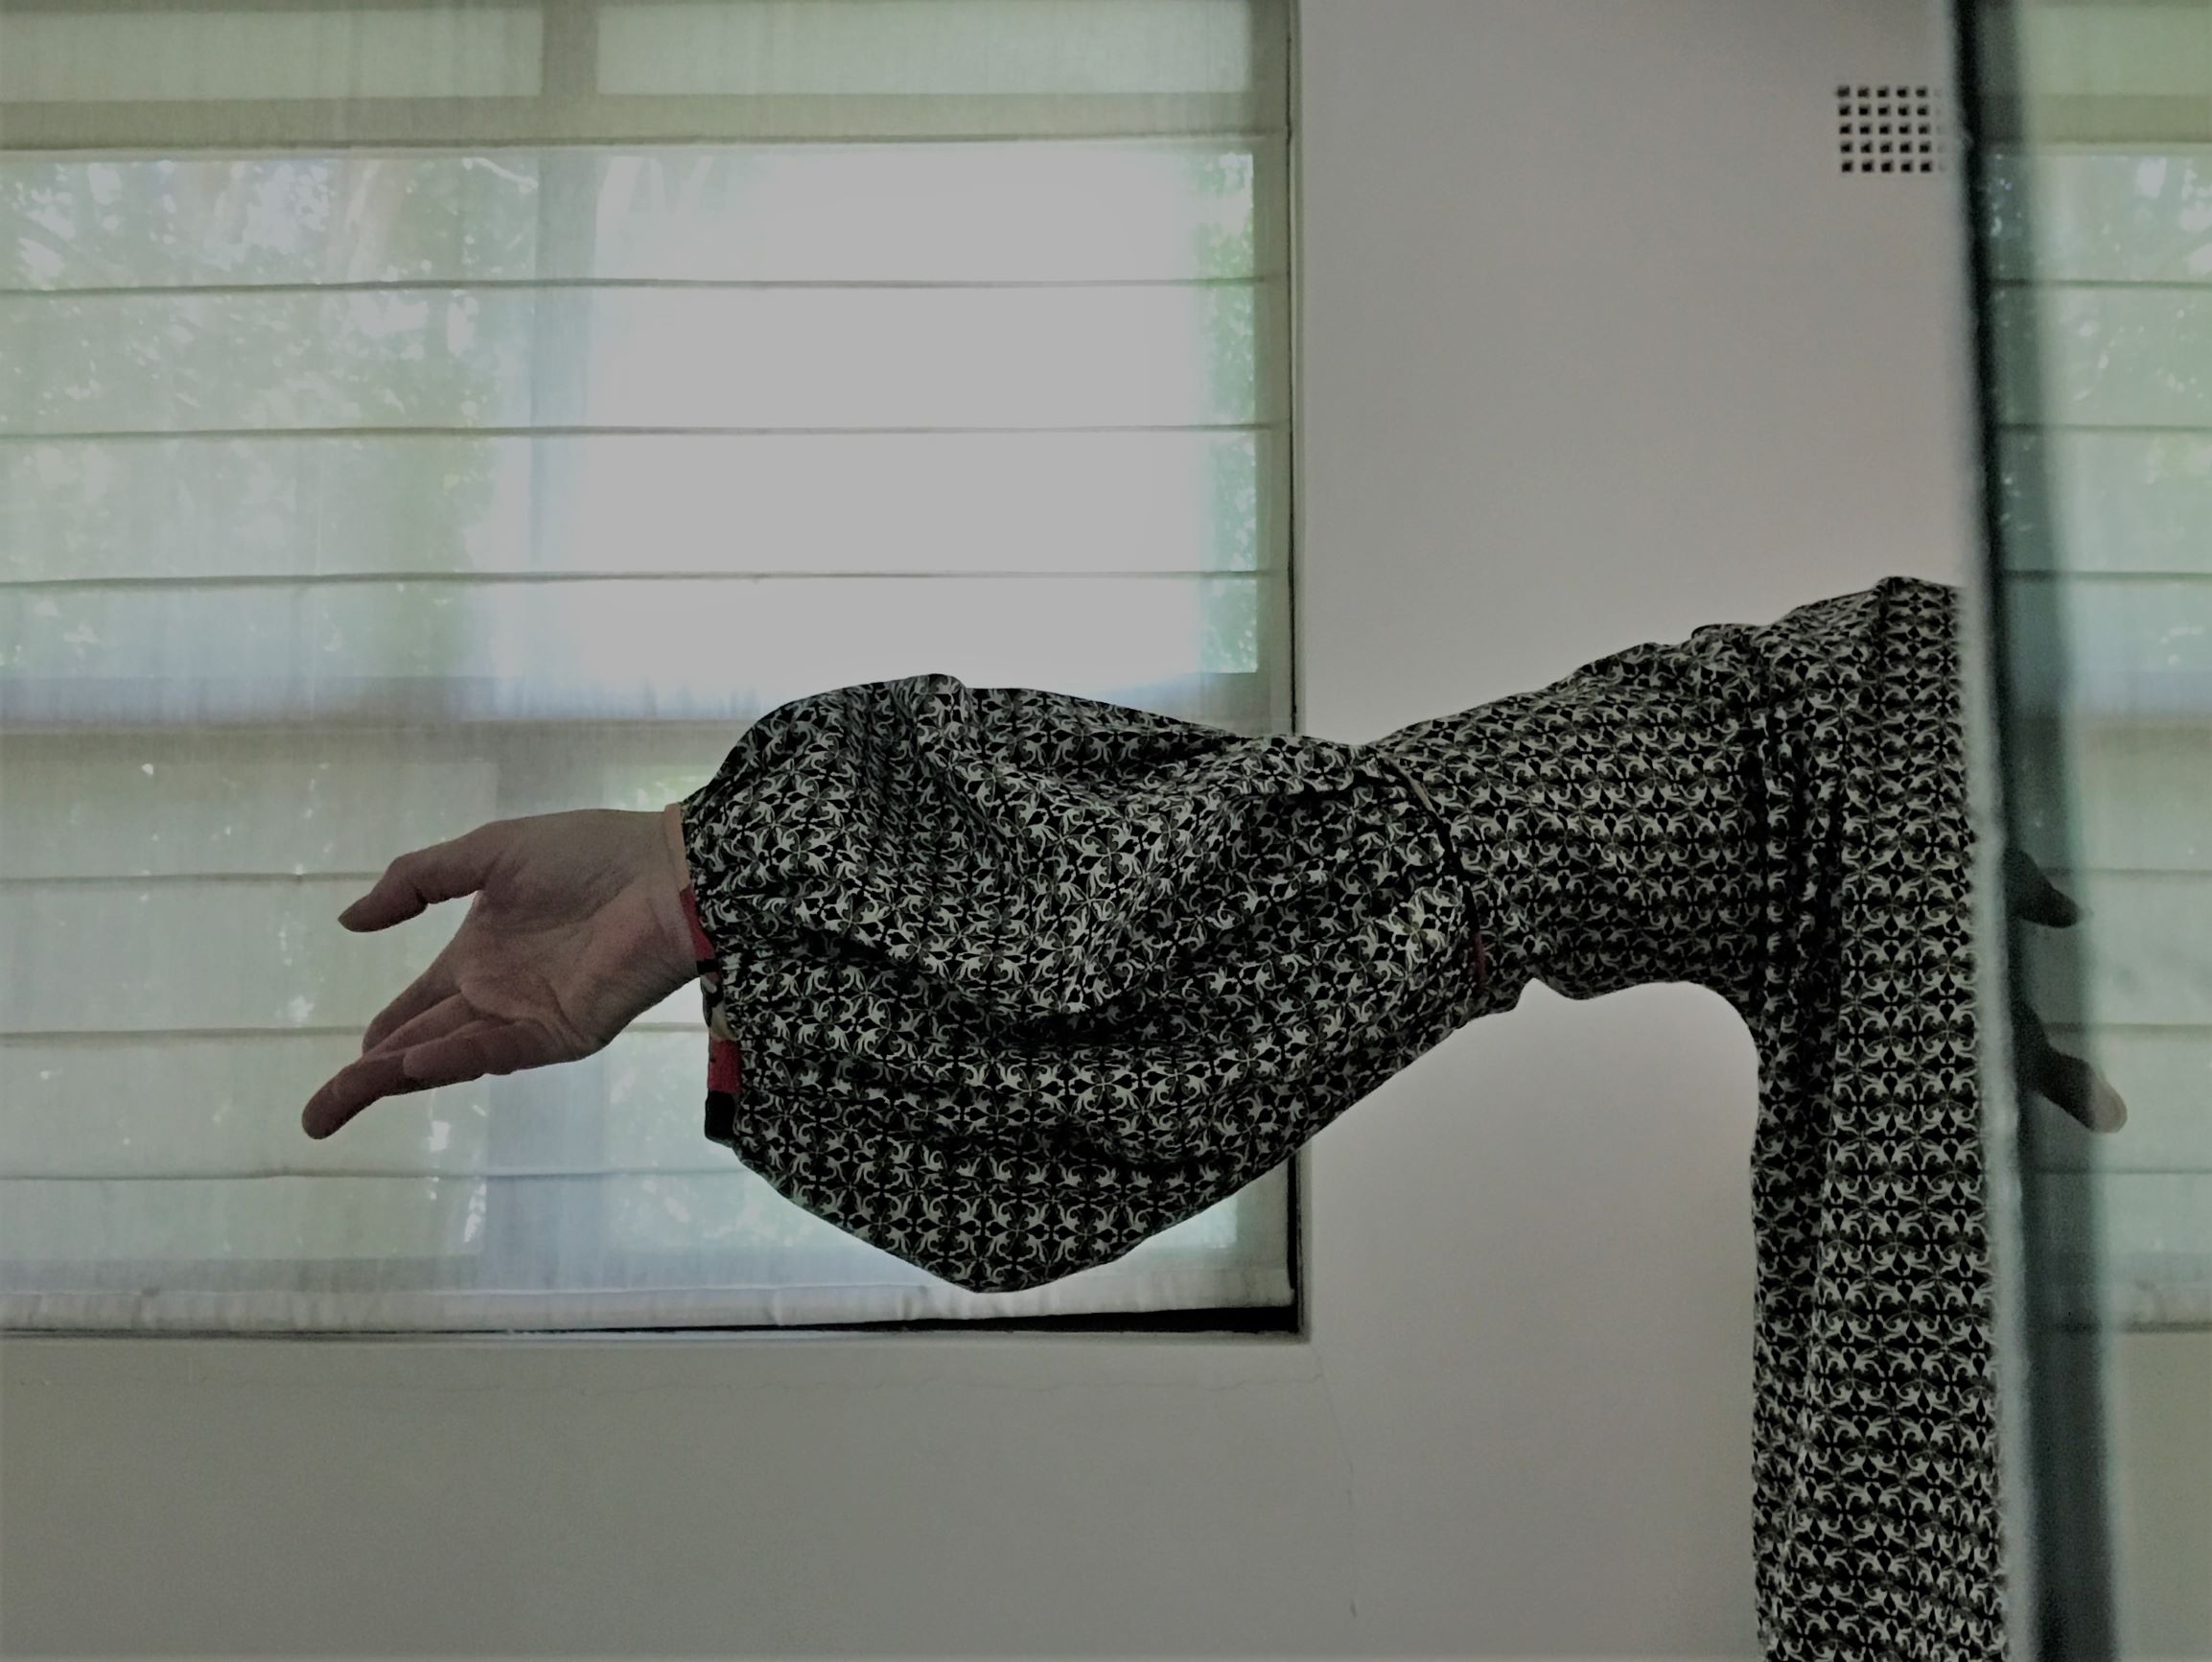
Cant stop endless twirling hand/arm around, the puff is so damn BINGO

This thing rocks, it really rocks, so see you soon, Melbourne Frocktails!
Things I know now:
Remove some inches from the width of the body. Its roomy, which is no bad thing, but in this crispy fabric its a bit wind-in-the-sails, if you know what I mean. The wind is best kept puffing up my sleeves, not ballooning around my torso
Use a same-fabric bias binding for the neckline & finish that at the beginning, when you’ve just sewn back & front together at shoulders. My neckline does gape a bit & the packet bias doesn’t look good enough. Why did I use it??
Bind the cuff after the side seams are sewn & take your time on it, most of the attention gets directed here so hand stitching is the way to go (I’m never neat enough with machine stitching in the ditch)
* Remember the PROPER PROCEDURE that CANCELS OUT THE ABOVE NOTE: leave the last few centimeters unsewn so as to close it all in neatly & nicely. See here, this is for joining piping but its the same procedure - pictogram above left
Self made piping and bias binding is always worth it…but I already knew that, being able to pipe is one of my great sewing accomplishments & I’m so proud of it!… and I already knew that too