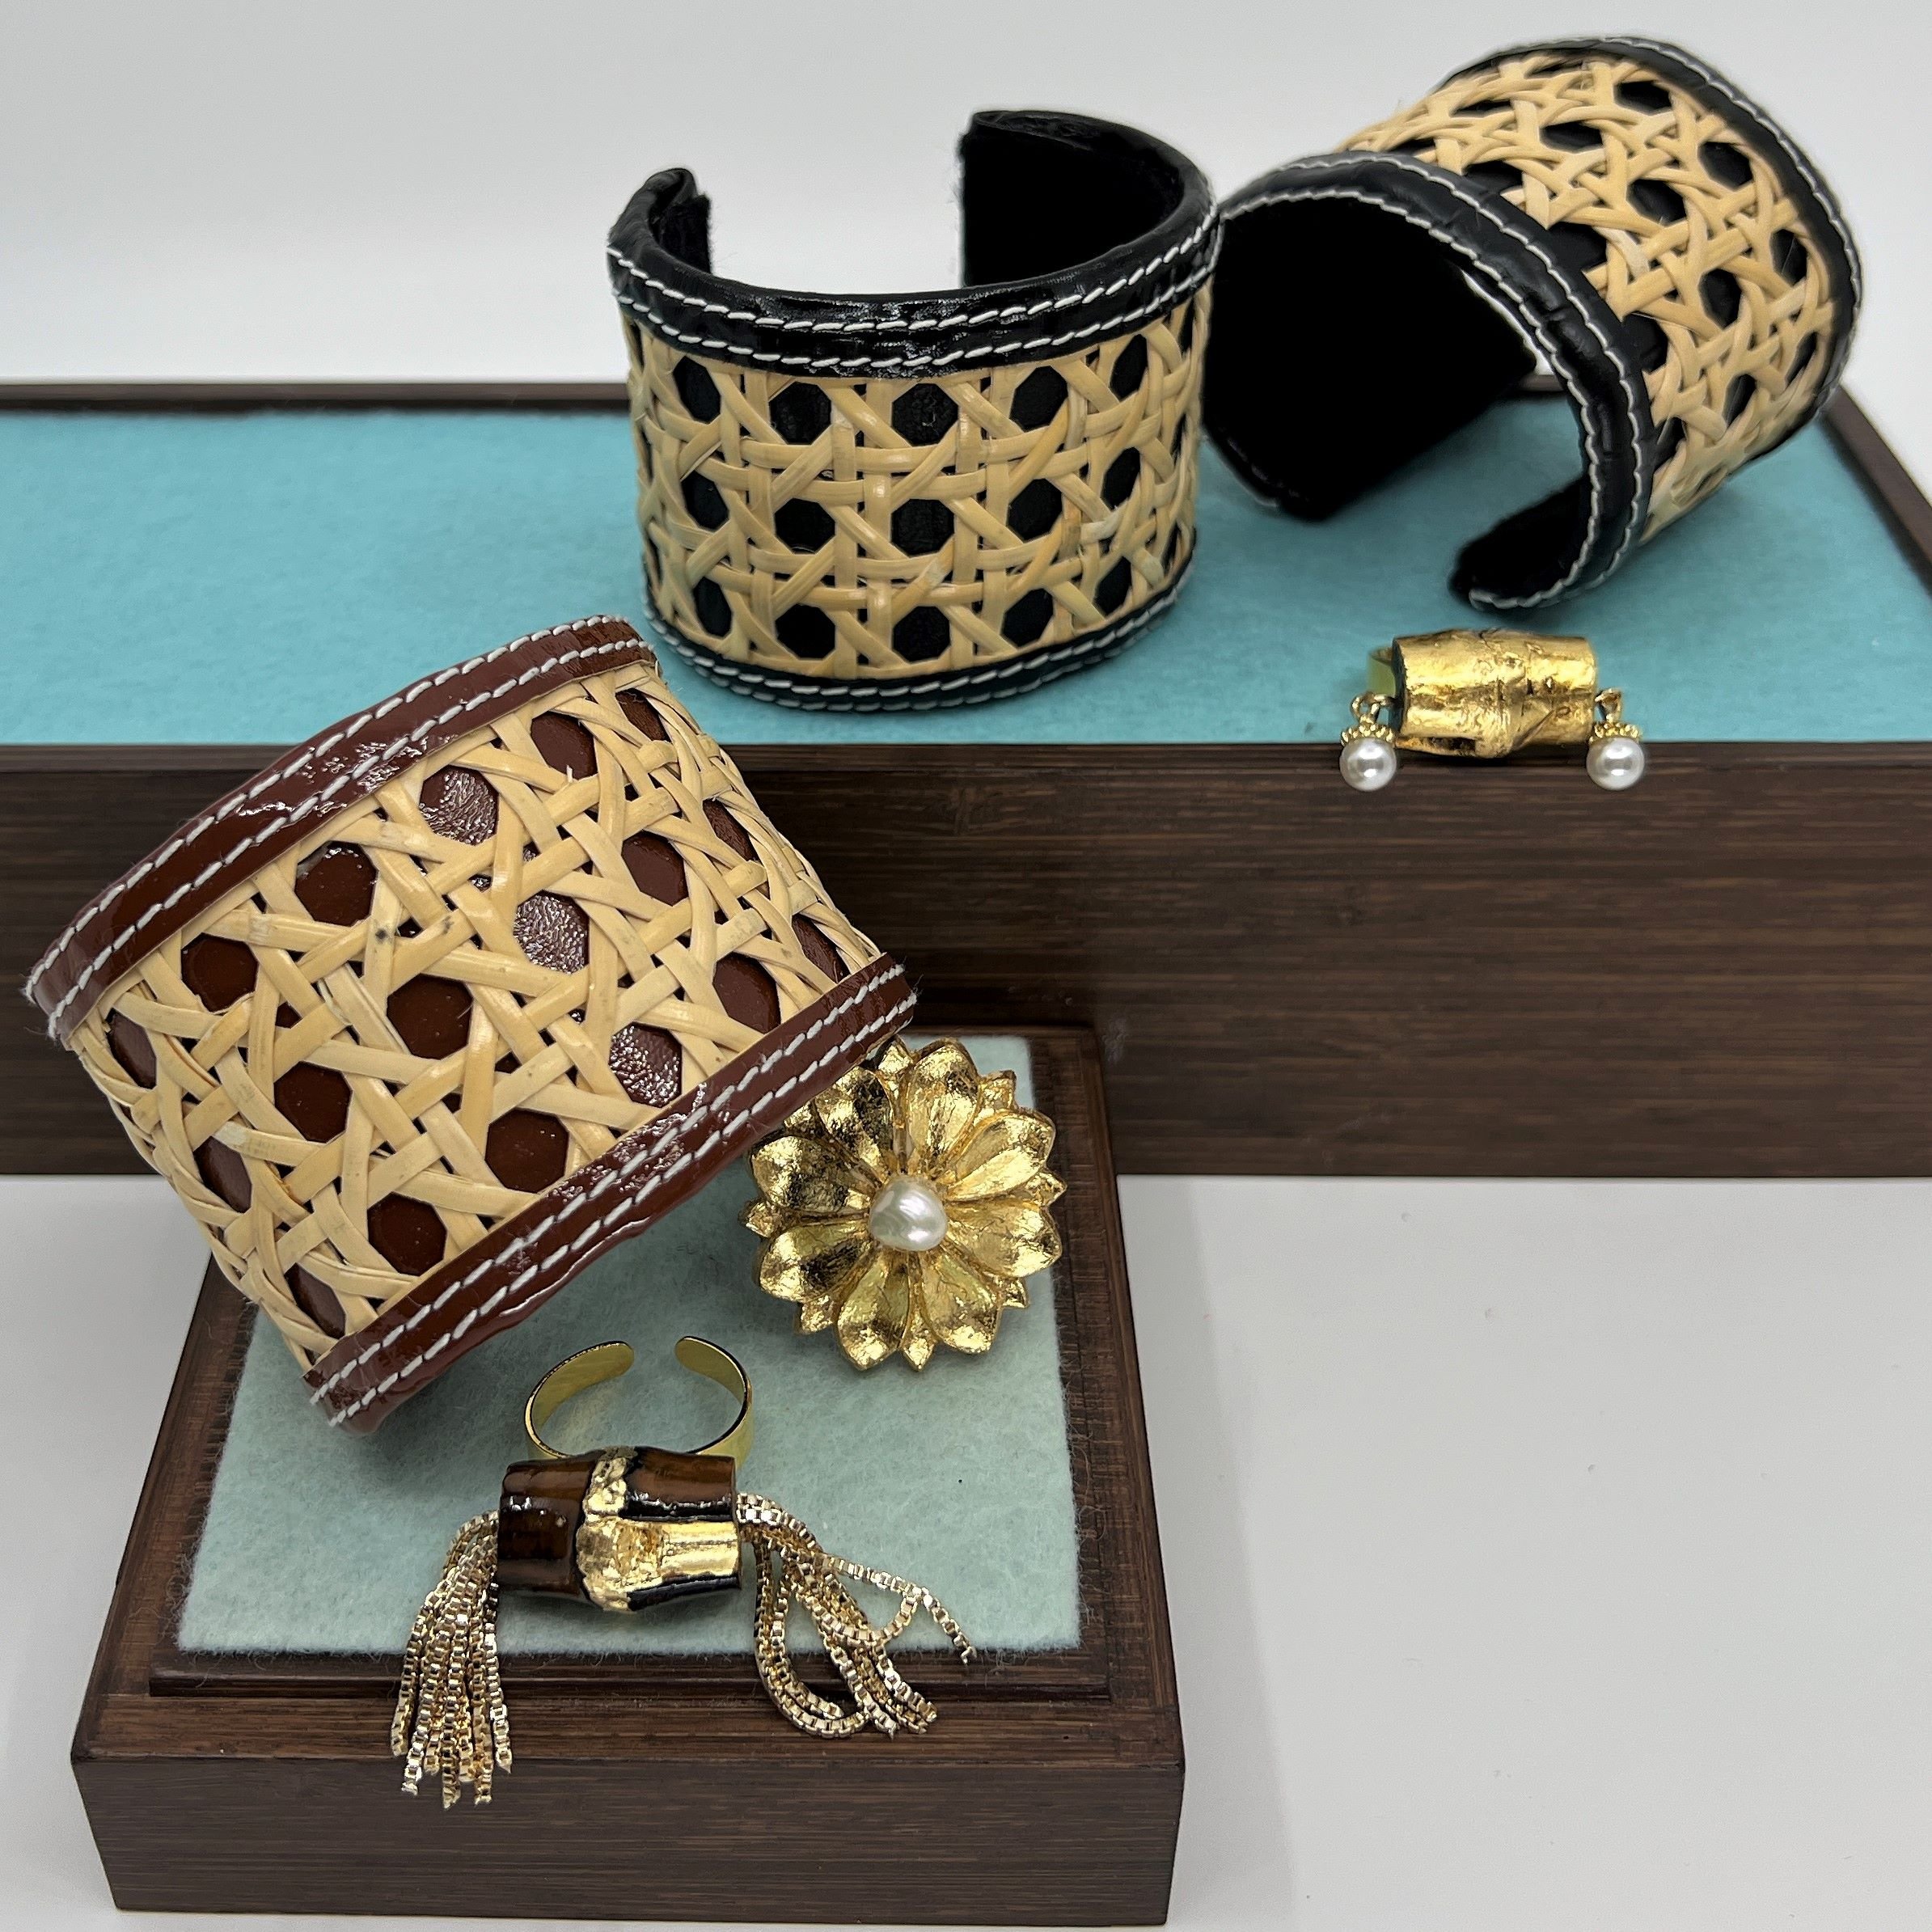
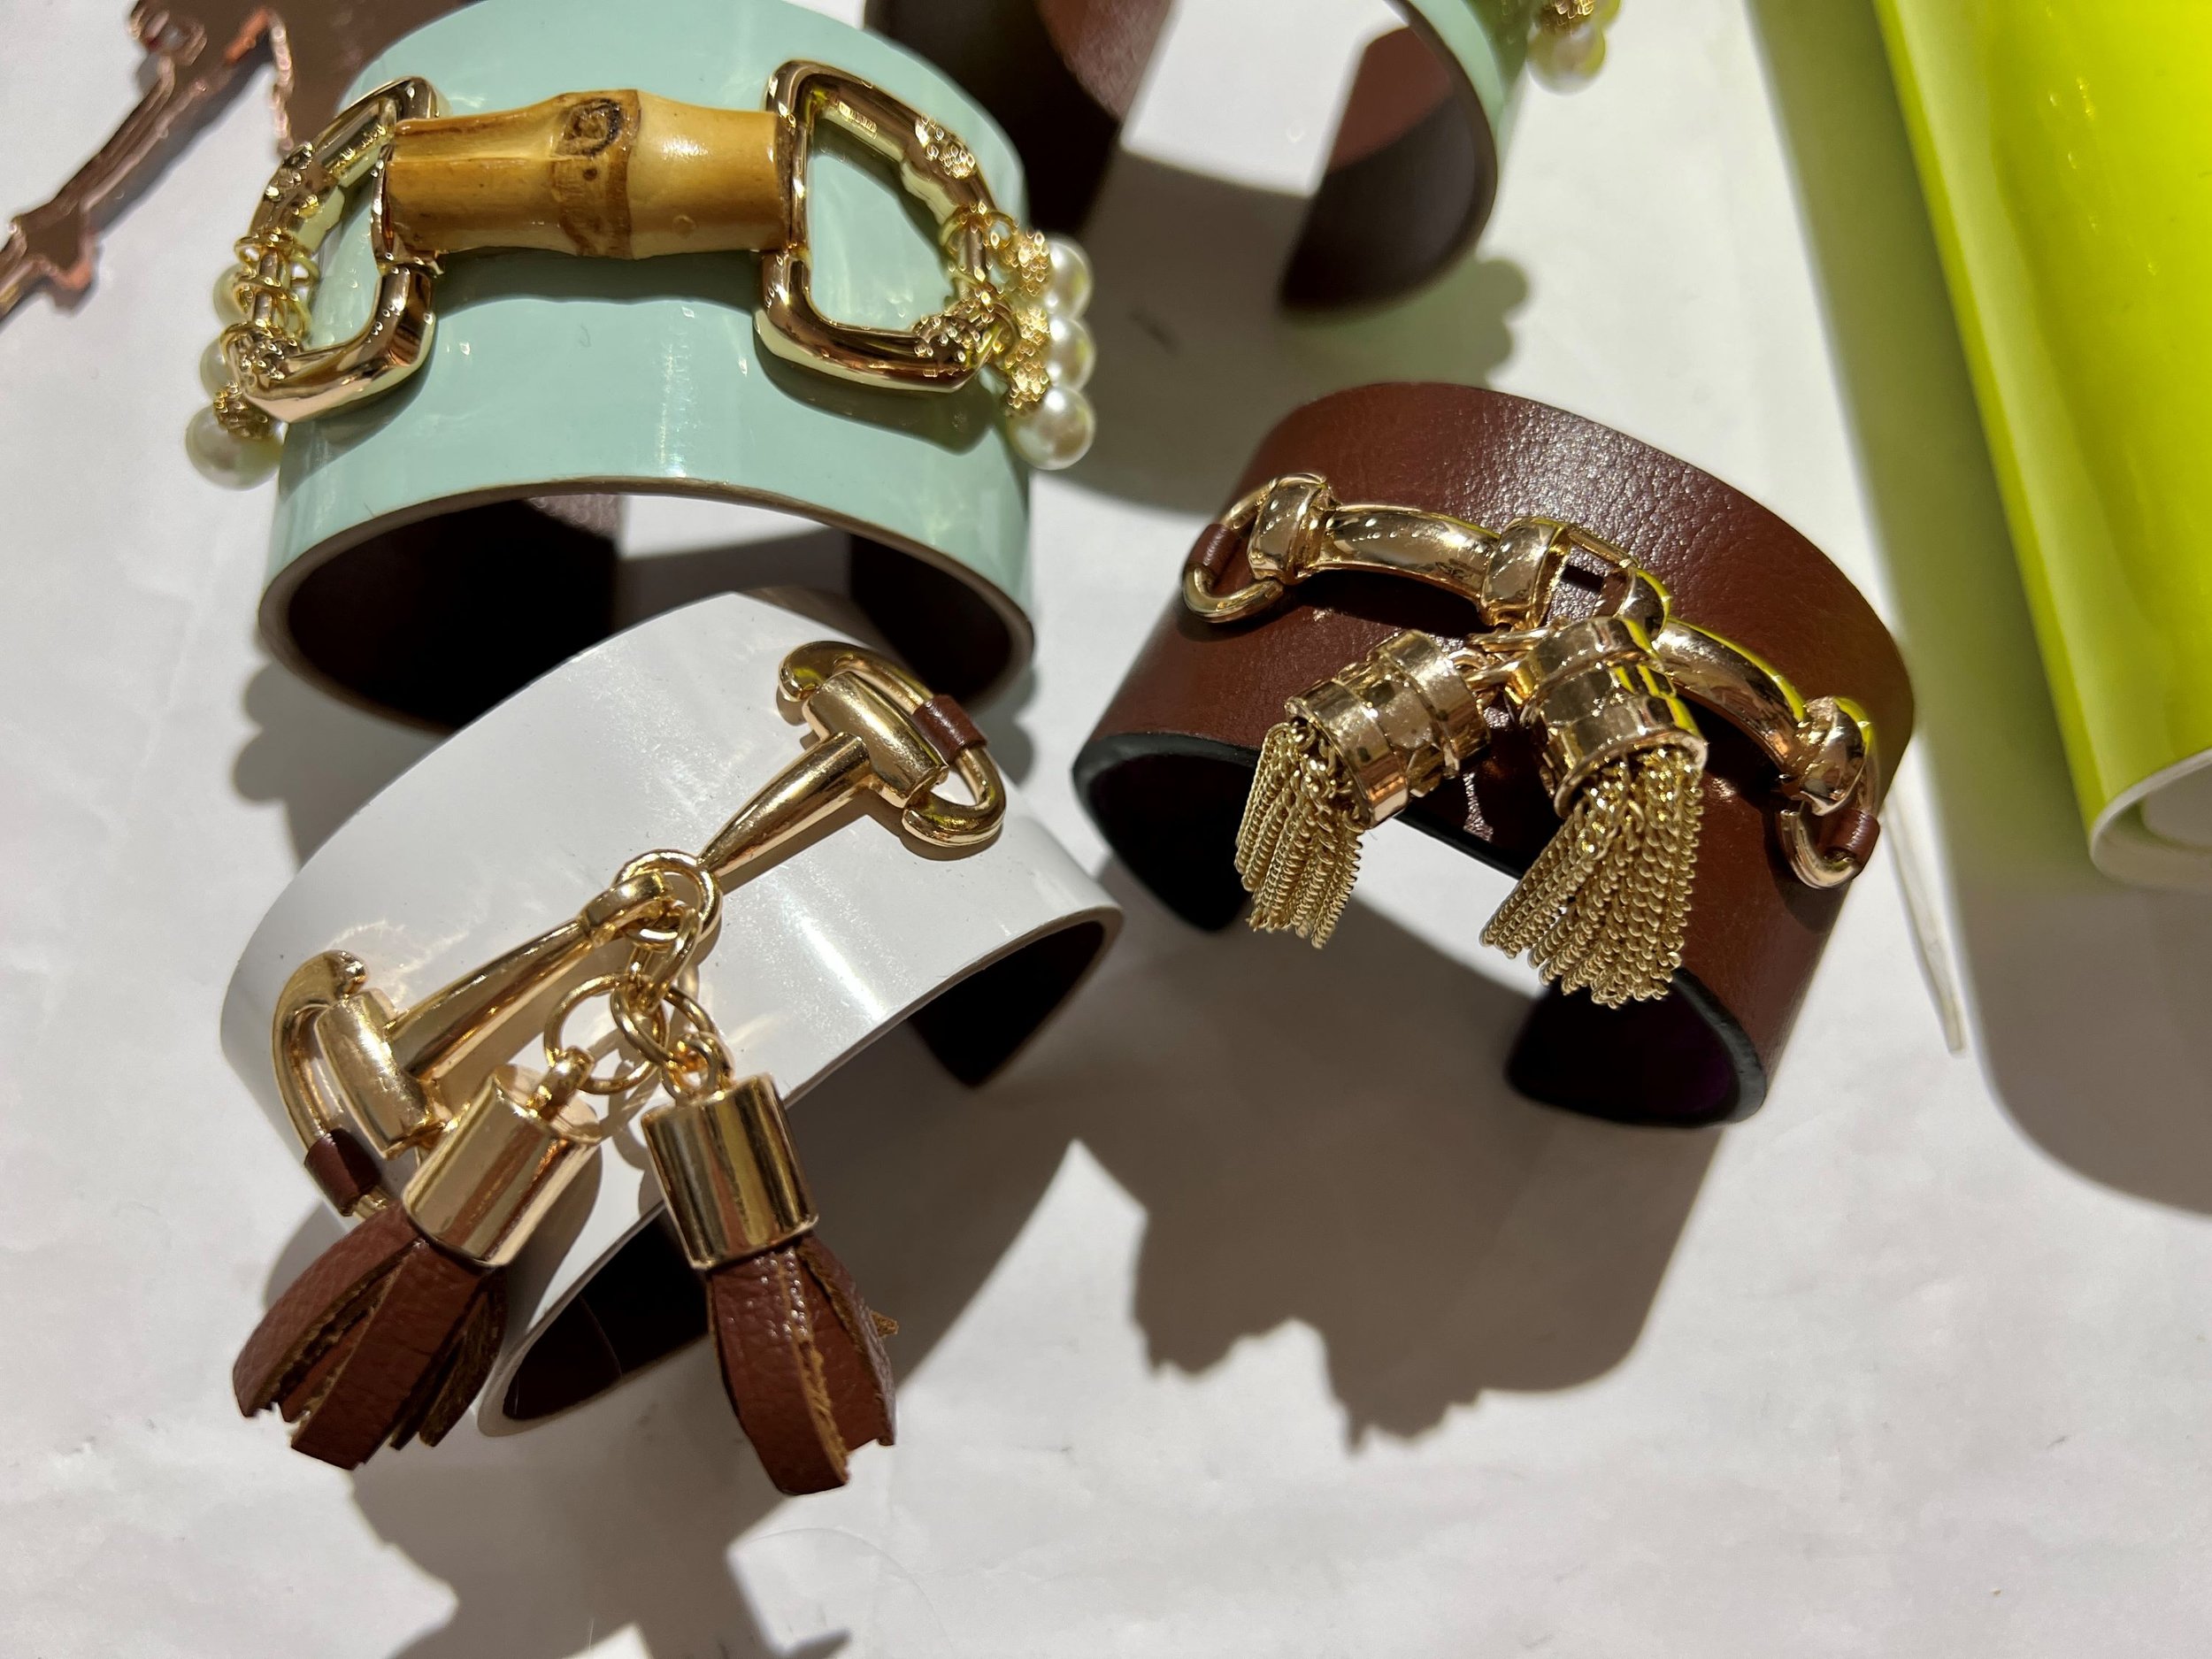
I have been hugely enjoying making cuffs! I always thought they didnt suit me or work well on my arms but then I tried one that was quite wide/long in shape and fitted quite close to the skin and now I have gone mad for them!
all the making
all the colours
Bare metal for covering
Resin non-adjustable
There are two looks, either solid resin bangles or covered metal adjustables, both with a few different widths. Come with me as I tell you all about it…
I’ve been trialling different suppliers for metal cuffs and have narrowed it down to a couple of factories in China who can customise to my specs & I have now been making bulk orders. Direct to the factory! You can buy them here in Australia
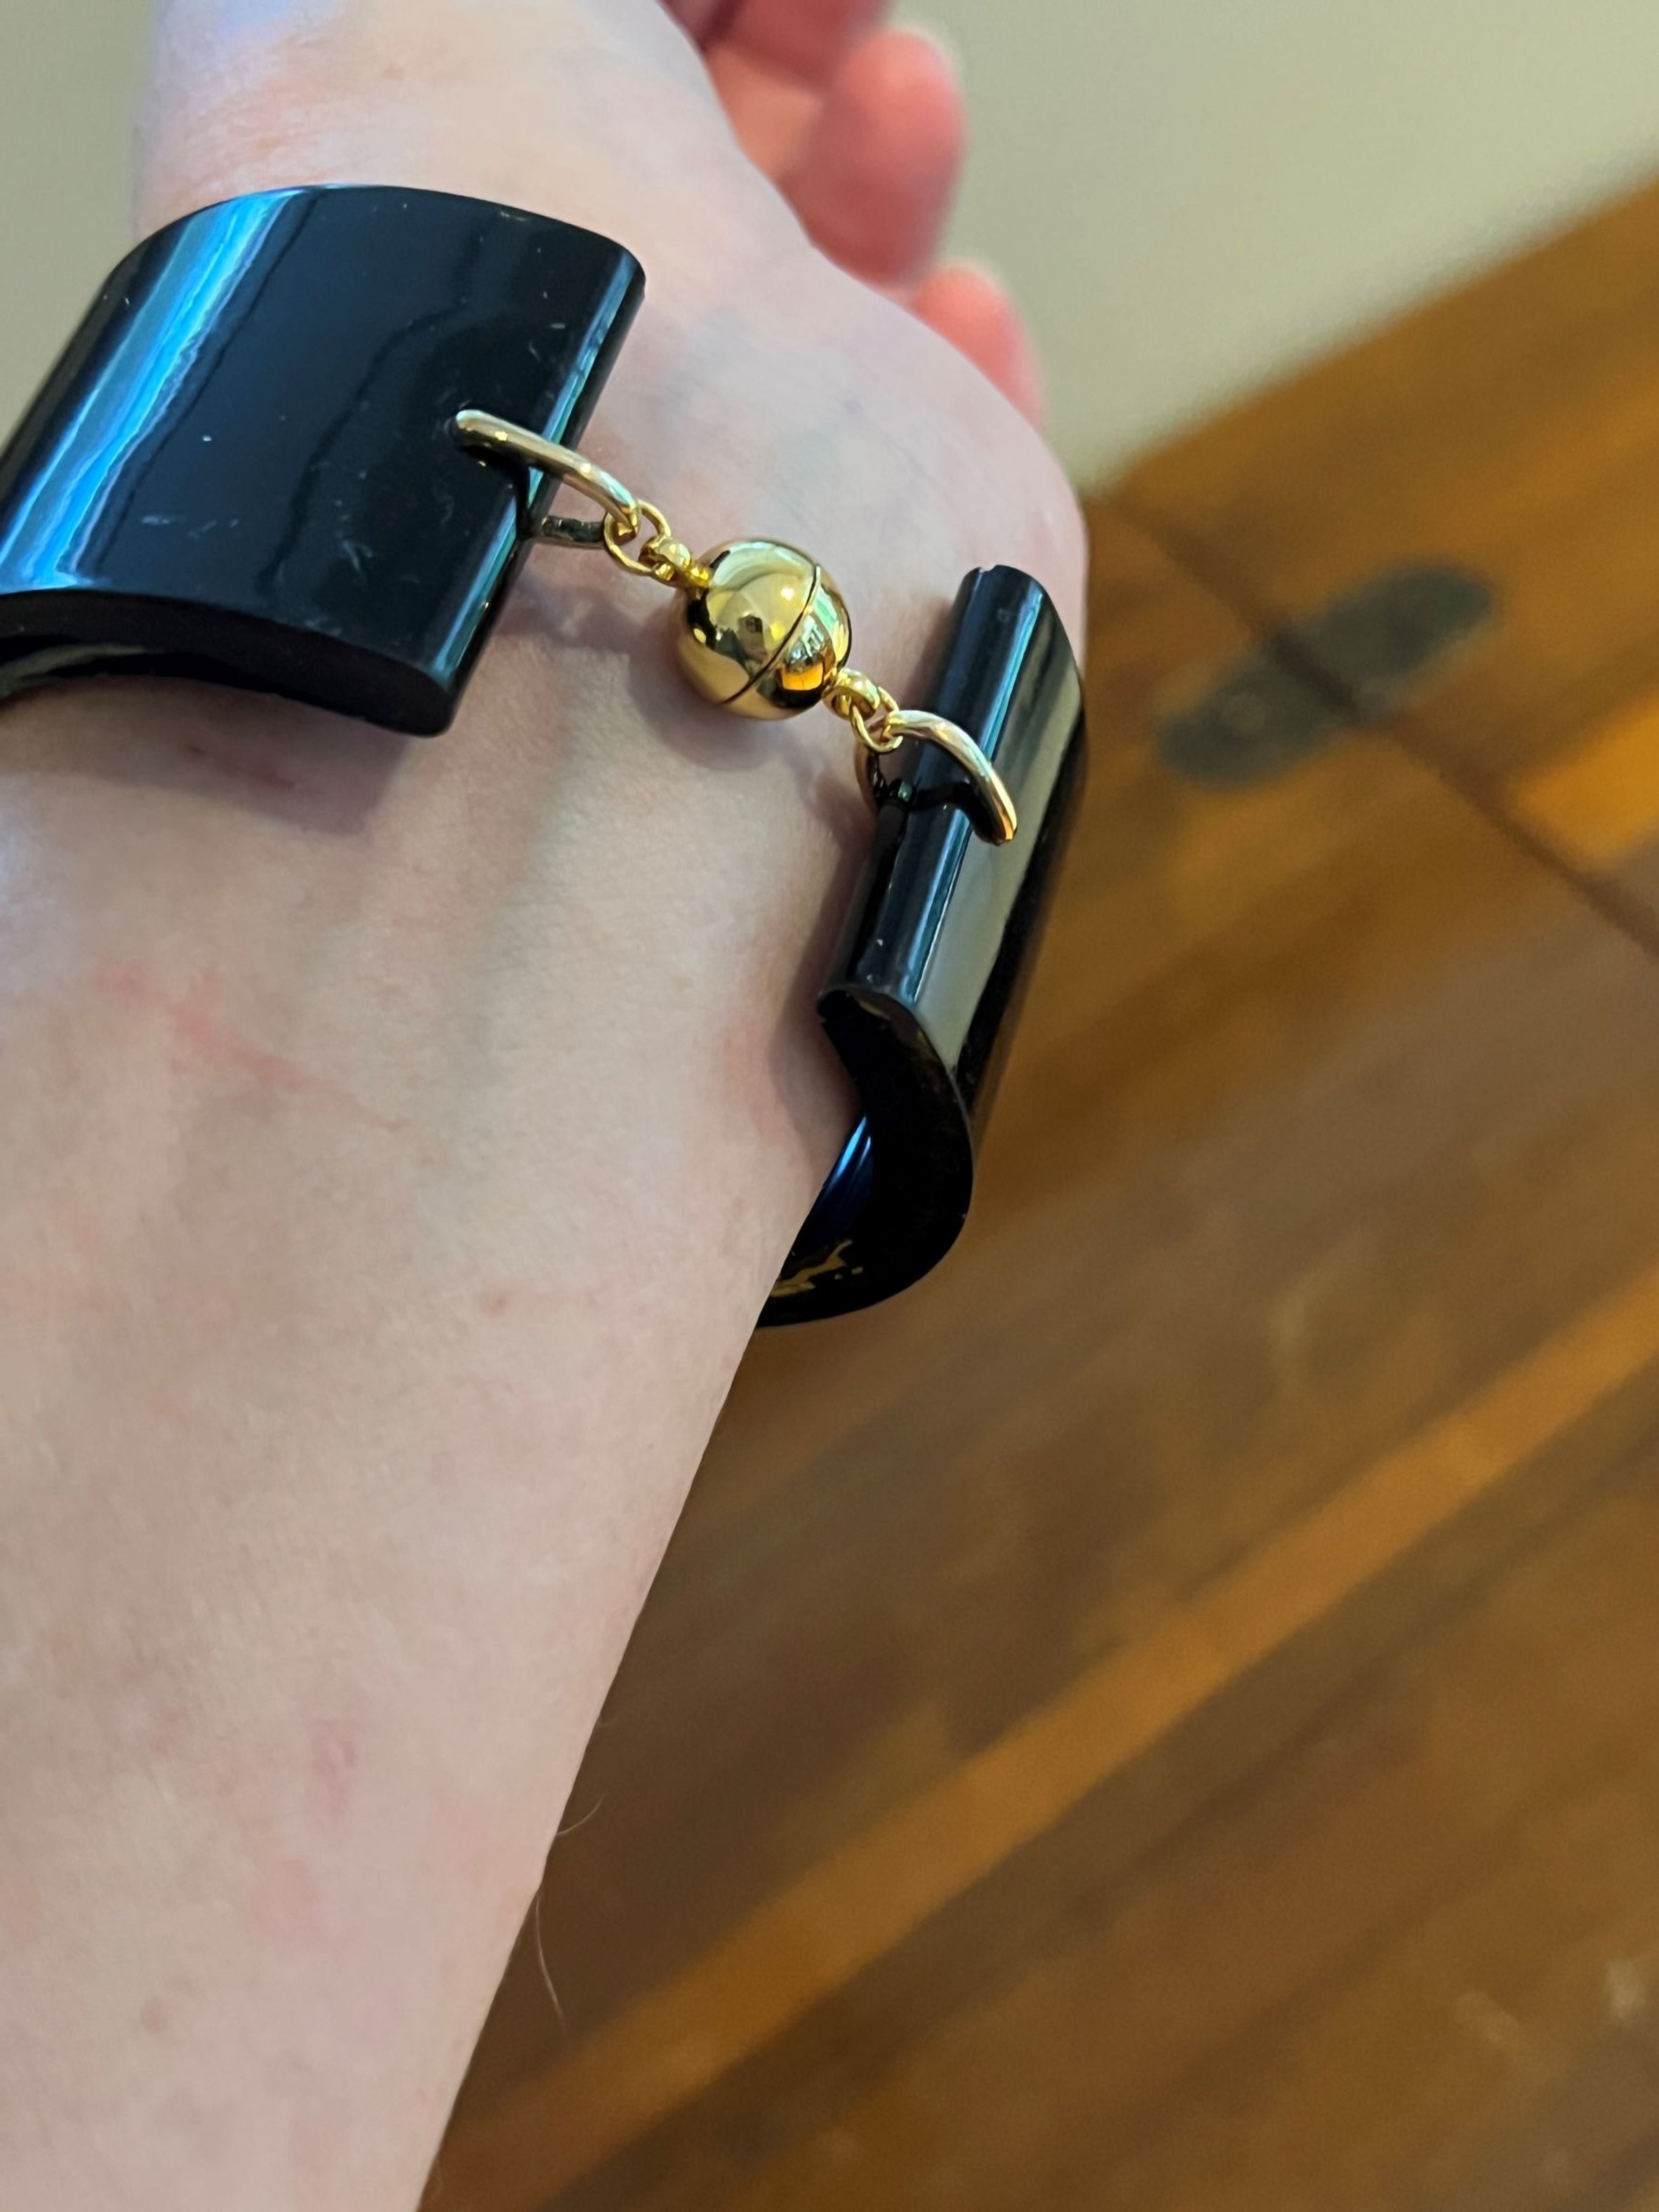
As can be seen, my wrists are fairly small and to me, the close fitting cuff looks good. Or as I said, better than some cuffs Ive tried in the past
Too roundy on the right, too roundy
The shaping is key, a much more flattened oval works doesnt bang around so much
innocent cuff
squashefied
good job
Some now well behaved cuffs
Critical to this covered metal option is the adjustability, they can be stretched apart then squeezed to fit when they’re when on
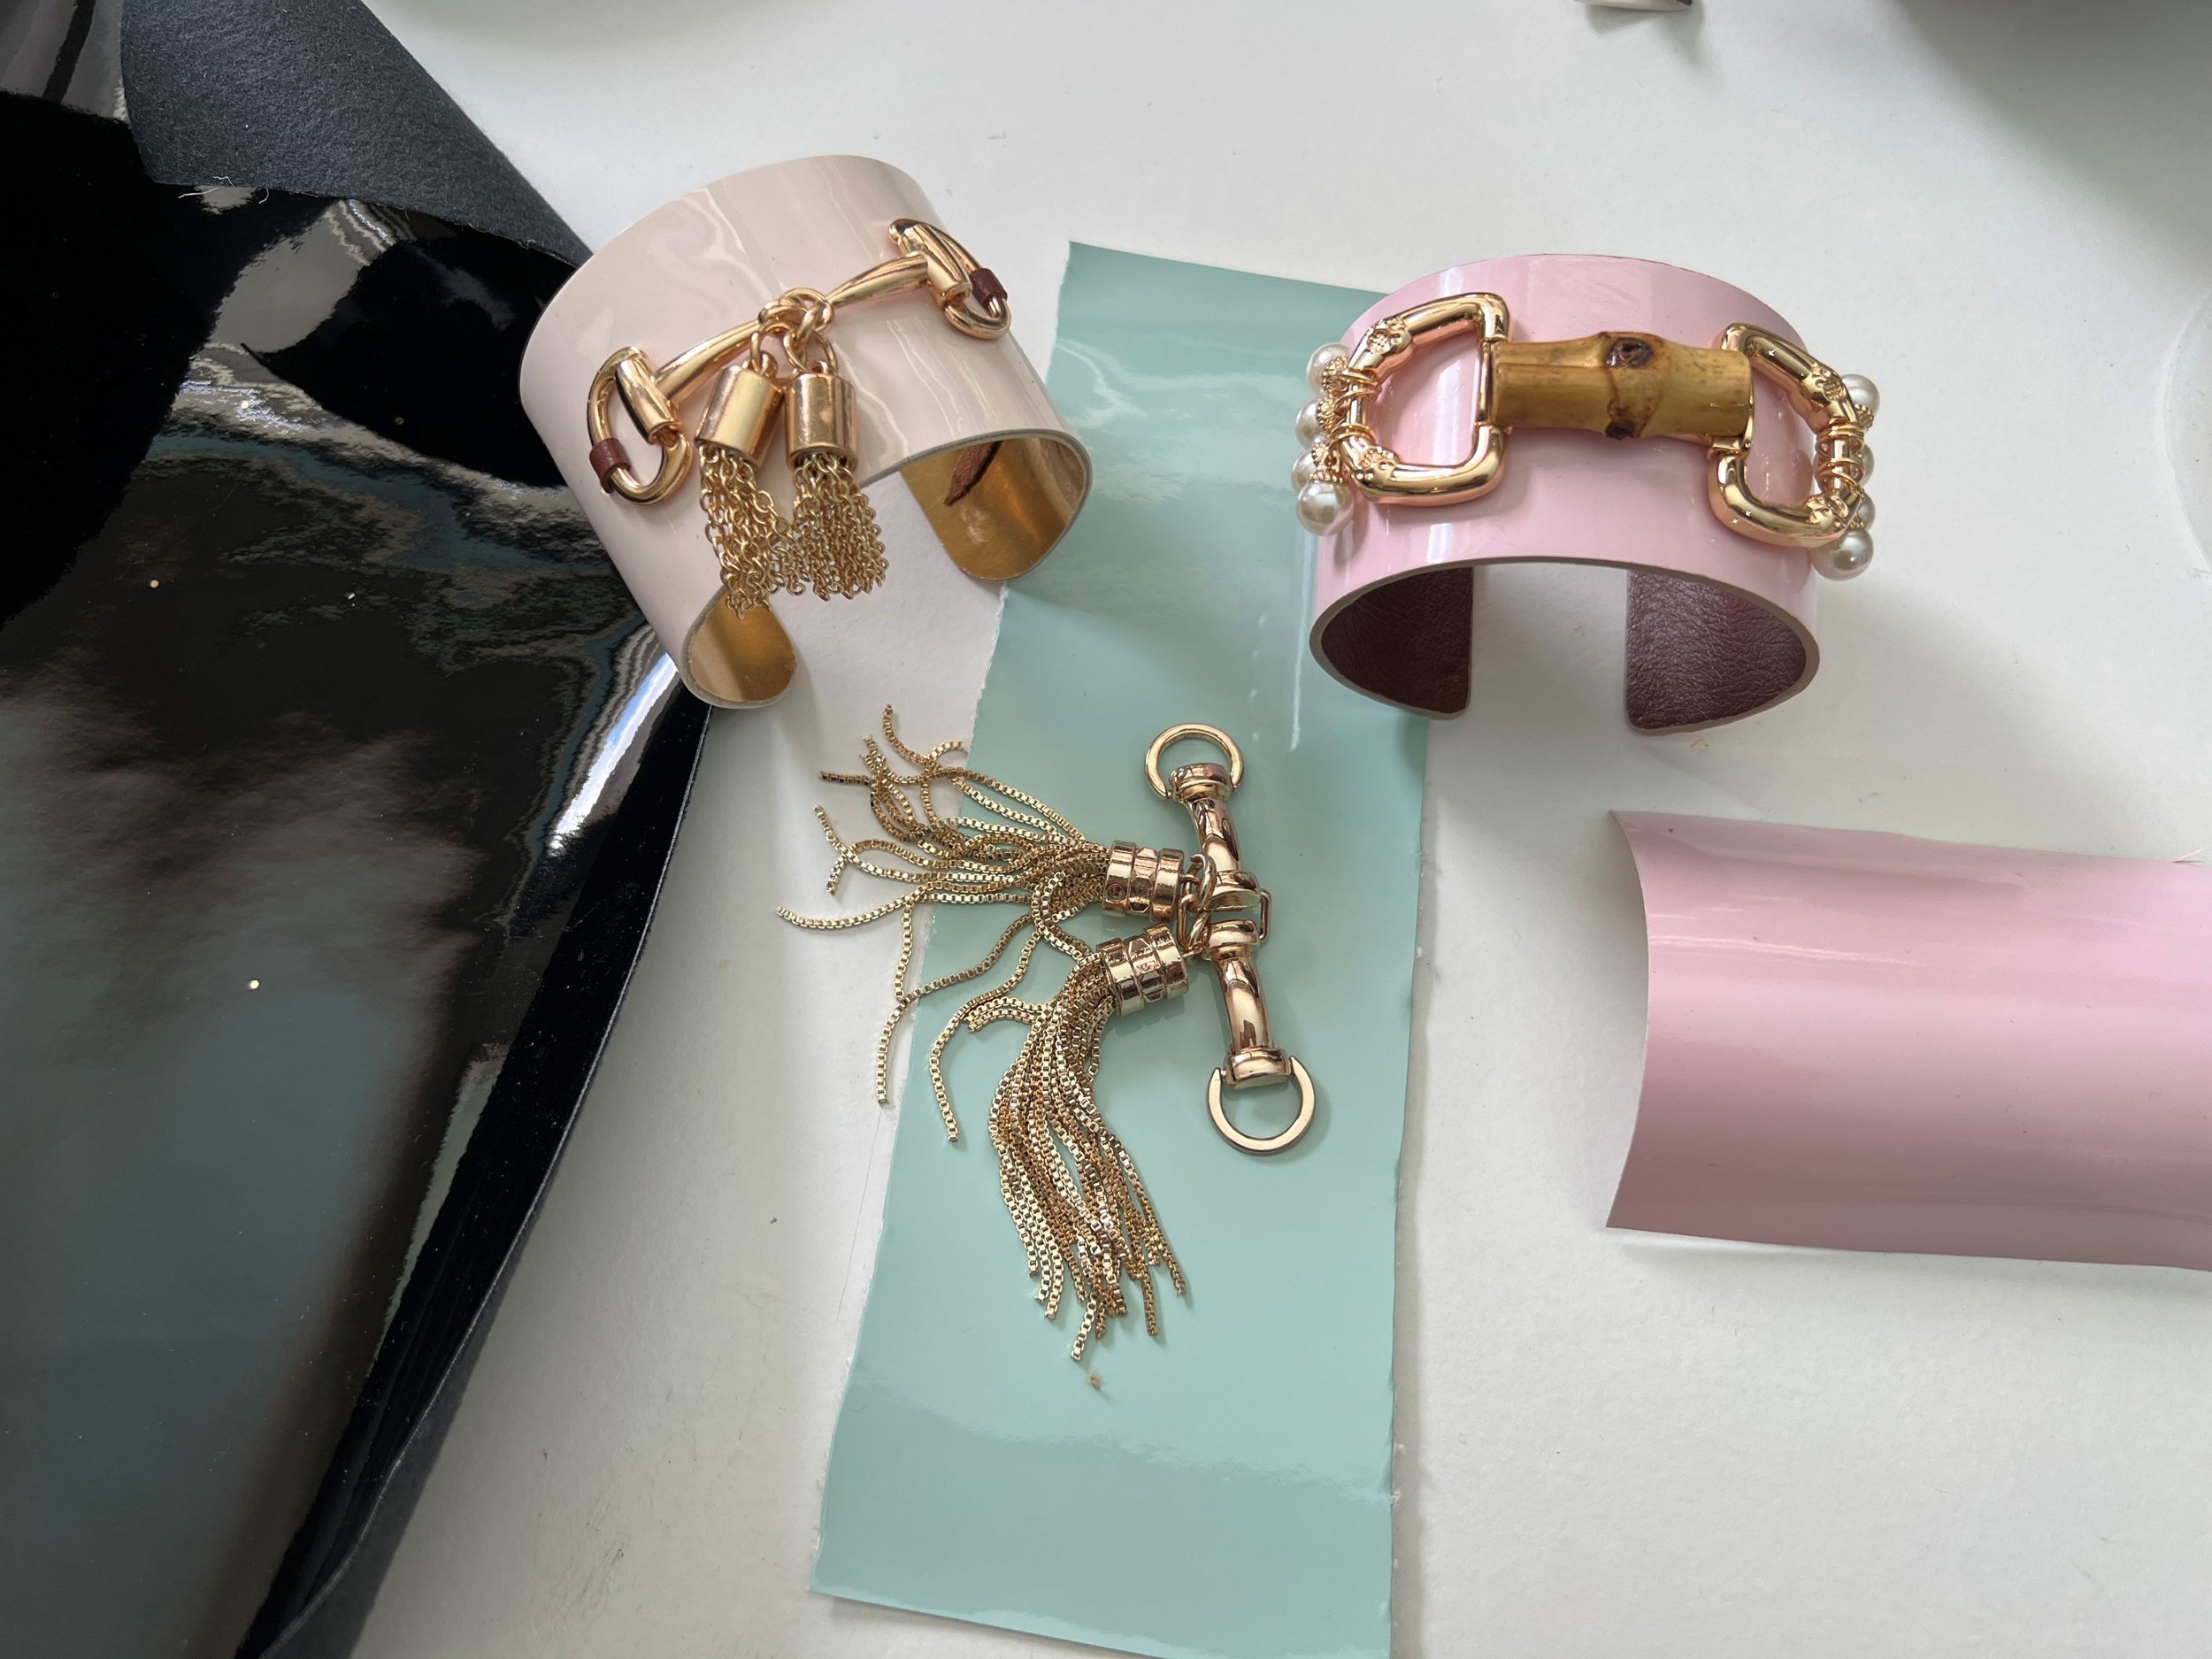
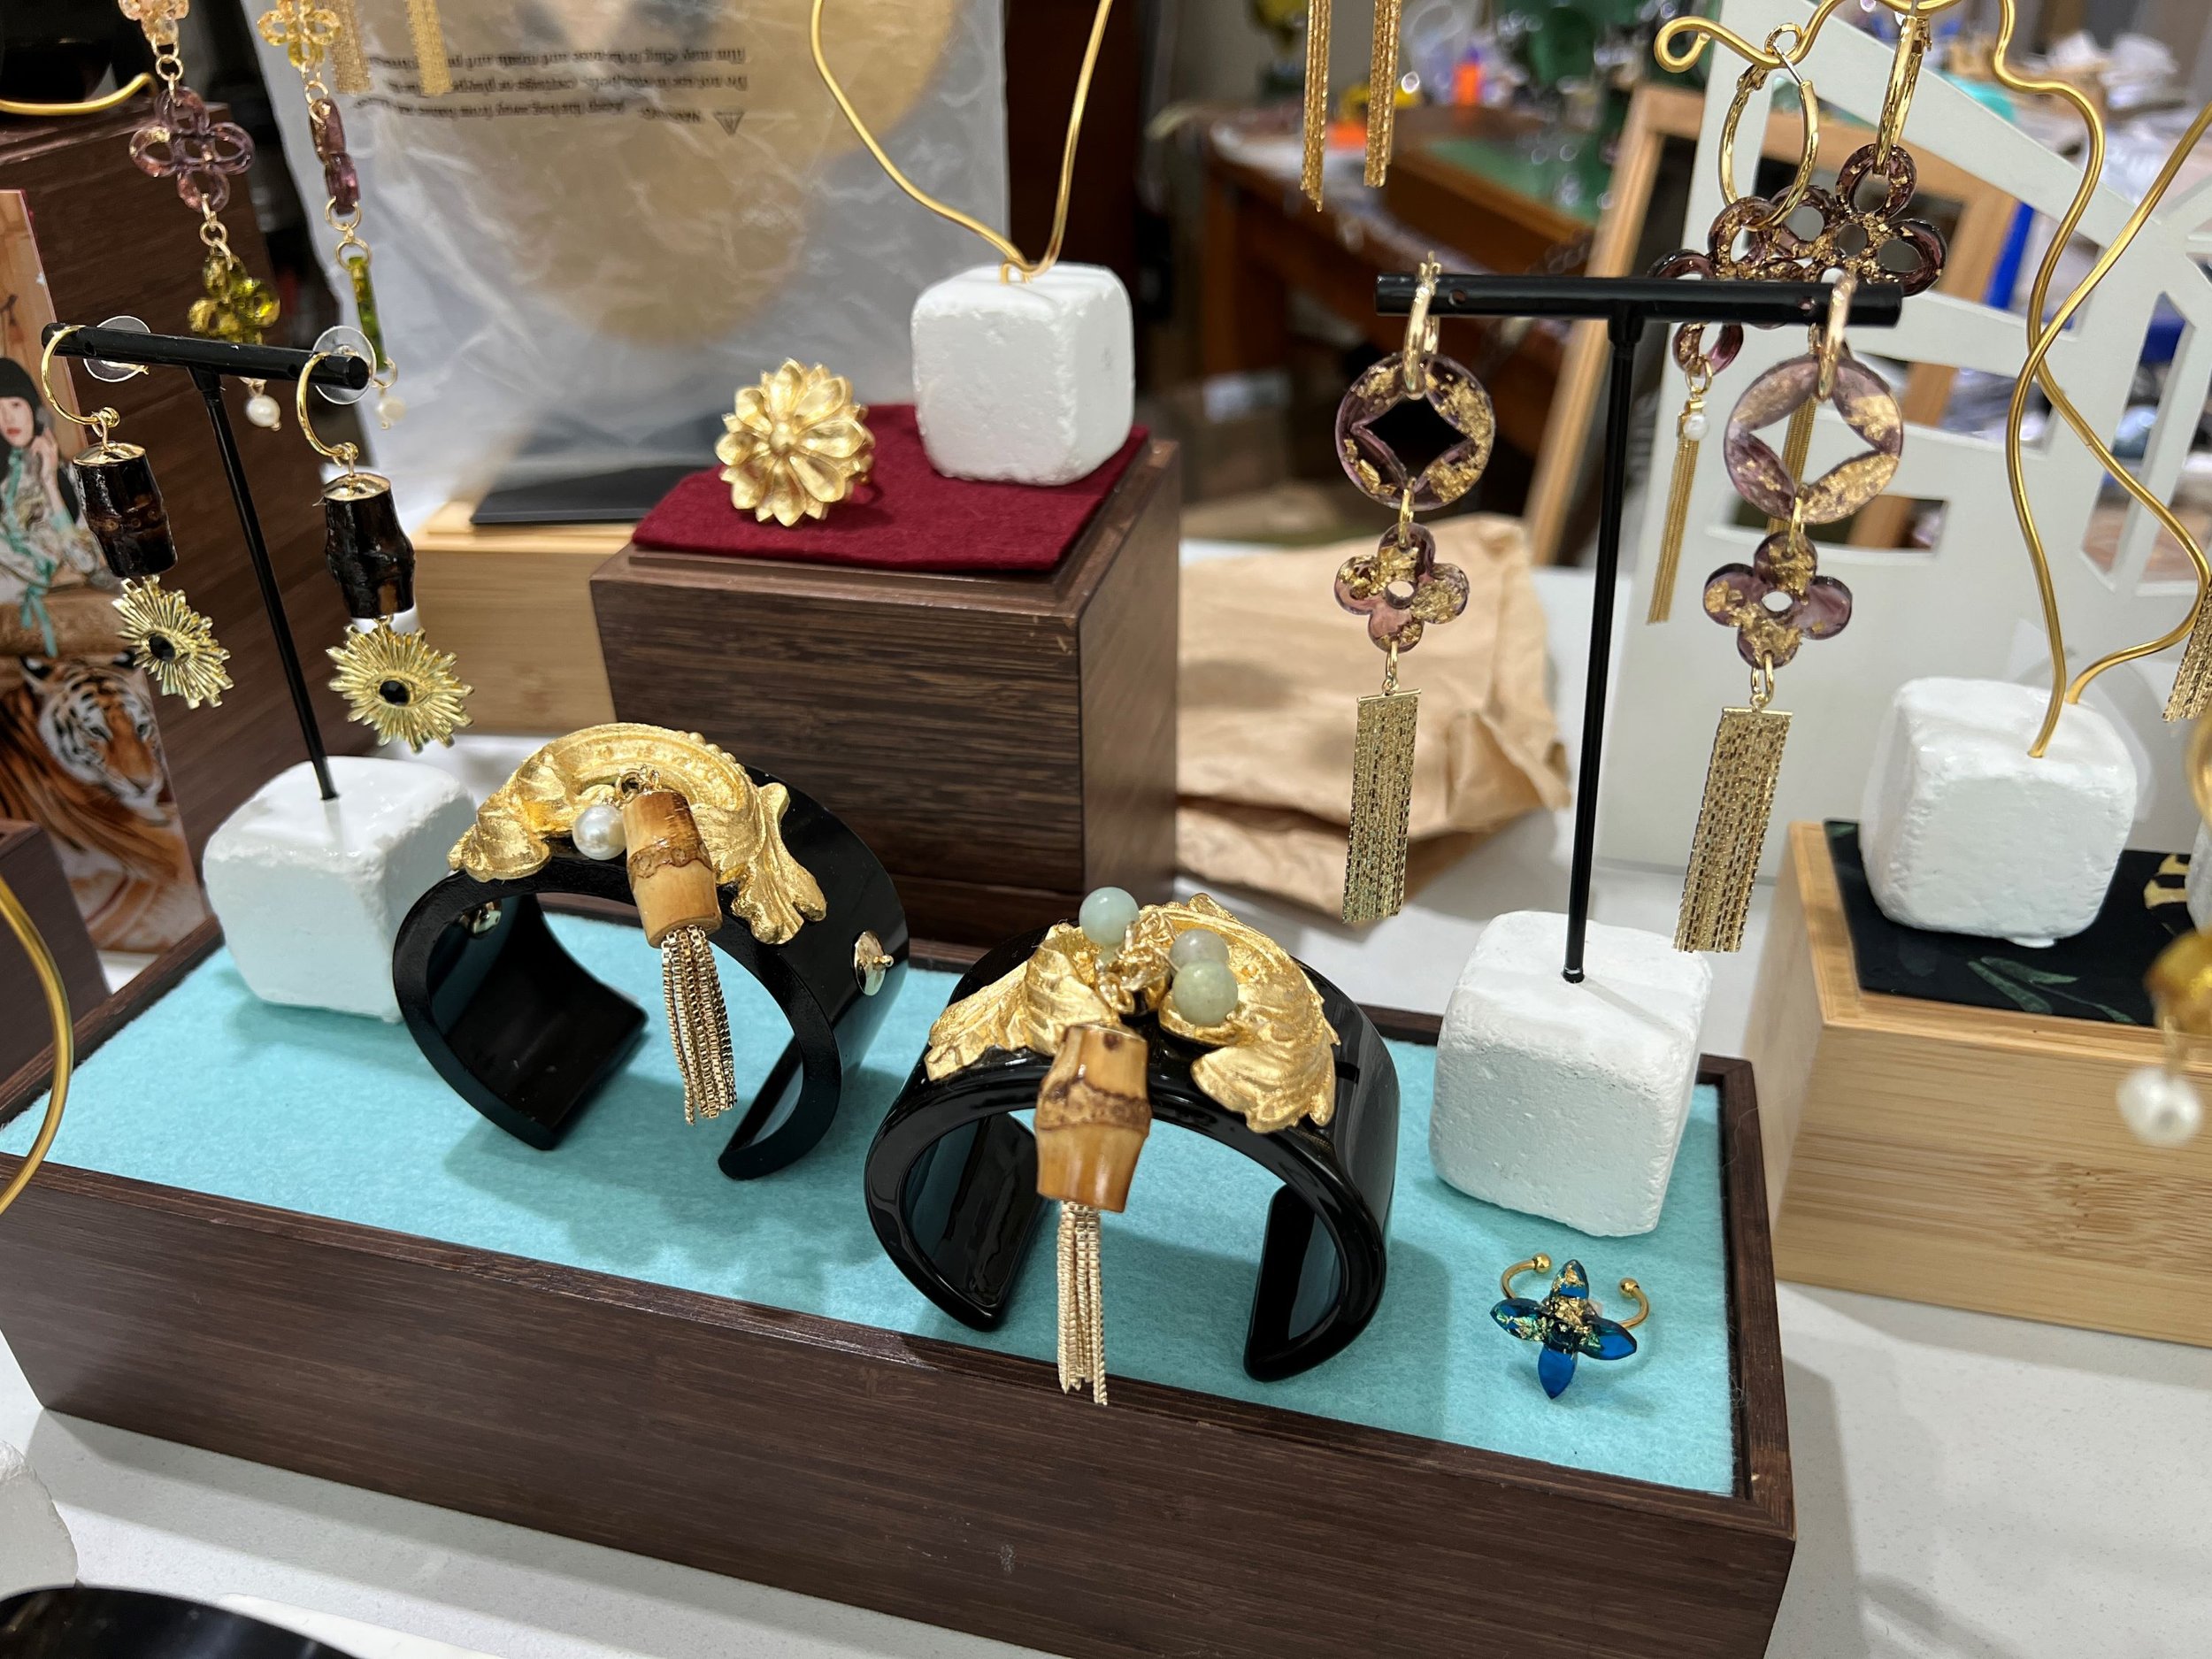
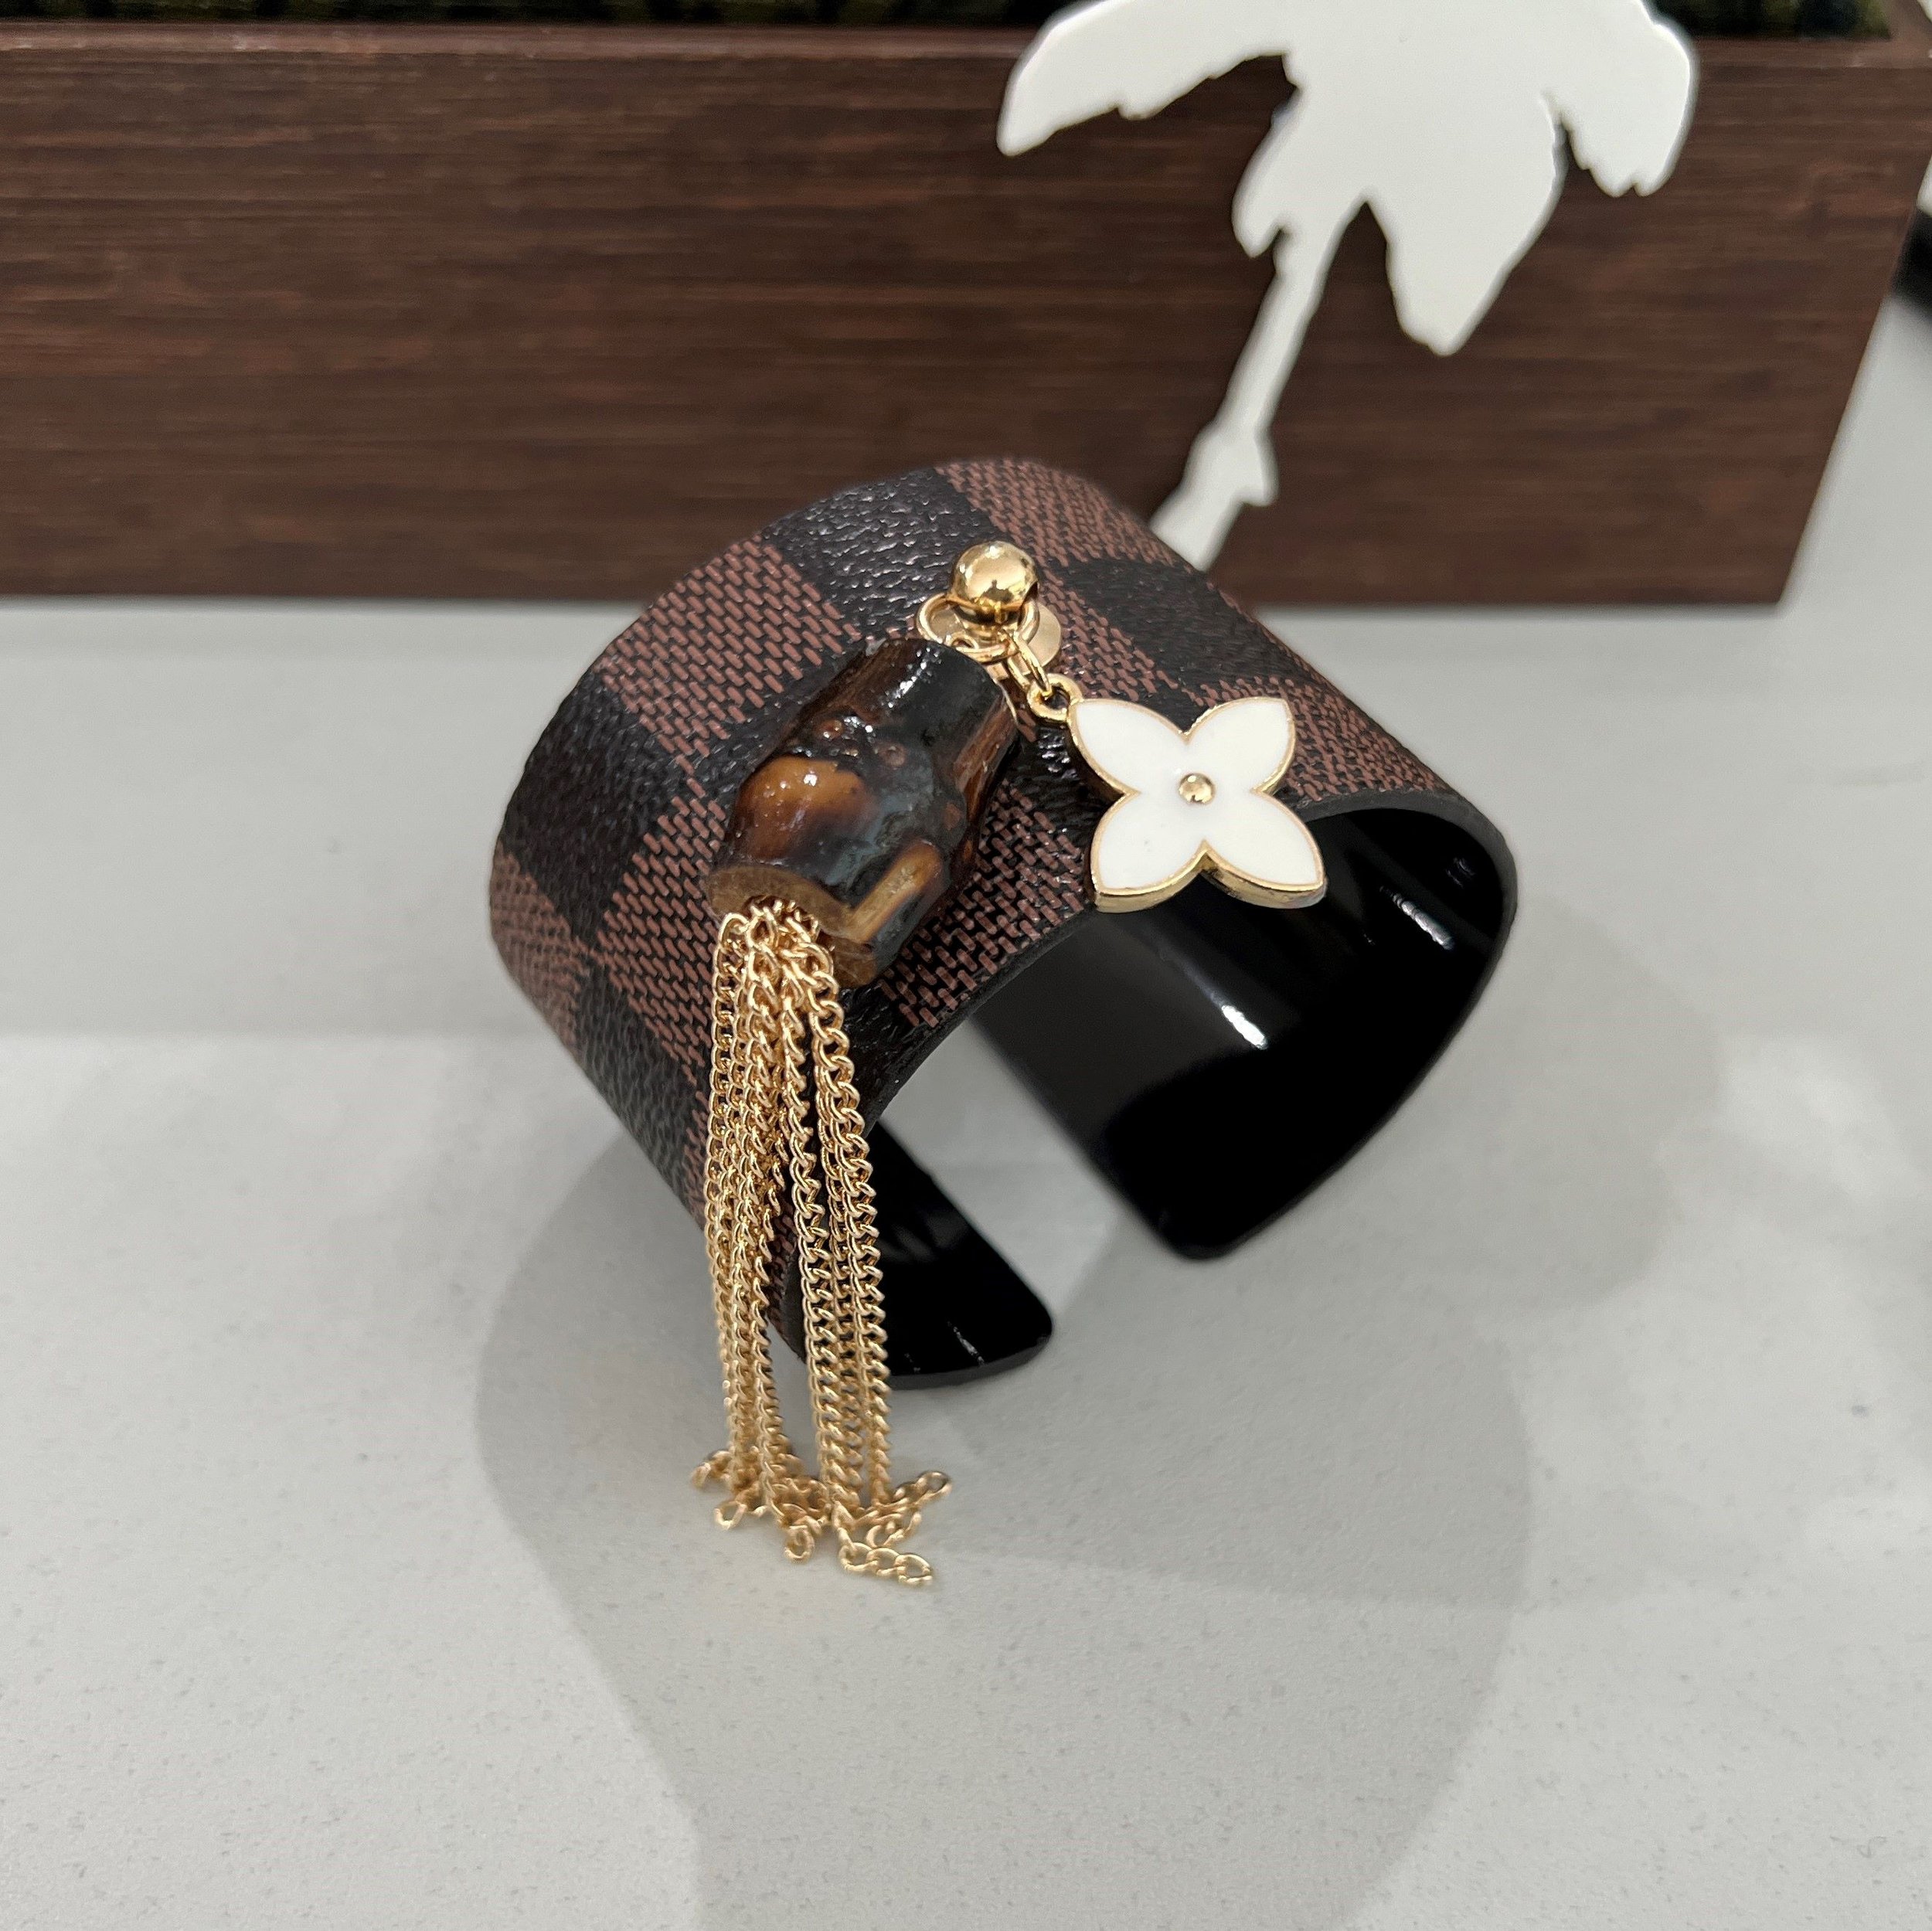
Ornamented with detail (see below) from an antique Singer sewing machine cabinet drawer escutcheon/ornament; I unscrewed it, cleaned it up and made a silicone mold of it so I could then cast copies in resin & gild them & then put them on cuff bangles with bamboo chain tassels. Seemed the obvious thing to do.
Covered metal
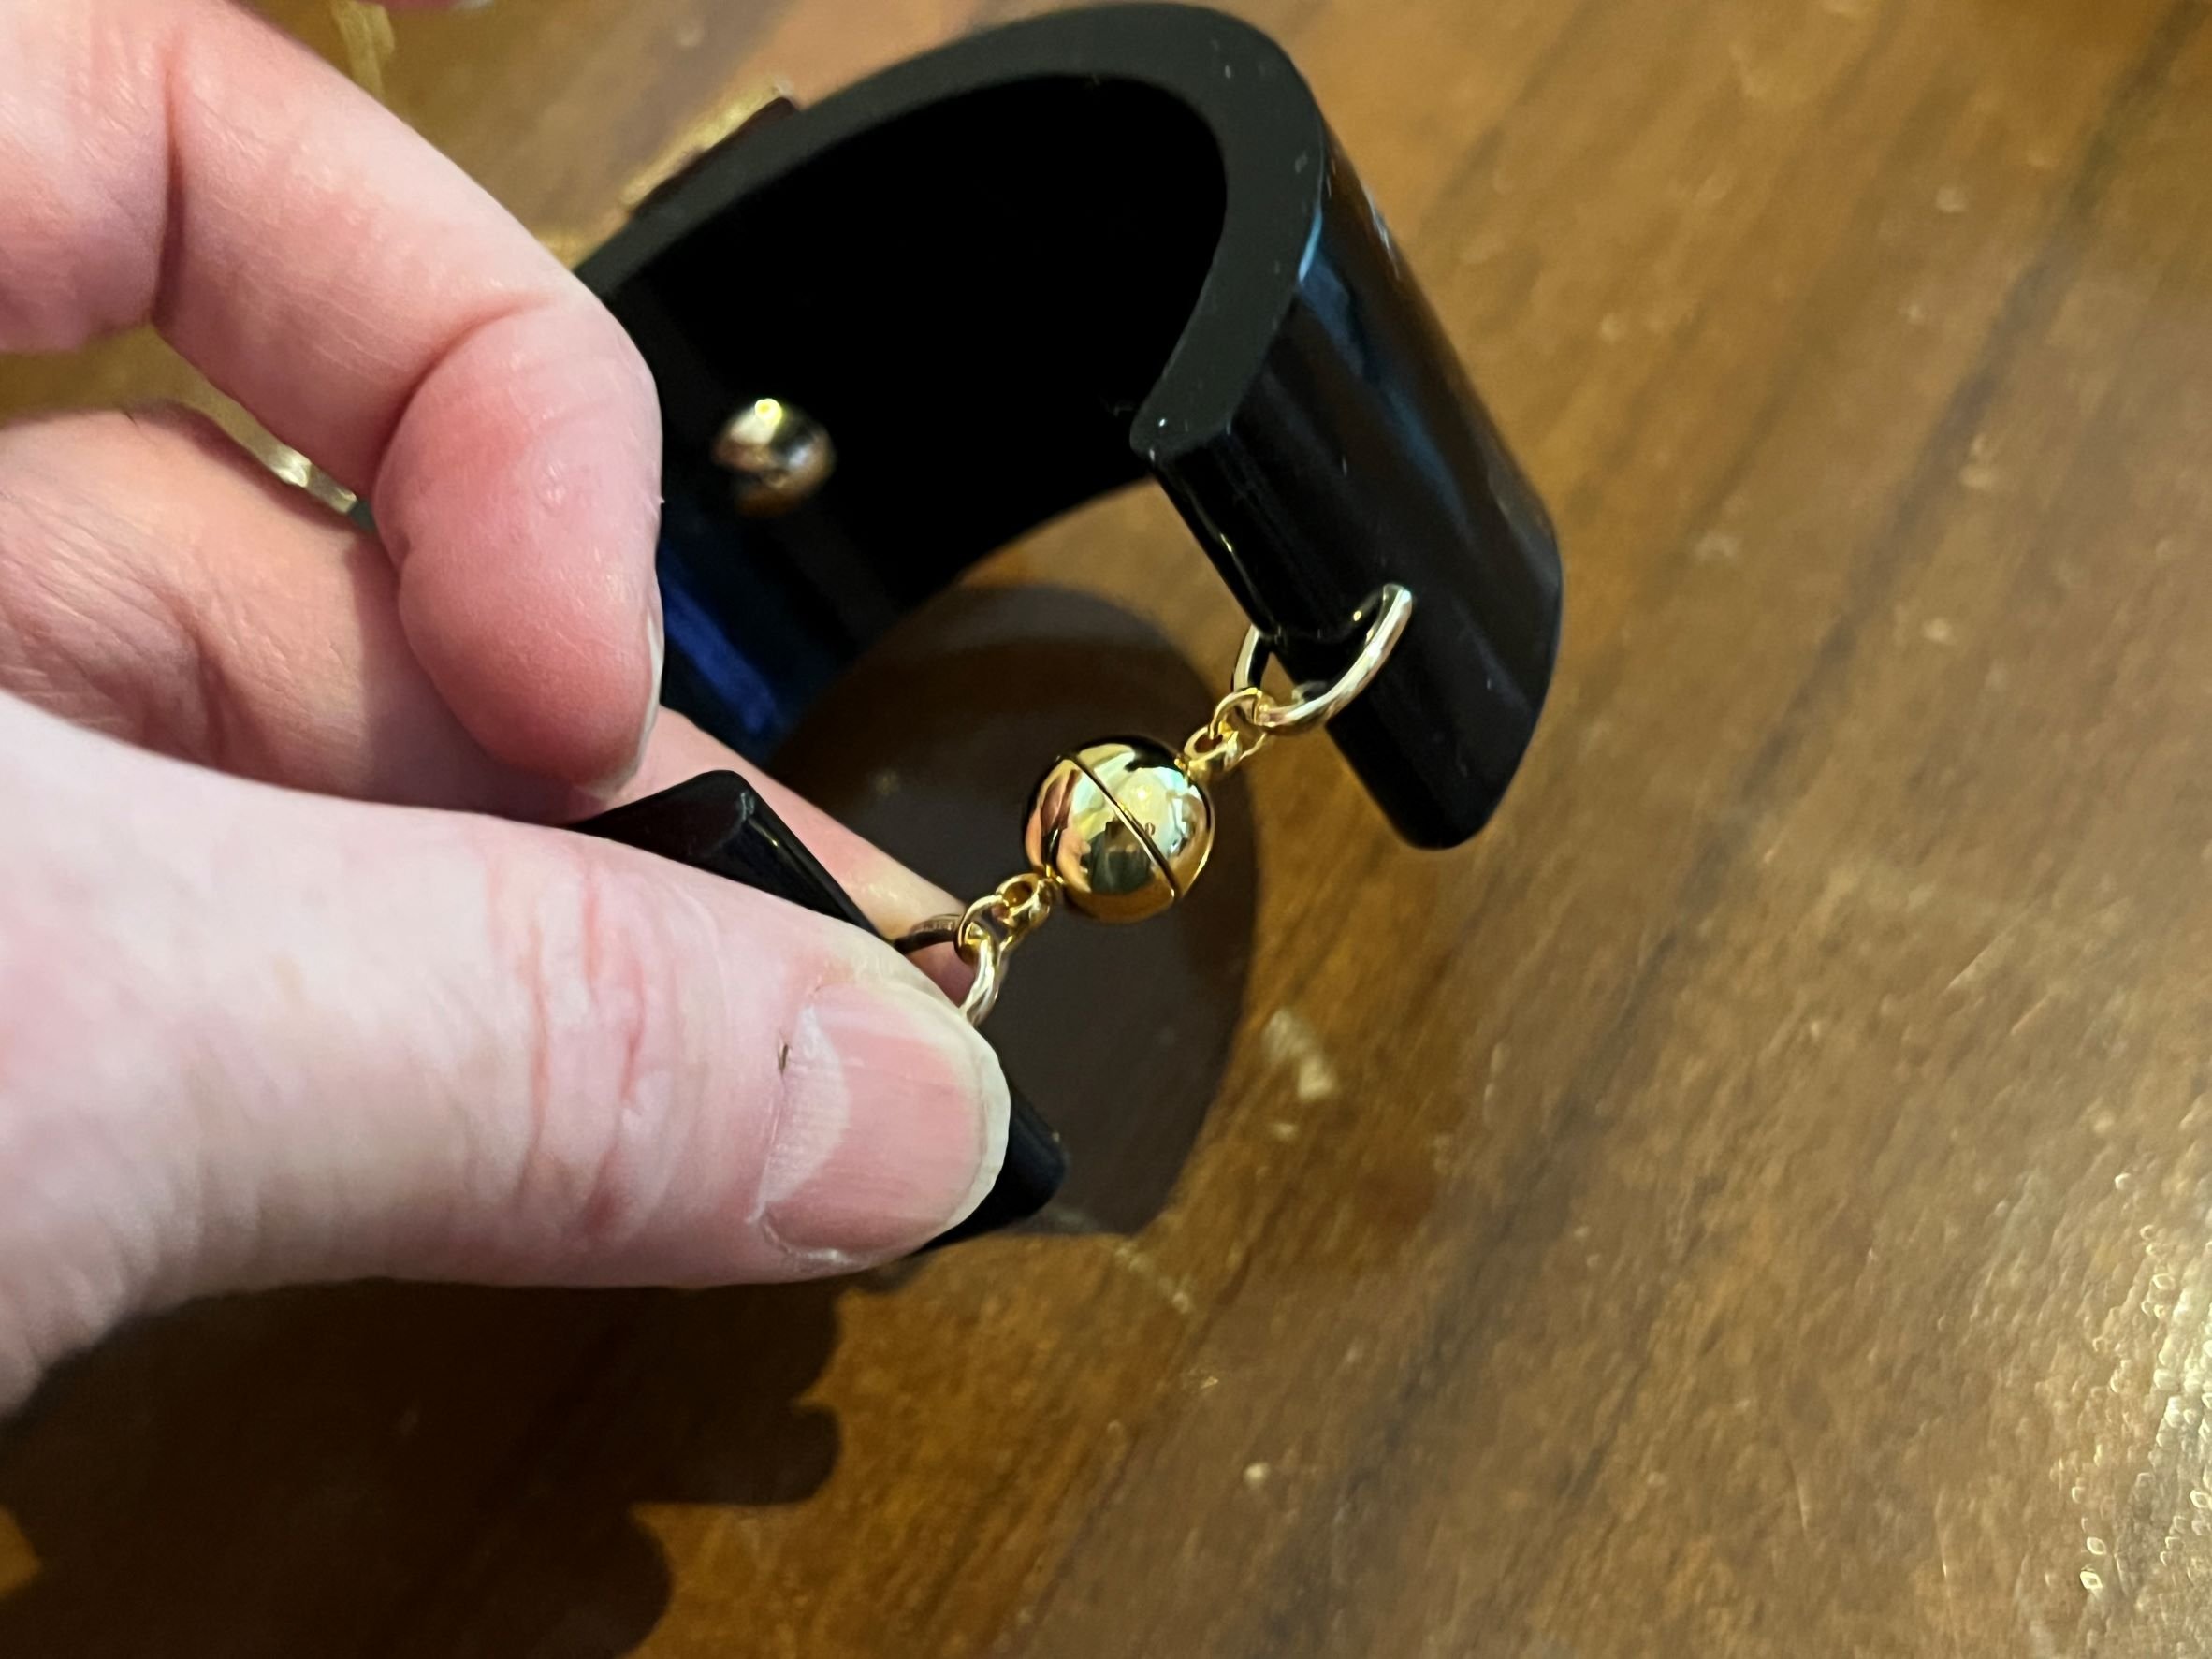
This is a resin bangle from a ready made mold from Barnes. I like the shape very much but some have said that its a bit hard to get on & off. For me, I had to fit it with a magnetic clasp so it wouldn’t rattle off
This one as worn by Hilda whom I met at Lindfield market. She looks amazing
The inspiration for getting into chain tassels came from a vintage Schiaparelli bracelet I have. To say that Daniel Roseberry is an inspiration understates the situation but I’ve had this bracelet for a long time & I love it so much
Curb chain
Box chain
Making chain tassels. The above is box chain which I like, its a bit retro slinky. Another nice look is 2mm curb chain, it falls beautifully.
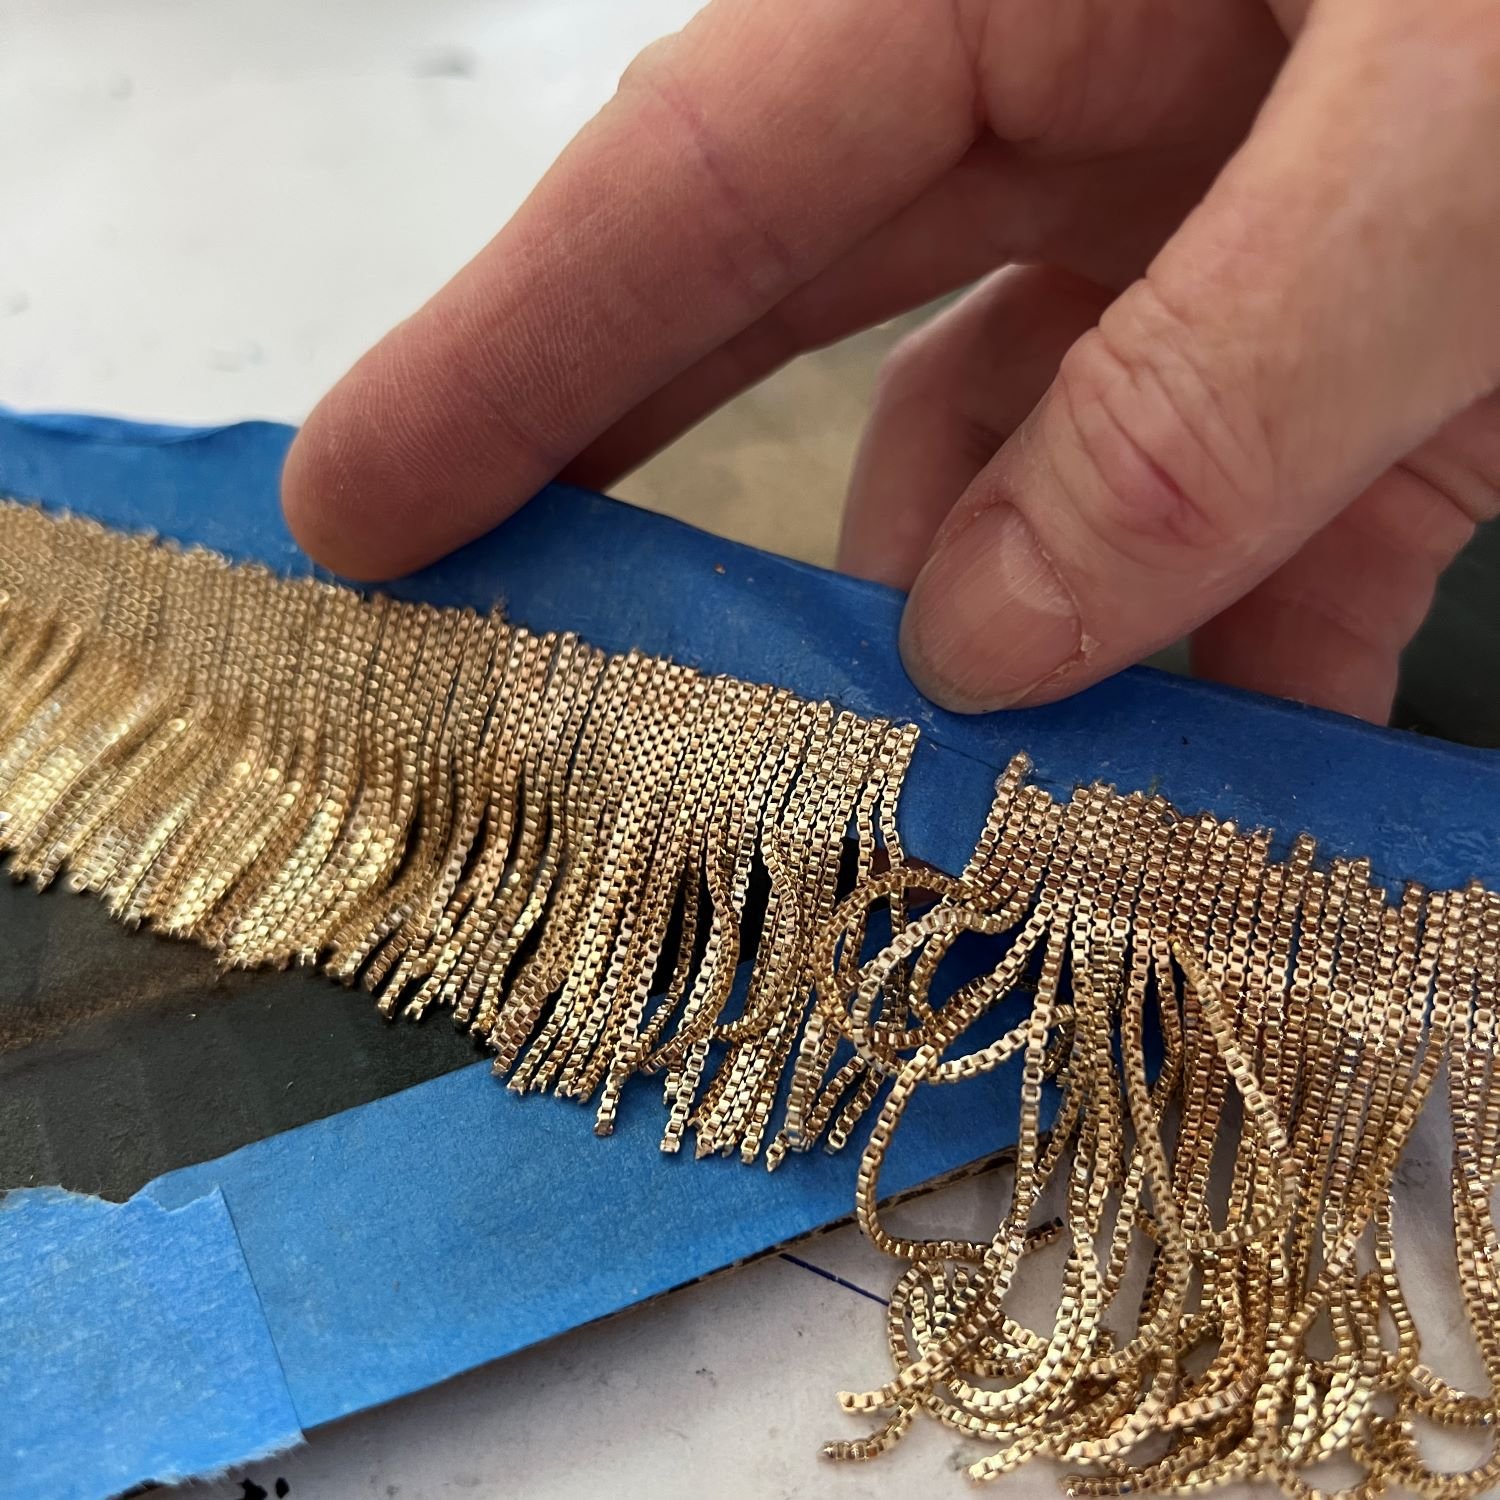
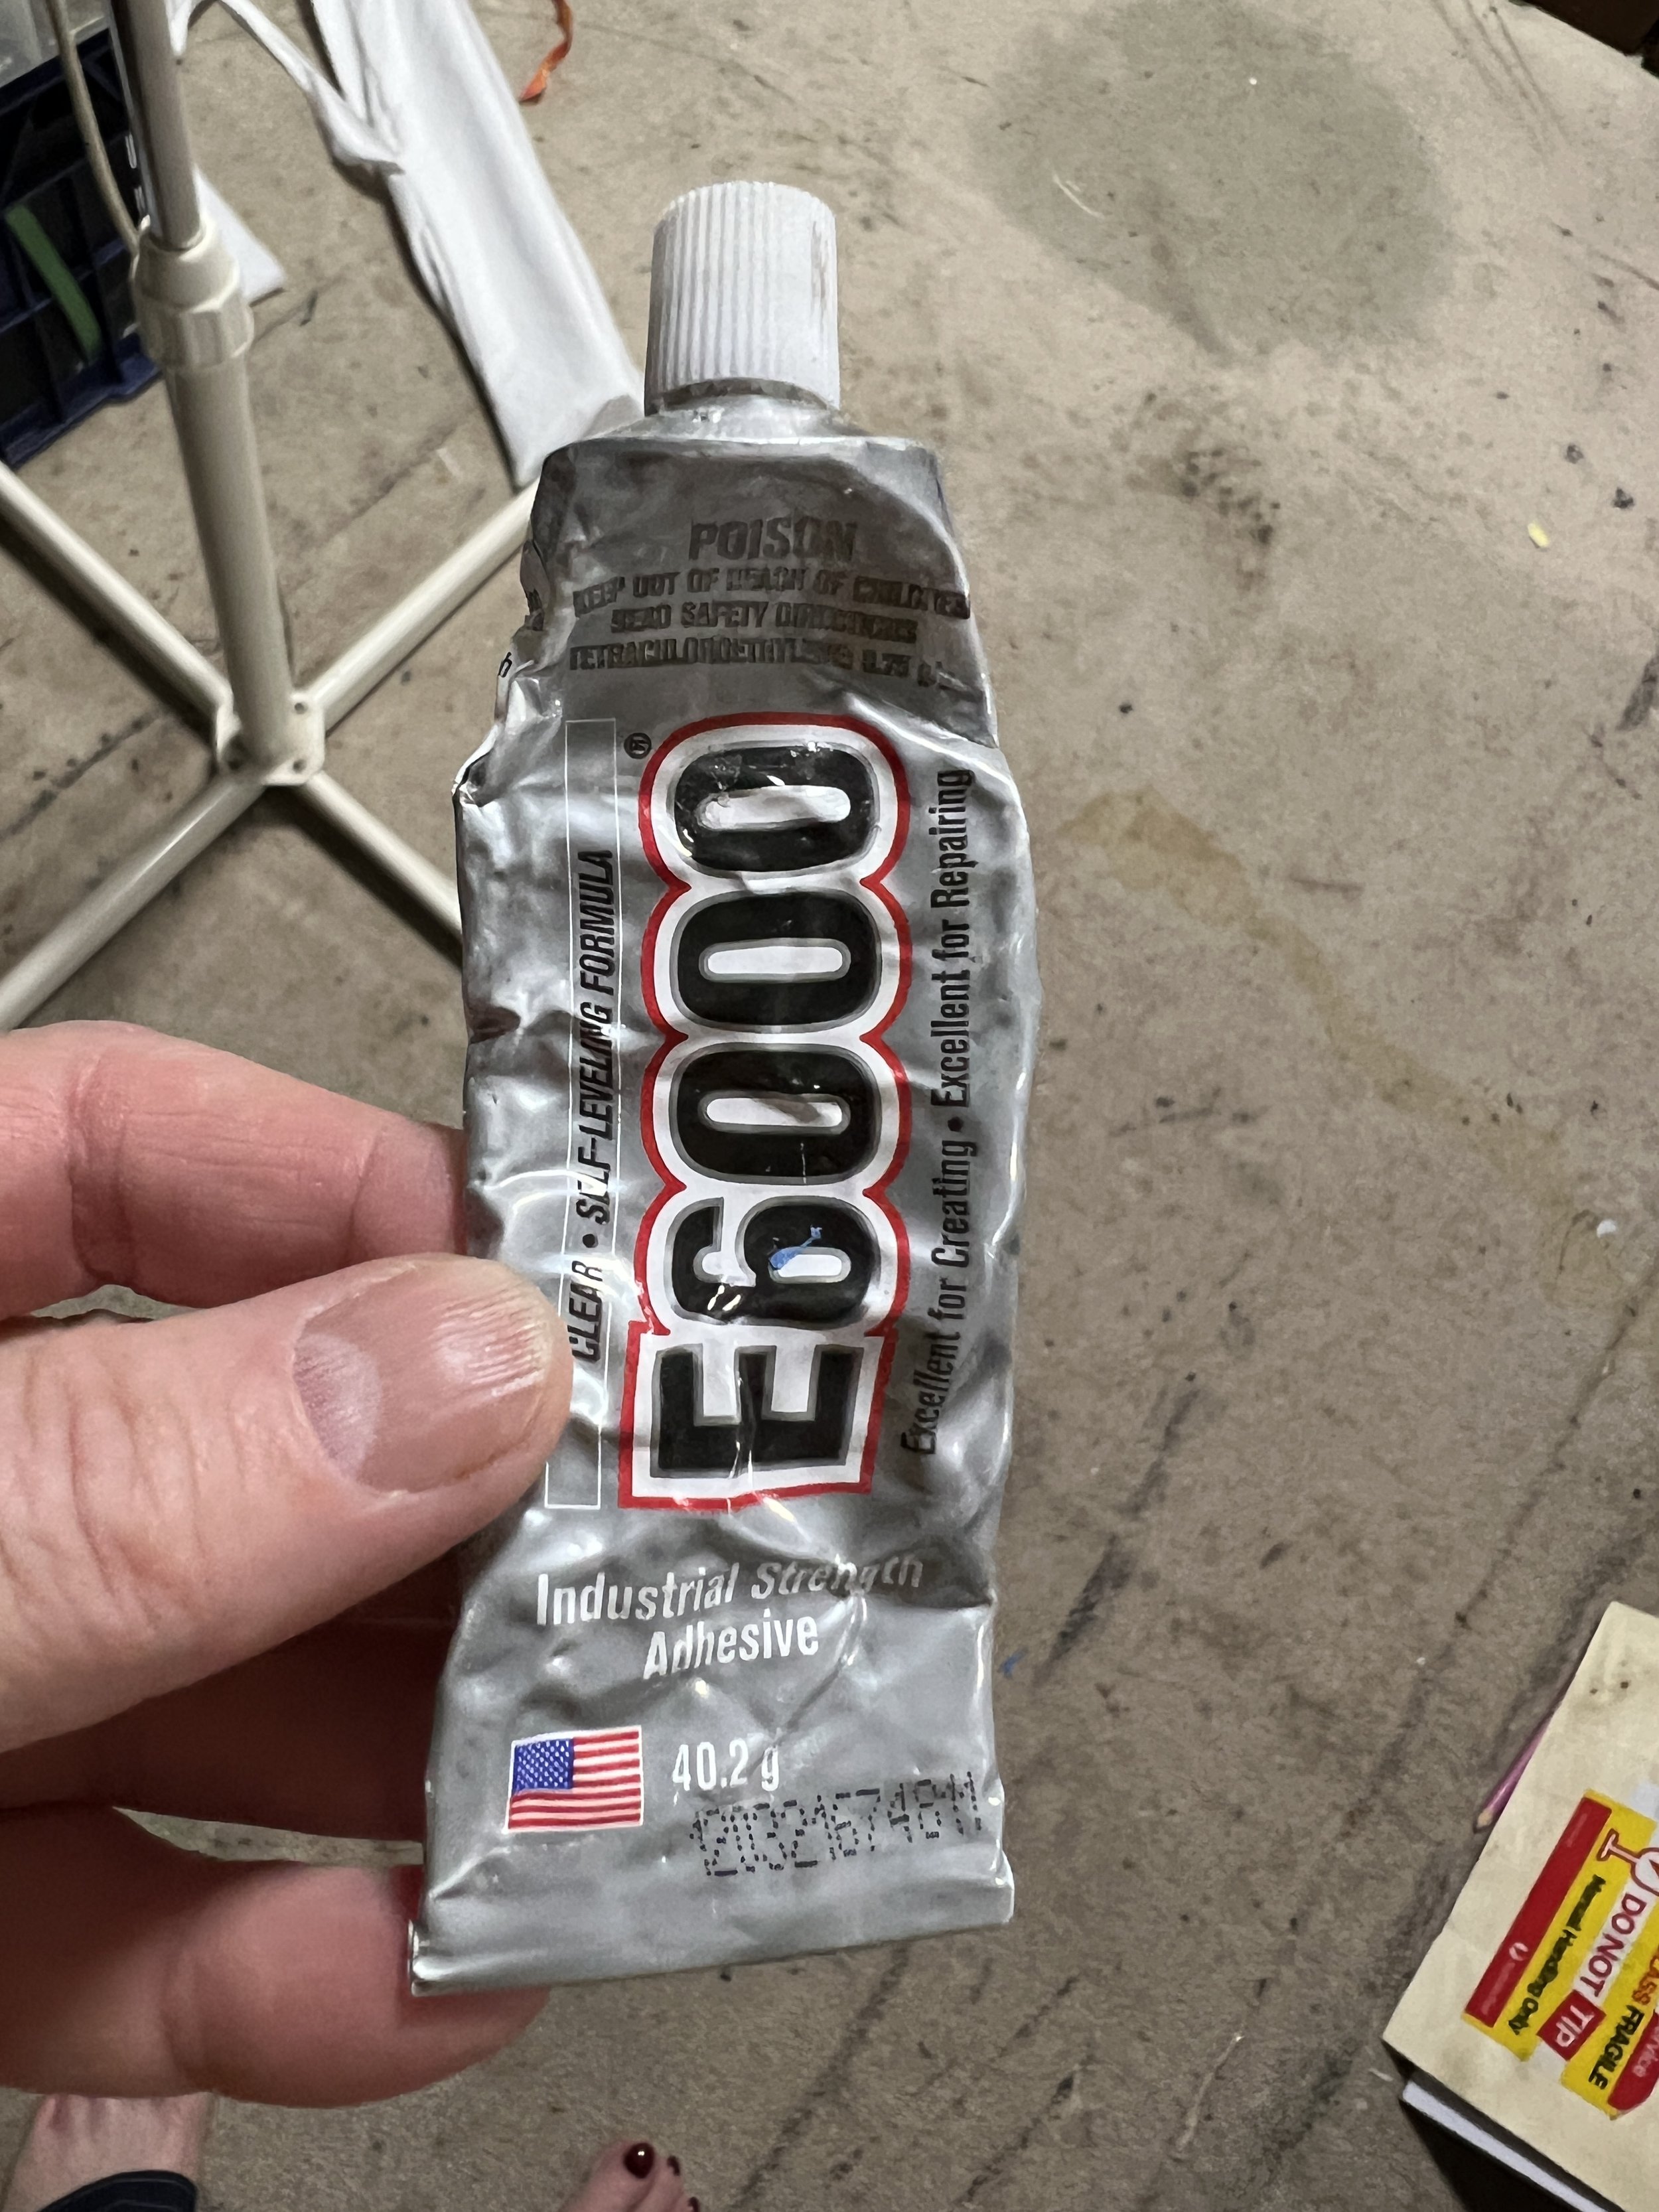
To DIY, cut the chain to lengths, secure it to masking tape then smear on some E6000 to the top 3-4mm & they stick together but really work it into the chains to make a good connection. E6000 is great because it has a little bit of elasticity & its very strong & its available from lots of different places.
Leave it glued overnight before cutting between the pieces of chain with an Xacto knife or similar then roll it into tassels. It depends what your purpose is but I’m finding my tassels being anywhere from 5-12 centimeters in chain lengths by 6 to 14 pieces of chain per tassel. This super high quality chain costs $5.50 per meter & tassels chew that up which is what makes tassels exy. But dead sexy.
Curb chain. Vinyl from here
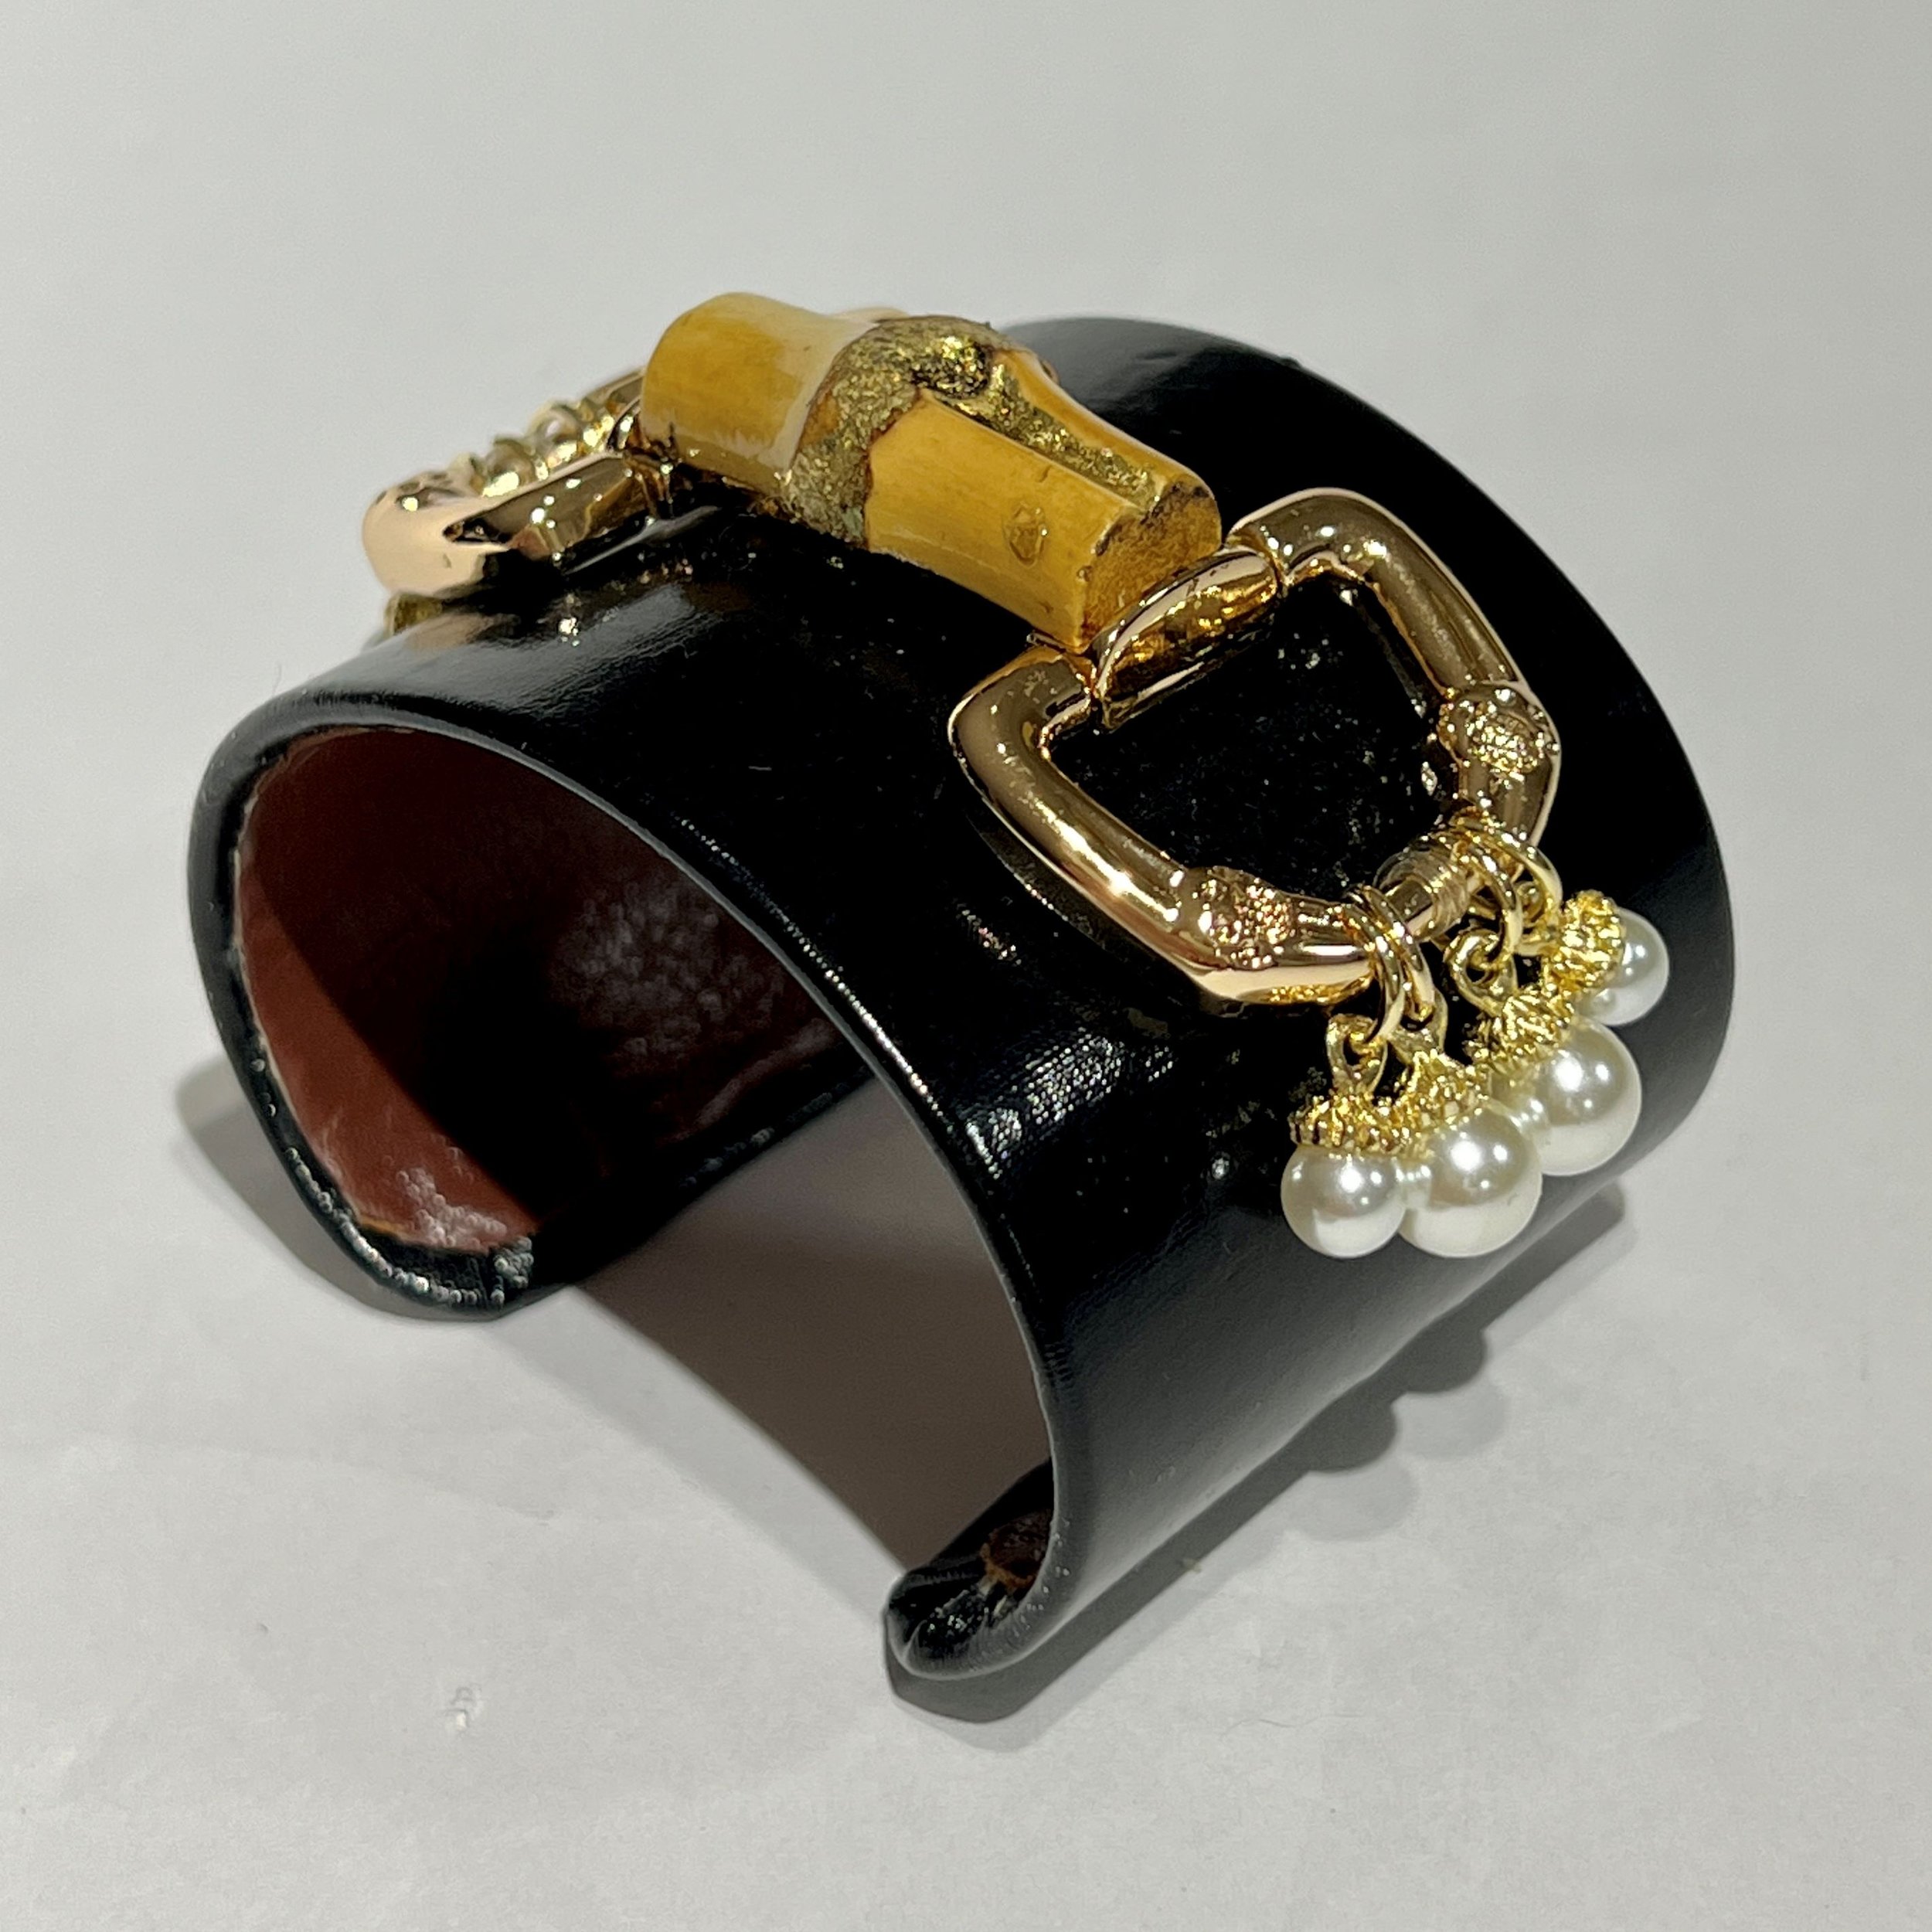
To fix the horse-bit hardware, drill holes through the metal & thread narrow strips of leather through. I coat the bare metal holes with a few of layers of nail varnish to mitigate the sharp edges so it shouldn’t cut through the leather in a hurry
Cork lining
I like the covered metal cuffs best because there’s more customisable options to them and lining them in soft Kangaroo leather has been a game changer, they become so much nicer to wear than bare metal or resin. They feel much luxe. When my first order arrived I though omg this is huge! What am I going to do with all this! Well, I’m now ordering a third time. But then I am producing commercial quantities of cuffs. I love this leather, so soft & smooth & very thin, I like it so much better than bovine which is very thick. I’m also using any second hand leather and suede provided to me by a very nice person who works with Reverse Garbage HELLO CELIA!
In a stroke of realisation, I’m also now using sheets of laminated cork made from recycled wine and champagne corks as lining, its two billion times more sustainable than leather and looks cool and feels nice to wear
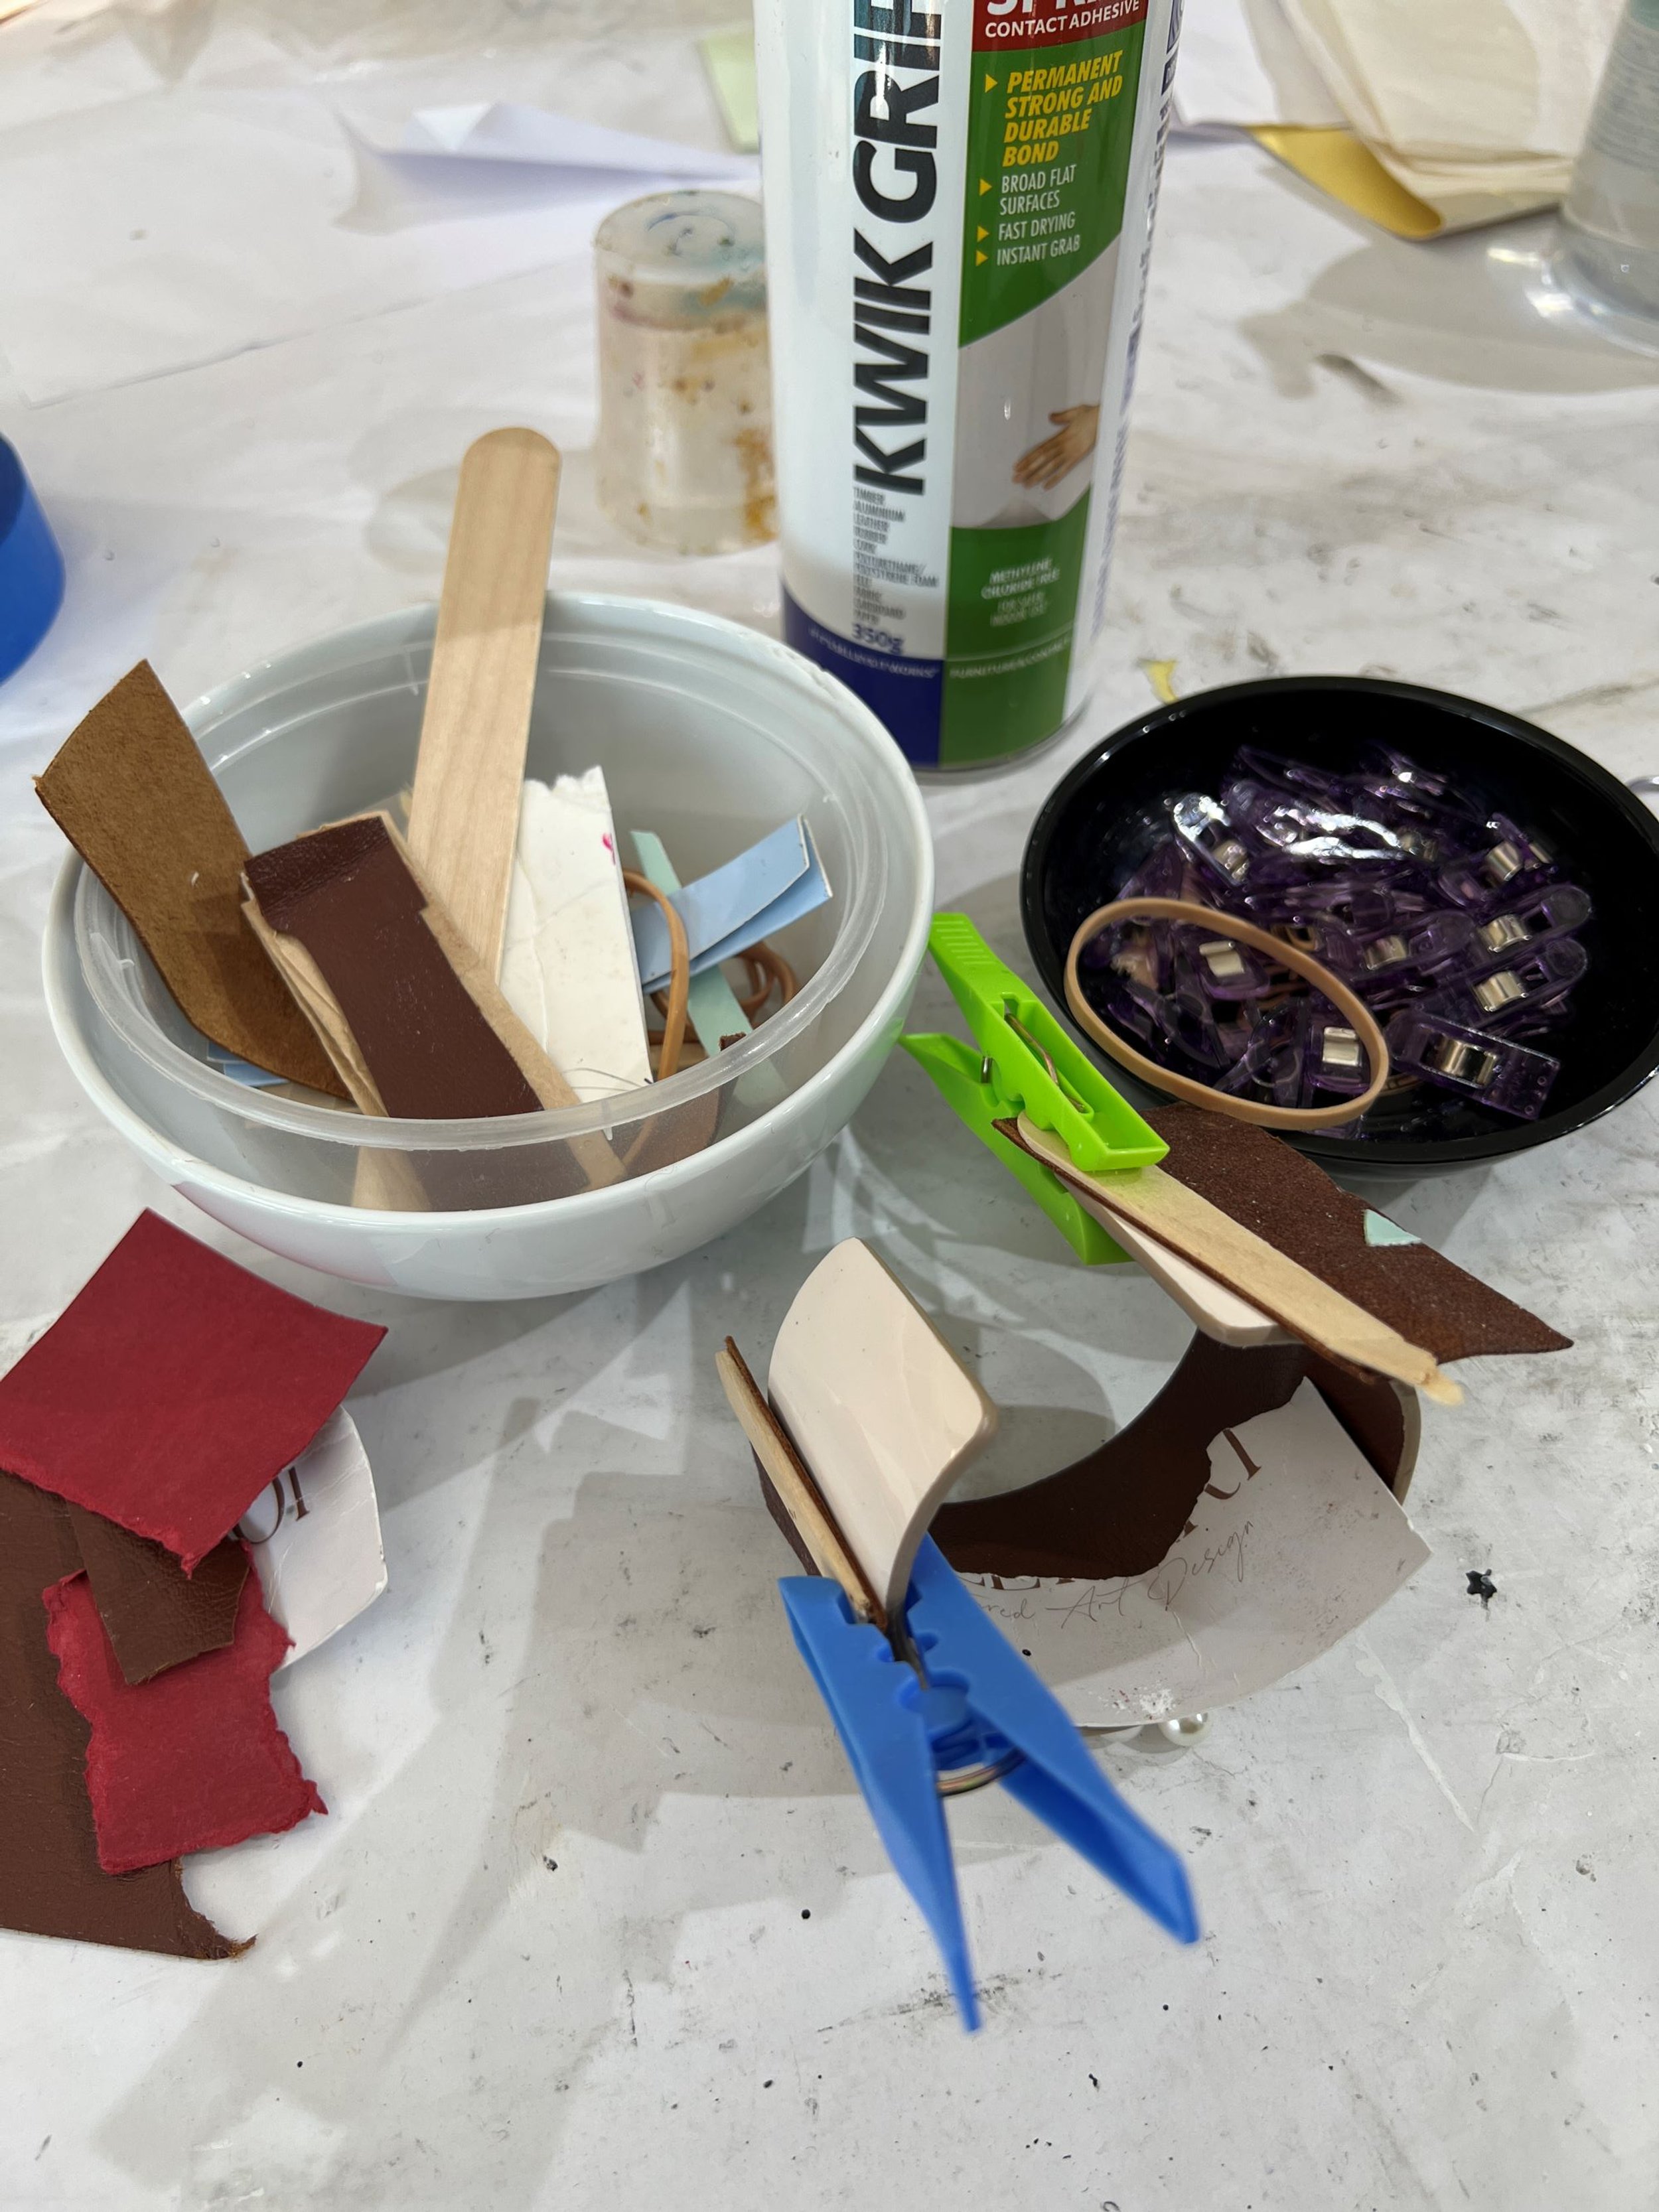
The leatherette I buy from AliBaba or here in Aus if I’m in a hurry. I use a heavy duty spray adhesive and hoo boy it sticks. Its fairly straightforward, use lots of pegs to clamp it but shield the surface well with offcuts of leather or stiff card so the pegs dont leave marks, particularly when using leatherette because its soft & fleecy underneath. Wonder-clips are great for the end sections to really bring on the pressure so it really makes 100% contact. I clamp it using paddlepop sticks under the clips to even out the force & ensure there wont be pressure marks. Leave it overnight before removing, then trim with an Xacto knife
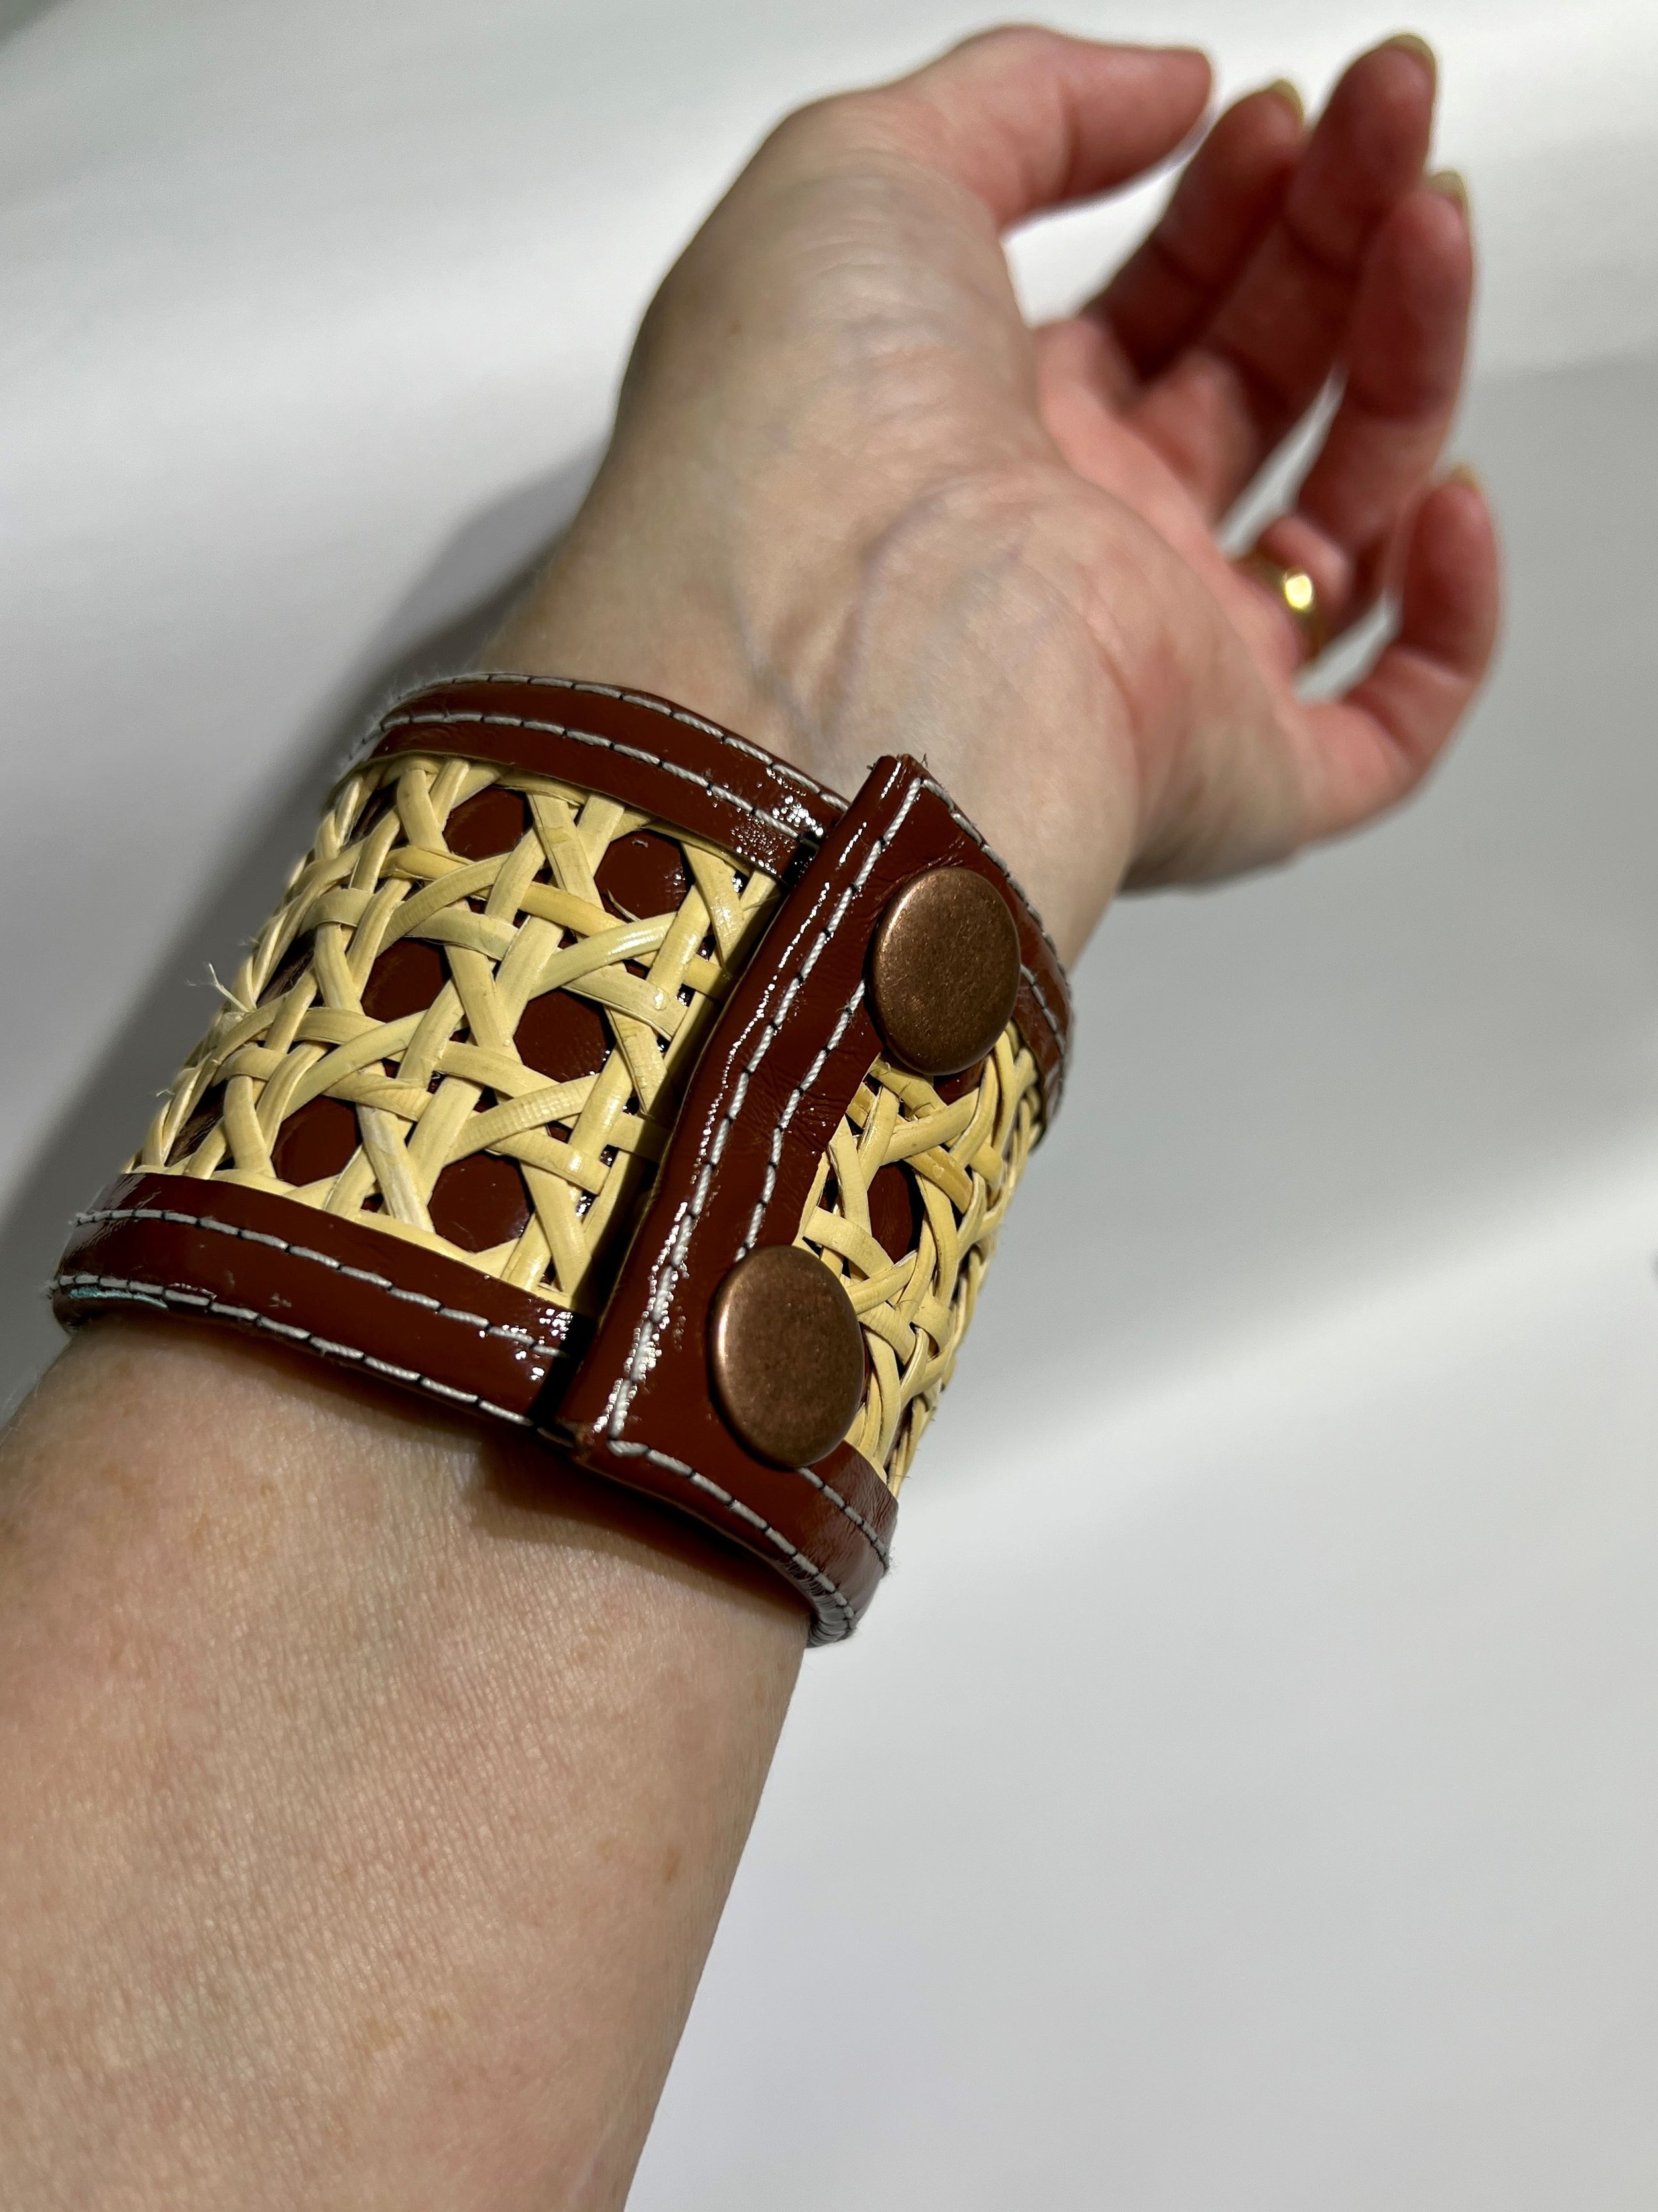
Then there’s the rattan cuffs, which I went mad for when I saw the image above left. Funny how one picture spurs a whole thing. That image and bangle is by Palmgrens and is a leather wraparound bracelet with press stud snaps. I made one & had the nice man at the shoe-shop install the press studs & it worked well, but I then went on to make a covered metal cuff version. I dont know if I’ll make any more of these. A bit annoying & fiddley with the different components and to become proficient enough in the process to achieve a high quality finish would take time. Also, because the concept is not mine it feels a bit unrewarding
But they are really cool and in the interests of Science, I document the process below…
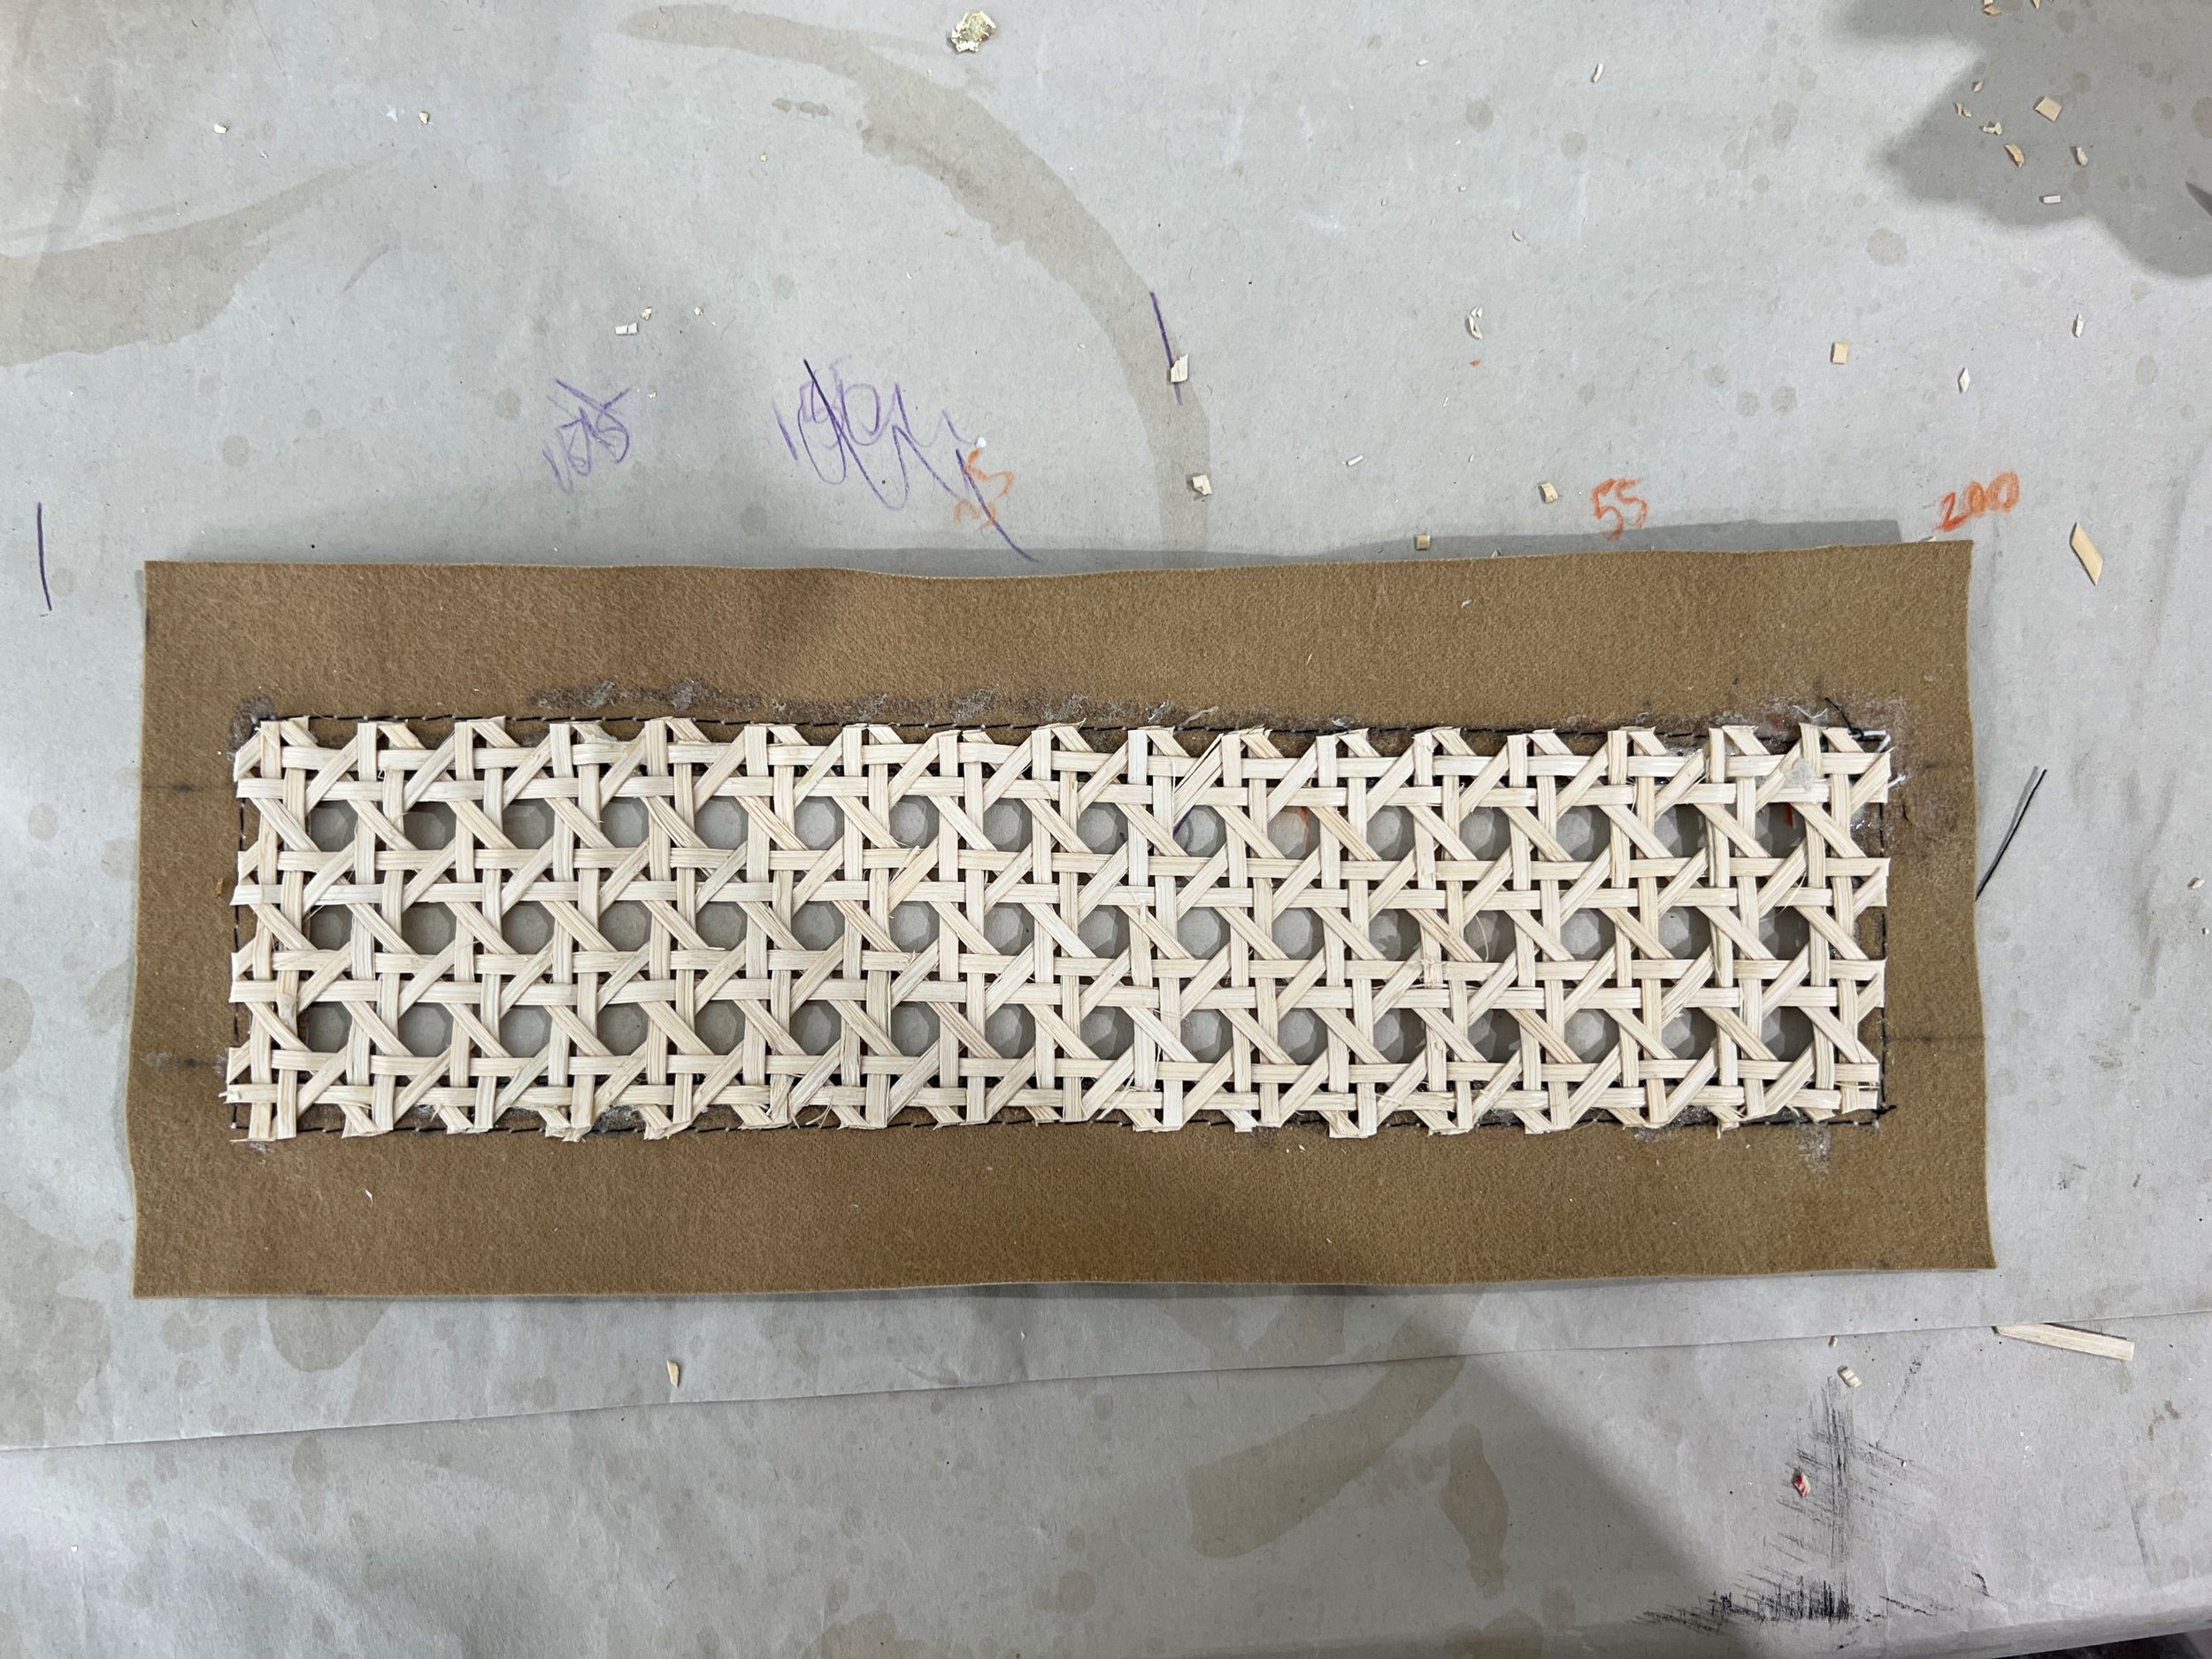
I first thought to sew through the rattan with the border on top but this broke two needles and I had to take the whole machine to service TWICE so they could dig the thread and cane out of the bobbin. NOT HAPPY. I gave that approach away as one for the professional leather & rattan masters at Palmgrens but then crazily pursued it to find a cheaty way to do it so here’s a quick DIY with the images above as guidance:
Spray adhesive some leather or whatever base material you want to the outside of a bare metal cuff. I matched the bottom layer material colour to the border material. If using thin or flimsy material, fuse it with interfacing first.
Cut the rattan to size, so its a millimetre or two shy of the surface area of the cuff & adhere that to the cuff by doing tiny dots of glue all around the edges. Clamp it overnight
Sew the border lines (template above or 3-4mm between rows) on a separate length of material with heavy top-stitch thread and a very long stitch (you will most likely need to fine tune your tension). To do this I drew the design on Inkscape of the window rectangle, the stitchline rectangles and the outside edges then printed it & placed the printed image under some tear away Vilene & traced it, then placed the Vilene marked with the lines over the top of my piece of leather (or whatever material), and stitched through the Vilene along those lines.
Once done, cut the window out using a rotary cutter & obvs be super careful at the corners, because a few times I slipped and the whole thing was b*ggered. The rage. Tear the Vilene away carefully. Glue it on (annoying step) over the edge of the rattan - you only have a few millimetres to play with and its fiddly with just some twigs of rattan to make contact with - and then around to the back. Let that dry overnight then cover over the insides with felt cut to size, but make sure its merino felt not acrylic, which is sweaty.
You could make the border wider but the proportions on this are very fine, when its wider it starts getting too big & chunky and any elegance is lost.
I have these priced at $130 at the market and one lady offered me $70 for one. I said no. Palmgrens sold them for $295. Mine are in no way commensurate but still annoyed.
Looks good on my 93 year old Mother-in-law!
I love the colour of the brown patent-look leatherette, its from Spotlight & I had the rattan already from an abandoned mission to re-do our old rattan backed dining chairs (ended with getting new chairs).
Today at Castle Hill market. Beautiful day.
From my first one, left, to my latest on right. Love my cuffs.
