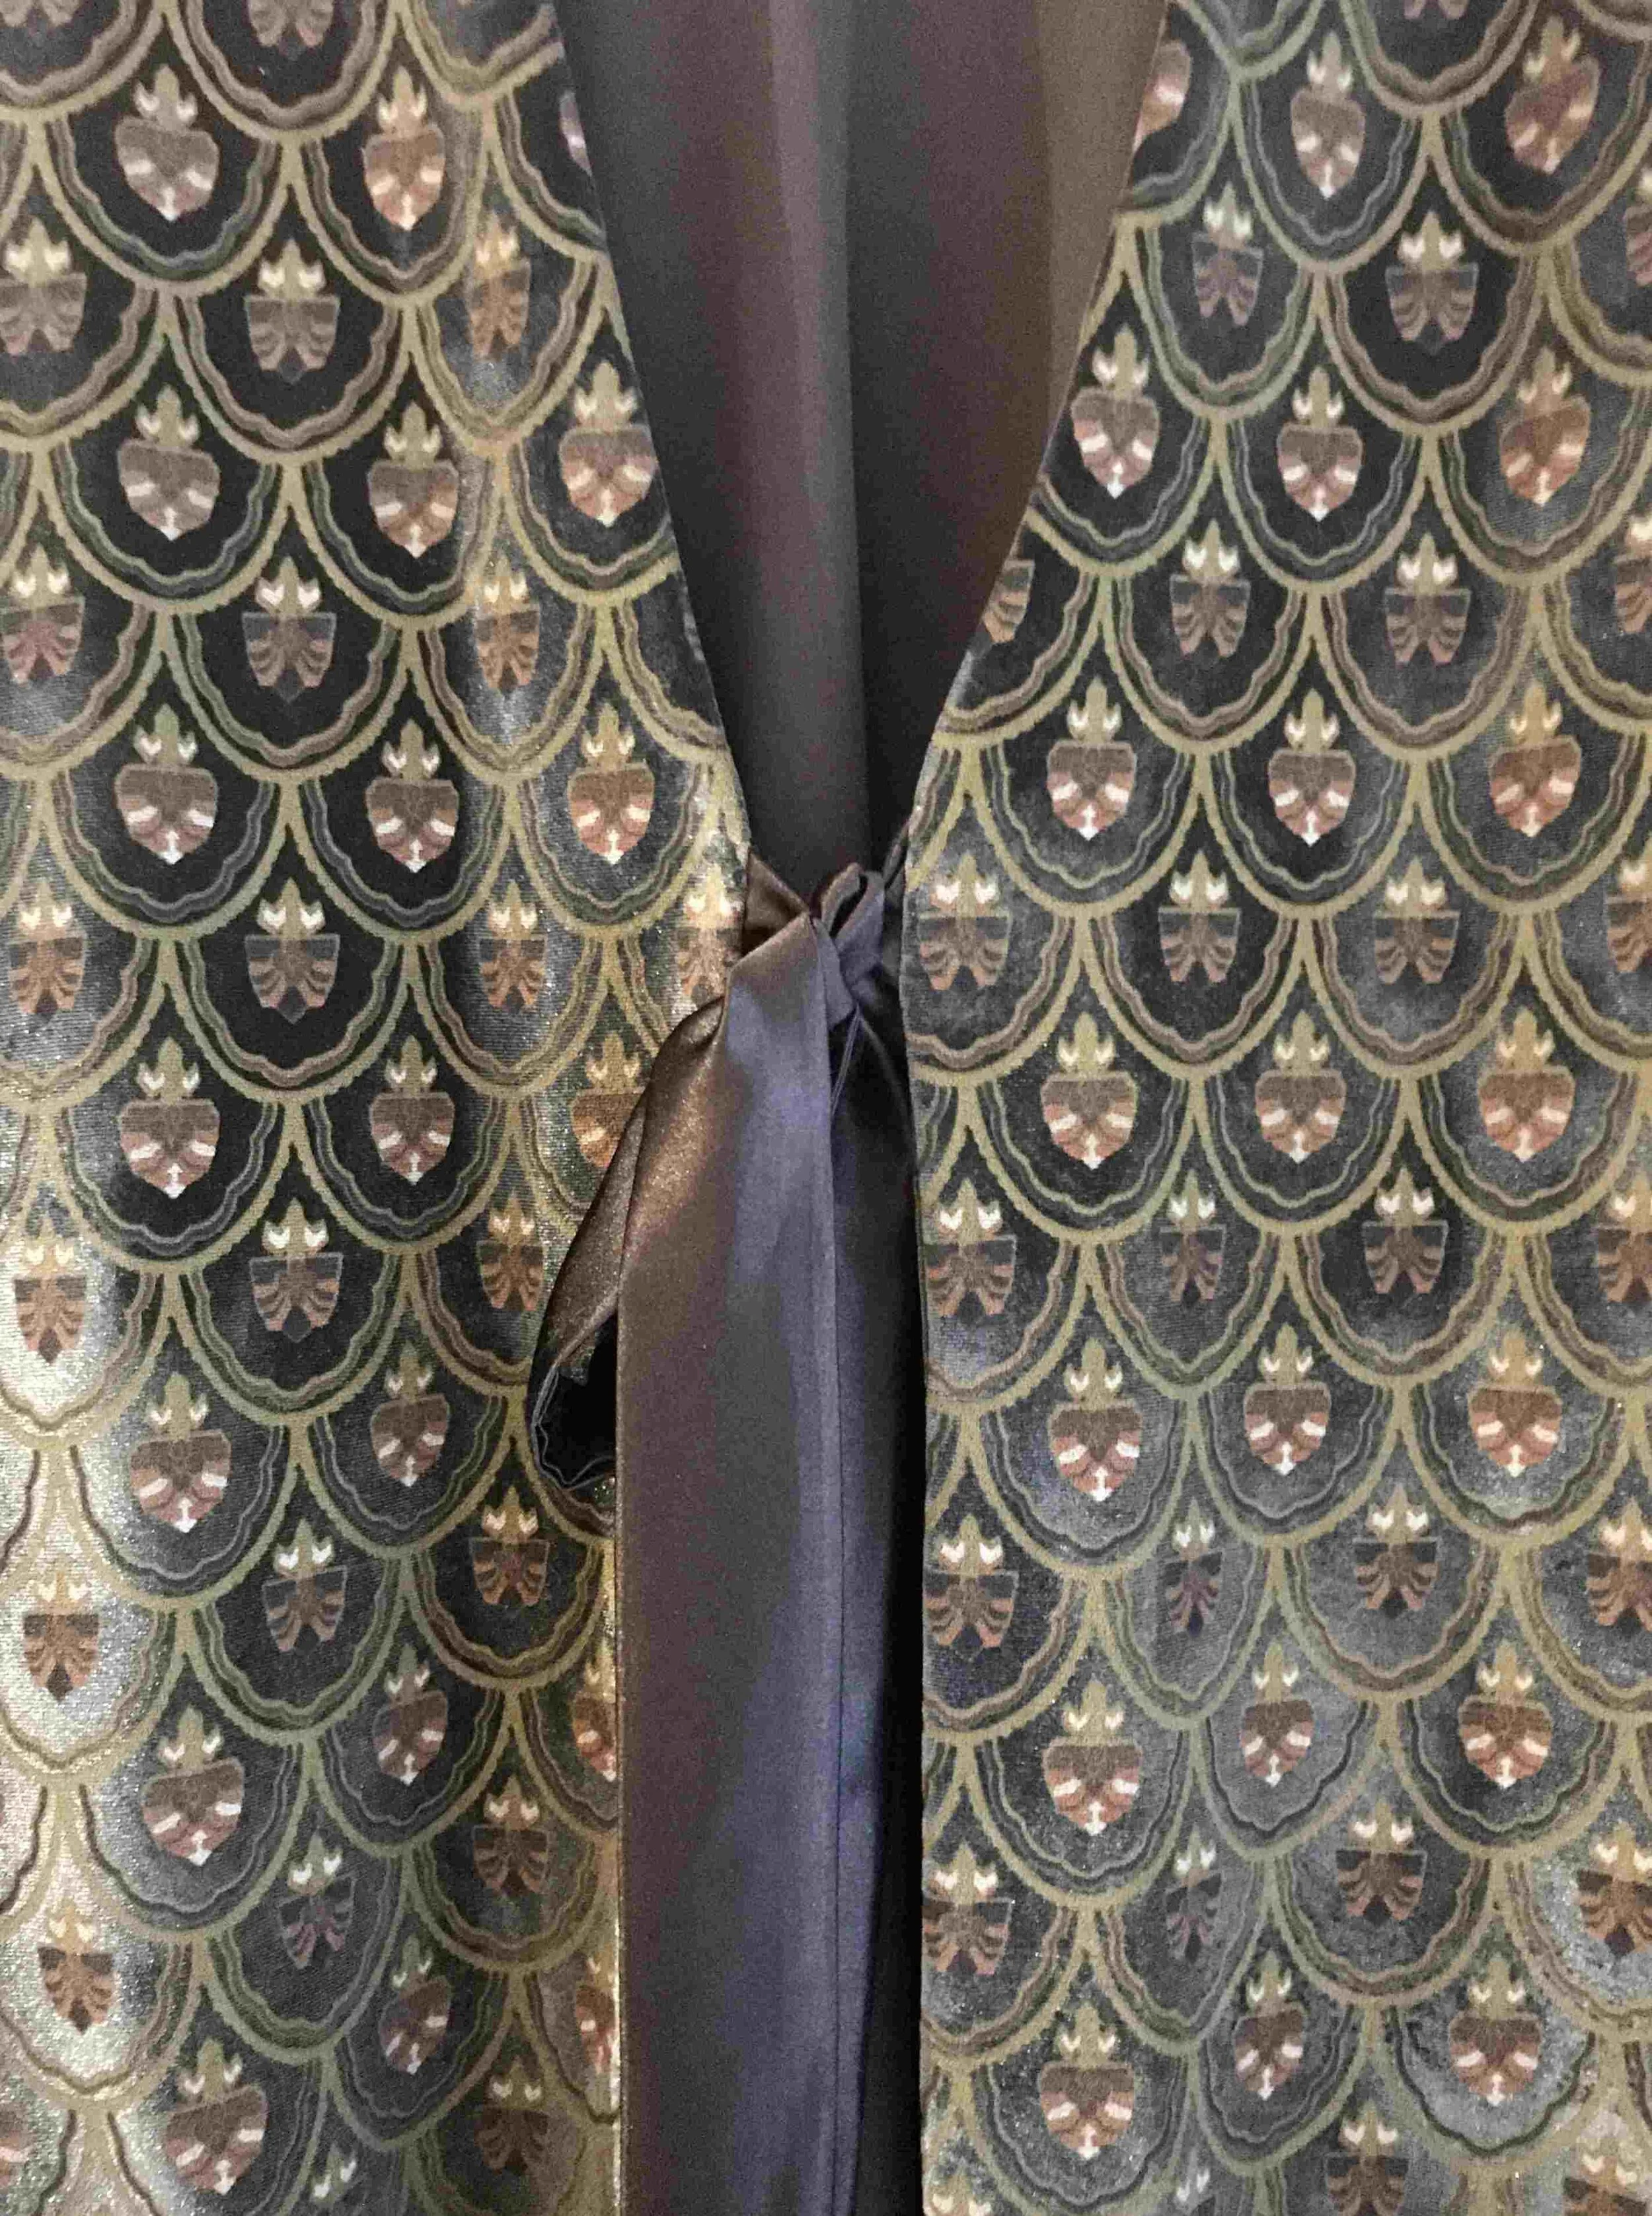
Whats fabulous & made of moss green printed stretch velveteen? Yes I know! The Somerfield Coat is! Its… so good, so really really good.
In my #Isosewing, this is the pinnacle of pinnacle sew. I have the pattern matched up and all seams have Hong Kong binding!
This took about a week to make because stretch velvet forforkssake and only an idiot would bind all the seams, so I did. And its not the best but its pretty forkin good.
Ive never bound interior seams before - and again, I say, stretch velvet - so that part is really pretty wobbly. Incredibly wobbly! But I look upon it fondly, because it was such a slow sewing moment and I had all the time I could ask for yet its still wobbly and I am absolutely fine with that. It captures this moment, of where we are now; its a testament to having that kind of time. Weird fast/slow time, where things take weird amounts of time to do. Morning coffee, gone too soon. Anything after lunchtime, goes on forever. We’re coming out of lockdown and there’s every possibility we might go back to it but there’ll never be anther time like this. Its like a journal garment. Its also a very random garment, no one needs a velveteen coat, but I saw this stuff and knew what I was called to do.
This pattern. Its the mitred corners I was in it for, I love that feature & having just sewn all this, I thought it would be really good to make something with extra, like bind all the seams, match all the pattern (usually its all I can do to keep the nap going the same direction) and I did this having binned the last two velvet coats I had a crack at. So I bought a walking foot and the legends are true: game changer. I conducted tests on scraps of velvet & thought everything is now possible…
wobbley
funny!
Notes-to-self
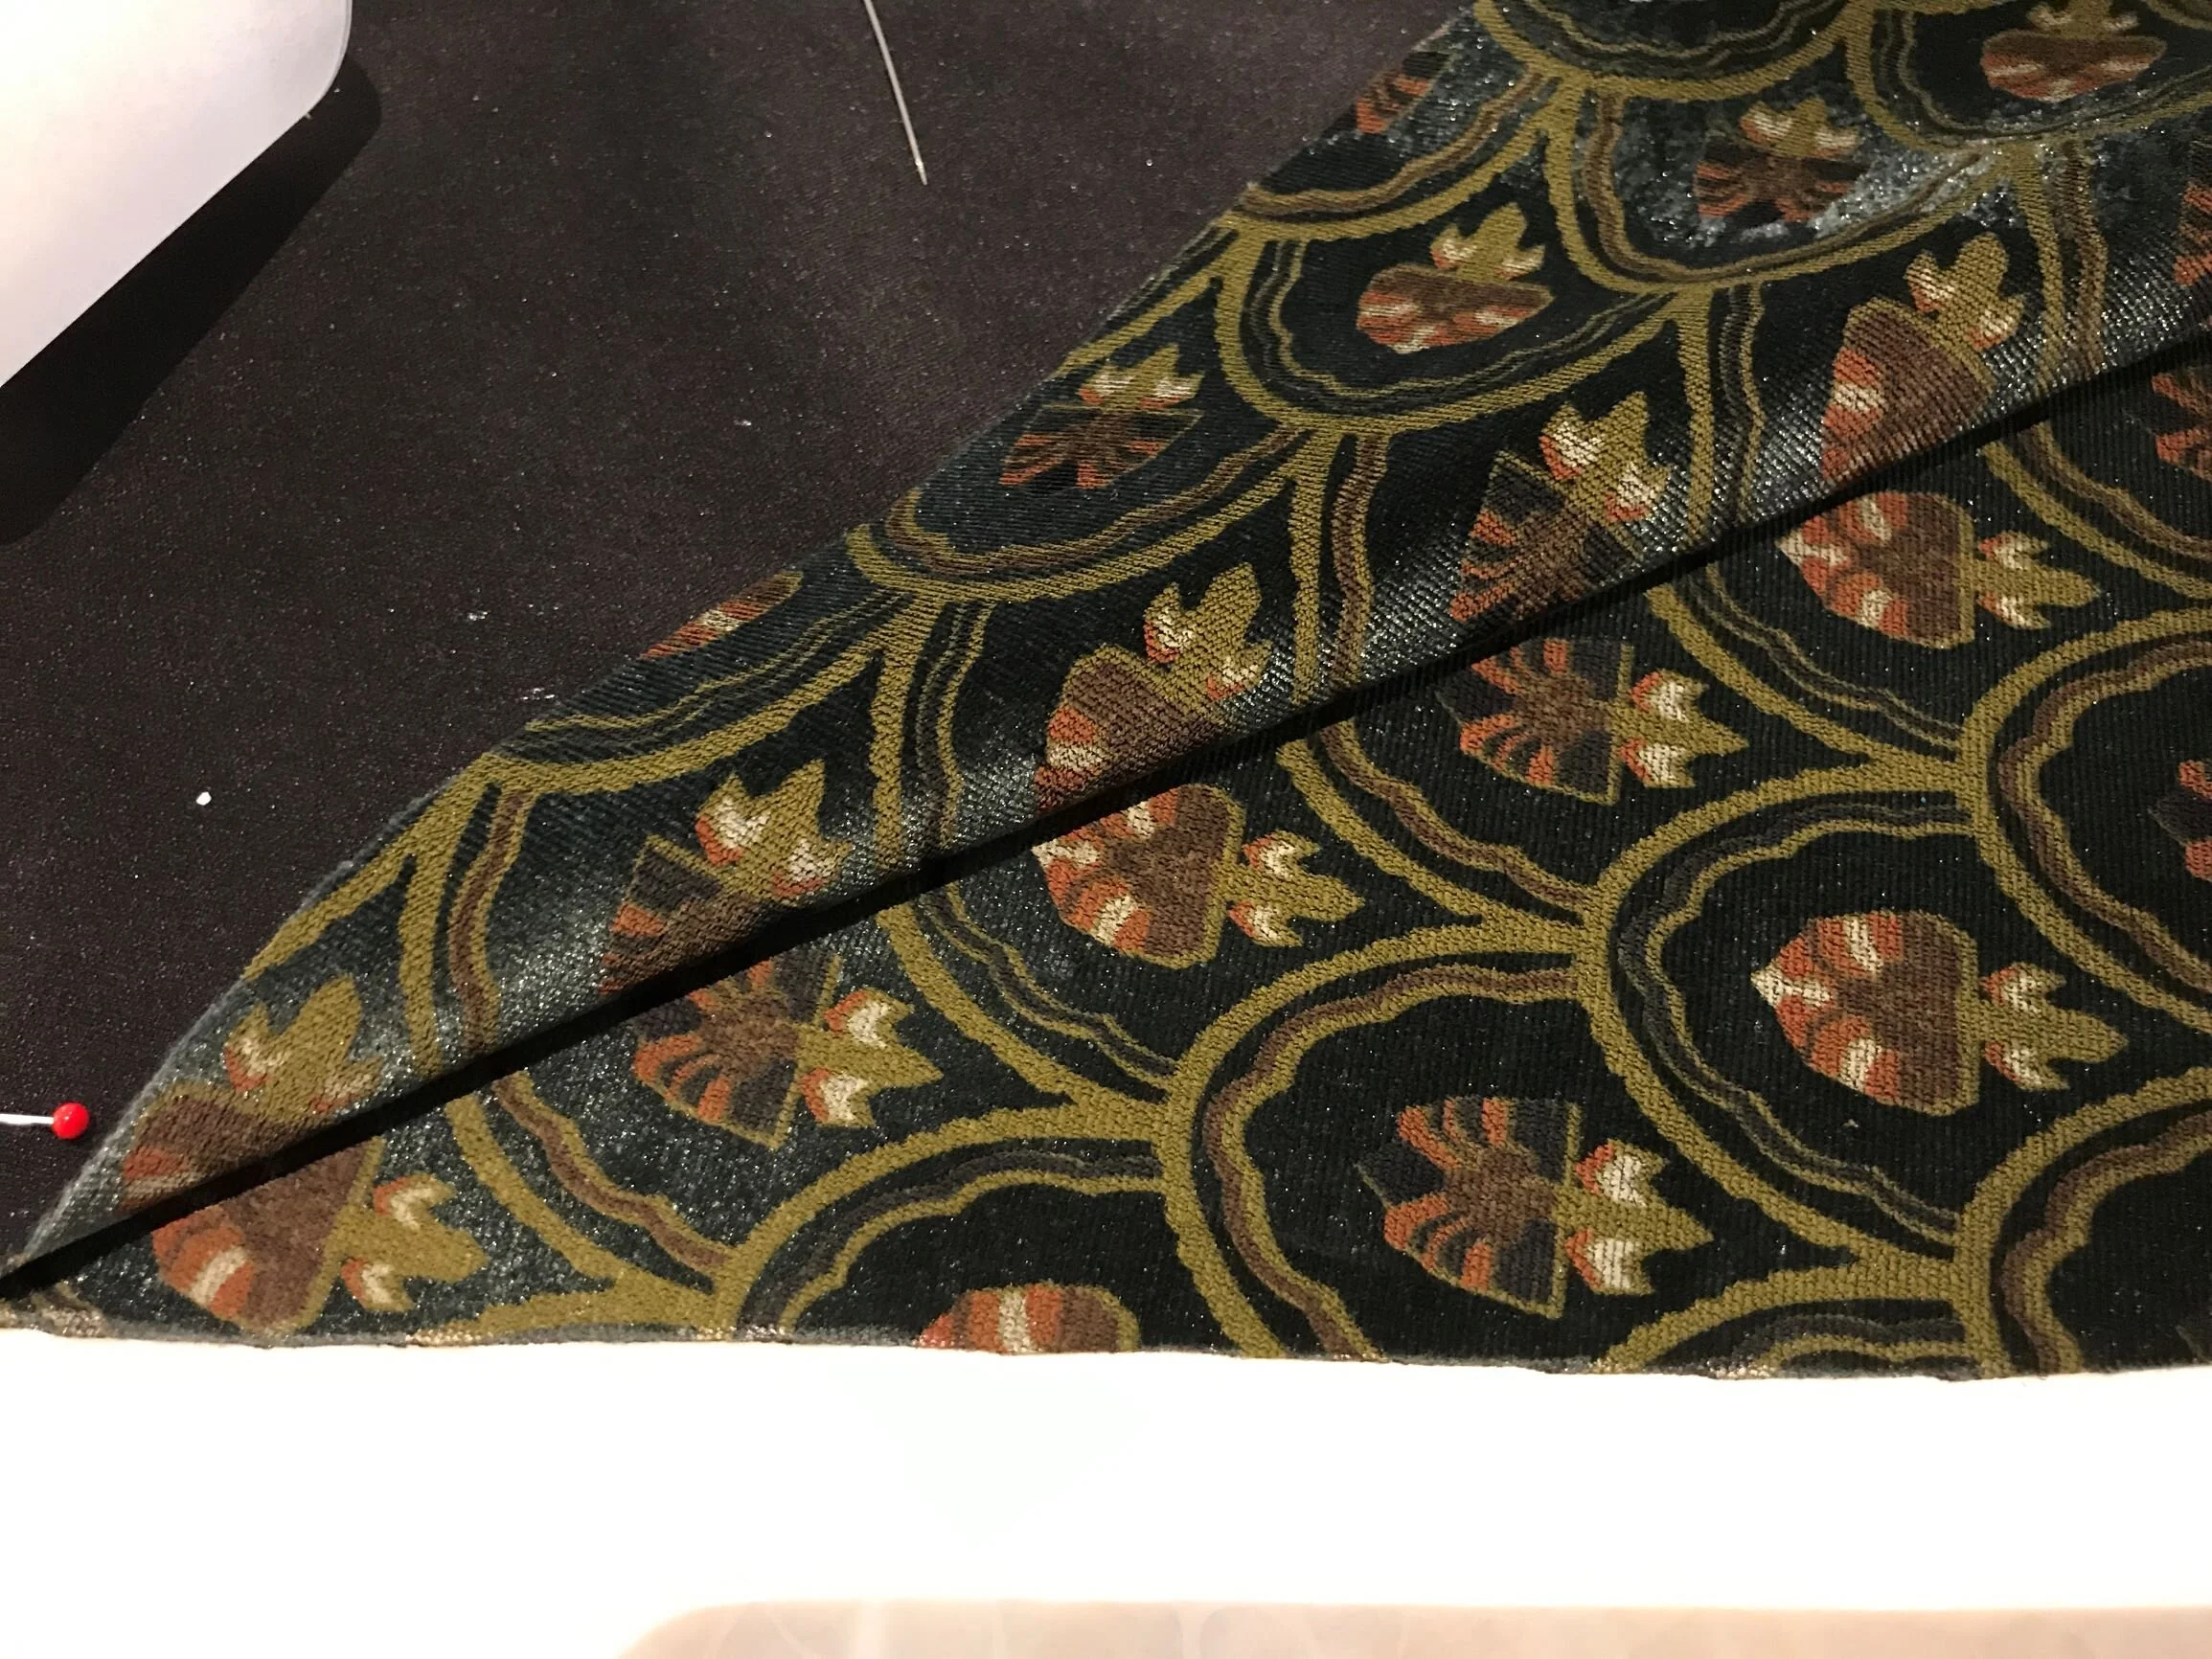
…Ok the pockets were a bitch but that wasn’t the walking foot’s fault. I just really wanted pockets. There’s none on the pattern so I conducted heated arguments with Self; side seam or patch pockets? Side seam or patch?? Side seams was going to be more of an engineered thing but I didn’t want to mar the simple lines of the coat with surrender patch pockets. So. Side seam, which turned out to be a bit hard. The above is a test scrap when I realised I didn’t know how to bind seams around a side seam pocket. I do now. Not like this! I had already cut out the fabric with the required 10mm seam allowance so when it came to the binding/pocket connection, when it would’ve been great to have more seam to play with, there wasn’t much (any) room & it was a real, real bugger. But, y’know, I had all the time in the world and kept bumbling along.
The binding is a really nice aubergine coloured lining…a fabric with more body & stability wouldve been much better, I know that now. Keeping bias binding true on velvet: recipe for wobbliness.
I didnt bind around the pocket edges. I considered myself well out of it, just getting them without the seams showing on the wrong side.
You might think I’ve been sewing for too long to sew this poorly but you’re wrong. I can easily sew this poorly after having sewn for lots of years.
But it has
POCKETS!
“medieval peacock chinoiserie”
Such a great string of words, nailed it. The pattern notes discourage “stiff fabrics” but I’m here to disrupt.
Workin’ it
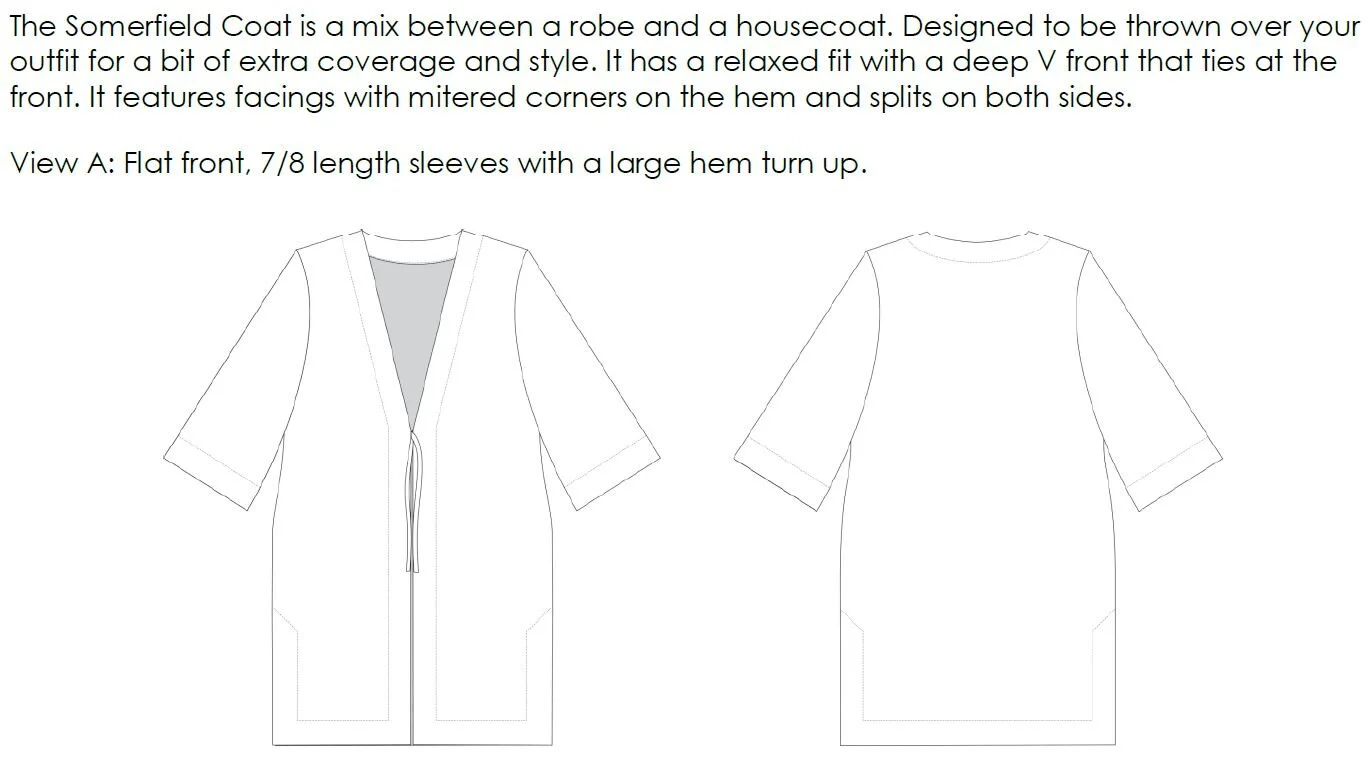
Pattern review wise, I think its well designed. I had planned to make it longer than the sample & then found there’s a note on the instructions: “This pattern has been drafted for a height of 5’7 and will finish just under the knee. Personally I like to add 10-20cm of length to the front and back pattern pieces for the coat to finish further below the knee/at the calves, but due to size constraints of A0 size paper I have left the pattern pieces to fit within.” I extended at both lengthen lines - before the side splits and midway down them - by 100mm each. I was worried for a while I’d made it too long (see note to self above) but I think that was a response to having to wield all the heavy fabric around, it felt like it would swamp me. Now its done & I think its the perfect length!
In a fabric such as this, skinny ties as per the pattern aren’t appropriate. I had used a black poly satin for the pockets (with the matt wrong side on the outside so it disappears against the matt back side of the velvet), so I used same on sash ties, made them about 40mm wide. They have very quickly become abraded & fuzzy by the stiff nap grating against them. Its a printed velveteen & I’d never describe it as ‘soft’…I could probably use the offcuts to scour dishes with, so those satin ties will need replacing soonish. I think a wide, striped grosgrain ribbon might be cool. And that rough nap, sometimes it catches the light & its just magic.
The 3/4 length sleeves have a subtle flare to them thats just genius, they’re so cool. Great proportions. I finished them with wide black satin binding hand stitched on.
I love this coat.
Wobble
There was a lot of hand sewing, a lot, all the hem & all the facings, I hand stitched around every edge…I think machine sewing would’ve ruined it. A stretch velvet, of inexpensive origin = perhaps not the most reliable of pattern repeats, grain & movement. I had to almost bag it in, massage the ease. Fortunately, global lockdown, sitting around all day with needle & thread, fine.
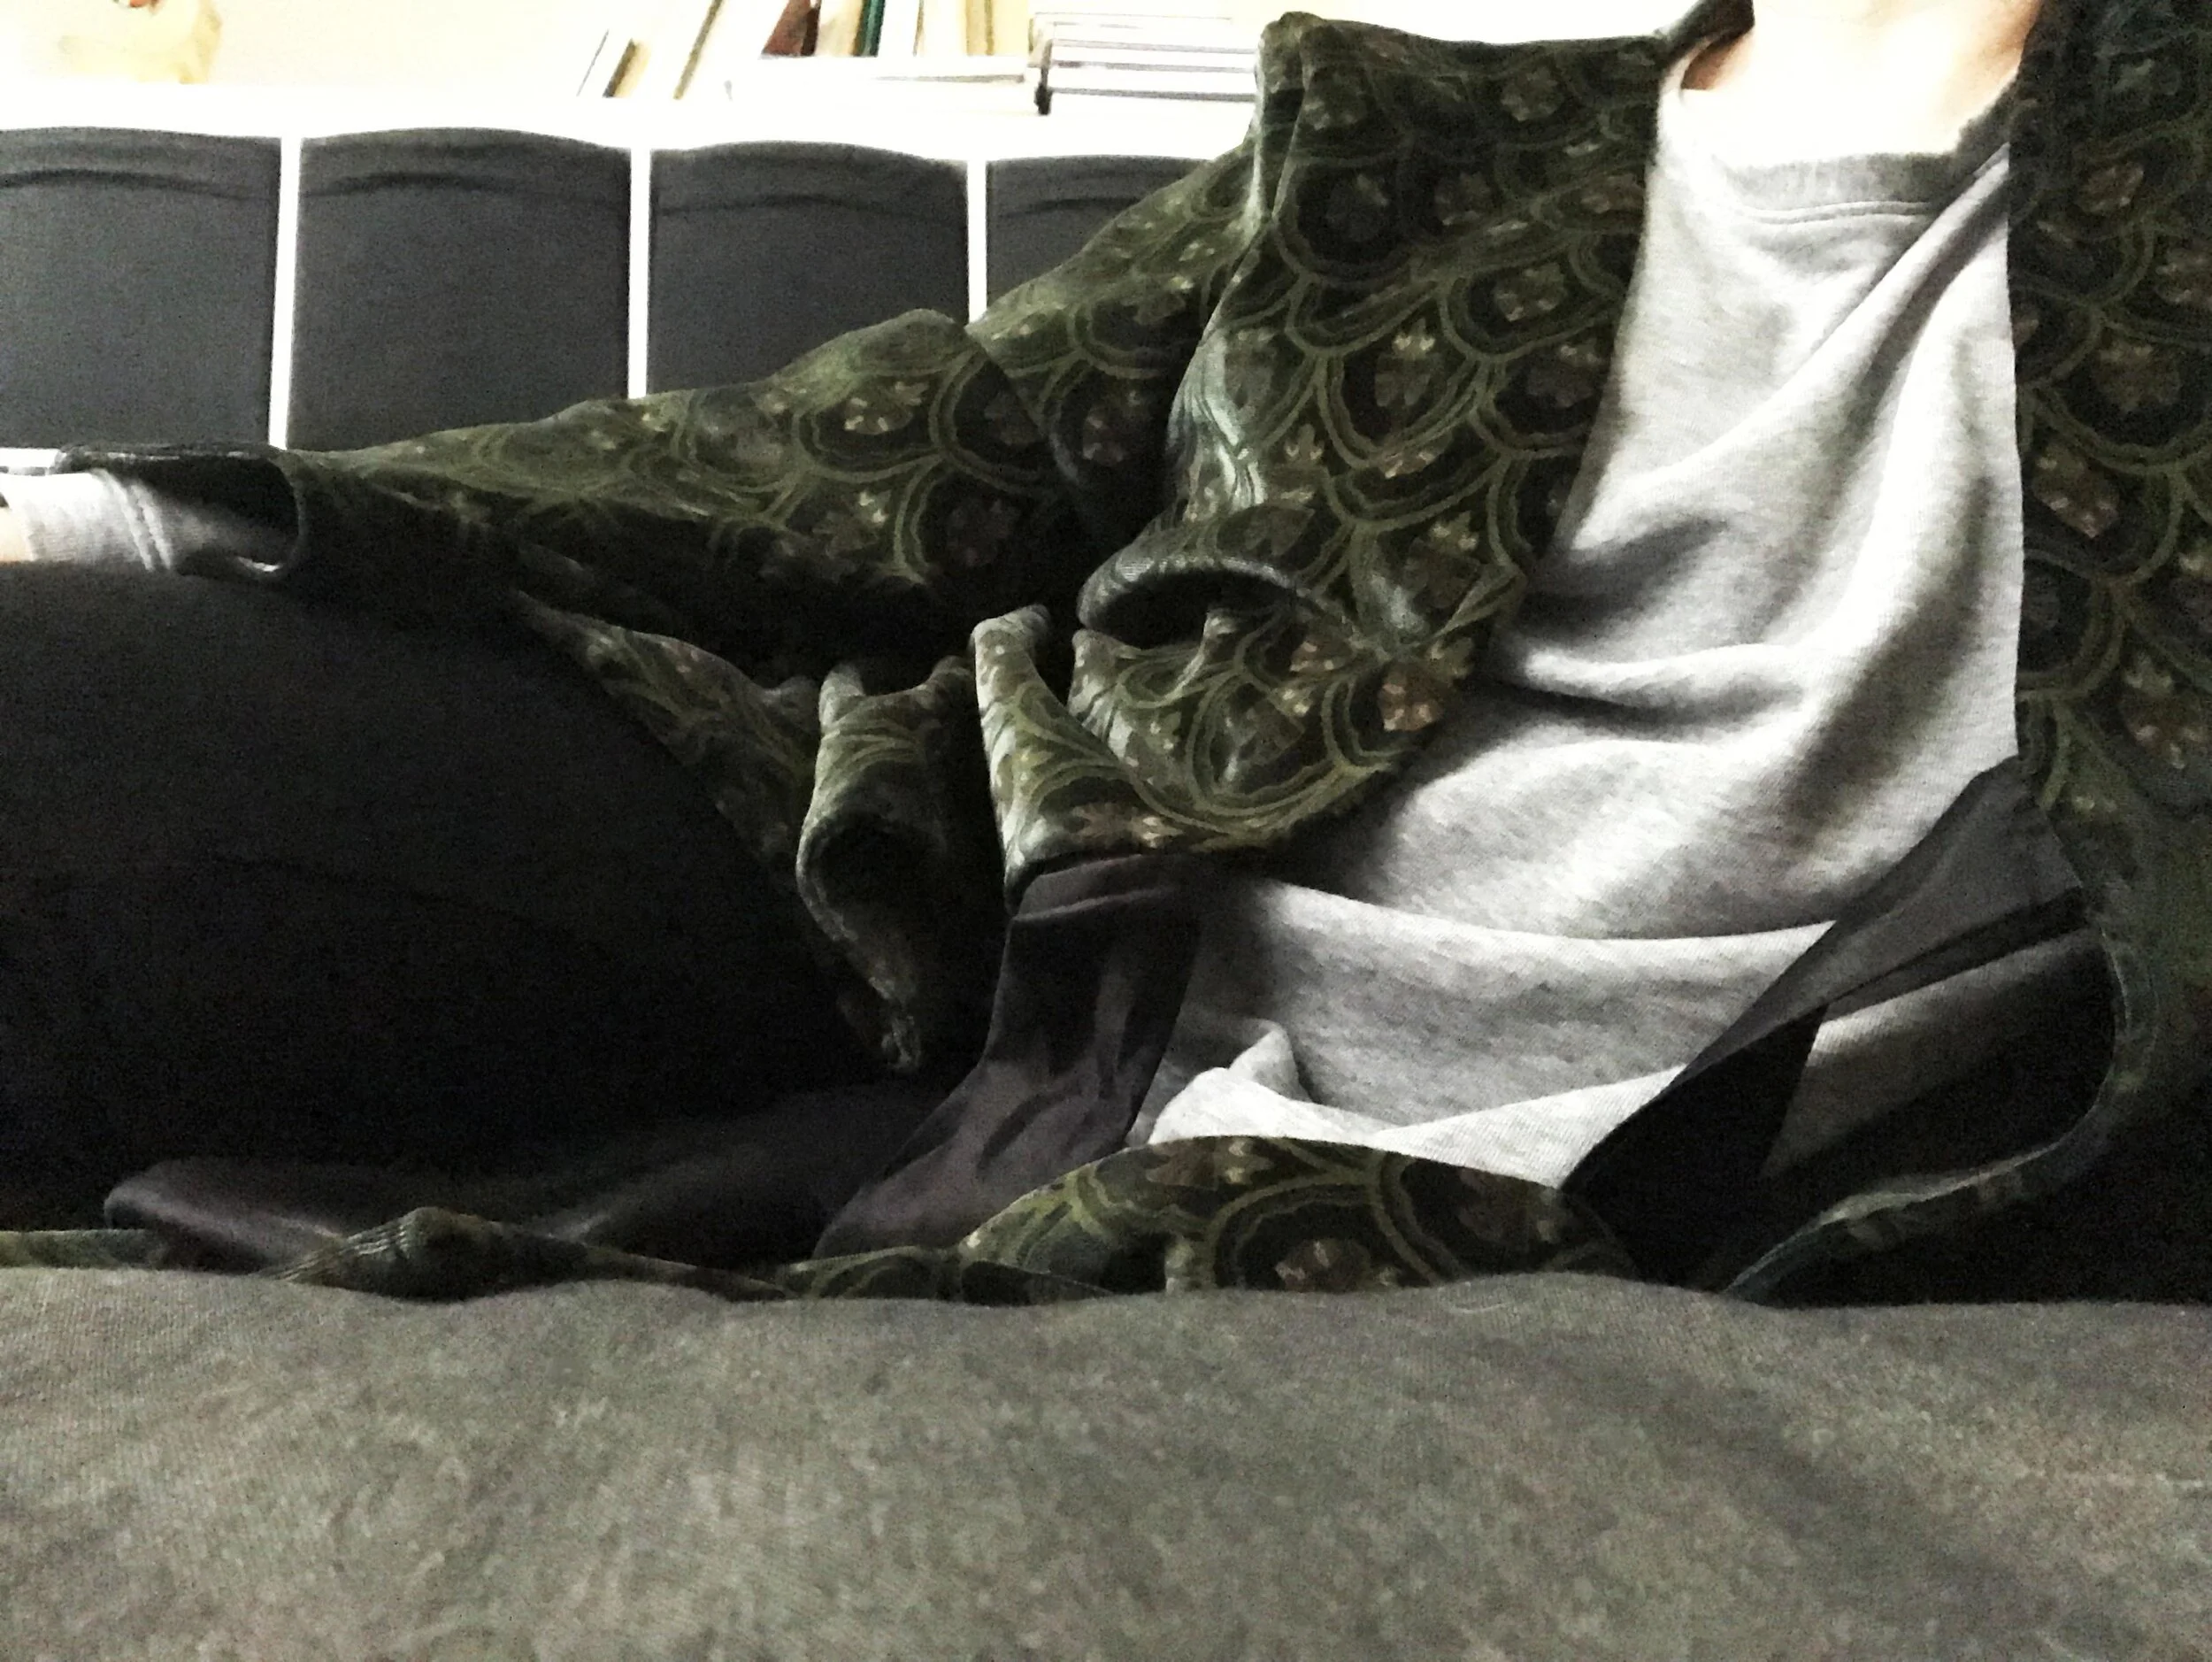
Wearing it with my grey marle (grey marle forever) Kabuki tshirt with long sleeves & black Anita ponte pants. Ive worn this outfit two days running.. I don’t want to wear anything else.
In closing, I’d say that apart from my pocket & seam trauma, there were zero problems in making this. I bound the side seams prior to sewing, hoping I’d gone with the right size and I had and everything lined up. Its surprisingly slim fitted, in that theres no cross over at the font, the two sides just meet so theres not much flappyness to it, which make it more stylish than dressing gown. This could easily be a dressing gown, depending on how its styled, so sneakers it is. Who wears anything that’s not sneakers now anyway? Unless they are slippers & I’d never throw stones at that.
The mitred corners, have I mentioned them? They’re instantly elegant and make it look special. Great construction, nothing earth shattering, but solid stuff. Mine are a bit off …I’m not sure how I did that*. But they match the generally wobbly nature of the whole shebang. I would advise bumping up the seam allowance regardless of pocket insertion or not, even another 5mm so you could double turn them, give it a bit of extra. Having said that, the narrowness of them means they dont overtake the coat’s clean style, its actually very minimal. I made a big effort in pattern matching because I know I’ll have this for a long time so I’m pleased with that. All in all, I wouldn’t hesitate to make another one….in a while. I’m pleased this is finished!
wore it out the day it was finished.
To Woollies supermarket. You know, out.
With all it’s wobbling, I love this coat.
*I do know what I did. I finished all the edges of the facings prior to sewing them on & I did so with Steam a Seam, so they’re permanently bonded & I couldn’t adjust them as I needed to when it came time to hemming. They were a little out & didnt match as perfectly (wtf? we’re talking 1-2mm) as they should & there is no going back once you’ve bonded that stuff. But the reasoning is fundamentally sound, its the cleanest, most pro looking finish so, I tried. I tried! And its just fine


