Uncharacteristic exclamation mark in a blog entry title, because I really really love this!
DREAM REALISED: I've been wanting to try some of my artwork images through digital fabric printing technologies for a long time and now I have and its thrilling!
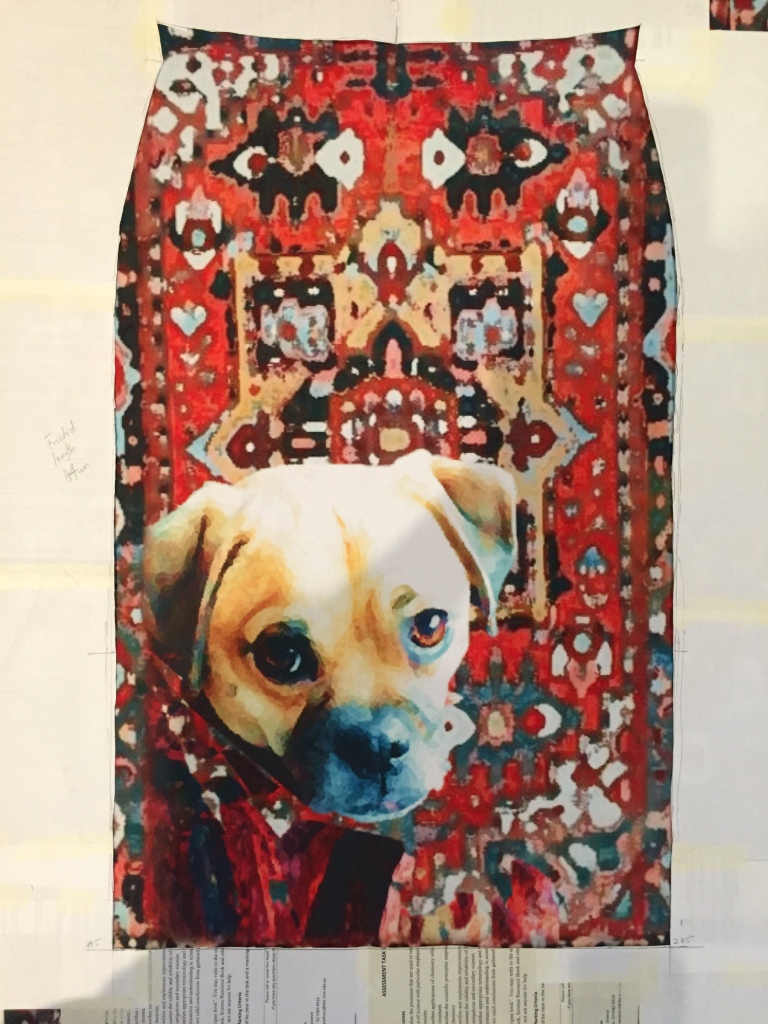
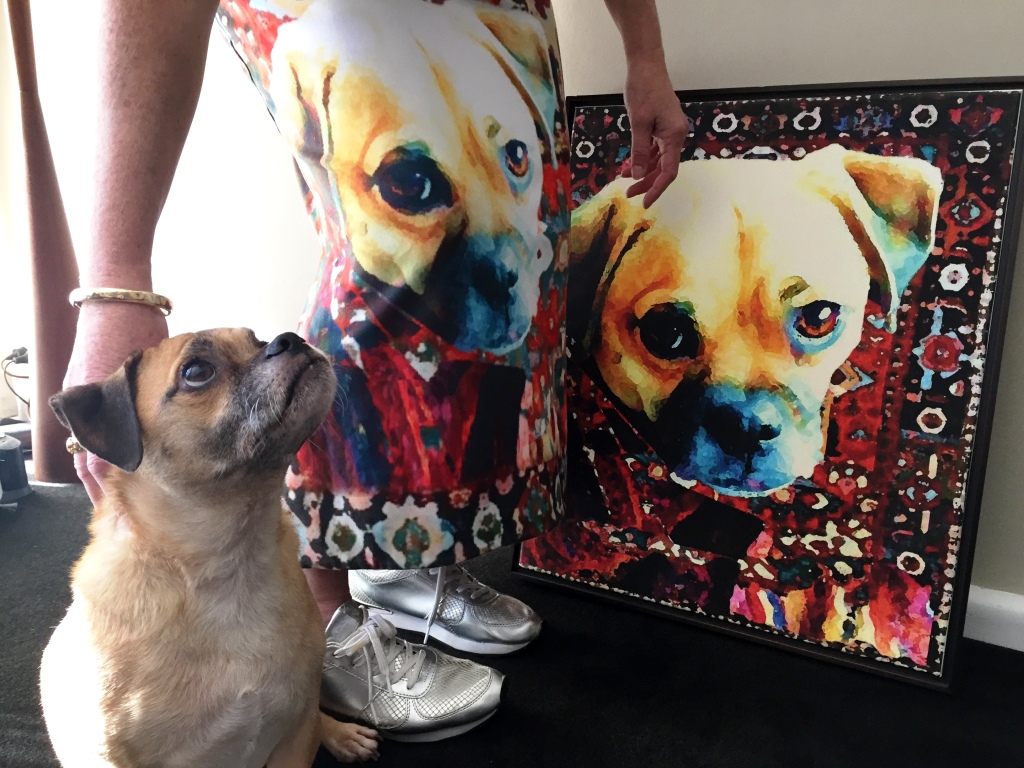
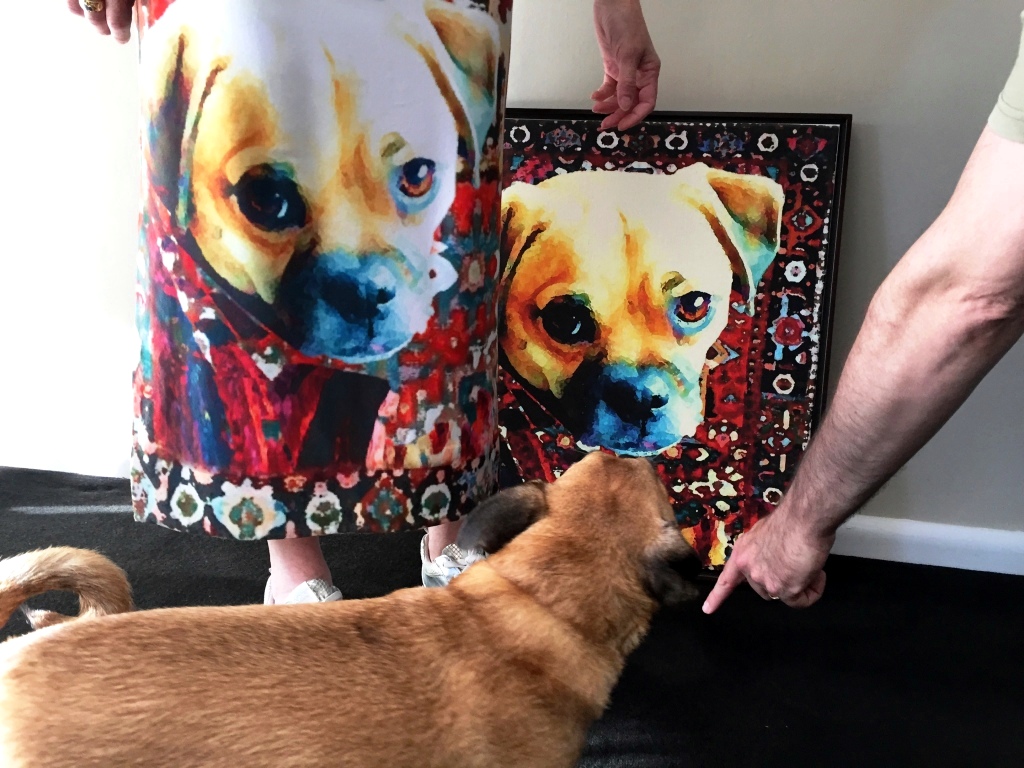
Puppy Without a Pearl Earring 2015 Pigment ink on canvas 470x410mm
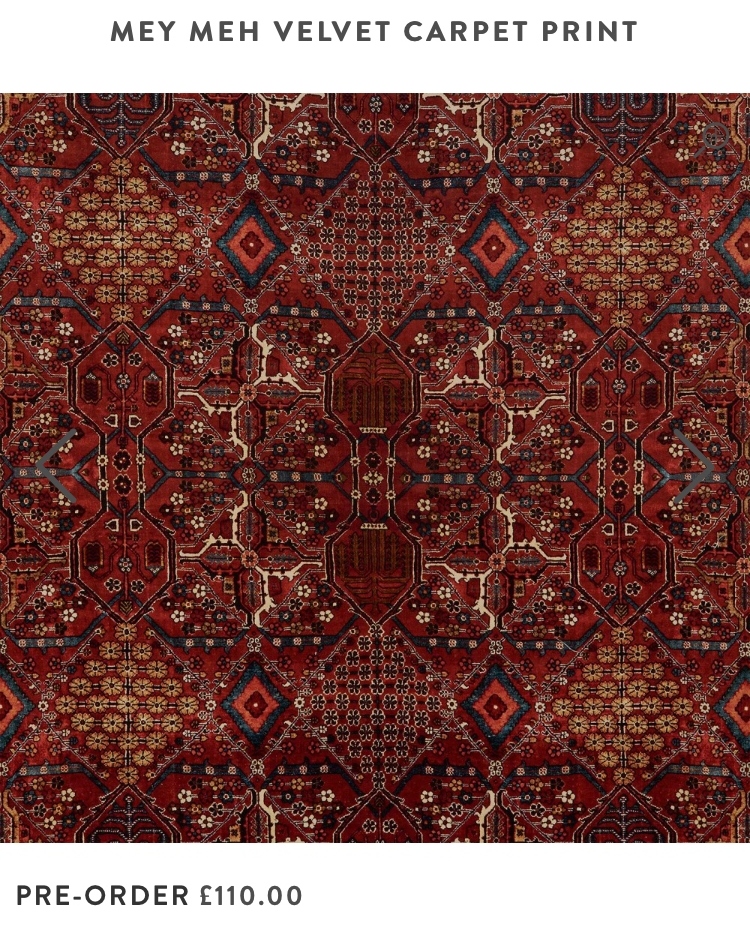
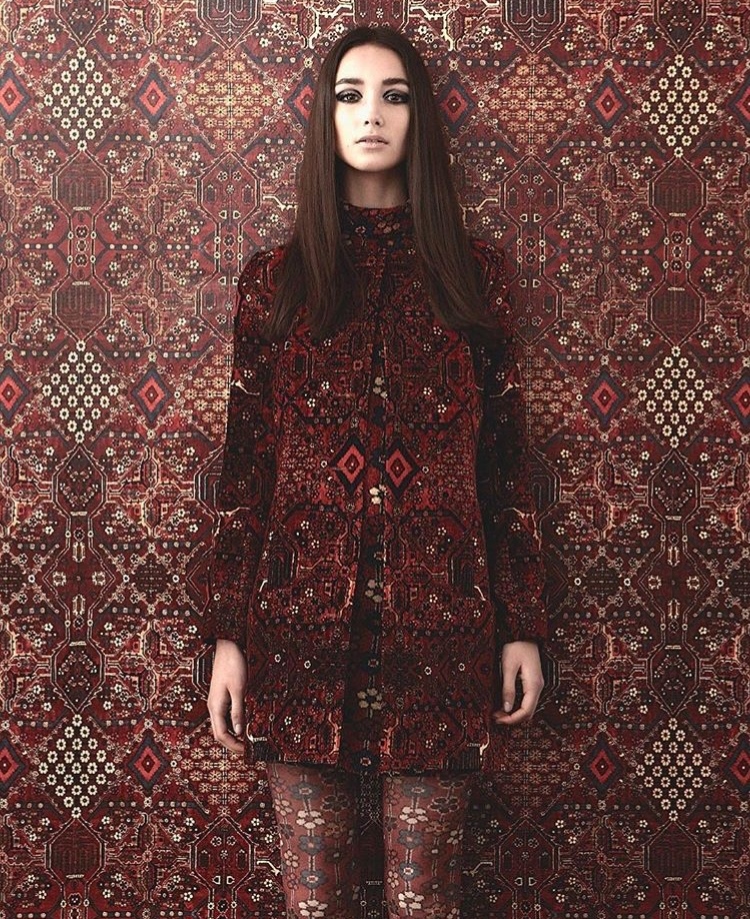
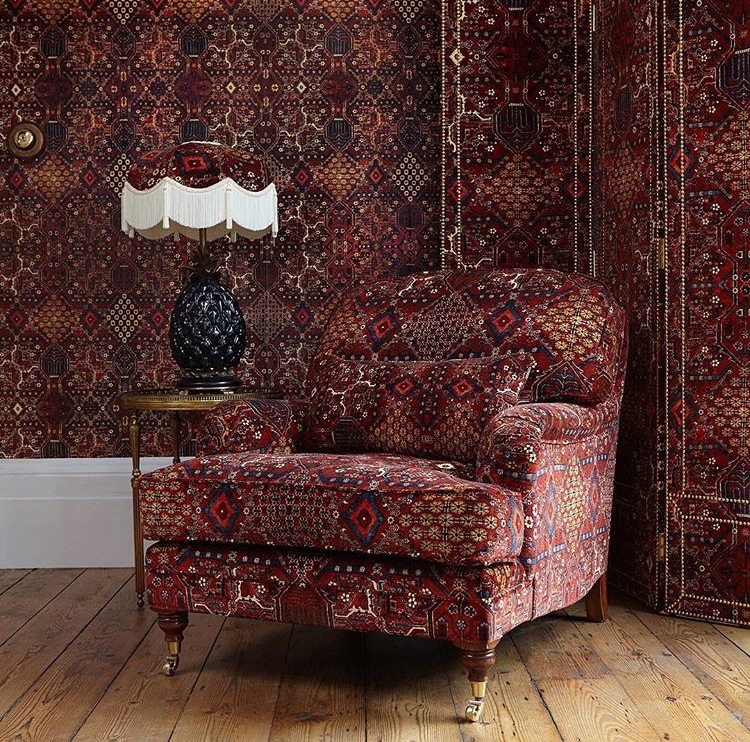
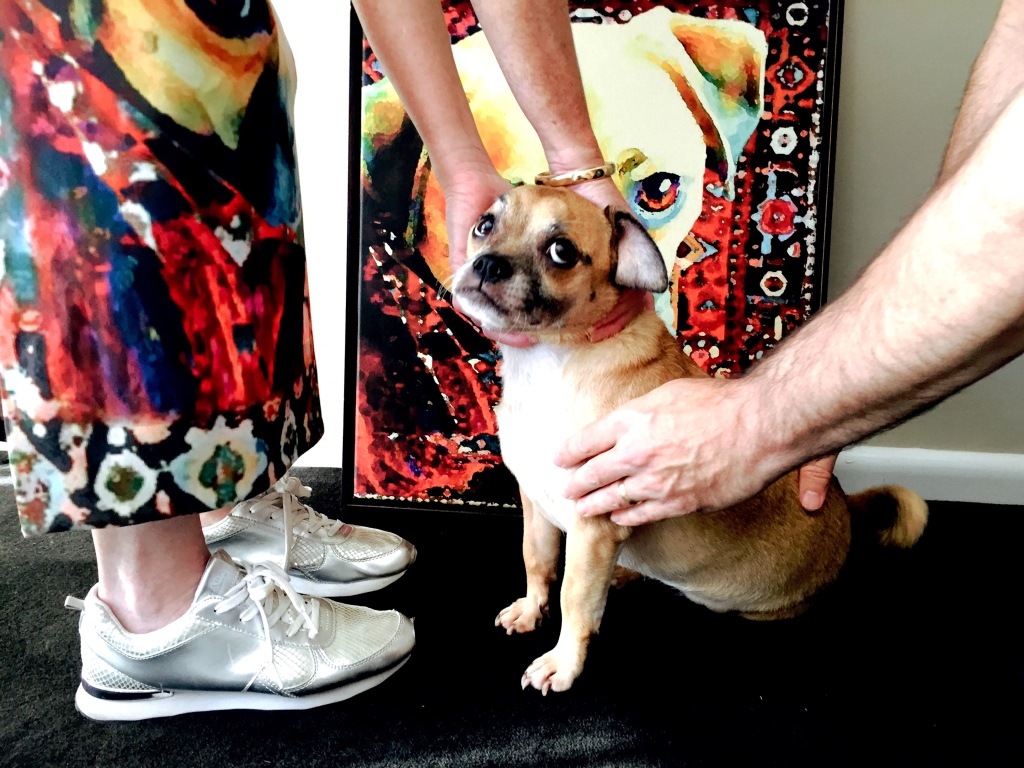
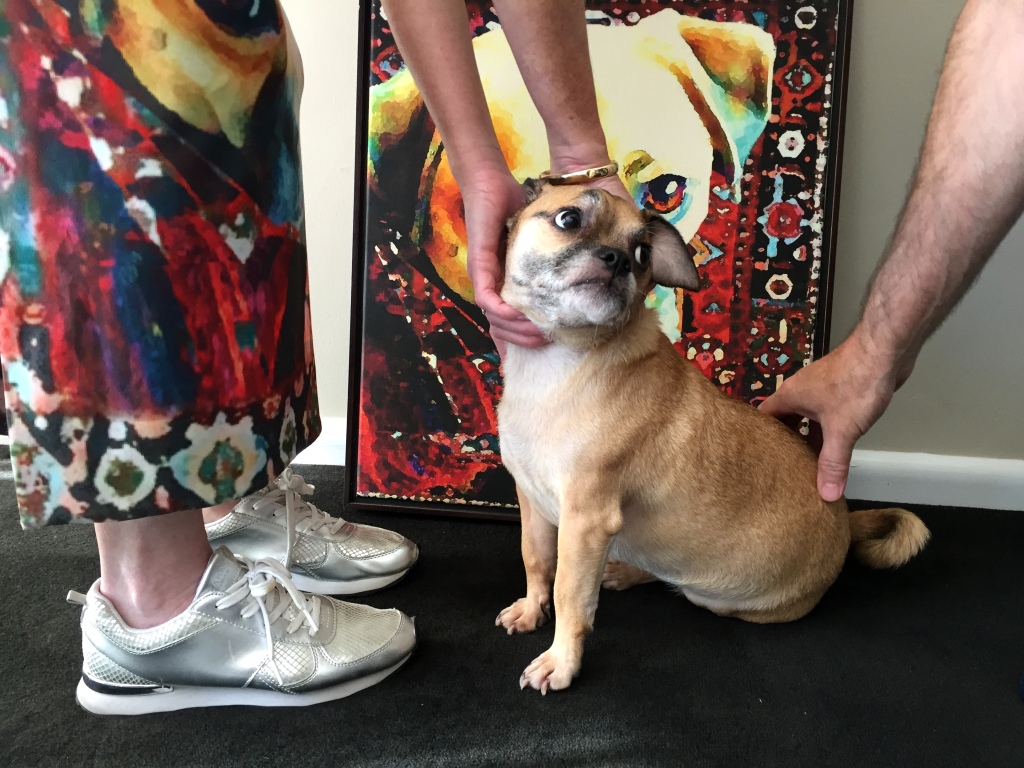
The image here is from a portrait I did of our dog, Peach [known as 'Puppy'; because she's now 7 years old and as clever as a puppy]. The artwork has been in my husband's series of site offices till recently; he has a new job & city office now so this canvas has been back home...and subsequently re-appraised and re-deployed as a fabric design. It bears a striking resemblance to the MeyMeh,by House Of Hackney but honest-to-God I made it without having seen that, although I'm quite happy to be in their company.
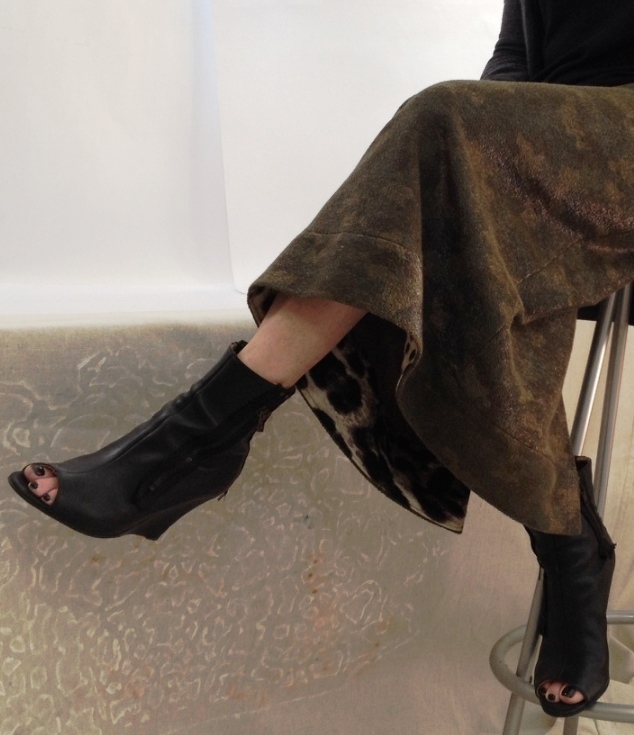
In fact when my fabric arrived I looked at it & thought "Dolce Gabanna. Very Dolce Gabanna". I dont have a lot of pictorial evidence to support that claim but its more a vibe; a fun, brassy, oversized print and a skirt that takes no prisoners! And that is surprisingly wearable, in fact I've worn it almost every day since I made it last week.
Getting the image right sized for print was a trial and error process that has led me to downloading GIMP, an open-source photoshop program in order to get it right, and the ol' GIMP isnt easy to learn. But its something I'd like to master. There are many companies offering digital fabric printing by uploading a file directly to their website, and they all have very different artwork requirements and its maddening, and I wont allow that to deter me and my desire to produce all the fabric prints. Its way to much fun to stop here!
As a first timer, I chose the cheapest printer of the three I'd whittled it down to and they were very nice about my struggle and accepted my file via email in the end. In fact we exchanged a few emails and even spoke on the phone in real life to discuss some details, so my first time has been hand held. NIce. I wanted to minimise cost for shipping by going Australian, Sydney for preference, however Viventi are in Melbourne and I think the shipping was equal to local post.
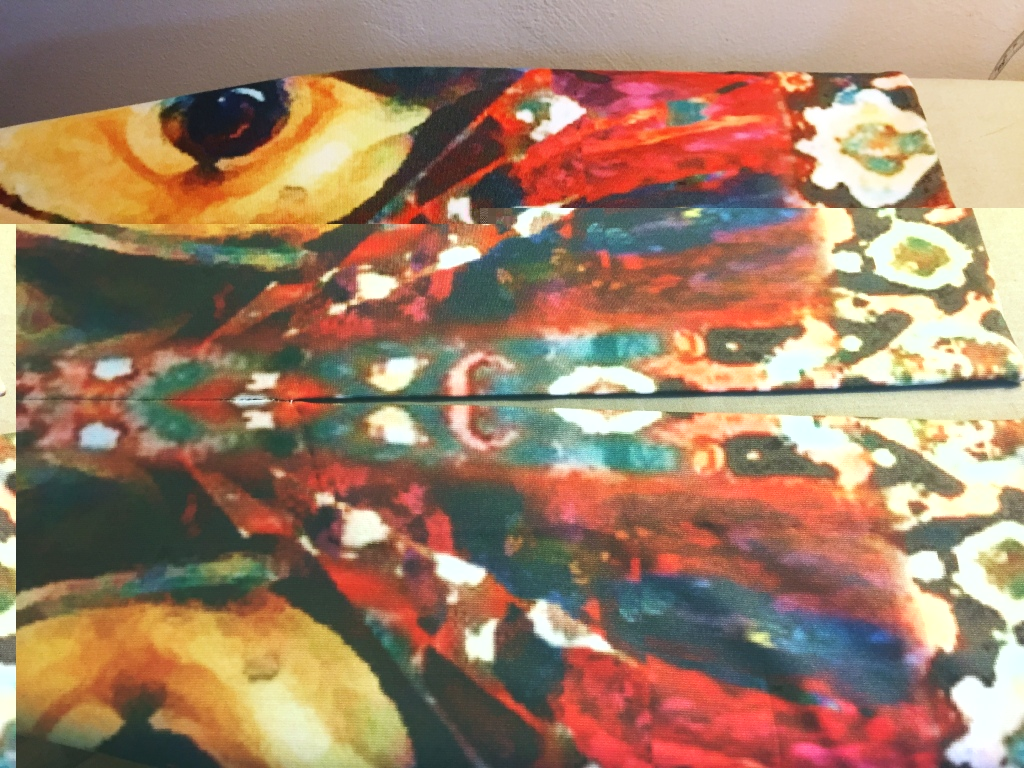
Most fabric prints are seamless, continual repeats but this design being a placement print, I chose a mirror repeat rather than side-by-side repeats because it looks cool. Just as every printer has different file requirements, they all offer a selection of fabric substrates (with some who supply only natural fabric) and from the selection I chose a ponte, probably my favorite material to sew with and wear. Structure with stretch, so good.
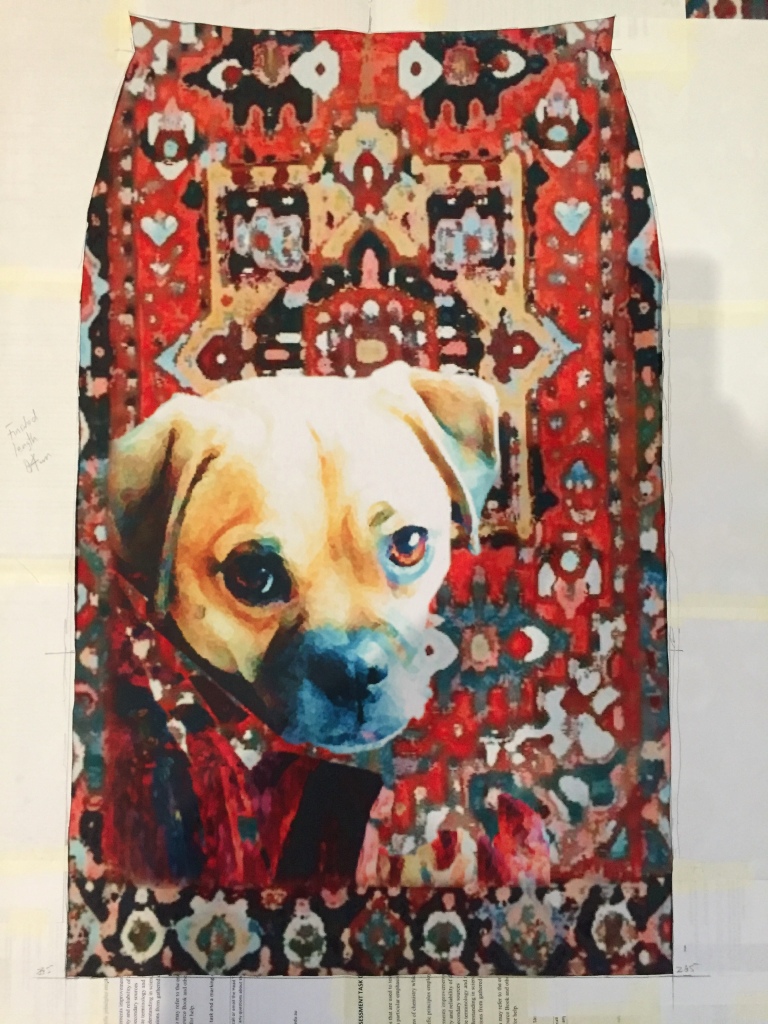
Super lo-tech illustration; its going to take a while to learn the ways of the Gimp but it'll be better than this
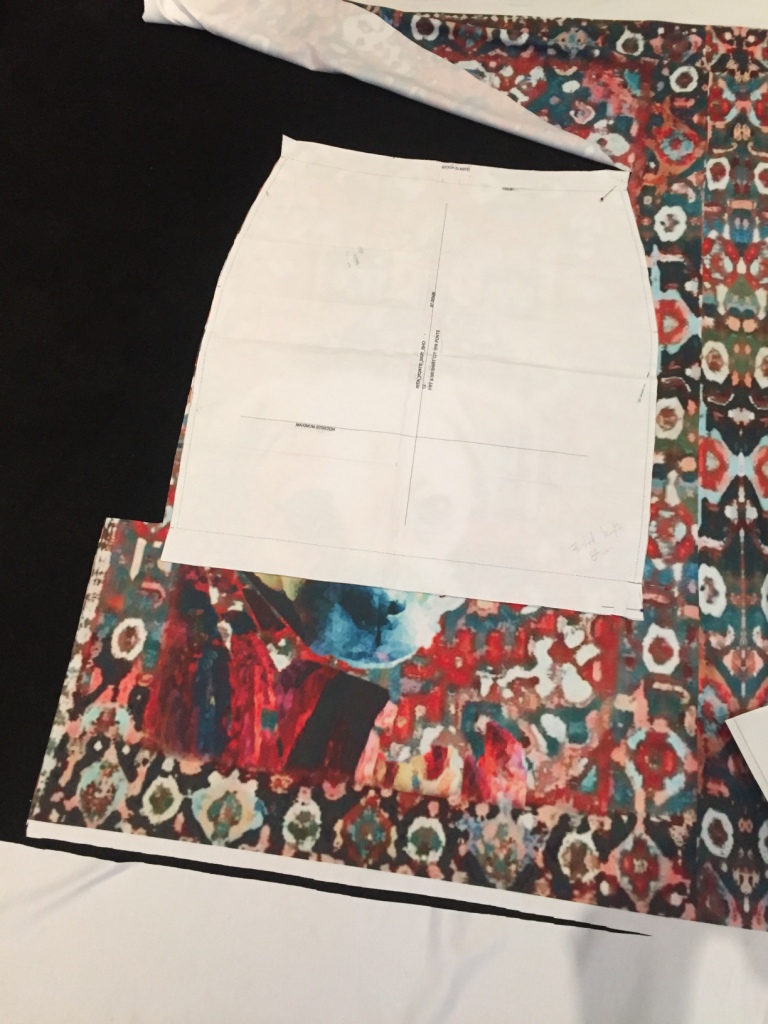
Pattern of choice, Rita Ponte Skirt by Style Arc, just lengthened to my preferred long midi. I wear a lot of skirts and every time I make one, I trace around one of the ones I've made before, so buying the Rita pattern was a treat really! I like Style Arc's hardcopy paper quality & its nice to have a block/sloper so there's a bit less randomness to them.
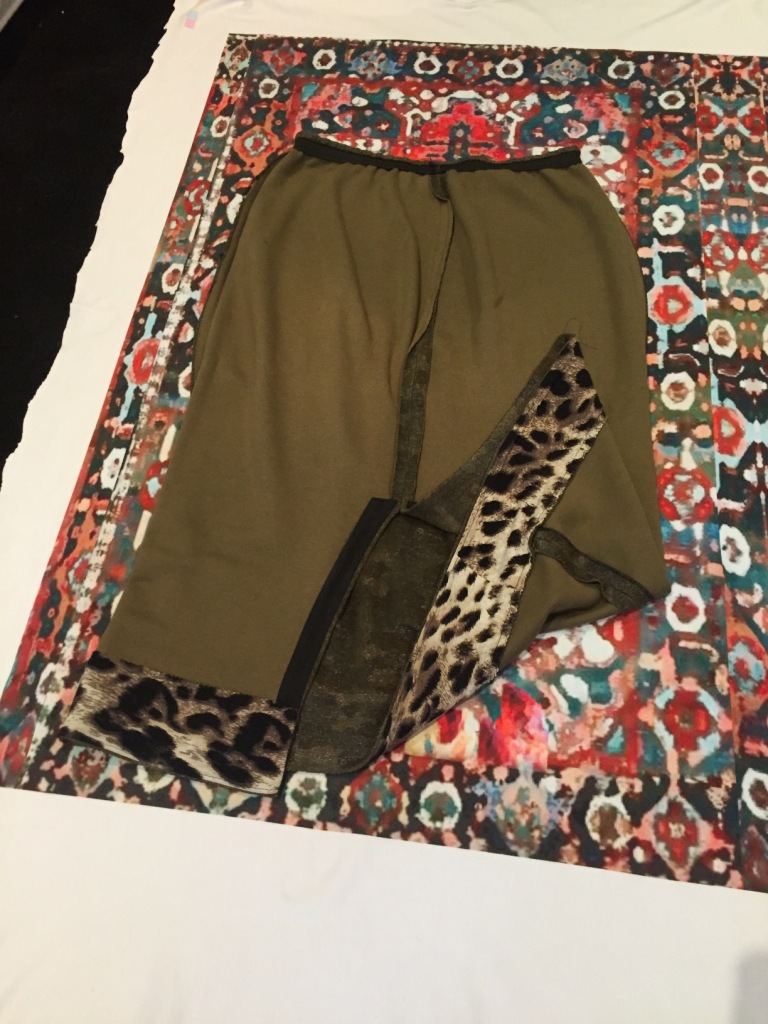
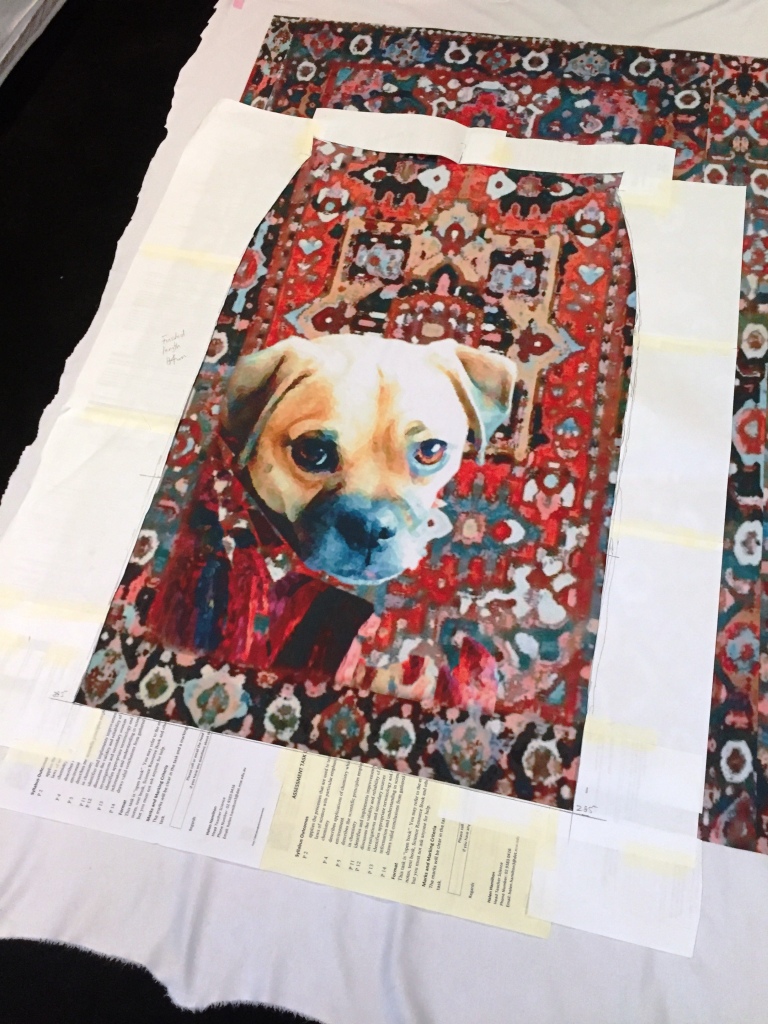
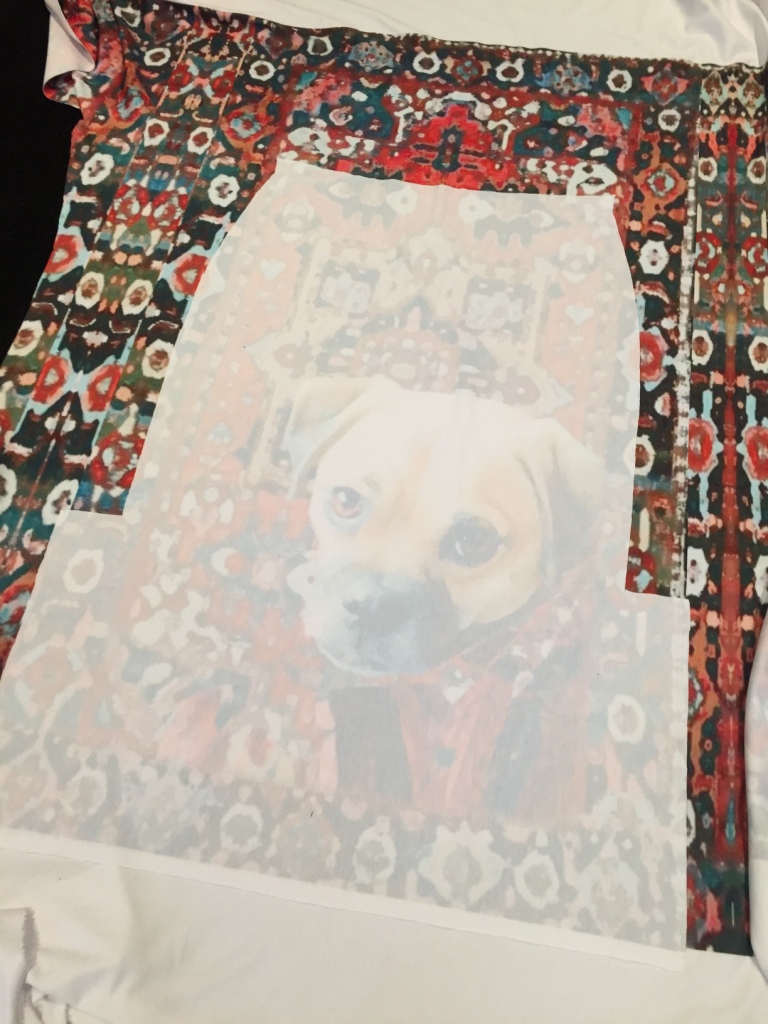
Having said that, I laid this skirt, above left, onto the print to get an idea of the placement and ended up making a negative of the pattern piece at my extended length, just to be sure. It really helped to see the composition and I've taken on the lessons learnt from this first print; Puppy's head could have been a tad smaller...
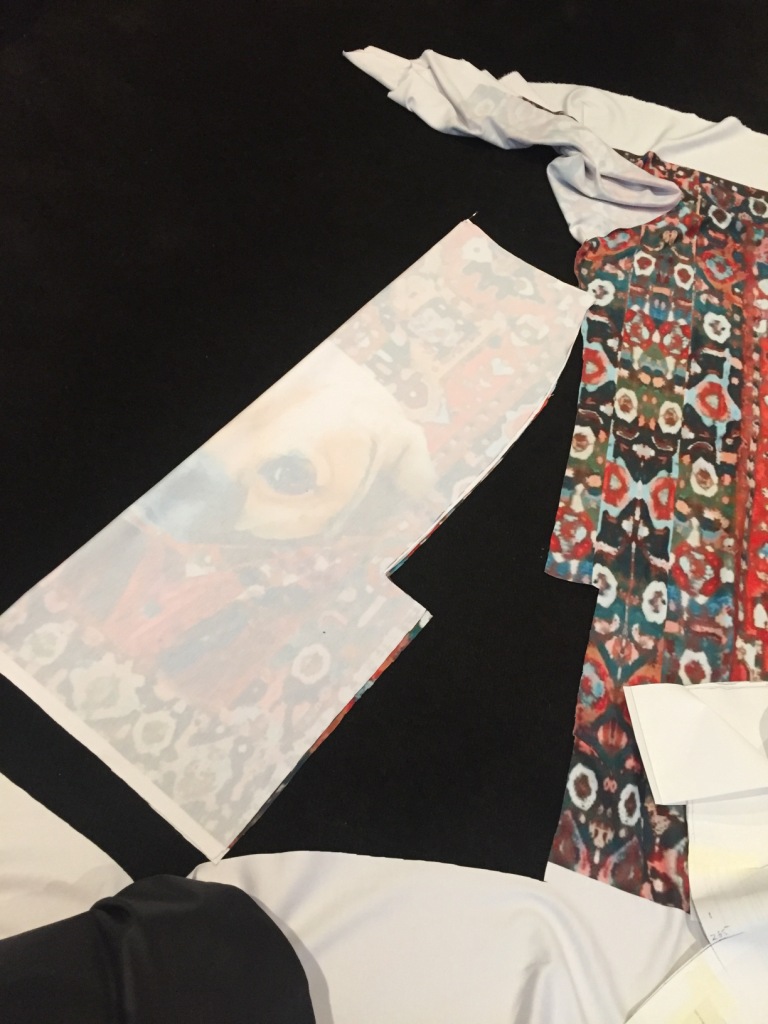
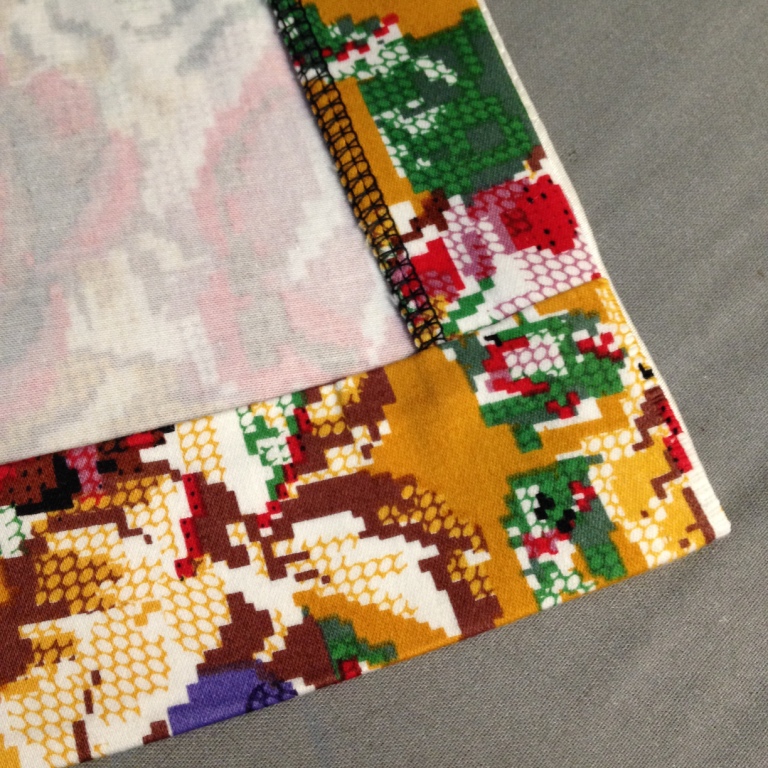
Of course I spent far too long dithering about whether or not to use the bottom border as self hem facing (ie. just turn up to hem) above right, or cut right on the bottom edge of the print & sew the facing on as a separate panel, above left. When I look at it now it seems obvious to have the full print with border but I was apprehensive about reaching scissor point! Its always a slightly tense moment; I've messed up before and theres no going back once its cut. But mostly I charge ahead anyway & there werent any problems this time. I like to think thats because I had it all worked out, but I'm never going to be that person, who has it all worked out. I think I got lucky because...
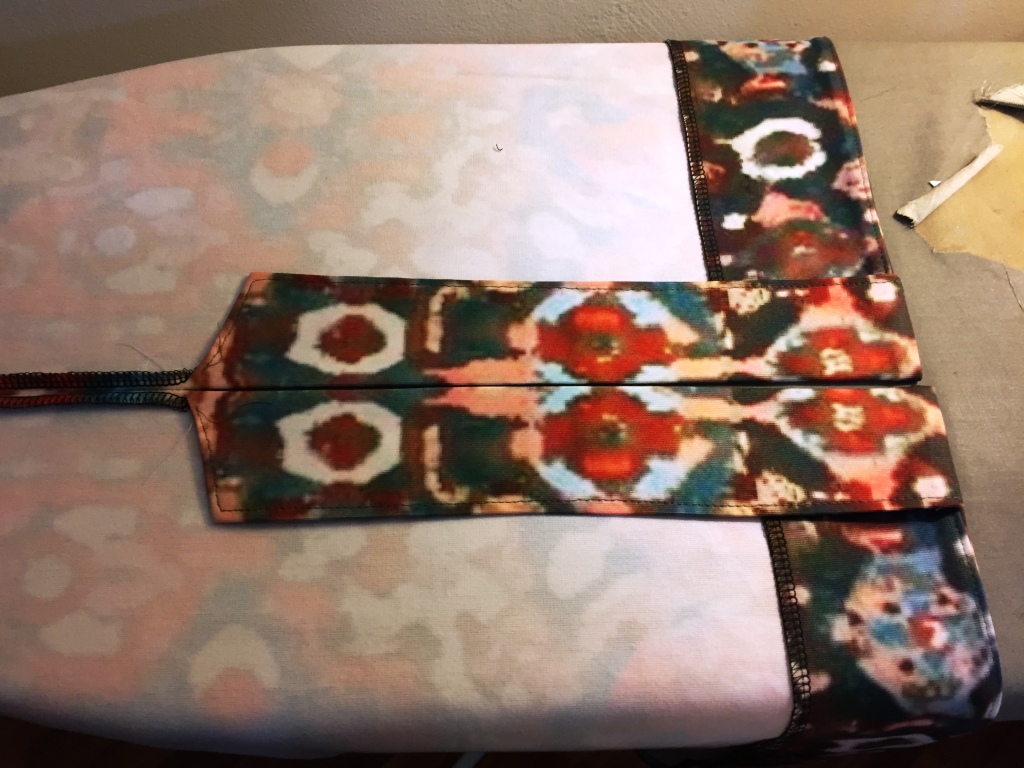
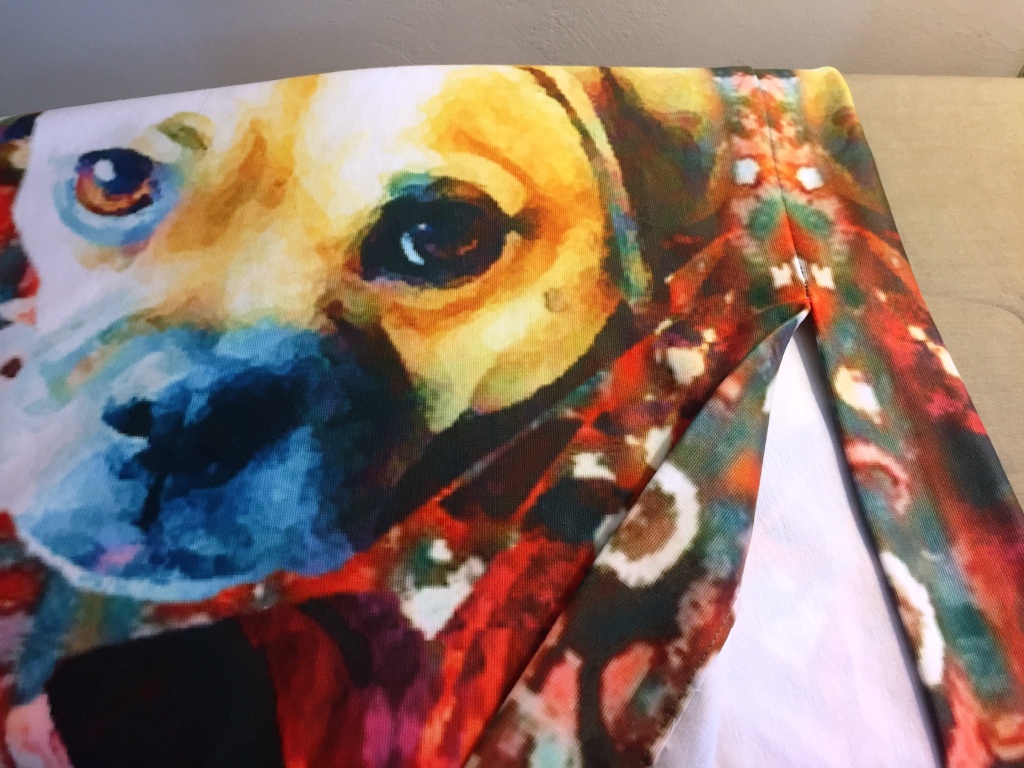
..to accommodate the length I'd need to allow for self-facings on the required side splits and phew, there was a goodly amount of the print to allow for that. (I always give myself a big fckup margin because I know what I'm like.) Usually I'd make a center back seam, to shape it a bit better over the arse before giving way to the vent, but given the exploding dog's head feature, this one had to be side splits. Otherwise Puppy would've had her shnozz bisected & we cant have that. The split starts at the finished length of the short version of the Rita skirt, for want of any other mark; bit arbitrary but I figured thats where the bottom edge of a short skirt would sit so it'd be decent. Then, once the front was cut, I just needed to flip it face down and cut the back to match.
PERFECTLY MATCHED EDGES
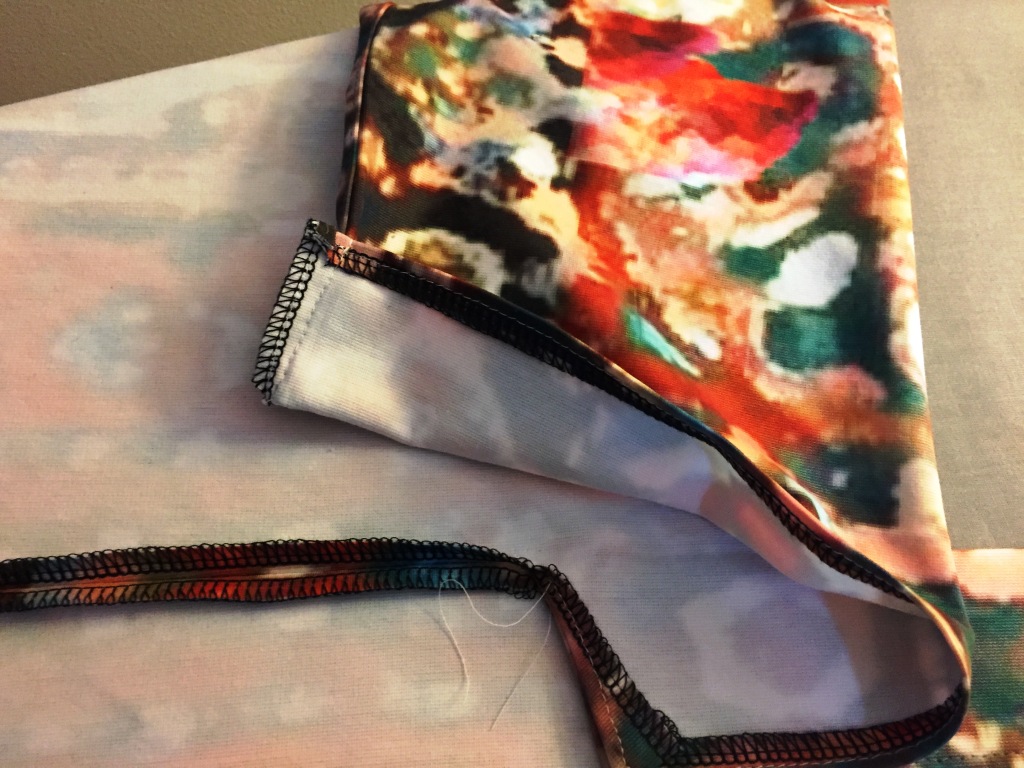
So the hem facing panel was stitched on & the side split facings continue from the side seams. These are nice and wide at about 6cm with overlocked edges, easily turned under once to finish. With long skirts, I think facings have to be generous given they get exposed when walking and sitting because the fabric kicks around the legs & flips it about.
For help on finishing the split facings & hem I looked up Named Pattern's Keana Top (above left) instructions and they came out well I think. That mirror effect is really cool.
I hand stitched the finish all around to drag the process out a bit more. I felt like I owed it to the amount of time I invested to get to this point, to make more work of it than was actually necessary. Respect, y'know?
Rodarte Fall2014. Hard to beat but I think Puppy's got what it takes
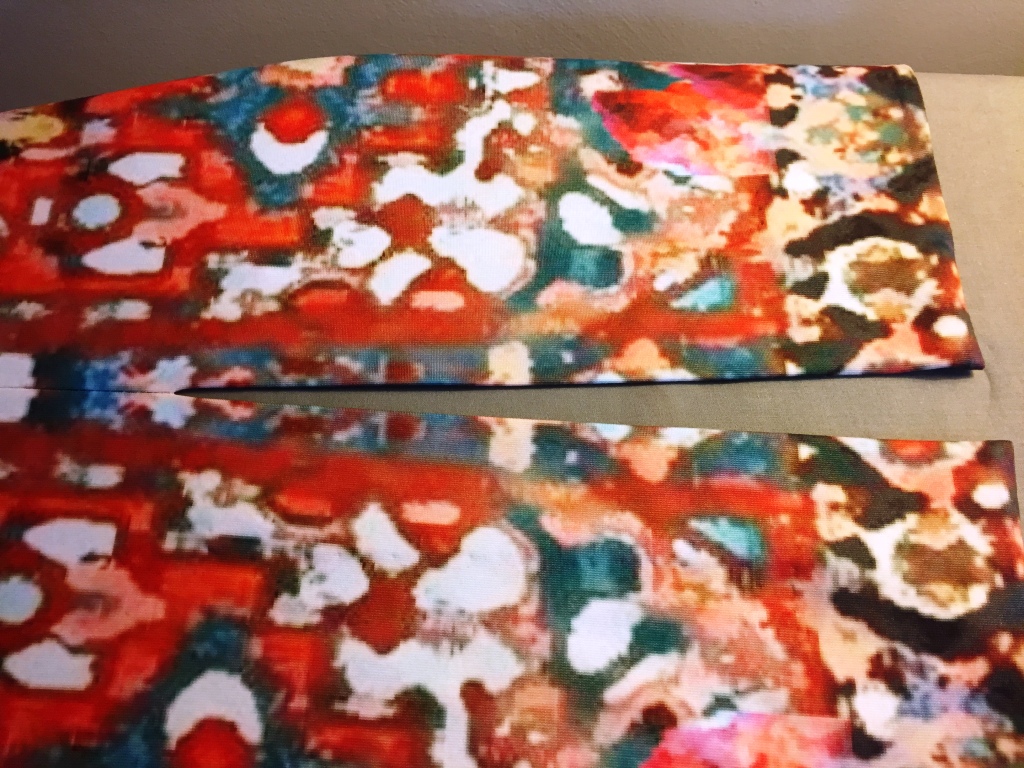
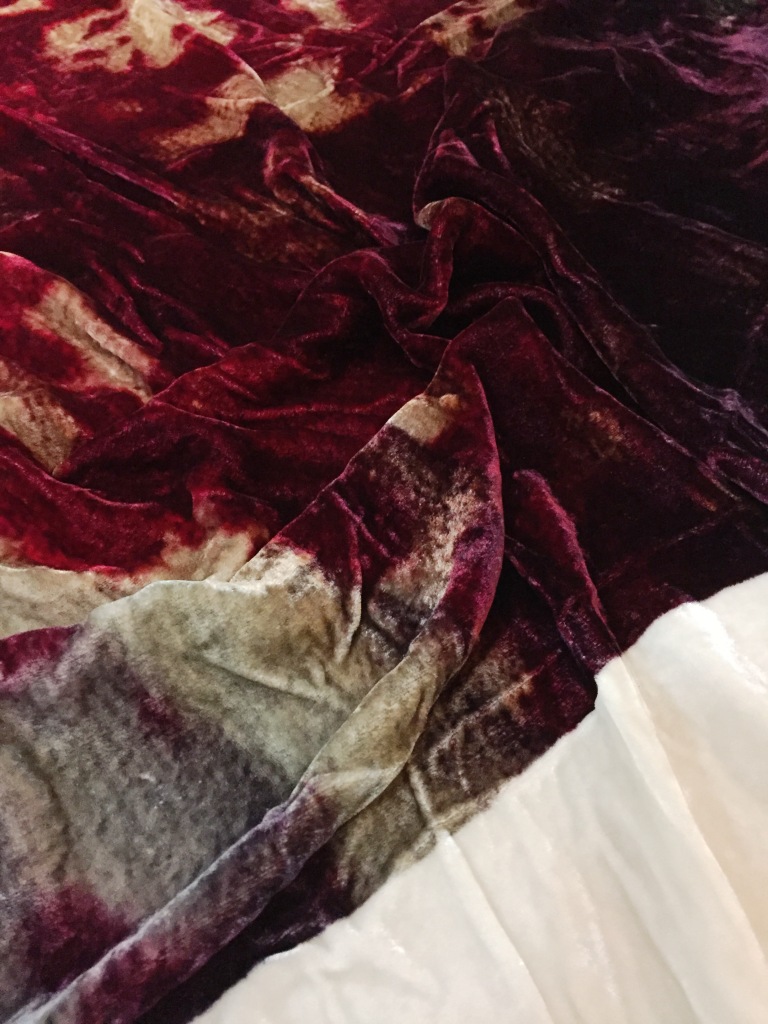
Fabric quality wise, its a very polyester polyester ponte but its dense, with a good weight & smooth finish so Viventi was a great, low anxiety place to start and communication was really good so all in all I'm happy. (Thank you Palmer!) As for the print, I'd like it more saturated, which may be due to my file (pixellation) more than the printer but we'll see; I have my next print all lined up!. In the pics above, top are my ponte and bottom are a velvet printed by Think Positive Prints, whom we've used before (in my day job) and they would be the best in the biz I'd say. They do all the big fashion names, Romance Was Born (I adore), Akira Isogawa (double adore) etc, and its worth having a look at their Penny Lane print shop too for the original designs they offer by the meter.
But checkout that gorgeous deep red colour on the velvet up above! That quality is worth paying for sometimes, but next up I'm still a noob so I'll still go less exy with another local (Sydney) company. Again, it'll be a direct upload website, till I feel ready to treat myself with a luxury fabric from a killer image file thats been thoroughly and correctly prepared with a motherload of dpi.
So a blog post with multiple photos of one skirt; me and my new skirt, I've practically been sleeping in it. I love it. Forever. Until I make the next one.
Ok so next time maybe I'd reduce the amount of real estate Puppy's head takes up, but aside from that and a few minor, fixable details I'm very happy! So many happy's in this project!
Long term I plan to design a few fabric prints so whilst I do accept that few people would be keen on this particular print, expect more! As well as seeing me come from really far away down the street due to the large Puppy head on my skirt because MY SKIRT IS TAKING NO PRISONERS. As for me, Puppy stole my heart years ago.
